Arduino Development for OSX and iOS (2015)
3. Controlling Arduino from OSX
3.4 Demo
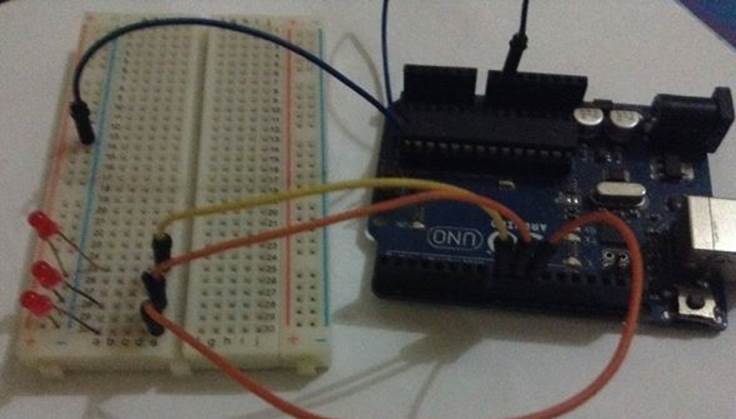
To illustrate how to control Arduino from Mac machine, we build a demo. We use three LEDs which are turned on/off from OSX.
The following is a hardware wiring:
· LED 1 is connected to Arduino digital pin 10
· LED 2 is connected to Arduino digital pin 9
· LED 3 is connected to Arduino digital pin 8
You can see my hardware implementation as below.
3.4.1 Writing Python Program
Now we write a program for our demo using Python.
Open your favorite editor and write these scripts.
from pyfirmata import Arduino
import time
board = Arduino('/dev/cu.usbmodem1411')
led1_pin = 10
led2_pin = 9
led3_pin = 8
def turn_off_all():
board.digital[led1_pin].write(0)
board.digital[led2_pin].write(0)
board.digital[led3_pin].write(0)
# turn on LED sequentially
try:
while 1:
print('LED1 is ON')
board.digital[led1_pin].write(1)
time.sleep(1)
turn_off_all()
print('LED2 is ON')
board.digital[led2_pin].write(1)
time.sleep(1)
turn_off_all()
print('LED3 is ON')
board.digital[led3_pin].write(1)
time.sleep(1)
turn_off_all()
except KeyboardInterrupt:
turn_off_all()
print("done")
Code explanation
· We initialize Arduino board on specific port using Arduino() . Please change Arduino serial port
· To turn on LED, we call board.digital[pin].write(1) which pin is digital pin
· To turn off LED, we call board.digital[pin].write(0) which pin is digital pin
Save these scripts into a file, called firmatademo.py.
3.4.2 Testing
Now you can test the program, type this command.
$ sudo python firmatademo.py
You should see the program output on Terminal.
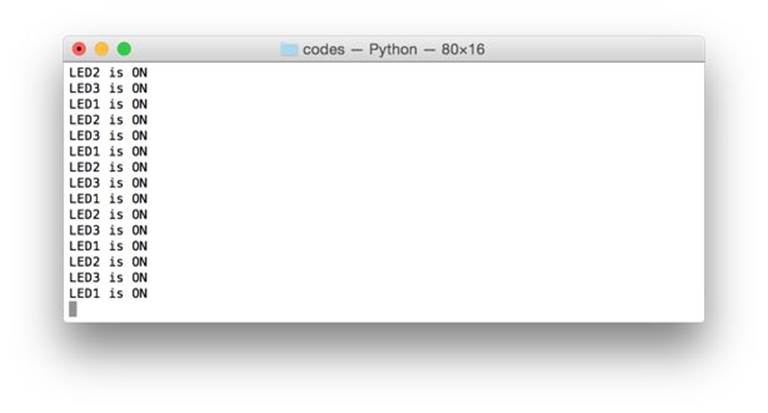
You also should see blinking LEDs.

All materials on the site are licensed Creative Commons Attribution-Sharealike 3.0 Unported CC BY-SA 3.0 & GNU Free Documentation License (GFDL)
If you are the copyright holder of any material contained on our site and intend to remove it, please contact our site administrator for approval.
© 2016-2026 All site design rights belong to S.Y.A.