iOS 9 Swift Programming Cookbook (2015)
Chapter 1. Swift 2.0, Xcode 7 and Interface Builder
1.17 Bundling and Reading Data in Your Apps
Problem
You want to bundle device specific data into app. At runtime, you want to easily load the relevant device’s data and use it without having to manually distinguish between devices at runtime.
Solution
Follow these steps:
1. In your asset catalogue, tap on the + button and create a new Data Set (see Figure 1-8)
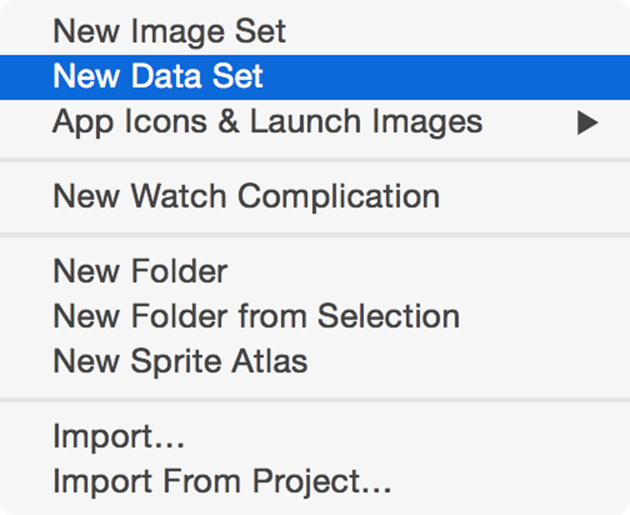
Figure 1-8. Data sets contain our raw device-specific data
2. In the attribute inspector of your data set, specify for which devices you want to provide data (see Figure 1-9)
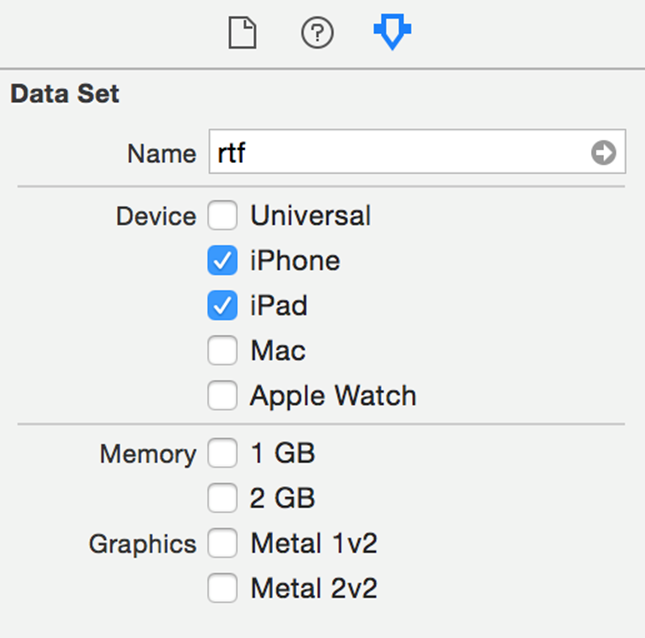
Figure 1-9. I have chosen to provide data for the iPad and iPhone in this example
3. Drag and drop your actual raw data file into place in IB
4. In your asset list, rename your asset to something that you wish to refer it to by later (see Figure 1-10)
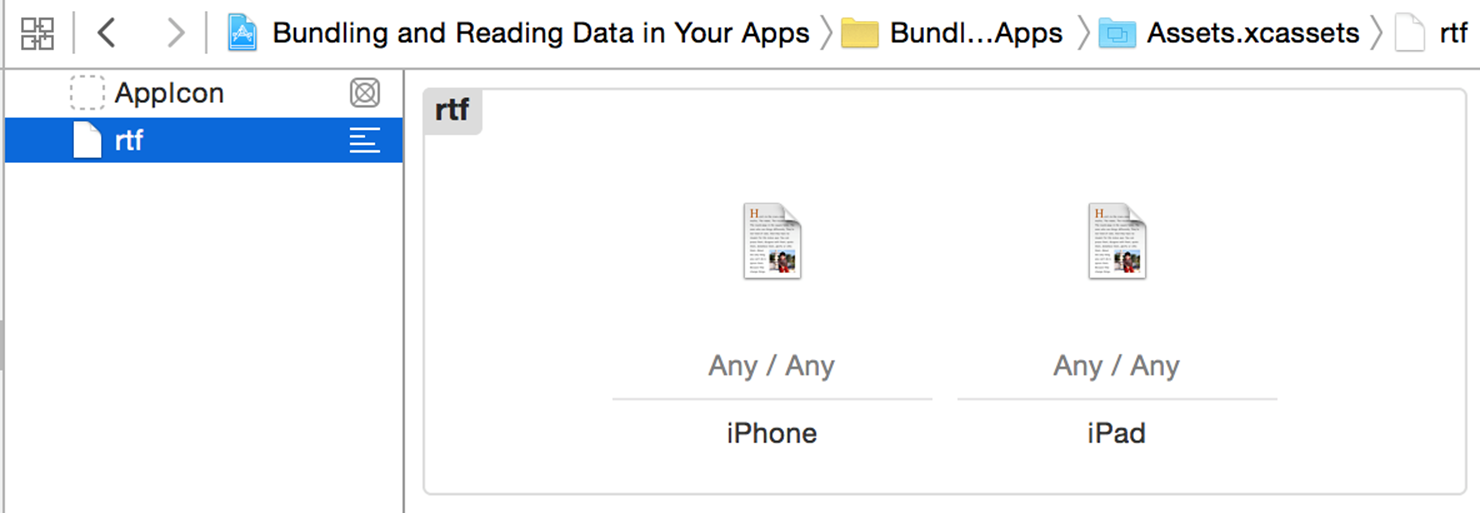
Figure 1-10. I have placed two RTF files into this data asset. One for iPhone and another for iPad
NOTE
In the iPhone RTF I’ve written “iPhone Says Hello” and the iPad one says “iPad Says Hello” and the words iPhone and iPad are bold (attributed texts). I am then going to load these as attributed strings and show them on the user interface (see Figure 1-12).
5. In your code, load the asset with the NSDataAsset class’ initializer
6. Once done, use the data property of your asset to access the data
Discussion
Place a label on your UI and hook it up to your code under the name lbl (see Figure 1-11).
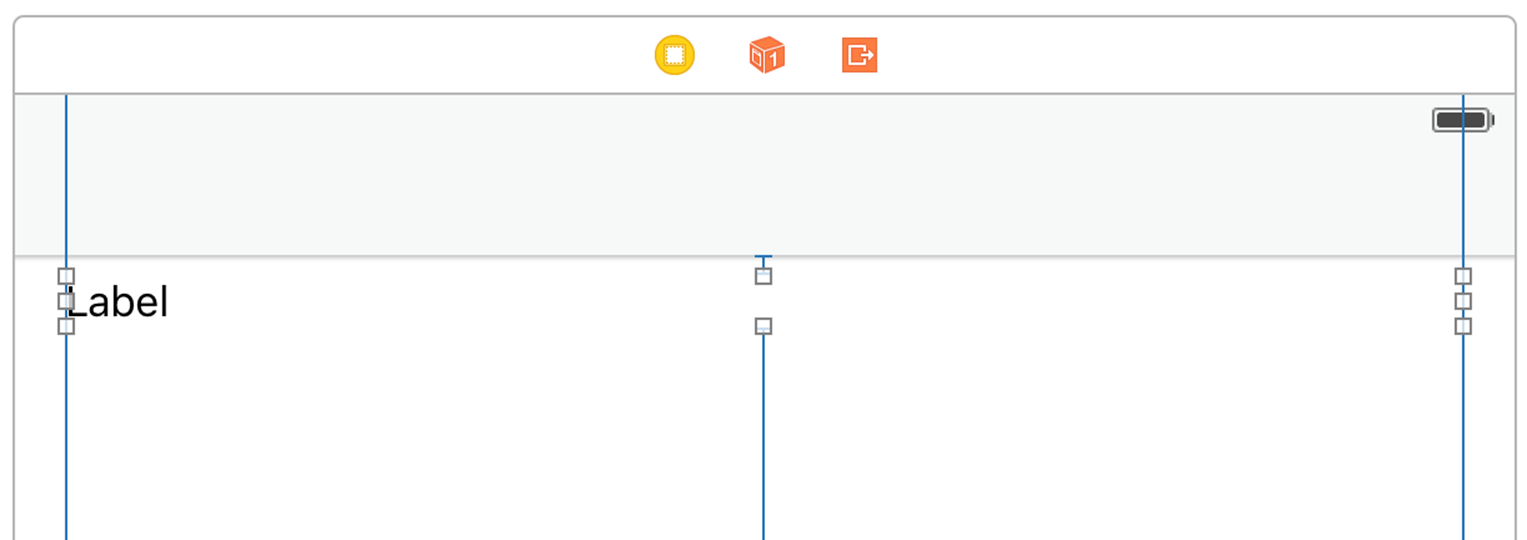
Figure 1-11. Place a label on your user interface and add all the constraints to it (Xcode can do this for you). Hook it up to your code as well
Then create an intermediate property which can set our label’s text for us:
import UIKit
class ViewController: UIViewController {
@IBOutlet var lbl: UILabel!
var status = ""{
didSet{lbl.text = status}
}
...
When the view is loaded, attempt to load the custom data set:
guard let asset = NSDataAsset(name: "rtf") else {
status = "Could not find the data"
return
}
NOTE
The name of the data asset is specified in the asset catalogue (see Figure 1-10)
Since data assets can be of any type (raw data, game levels, etc.), when loading an attributed string, we need to specify what type of data we are loading in. We do that using an options dictionary that we pass to NSAttributedString’s constructor and the important key in this dictionary isNSDocumentTypeDocumentAttribute whose value in this case should be NSRTFTextDocumentType. We can also specify the encoding of our data with the NSCharacterEncodingDocumentAttribute key.
let options = [
NSDocumentTypeDocumentAttribute : NSRTFTextDocumentType,
NSCharacterEncodingDocumentAttribute : NSUTF8StringEncoding
] as [String : AnyObject]
Last but not least, load the data into our string and show it (see Figure 1-12):
do{
let str = try NSAttributedString(data: asset.data, options: options,
documentAttributes: nil)
lbl.attributedText = str
} catch let err{
status = "Error = \(err)"
}
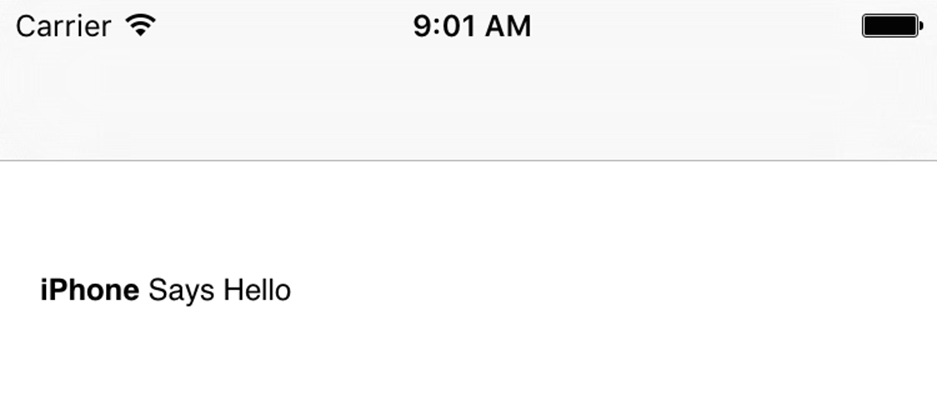
Figure 1-12. This is how my string looked like when I saved it in RTF format and now it is loaded into the user interface of my app
See Also
All materials on the site are licensed Creative Commons Attribution-Sharealike 3.0 Unported CC BY-SA 3.0 & GNU Free Documentation License (GFDL)
If you are the copyright holder of any material contained on our site and intend to remove it, please contact our site administrator for approval.
© 2016-2026 All site design rights belong to S.Y.A.