iOS 9 Swift Programming Cookbook (2015)
Chapter 2. Apple Watch
2.5 Transferring Files To and From the Watch
Problem
You want to transfer a file between your iOS app and the watch app. The technique works in both directions.
Solution
Follow these steps:
1. Use the transferFile(_:metadata:) method of your WCSession object on the sending device.
2. Implement the WCSessionDelegate protocol on the sender and wait for the session(_:didFinishFileTransfer:error:) delegate method to be called. If the optional error parameter is nil, it indicates that the file is transferred successfully.
3. On the receiving part, become the delegate of WCSession and wait for the session(_:didReceiveFile:) delegate method to be called.
4. The incoming file on the receiving side is of type WCSessionFile and has properties such as fileURL and metadata. The metadata is the same metadata of type [String : AnyObject] that the sender sent with the transferFile(_:metadata:) method.
Discussion
Let’s have a look at a simple UI on the sending device (the iOS side in this example). It contains a label that shows our status and a button that sends our file. When the button is pressed, we create a file from of text in the iOS app’s caches folder and then send that file through to the watch app if it is reachable (see Recipe 2.2).
Make your UI on the iOS (sender) side look like Figure 2-18). The button will be disabled if the watch app is not reachable (see Recipe 2.2).
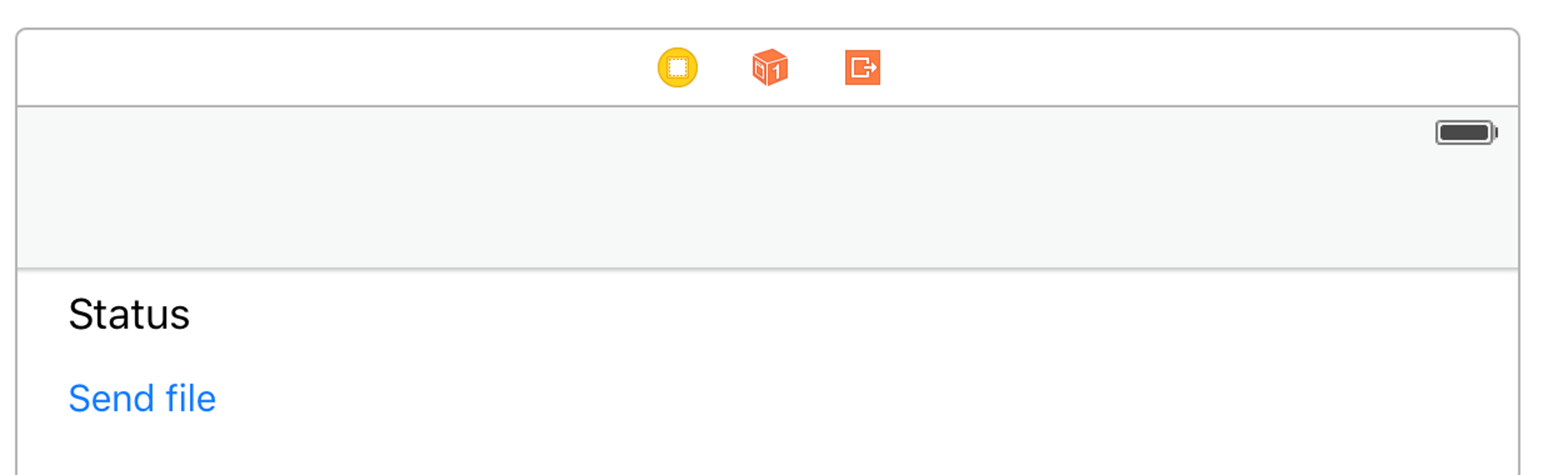
Figure 2-18. Status label and button on sender
Hook up your button’s action code to a method in your view controller called send() and make sure your view controller conforms to WCSessionDelegate.
import UIKit
import WatchConnectivity
class ViewController: UIViewController, WCSessionDelegate {
@IBOutlet var statusLbl: UILabel!
@IBOutlet var sendBtn: UIButton!
var status: String?{
get{return self.statusLbl.text}
set{
dispatch_async(dispatch_get_main_queue()){
self.statusLbl.text = newValue
}
}
}
...
NOTE
We implemented and talked about the status property of our view controller in Recipe 2.3, so I won’t explain it here.
Then, when the send button is pressed, construct a URL that will point to your file. It doesn’t exist you, but you will write it to disk soon.
let fileName = "file.txt"
let fm = NSFileManager()
let url = try! fm.URLForDirectory(.CachesDirectory,
inDomain: .UserDomainMask, appropriateForURL: nil,
create: true).URLByAppendingPathComponent(fileName)
Now write some text to disk, reachable through the URL:
let text = "Foo Bar"
do{
try text.writeToURL(url, atomically: true,
encoding: NSUTF8StringEncoding)
} catch {
status = "Could not write the file"
return
}
Once that is done, send the file over:
let metadata = ["fileName" : fileName]
WCSession.defaultSession().transferFile(url, metadata: metadata)
Also, when your session’s reachability state changes, enable or disbale your button:
func updateUiForSession(session: WCSession){
status = session.reachable ? "Ready to send" : "Not reachable"
sendBtn.enabled = session.reachable
}
func sessionReachabilityDidChange(session: WCSession) {
updateUiForSession(session)
}
On the watch side, make your UI look like Figure 2-8. Then, in your ExtensionDelegate class, implement the exact same status property that we implemented in Recipe 2.3.
Now implement the session(_:didReceiveFile:) method of WCSessionDelegate. Start by double-checking that the metadata is as you expected it:
guard let metadata = file.metadata where metadata["fileName"]
is String else{
status = "No metadata came through"
return
}
If it is, read the file and show it in the user interface:
do{
let str = try String(NSString(contentsOfURL: file.fileURL,
encoding: NSUTF8StringEncoding))
guard str.characters.count > 0 else{
status = "No file came through"
return
}
status = str
} catch {
status = "Could not read the file"
return
}
When you run the watch app, it will look like Figure 2-15. When you run the iOS app, it will look like Figure 2-19.
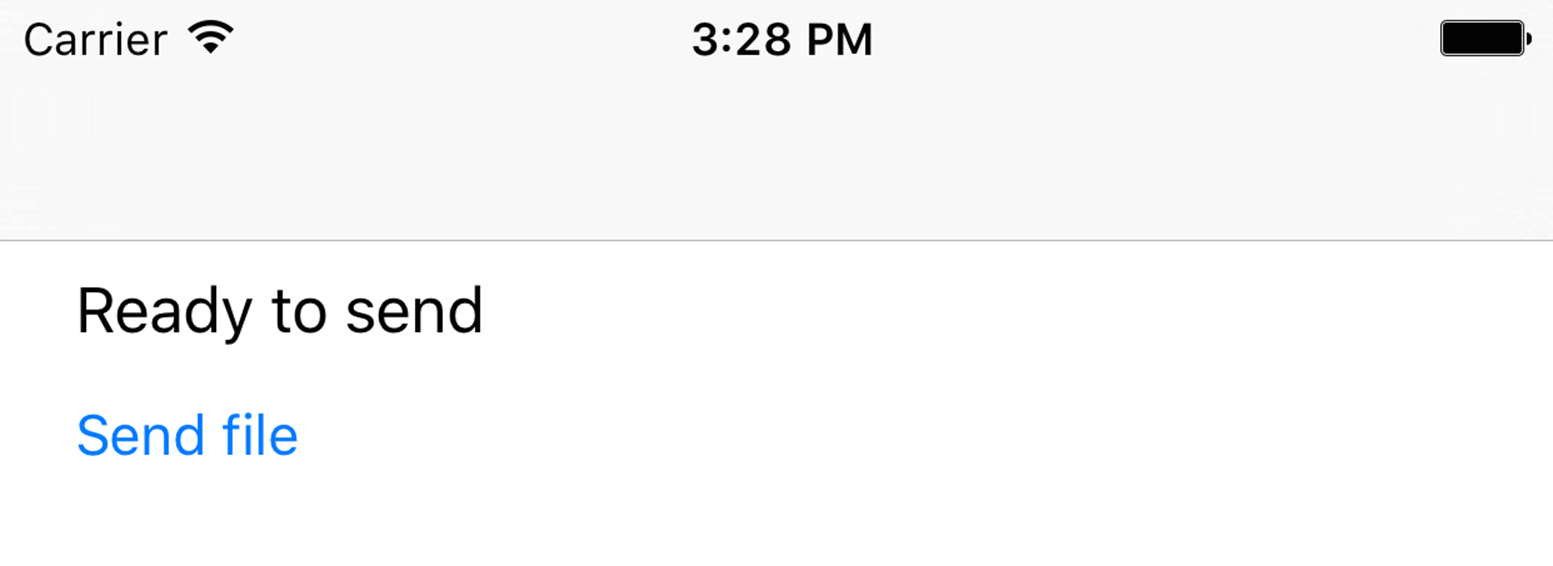
Figure 2-19. The file is ready to be sent from iOS to watchOS
When the file is sent, your user interface on iOS will look like Figure 2-20.
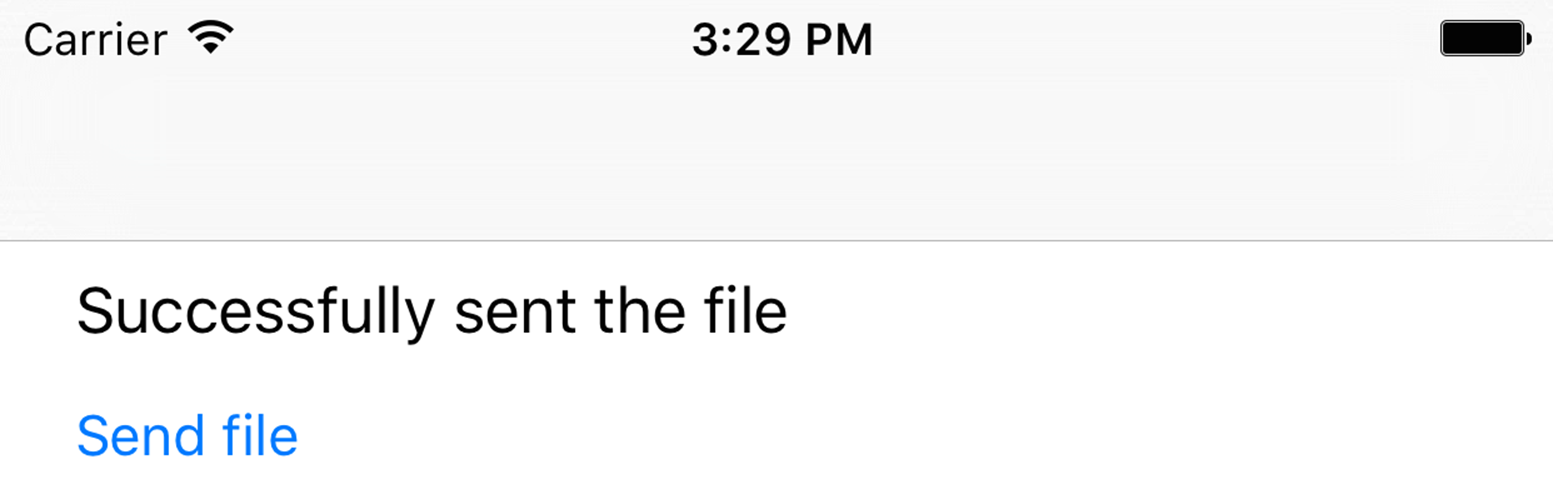
Figure 2-20. iOS sent our file to watchOS
And the UI on your receiver (watchOS) will look like Figure 2-21.

Figure 2-21. watchOS successfully received our file, read its content, and is displaying it in our label
See Also
All materials on the site are licensed Creative Commons Attribution-Sharealike 3.0 Unported CC BY-SA 3.0 & GNU Free Documentation License (GFDL)
If you are the copyright holder of any material contained on our site and intend to remove it, please contact our site administrator for approval.
© 2016-2026 All site design rights belong to S.Y.A.