iOS 9 Swift Programming Cookbook (2015)
Chapter 4. Contacts
4.7 Creating Contacts with Prebuilt System UI
Problem
You want to specify some basic information for a new contact and let a system UI and the user take care of the creation of this contact.
Solution
Follow these steps:
1. Create an instance of CNContactStore and ask for permission to use the store (see Recipe 4.1).
2. Create a contact of type CNMutableContact and put your default values in it. This is an optional step. You might want the user to create a whole new contact on her own, with no predefined values from your side.
3. Instantiate an object of type CNContactViewController using the forNewContact initializer and pass your contact to it.
4. Set the contactStore property of this view controller to a valid contact store instance.
5. Optionally, set the delegate property of this view controller to a valid delegate object that conforms to the CNContactViewControllerDelegate protocol.
Discussion
You have Recipe 4.1 to create a contact programmatically. What if you have some basic information about a contact, or no information at all, and you want your user to supply the rest of the information? Of course you could create a UI to allow the user to do that, but why do so if the SDK already comes with a prebuilt UI called CNContactViewController?
You can simply push an instance of the CNContactViewController class on your navigation controller. When you become the delegate of this view controller, a delegate method named contactViewController(_:didCompleteWithContact:) will get called if the user cancels or accepts the contact creation. Use this method to dismiss (pop) the contact view controller.
func contactViewController(viewController: CNContactViewController,
didCompleteWithContact contact: CNContact?) {
//whatever happens, pop back to our view controller
defer{navigationController?.popViewControllerAnimated(true)}
guard let contact = contact else{
print("The contact creation was cancelled")
return
}
print("Contact was created successfully \(contact)")
}
Let’s look at a simple example now. Let’s create a simple contact with some basic information and then ask the user to complete the creation process:
let contact = CNContact().mutableCopy() as! CNMutableContact
contact.givenName = "Anthony"
contact.familyName = "Appleseed"
let controller = CNContactViewController(forNewContact: contact)
controller.contactStore = store
controller.delegate = self
navigationController?
.pushViewController(controller, animated: true)
Then our user will see a UI similar to Figure 4-9.
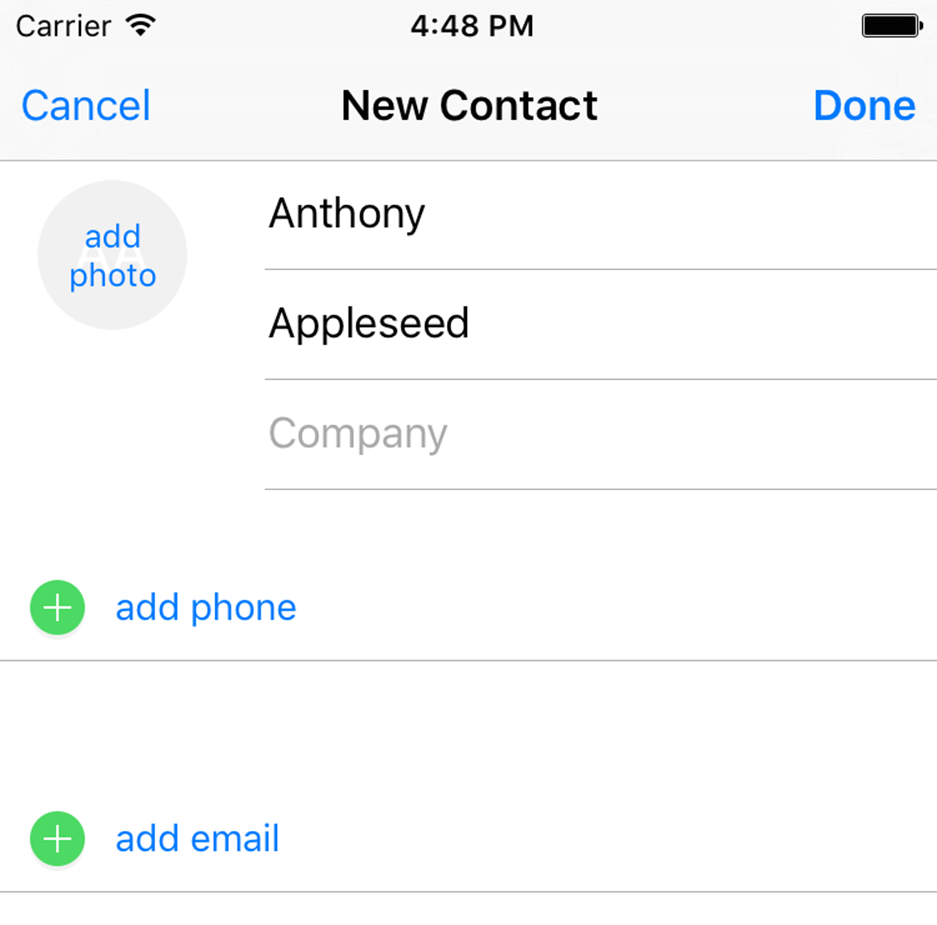
Figure 4-9. The new-contact system UI is displayed, asking the user to finish off or cancel the contact creation
NOTE
The contact that you pass to the aforementioned initializer of CNContactViewController is optional. If you pass nil, the new-contact dialog that the user will see will be empty and the user will have to fill out every field in the UI.
See Also
All materials on the site are licensed Creative Commons Attribution-Sharealike 3.0 Unported CC BY-SA 3.0 & GNU Free Documentation License (GFDL)
If you are the copyright holder of any material contained on our site and intend to remove it, please contact our site administrator for approval.
© 2016-2026 All site design rights belong to S.Y.A.