The Traveling Photographer: A Guide to Great Travel Photography (2014)
19. Get To Know Your Camera
Exposure Modes, Metering, Focus
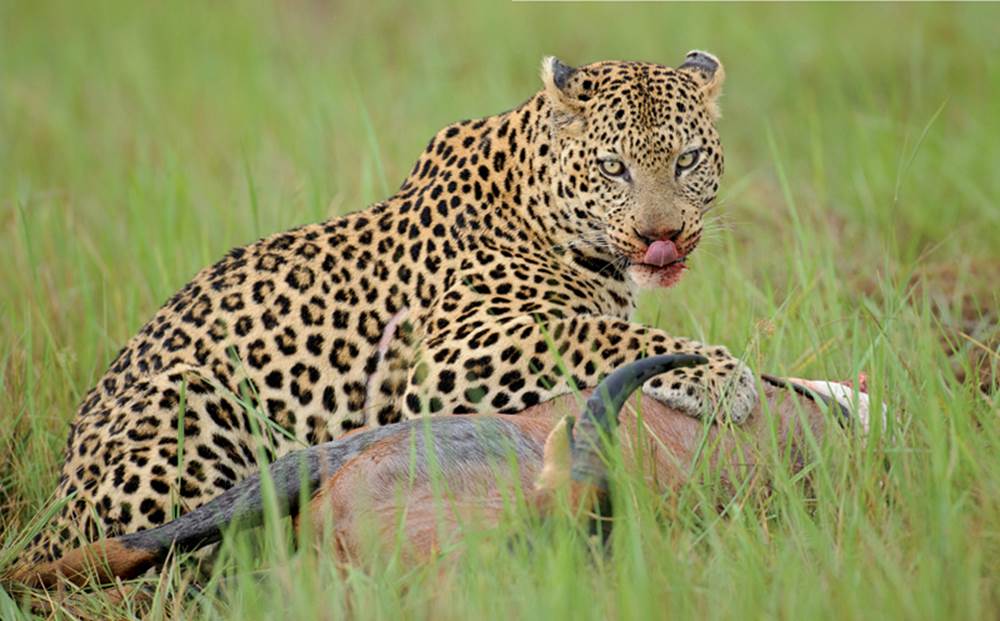
Leopard with Tsessebe, Botswana. | Nikon D700 • 500 mm • 1/1600 s • f/5 • ISO 1000 • aperture priority
There is no perfect camera setting or mode that works for all photographic circumstances. It’s true that manufacturers continue to refine the camera models and their automatic features, but the deeper your fascination with photography becomes, the more you will want to tweak your camera’s settings to suit your personal preferences. Part of being able to do this is knowing what you can control by every dial, switch, button, and menu option. Another part of it is understanding how adjusting these controls affects your images, and learning why and how to change which settings in specific situations to produce the actual photo that you conceived.
In travel photography as well as practically all other areas of photography, there are very different means of producing the image you have in mind. This is true for the way in which you engage with your subject but also for your technique and technology. Every photographer has different methods, different preferences, and different practiced procedures.
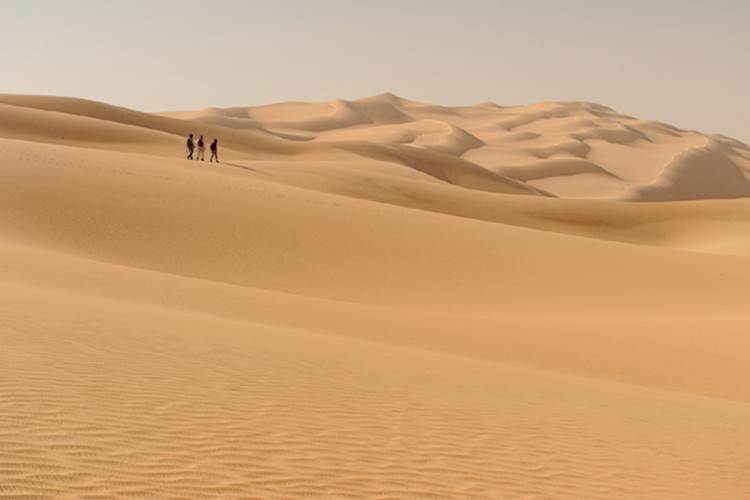
Small figures in a sea of dunes: Walking in Erg Ubari, Libya. | Nikon D700 • 70 mm • 1/250 s • f/8 • ISO 200 • program mode • polarizer
On the following pages I would like to share the settings I use for my own photography – this is my very personal style of using my camera as a tool for creating images. Most of the discussion centers on digital single-lens reflex cameras because I shoot almost all of my photos with them. This doesn’t mean that you can’t use a compact camera, a mirrorless system camera, or another type of camera to produce quality travel photos – quite the opposite, actually. Good pictures depend much more on the abilities of the photographer than the technical specifications of his or her camera.
Exposure Modes
In general, I think little of fully automatic exposure modes (with the exception of using simple compact cameras, perhaps), but I like the program mode (P). The main reason is that in P mode, as soon as you turn your camera on, you’ll have a usable shutter speed–aperture combination at hand; you won’t need to change or adjust anything if you’re in a hurry. Additionally, you can use the program shift function to change the aperture or shutter speed to match your creative intentions. If a combination of 1/250 s and f/8 doesn’t appeal to you for some reason – perhaps you were hoping to isolate your subject more than an aperture of f/8 would allow – you can swap your settings in fractions of a second for 1/1000 s and f/4. Furthermore, you can work with the exposure compensation and use fill flash in program mode. For all of these reasons, in many situations P mode is a powerful tool that can help you capture your desired image.
In those cases when you need to use a specific shutter speed or aperture, the two semi-automatic modes are the tools of choice. In the shutter priority or time value mode (S or Tv), the photographer sets the shutter speed and the camera automatically selects a complementary aperture. The settings remain stored in the camera so you can pick up where you left off even after turning the camera off and back on.
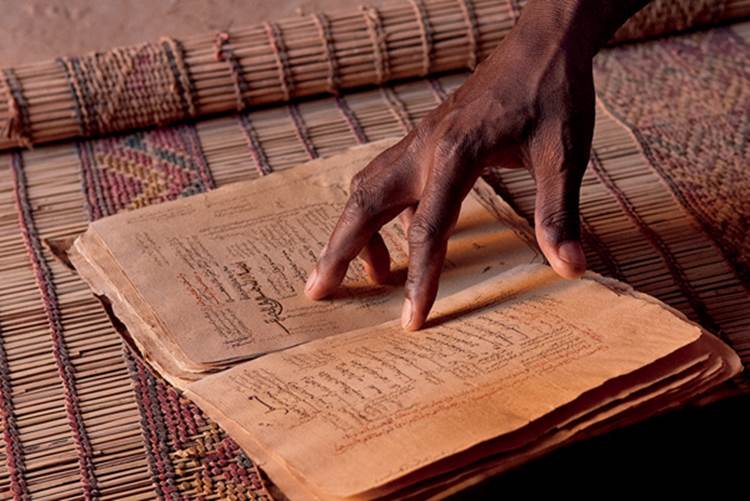
The wisdom of the desert: An old manuscript in a library in Chinguetti, Mauritania. | Nikon D200 • 82 mm • 1/100 s • f/5.6 • ISO 800 • program mode
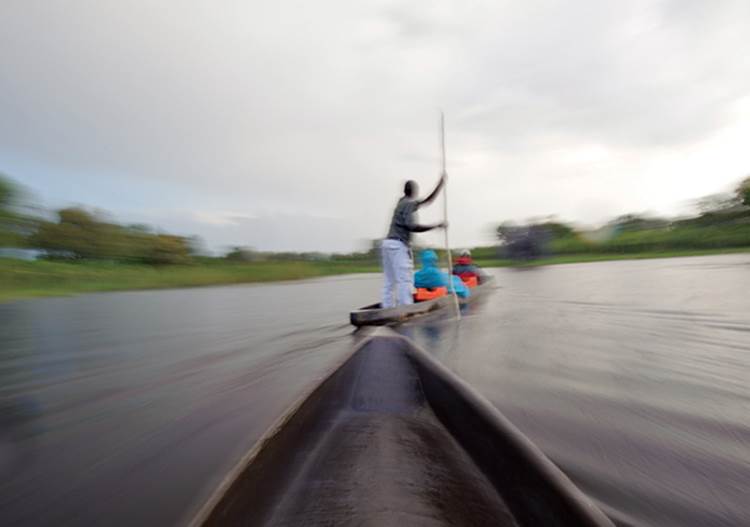
On the water in a dugout canoe in the Okavango Delta, Botswana. The slow shutter speed brings some energy into the picture. | Nikon D700 • 19 mm • 1/2 s • f/11 • ISO 200 • shutter priority
Particularly fast shutter speeds are desirable in sports and wildlife photography, when motion blur and camera shake should be avoided, like when you’re on safari using a long focal length and the lens is not stabilized. Slow shutter speeds are needed if you want to avoid freezing motion entirely to reveal something more dynamic instead, such as with long exposures of bodies of water, panned shots, or night exposures.
The counterpart to shutter priority is aperture priority or aperture value (A or Av). This setting is useful for situations when you would like to use a specific aperture setting to achieve a certain look-and-feel in your photo, particularly by making use of depth of field. In portraiture it serves to isolate the subject from his or her background with a wide aperture; in classic landscape exposures it’s used to maximize the depth of field with a particularly small aperture. Of course, in virtually all other areas of (travel) photography the elaborate use of a certain depth of field – be it shallow or large – can produce exciting and surprising results as well.
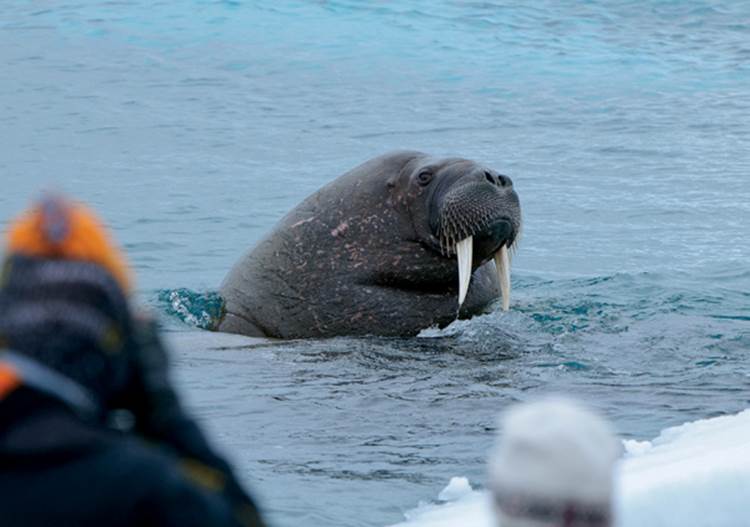
Coming up for air: A walrus off the coast of Nordaustlandet, Svalbard. | Nikon D300 • 600 mm • 1/800 s • f/8 • ISO 500 • shutter priority
To me, the most important practical difference between the shutter and aperture priority modes and the program mode (which also allows you to select a specific aperture or shutter speed) is that when using aperture or shutter priority, your settings stay locked regardless of your subject and the lighting conditions, or if you have turned your camera off in between exposures. You can be sure that your settings will remain unchanged until you explicitly alter them.
However, this advantage can easily turn into a downside of the semi-automatic modes. For example, if the amount of ambient light diminishes dramatically because you moved into the shade, and you forget to alter the fixed aperture, the camera will lengthen the exposure time, possibly causing you to produce a blurred image due to camera shake. Or if you accidentally leave your shutter priority setting unchanged in the same situation, the camera will attempt to compensate by opening up the aperture as much as the lens allows. If the camera reaches the maximum aperture and can’t open it any farther, the shutter speed still won’t change and you’ll end up with images that are too dark.
One possible workaround to this situation is the automatic ISO function, implemented in most new cameras. With this mode, the camera can avoid exposure times that are too long by increasing the light sensitivity of the sensor (the ISO speed) within certain, partially definable limits. In some cases, the increased ISO speed will end up producing more noticeable image noise. In many cases, however, a small amount of noise will probably be preferable to a blurry photo.
A general tip is called for here in connection with all of the critical camera settings. From personal experience, this reminder can’t be repeated often enough: anytime you alter the settings of your camera for a photo, you should always re-examine the settings to determine whether you can use them again for your next photo or whether you need to make adjustments. For example, a relatively large exposure compensation adjustment may be necessary for one photo, but may produce an unmerciful underexposure or overexposure for the next. The same goes for the exposure metering and autofocus methods. It’s best to double-check, especially when the exciting distractions that are part of traveling can easily lead you to neglect the somewhat banal task of adjusting your camera settings.
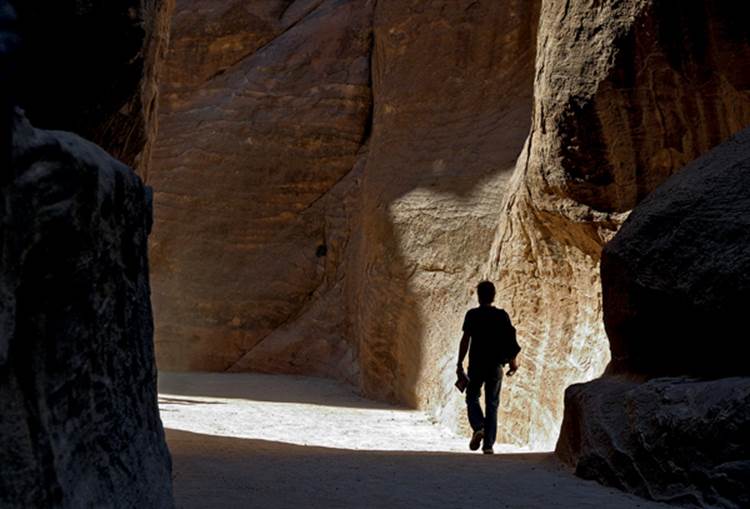
A play of light and shadow in sandstone country: A visitor to as-Siq canyon, the famous entrance to the ancient Nabataean city of Petra, Jordan. | Nikon D70 • 105 mm • 1/200 s • f/8 • ISO 200 • program mode
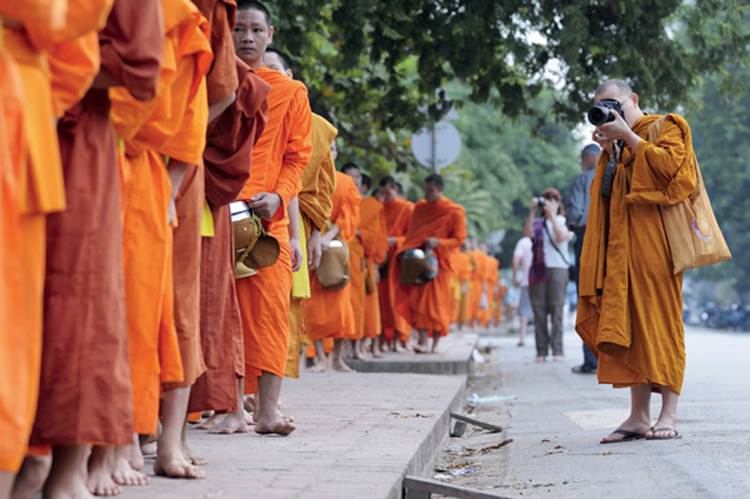
An out-of-line monk: He blended in with the mostly foreign onlookers during morning alms in Luang Prabang, Laos. | Nikon D300 • 175 mm • 1/80 s • f/4.5 • ISO 1000 • program mode
Exposure Metering
Almost all the time, I entrust my exposure metering needs to the matrix metering mode, often also called multi-zone metering. In all but a few cases, I find that this mode produces results ranging from good to excellent. Using this mode – while examining the distribution of brightness values in the histogram and using the exposure compensation dial – covers most situations. Spot metering is a practical alternative in specific situations such as portraiture, for example, when the light in the background is dramatically different from the light illuminating the main subject.
My previous reminder to double-check your settings prior to each shot also applies to exposure metering. You’ll want to make sure that a setting isn’t lingering from your last photo and that the metering mode selector switch hasn’t been accidentally changed (as can happen if it gets snagged on the camera bag, for example). I’ve inadvertently used spot metering on more than a few occasions only to wonder about the confusing exposure before figuring out that the problem was actually located behind the camera, as is all too often the case.
Autofocus
With few exceptions, I keep the autofocus (AF) on my cameras set to Single AF (Nikon: AF-S; Canon: One Shot). In the vast majority of cases for static compositions, I select an individual AF point – either the central one, in which case I subsequently determine the exact image area while keeping the shutter button halfway down, or the AF point that is located where the main subject is. In general, pivoting the camera after the focus is locked is a faster process than using a switch or dial on the back of the camera to select a certain AF point. Doing so with a wide aperture, however, is not advisable – even a small shift can cause the focal plane to move away from where you intended it to be. In these cases, it’s best to manually select the AF field that corresponds to your main subject.
I opt for continuous autofocus (Nikon: AF-C; Canon: Servo-AF/AI Servo) when photographing a moving subject or when I am moving, such as in a car or on a boat. I only use manual focus when the autofocus doesn’t establish the focus I want, as sometimes happens with fog, clouds, or darkness, as well as with macro exposures. Here again, don’t forget to update your settings!
Do You Know Your Camera?
As tempting as it might be to bring your newest equipment with you on a trip, you are better off learning how to use your gear at home, especially if you don’t shoot photos on a daily basis and tend to be more of a vacation photographer. The saying “practice makes perfect” may be cliché, but it’s 100 percent true as far as photography goes. And the best place to start practicing is back home – before you take off for your once-in-a-lifetime journey. You will only be able to work confidently with your gear and remain composed in the heat of an exciting moment if you know your camera really well and have enough experience to know how to adjust its settings for certain situations and react to changing circumstances quickly.
Anyone who is completely comfortable with his or her camera will find no use for an owner’s manual. However, someone who has just purchased a new camera will be grateful to have one. If you need or want one, it’s not at all unreasonable to bring your instruction manual on your trip as long as you’re not obligated to pack exceptionally light. (You can also load the instructions onto a laptop, iPad, or smart phone, if that’s an option.) It’s frustrating to discover while on location that you can’t figure out how to program an unusual or complex setting that is necessary to take a particular picture.
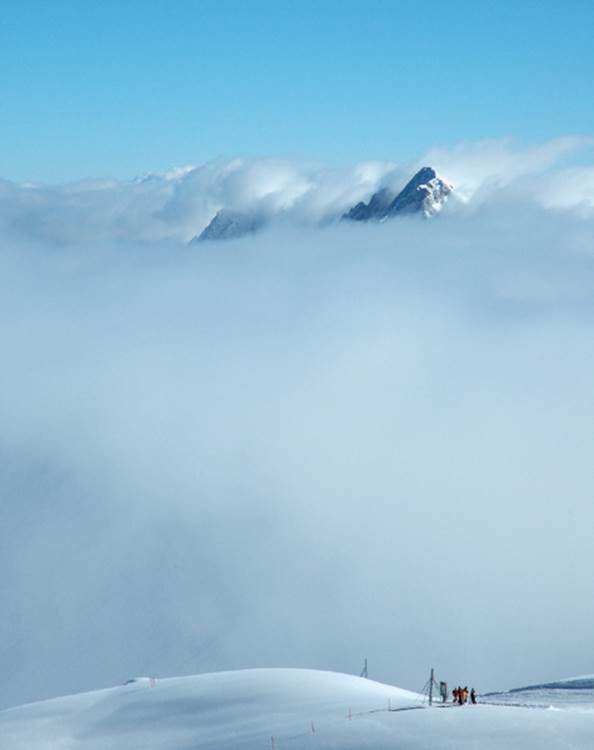
Skiers on the Zugspitze, Germany: The clouds confused the autofocus. I took care of the problem by first focusing on the people and then pivoting the camera. | Nikon D70 • 105 mm • 1/400 s • f/16 • ISO 200 • program mode
File Format
A simple question, a simple answer: use RAW. When it comes to determining which file format to use, you should make no compromises. As a photographer traveling or a traveler taking pictures, you likely won’t have the opportunity to revisit sites later to recapture situations and moments (not to mention the fleeting mood of a scene). Why not get as much out of your camera as you possibly can?
Using the RAW format means that your camera will capture the maximum amount of visual data for each picture, leaving you the greatest flexibility when editing your pictures later. This includes adjusting the exposure and the white balance retroactively, among many other possible edits that you can also attempt with JPEGs or TIFFs, but with RAW you’ll have significantly more wiggle room and you won’t lose any of the original image data.
Admittedly, saving RAW image files requires more data storage space than saving JPEGs. You’ll need to make plans for dealing with the increased volume of data at the various steps of your process: when collecting and saving your pictures and even when sifting through them and evaluating them. Chapter 23 on page 206 goes into more detail about the subject of safeguarding data.
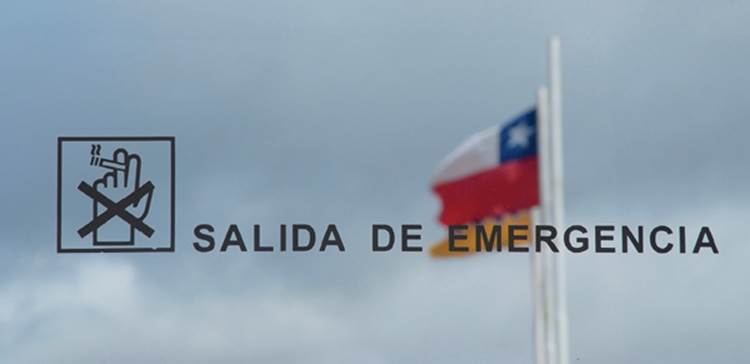
Dos, don’ts, and flagpoles: Looking out of the window at the Chilean-Argentinian border while waiting for the bus. Photo by Ingrid Petrowitz. | Fuji S5Pro • 128 mm • 1/290 s • f/9 • ISO 320 • program mode
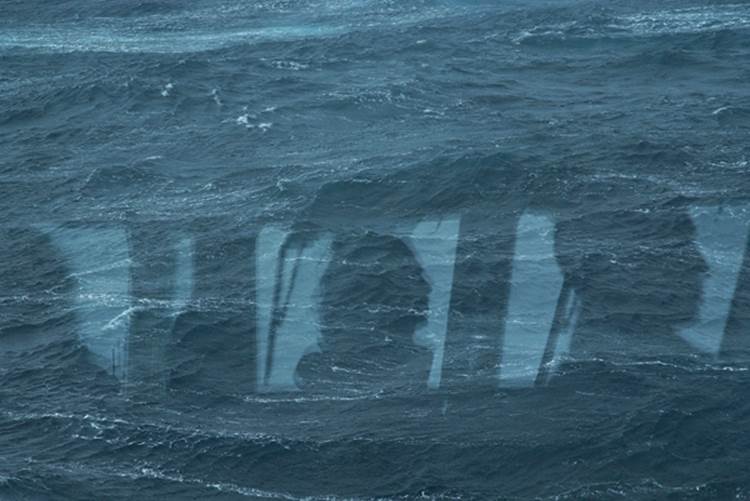
Fascinating confusion: The crew of the ship is reflected in a windowpane with the South Atlantic in the background. Photo by Ingrid Petrowitz. | Fuji S5Pro • 128 mm • 1/640 s • f/13 • ISO 500 • program mode
Shooting RAW also entails that after your trip (at the latest), you’ll need to take up the task of editing your image files, which requires time and effort. If you want to avoid this process altogether you can use a RAW converter software to batch process many or all of your images into JPEGs in one go. You’ll still retain your high-quality RAW data should you ever want to do a more thorough conversion later. Alternatively, many cameras allow saving RAW and JPEG versions of the same file in parallel. This, of course, increases the need for memory even more.
Many advanced compact cameras are capable of recording RAW files, but if your camera isn’t, you may have to consider alternative options. (Not having the ability to shoot RAW would be reason enough for me to look for a different camera.) In this case, the goal is to find a camera setting that least compromises your pictures. Aside from choosing the highest possible resolution and the least amount of compression, you will also want to keep the camera’s internal post-processing (sharpening, contrast, etc.) to a minimum. This will give you the greatest flexibility to make corrections and adjustments and to develop your picture according to your personal preferences subsequently. Almost any digital photo can be sharpened, but it is significantly more difficult to reverse sharpening that has been overdone. The same is true for excessive contrast.
A note of caution: While the RAW format is highly capable, it can’t work wonders. Pictures with significant exposure errors can’t be rescued, regardless of whether they are in the RAW or JPEG format. The bottom picture shows a hopelessly overexposed image of a river in Peru’s Manú National Park. Under the slightly hectic circumstances of the moment, I made three mistakes. First, while swapping back and forth between two cameras in the dawn of the day, I forgot to change the ISO setting from 800 to something more appropriate. Second, I overlooked the fact that I was still shooting in aperture priority mode with a preset aperture of f/4. And third, I checked the histogram way too late.
The camera did what it could to create a properly exposed image, but it stood no chance, even with the fastest possible shutter speed of 1/8000 second. There was simply too much light. The result is a ruined photo, though you could find a certain artistic quality in it – at least if you don’t know the story and assume the image turned out just the way the photographer intended.
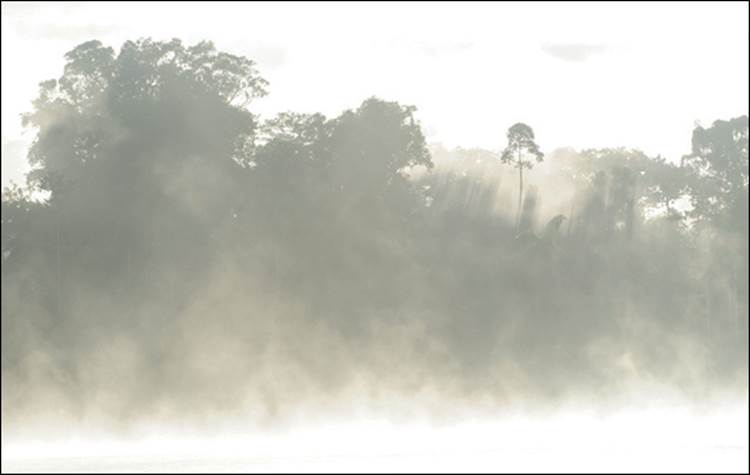
There’s no way to rescue this severely overexposed picture taken in Manú National Park in Peru. Even having a RAW file didn’t help in postprocessing – the blown-out white areas don’t retain any detail at all. Nikon D300 • 260 mm • 1/8000 s • f/4 • ISO 800 • aperture priority
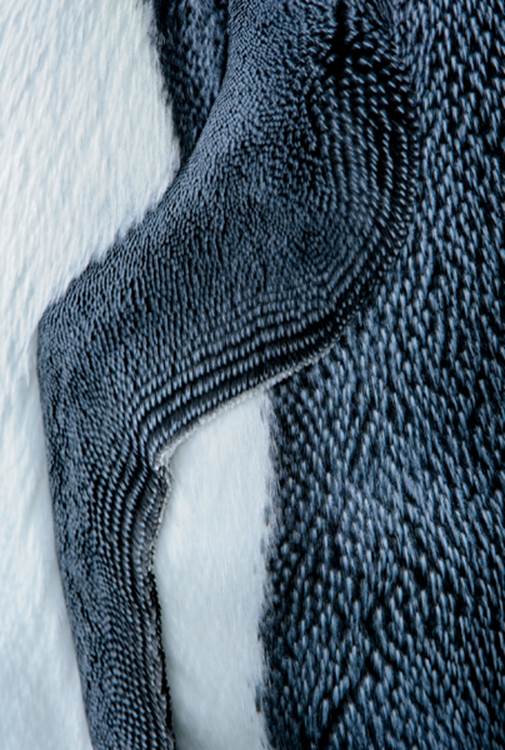
Elaborate nature: This nearly monochrome image shows a detail of a King penguin’s plumage. Nikon D700 • 400 mm • 1/640 s • f/8 • ISO 400
All materials on the site are licensed Creative Commons Attribution-Sharealike 3.0 Unported CC BY-SA 3.0 & GNU Free Documentation License (GFDL)
If you are the copyright holder of any material contained on our site and intend to remove it, please contact our site administrator for approval.
© 2016-2026 All site design rights belong to S.Y.A.