Android Application Development: A Beginner's Tutorial (2015)
Chapter 22. Handling the Handler
One of the most interesting and useful types in the Android SDK is the Handler class. Most of the time, it is used to process messages and schedule a task to run at a future time.
This chapter explains what the class is good for and offers examples.
Overview
The android.os.Handler class is an exciting utility class that, among others, can be scheduled do execute a Runnable at a future time. Any task assigned to a Handler will run on the Handler’s thread. In turn, the Handler runs on the thread that created it, which in most cases would be the UI thread. As such, you should not schedule a long-running task with a Handler because it would make your application freeze. However, you can use a Handler to handle a long-running task if you can be split the task into smaller parts, which you learn how to achieve in this section.
To schedule a task to run at a future time, call the Handler class’s postDelayed or postAtTime method.
public final boolean postDelayed(Runnable task, long x)
public final boolean postAtTime(Runnable task, long time)postDelayed runs a task x milliseconds after the method is called. For example, if you want a Runnable to start five seconds from now, use this code.
Handler handler = new Handler();
handler.postDelayed(runnable, 5000);postAtTime runs a task at a certain time in the future. For example, if you want a task to run six seconds later, write this.
Handler handler = new Handler();
handler.postAtTime(runnable, 6000 + System.currentTimeMillis());
Example
As an example, consider the HandlerDemo project that uses Handler to animate an ImageView. The animation performed is simple: show an image for 400 milliseconds, then hide it for 400 milliseconds, and repeat this five times. The entire task would take about four seconds if all the work is done in a for loop that sleeps for 400 milliseconds at each iteration. Using the Handler, however, you can split this into 10 smaller parts that each takes less than one millisecond (the exact time would depend on the device running it). The UI thread is released during each 400ms wait so that it can cater for something else.
Note
Android offers animation APIs that you should use for all animation tasks. This example uses Handler to animate a control simply to illustrate the use of Handler.
Listing 22.1 shows the manifest (the AndroidManifest.xml file) for the project.
Listing 22.1: The manifest for HandlerDemo
<?xml version="1.0" encoding="utf-8"?>
<manifest xmlns:android="http://schemas.android.com/apk/res/android"
package="com.example.handlerdemo"
android:versionCode="1"
android:versionName="1.0" >
<uses-sdk
android:minSdkVersion="8"
android:targetSdkVersion="17" />
<application
android:allowBackup="true"
android:icon="@drawable/ic_launcher"
android:label="@string/app_name"
android:theme="@style/AppTheme" >
<activity
android:name=".MainActivity"
android:label="@string/app_name" >
<intent-filter>
<action android:name="android.intent.action.MAIN"/>
<category
android:name="android.intent.category.LAUNCHER"/>
</intent-filter>
</activity>
</application>
</manifest>
Nothing spectacular in the manifest. It shows that there is one activity named MainActivity. The layout file for the activity is given in Listing 22.2.
Listing 22.2: The res/layout/activity_main.xml file in HandlerTest
<RelativeLayout xmlns:android="http://schemas.android.com/apk/res/android"
xmlns:tools="http://schemas.android.com/tools"
android:layout_width="match_parent"
android:layout_height="match_parent"
android:paddingBottom="@dimen/activity_vertical_margin"
android:paddingLeft="@dimen/activity_horizontal_margin"
android:paddingRight="@dimen/activity_horizontal_margin"
android:paddingTop="@dimen/activity_vertical_margin"
tools:context=".MainActivity" >
<ImageView
android:id="@+id/imageView1"
android:layout_width="wrap_content"
android:layout_height="wrap_content"
android:layout_alignParentLeft="true"
android:layout_alignParentTop="true"
android:layout_marginLeft="51dp"
android:layout_marginTop="58dp"
android:src="@drawable/surprise" />
<Button
android:id="@+id/button1"
style="?android:attr/buttonStyleSmall"
android:layout_width="wrap_content"
android:layout_height="wrap_content"
android:layout_alignRight="@+id/imageView1"
android:layout_below="@+id/imageView1"
android:layout_marginRight="18dp"
android:layout_marginTop="65dp"
android:onClick="buttonClicked"
android:text="Button"/>
</RelativeLayout>
The main layout for MainActivity is a RelativeLayout that contains an ImageView to be animated and a button to start animation.
Now look at the MainActivity class in Listing 22.3. This is the main core of the application.
Listing 22.3: The MainActivity class in HandlerDemo
package com.example.handlerdemo;
import android.app.Activity;
import android.os.Bundle;
import android.os.Handler;
import android.view.Menu;
import android.view.View;
import android.widget.ImageView;
public class MainActivity extends Activity {
int counter = 0;
Handler handler = new Handler();
@Override
protected void onCreate(Bundle savedInstanceState) {
super.onCreate(savedInstanceState);
setContentView(R.layout.activity_main);
getUserAttention();
}
@Override
public boolean onCreateOptionsMenu(Menu menu) {
// Inflate the menu; this adds items to the action bar if it
// is present.
getMenuInflater().inflate(R.menu.menu_main, menu);
return true;
}
public void buttonClicked(View view) {
counter = 0;
getUserAttention();
}
private void getUserAttention() {
handler.post(task);
}
Runnable task = new Runnable() {
@Override
public void run() {
ImageView imageView = (ImageView)
findViewById(R.id.imageView1);
if (counter % 2 == 0) {
imageView.setVisibility(View.INVISIBLE);
} else {
imageView.setVisibility(View.VISIBLE);
}
counter++;
if (counter < 8) {
handler.postDelayed(this, 400);
}
}
};
}
The brain of this activity are a Runnable called task, which animates the ImageView, and the getUserAttention method that calls the postDelayed method on a Handler. The Runnable sets the ImageView’s visibility to Visible or Invisible depending on whether the value of the countervariable is odd or even.
If you run the HandlerDemo project, you’ll see something similar to the screenshot in Figure 22.1. Note how the ImageView flashes to get your attention. Try clicking the button several times quickly to make the image flash faster. Can you explain why it goes faster as you click?
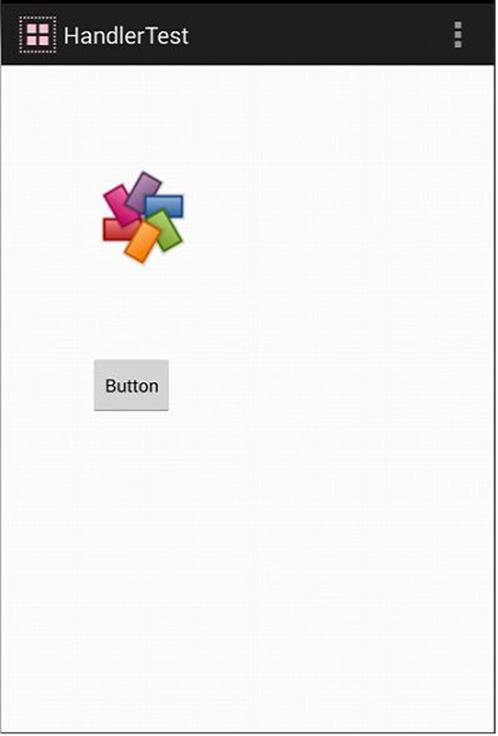
Figure 22.1: The HandlerTest application
Summary
In this chapter you learned about the Handler class and write an application that makes use of the class.
All materials on the site are licensed Creative Commons Attribution-Sharealike 3.0 Unported CC BY-SA 3.0 & GNU Free Documentation License (GFDL)
If you are the copyright holder of any material contained on our site and intend to remove it, please contact our site administrator for approval.
© 2016-2026 All site design rights belong to S.Y.A.