Raspberry Pi: A Quick-Start Guide, 2nd Edition (2014)
Chapter 4. Configure the Firmware
The Pi needs not only an operating system, but also firmware that controls its hardware on a low level. For example, the firmware controls and configures the GPU, the card reader, and in some regards even the CPU. It’s a vital piece of the Raspberry Pi, and you can solve many issues, such as problems with the video output, by setting the correct parameters. In this chapter, you’ll learn how to configure and update the Pi’s firmware.
Also, you have to update the Linux kernel itself from time to time. The kernel is the heart of a Linux system, because it manages all processes and the hardware. All applications depend on the kernel, and in this chapter, you’ll learn how to keep it up to date.
Update the Firmware and Kernel
The Debian image already comes with firmware for the Pi, but the developers of the Linux kernel and the Pi’s firmware release updates frequently. New releases usually contain bug fixes and improvements, so it’s beneficial to update both the kernel and the firmware from time to time. To check which versions of the kernel and firmware are installed on your Pi, run the following commands:
|
|
pi@raspberrypi ~ $ uname -a |
|
|
Linux raspberrypi 3.10.25+ #622 PREEMPT Fri Jan 3 18:41:00 GMT 2014 armv6l GNU/Linux |
|
|
pi@raspberrypi ~ $ /opt/vc/bin/vcgencmd version |
|
|
Jan 6 2014 21:16:43 |
|
|
Copyright (c) 2012 Broadcom |
|
|
version b00bb3ae73bd2799df0e938b7a5f17f45303fb53 (clean) (release) |
You can find the latest version of all files on GitHub,[51] and you can download them to the SD card. To install a new kernel and new firmware, you have to replace a few files in the Pi’s /boot directory. The /boot directory belongs to the SD card’s boot partition, which is formatted with the FAT file system. So, you can read and write it not only with the Pi, but also with nearly every computer in the world. In the following screen capture, you can see its content:

Figure 19. Contents of the boot directory
The file start.elf contains the firmware, and the kernel is in kernel.img.
So, you could download the new kernel and firmware files using your regular PC and copy them to the SD card using a card reader. However, this would still be tedious and error-prone. Fortunately, rpi-update[52] automates the whole process. It checks whether a new firmware version is available and downloads it if necessary. rpi-update comes automatically with the latest version of Raspbian.
If you have to install rpi-update yourself, you will first have to install some packages it needs.
|
|
pi@raspberry:~$ sudo apt-get install ca-certificates git-core |
Then you can download rpi-update and make it executable.
|
|
pi@raspberry:~$ sudo wget http://goo.gl/1BOfJ -O /usr/bin/rpi-update |
|
|
pi@raspberry:~$ sudo chmod +x /usr/bin/rpi-update |
After that, run rpi-update.
|
|
pi@raspberrypi:~$ sudo rpi-update |
rpi-update performs a self-update first; it checks whether a newer version of rpi-update is available. Then it checks to see whether a new firmware or a new kernel is available. If yes, it downloads all files needed, and you have to reboot the Pi to activate the new firmware. Note that rpi-updateeven tries to determine and keep the current memory split. In Adjust the Pi’s Memory Layout, you learned what a memory split is and how to configure it.
Configure the Video Output
You can configure the firmware’s behavior in many ways using the /boot/config.txt file. It contains all configuration parameters for the Pi’s firmware; it’s a good idea to bookmark their descriptions[53] in your web browser, because sooner or later you’ll probably want to tweak a few things. Using the configuration file, you can adjust video and audio output, and you can even change the CPU’s clock rate.
Most of the defaults work quite well on most systems, but the video output doesn’t always work properly. The main problems are overscan and underscan, especially when you’re using composite video output. In the case of underscan, the video output doesn’t use the whole display size, so you can see a black frame around the actual video output. In the case of overscan, the opposite happens, so you can’t see the whole output because it gets clipped at the display’s borders.
In Figure 20, Overscan problems can lead to a clipped output, the last line isn’t fully visible, for example. You can solve both problems by setting a few configuration options.
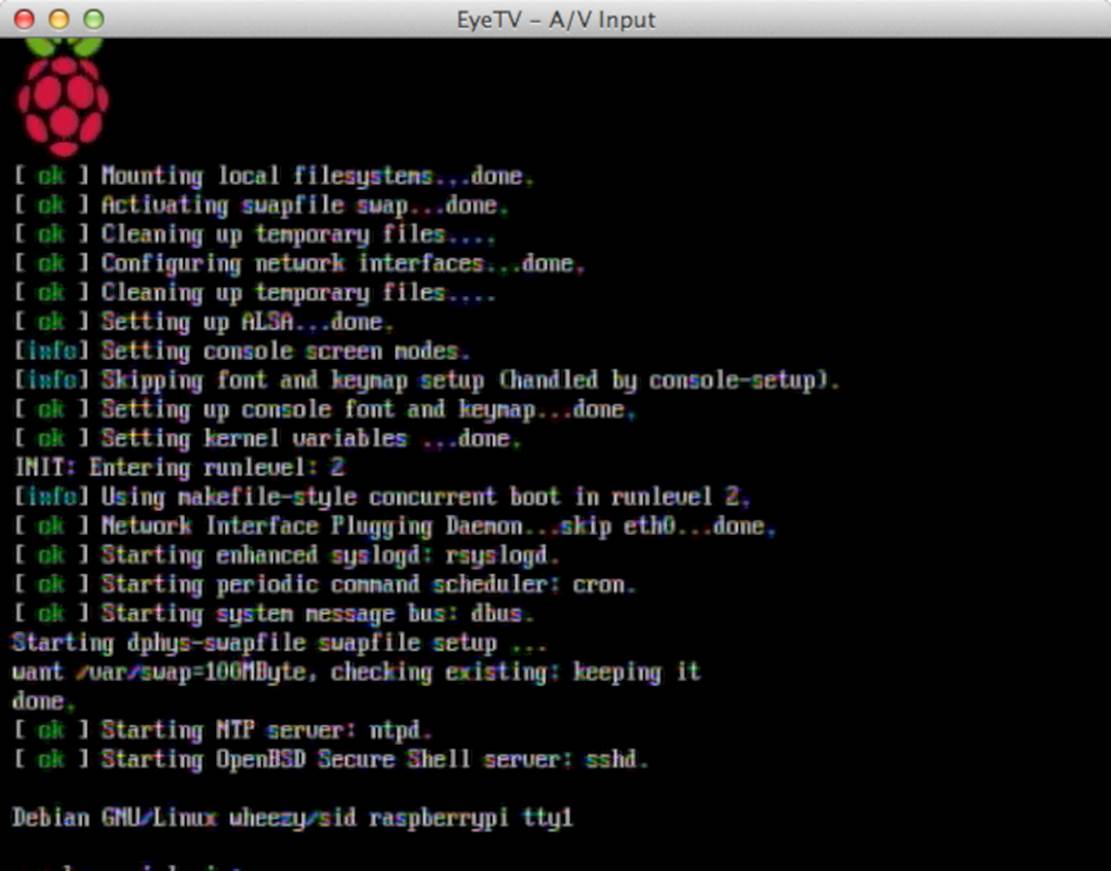
Figure 20. Overscan problems can lead to a clipped output.
As you learned in Update the Firmware and Kernel, you can access all files in the /boot directory directly from your PC. If you prefer to edit /boot/config.txt on the Pi, open it with the nano text editor or a text editor of your choice.
|
|
pi@raspberry:~$ sudo nano /boot/config.txt |
To adjust the display’s overscan, add these lines to the configuration file:
|
|
# Adjust overscan. |
|
|
overscan_left=10 |
|
|
overscan_right=20 |
|
|
overscan_top=0 |
|
|
overscan_bottom=10 |
Configuration parameters have a simple format: they start with a name followed by an equal sign and a value. You can also add comments to the configuration file—they start with a # character. The previous example sets the overscan_bottom option to 10 pixels so that after a reboot, the Pi will skip 10 pixels on the bottom of the display. In Figure 21, Overscan problems can be solved easily, you can see the effect.
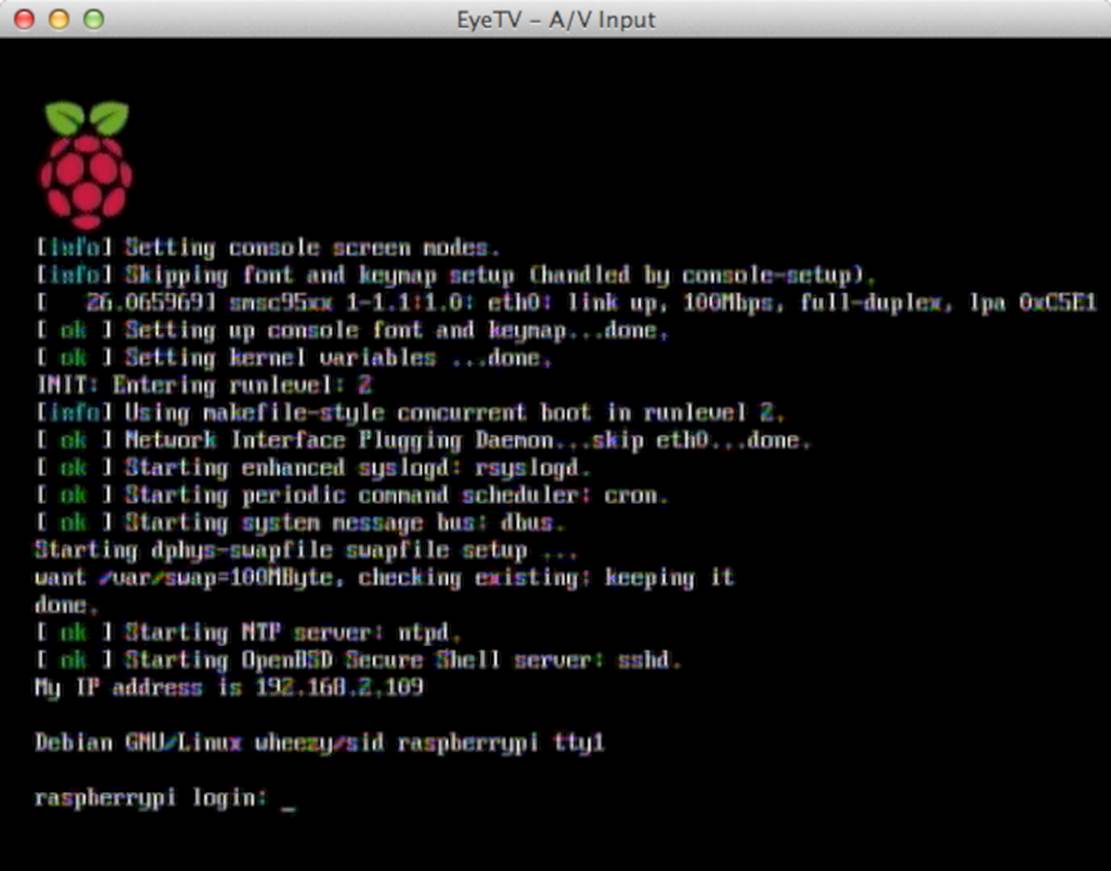
Figure 21. Overscan problems can be solved easily.
You can use the same set of options to solve underscan problems—that is, to make the display area larger and remove the black frame. To achieve this, you have to set the option values to negative numbers.
|
|
overscan_left=-20 |
|
|
overscan_right=-10 |
You have to reboot the Pi every time you change /boot/config.txt, so getting the display settings right may take a while.
It’s a good idea to take a quick look at the list of all configuration parameters so you’ll remember them if you run into any problems. You can play around with most options, but beware: setting some options—for example, overclocking options—will void your Pi’s warranty! If your Pi doesn’t start any longer or if the display is no longer readable, edit /boot/config.txt on a separate PC and reverse your last changes. If you’re totally lost, delete /boot/config.txt, and the Pi will start with its defaults. Of course, you can also copy a fresh Raspbian image to the SD card.
Test and Configure the Audio System
Audio output is still a bit problematic on Linux systems, but Raspbian enables audio by default. For a first sound test, run the following commands:
|
|
pi@raspberry:~$ cd /opt/vc/src/hello_pi/libs/ilclient |
|
|
pi@raspberry:~$ make |
|
|
pi@raspberry:~$ cd ../../hello_audio |
|
|
pi@raspberry:~$ make |
|
|
pi@raspberry:~$ ./hello_audio.bin |
This will compile a small test program that plays a siren sound. It outputs the sound via the analog audio jack, so plug in some headphones or speakers to hear it. Alternatively, you can play the sound via HDMI.
|
|
pi@raspberry:~$ ./hello_audio.bin 1 |
The Pi determines the best way to output audio automatically. It uses HDMI when available and analog output otherwise. In recent versions of Raspbian, you can change this behavior using Raspi-config (see Choose the Audio Output) or using amixer. This is a small tool that allows you to configure the sound hardware. Run it as follows to see which options you can change:
|
|
pi@raspberry:~$ amixer controls |
|
|
numid=3,iface=MIXER,name='PCM Playback Route' |
|
|
numid=2,iface=MIXER,name='PCM Playback Switch' |
|
|
numid=1,iface=MIXER,name='PCM Playback Volume' |
You can change only three options, and you must reference them by their numid. It’d be much nicer if the options had a real name, but the developers of amixer decided to use numerical IDs instead. The option for setting the playback route has a numid value of 3. Set it as follows:
|
|
pi@raspberry:~$ sudo amixer cset numid=3 1 |
This sets the playback route to 1 (analog output). You can also set it to 0 (automatic) or 2 (HDMI). When everything works as expected, you can add the amixer command to the /etc/rc.local file, so the Pi runs it automatically at startup. Open a text editor, such as nano, and add the following line to /etc/rc.local:
|
|
amixer cset numid=3 1 |
Add it to the end of the file, but don’t make it the last line. Put it in front of the exit 0 statement.
By the way, some displays don’t detect an HDMI cable correctly, so you might have video output via HDMI while audio output does not work. You can change this by setting the firmware configuration parameter hdmi_drive to 2 in /boot/config.txt. See Configure the Video Output, to learn how to do this.
Next Steps
In this chapter, you learned how to configure the Pi’s firmware. You can solve problems with the display, and you know how to adjust system parameters. In the next chapter, you’ll take a short break and turn the Pi into a kiosk system.
Footnotes
|
[51] |
https://github.com/raspberrypi/firmware |
|
[52] |
https://github.com/Hexxeh/rpi-update |
|
[53] |
http://elinux.org/RPi_config.txt |
All materials on the site are licensed Creative Commons Attribution-Sharealike 3.0 Unported CC BY-SA 3.0 & GNU Free Documentation License (GFDL)
If you are the copyright holder of any material contained on our site and intend to remove it, please contact our site administrator for approval.
© 2016-2026 All site design rights belong to S.Y.A.