My Office 2016 (2016)
17. Customizing the Office 2016 Applications

In this chapter, you learn about customizing the Office 2016 applications, including working with the application options and customizing the interface. Topics include the following:
![]() Accessing the Options dialog box for the Office 2016 applications
Accessing the Options dialog box for the Office 2016 applications
![]() Changing your Office 2016 user name and initials
Changing your Office 2016 user name and initials
![]() Pinning, hiding, and customizing the Ribbon
Pinning, hiding, and customizing the Ribbon
![]() Positioning and customizing the Quick Access Toolbar
Positioning and customizing the Quick Access Toolbar
![]() Changing the background for the Office 2016 applications
Changing the background for the Office 2016 applications
This book is called My Office 2016, so it’s time you learned how to put the “My” in Office 2016. I speak, of course, about customizing the applications in some way. After all, the interface and settings that you see when you first use Office 2016 are the “factory defaults.” That is, how the program looks and how it works out of the box has been specified by Microsoft. However, this “official” version of the program is almost always designed with some mythical “average” user in mind. Nothing is wrong with this concept, but it almost certainly means that the program is not set up optimally for you. This chapter shows you how to get the most out of the main Office 2016 programs—Word, Excel, PowerPoint, Outlook, OneNote, and Access—by performing a few customization chores to set up the program to suit the way you work.
Working with Application Options
Customizing Office 2016 most often means tweaking a setting or two in the Options dialog box that comes with each program. Each program has a unique Options dialog box configuration, so it’s beyond the scope of this book to discuss these dialog boxes in detail. Instead, I introduce them by showing you how to get them onscreen and by going through some useful settings.
Working with the Options Dialog Box
You often need to access the Options dialog box for an Office 2016 application, so let’s begin by quickly reviewing the steps required to access and work with this dialog box in your current Office 2016 program.
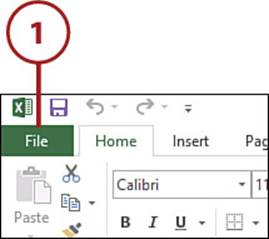
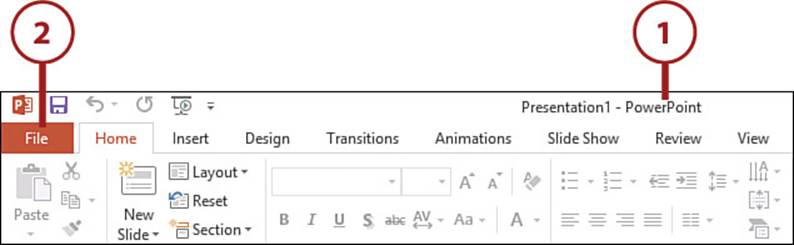
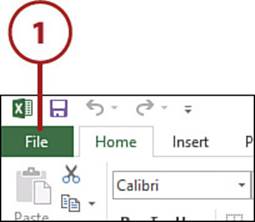
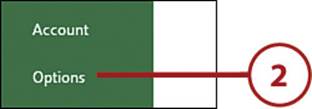
1. Select File. The Office 2016 application, Excel in this example, displays the File menu.
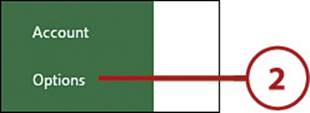
2. Select Options. The Office 2016 application opens the Options dialog box.
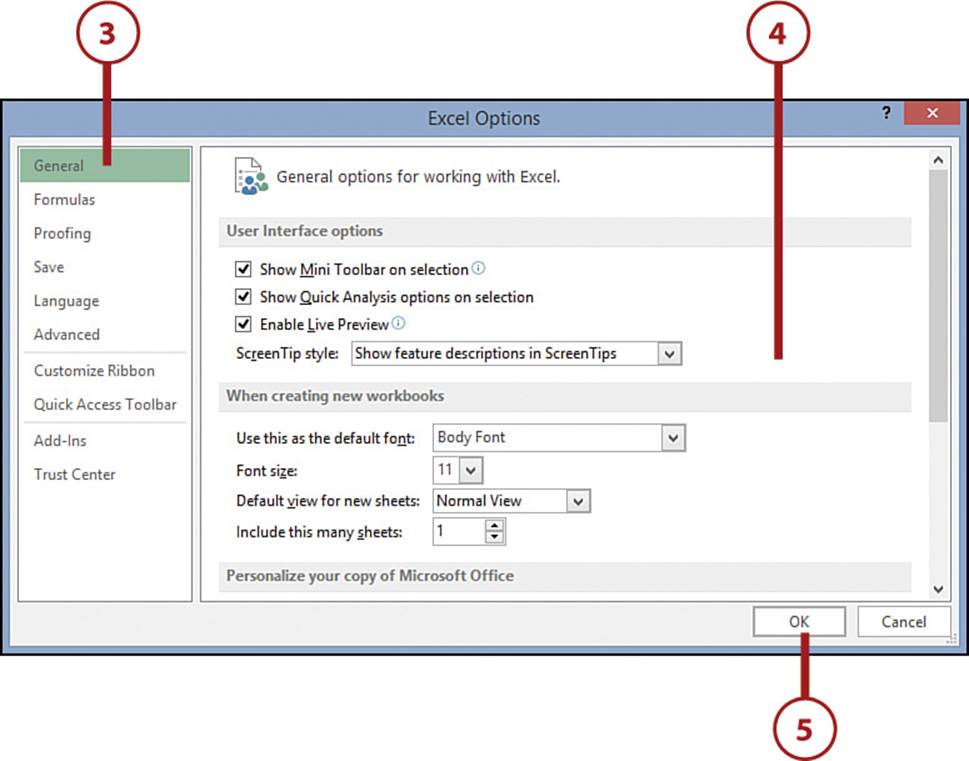
3. Select a tab. The Office 2016 application displays the options related to the selected tab.
4. Use the controls to tweak the application’s settings.
5. Select OK. The Office 2016 application puts the changed options into effect.
Keyboard Shortcut
You can also open the Options dialog box in any Office 2016 application by pressing Alt+F, T.
Changing Your User Name and Initials
In Chapter 18, “Collaborating with Others,” you learn how to insert comments into a document and track document changes. In both cases, the underlying program keeps a record of each “reviewer” who made changes to the document. For revisions, the program identifies the reviewer by his or her Office 2016 user name; for comments, the program identifies the reviewer by his or her Office 2016 initials. You can change both your user name and your initials to whatever you prefer.
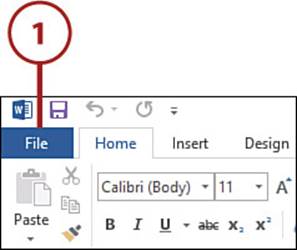
1. Select File to open the File menu.
2. Select Options to open the Options dialog box.
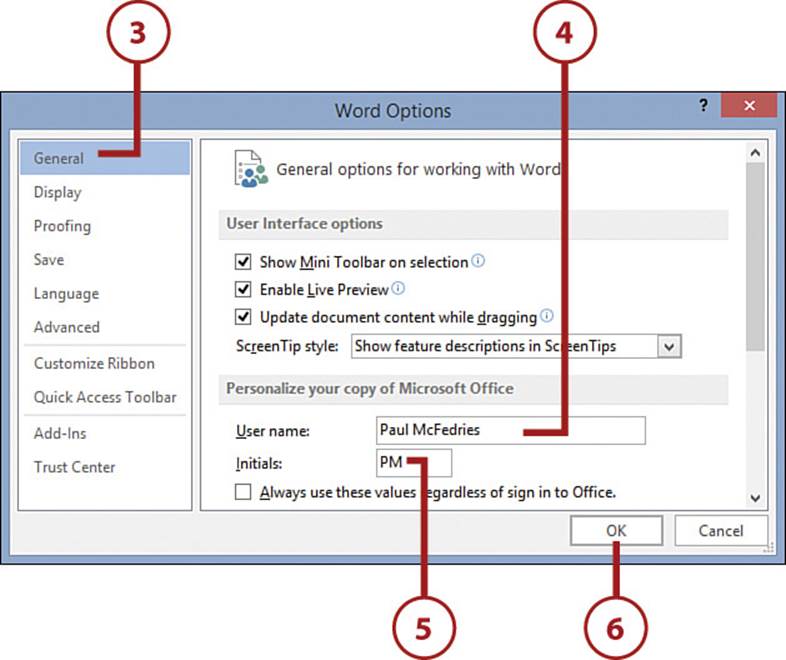
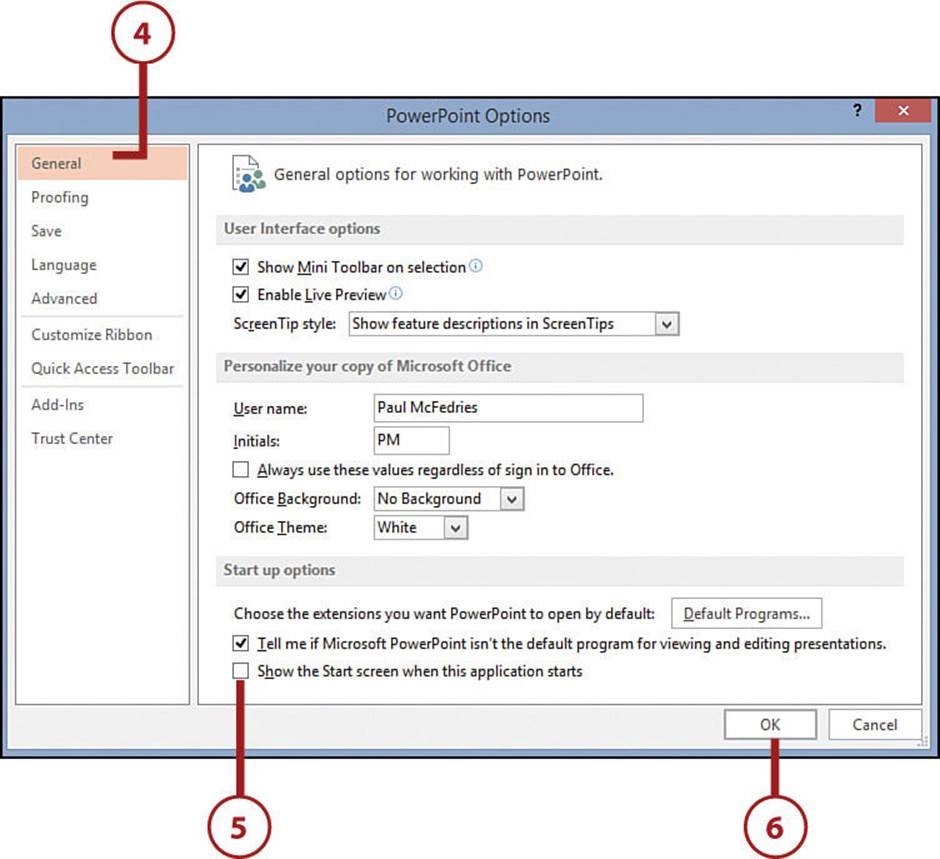
3. Select the General tab.
4. Use the User Name text box to type your user name.
5. In Word, PowerPoint, and OneNote, use the Initials text box to type your initials.
6. Select OK. Office 2016 puts the new user name and initials into effect.
Universal User Name and Initials
Your user name and initials are universal in Office 2016. That is, changing your user name or initials in one program automatically means the new user name or initials appear in the other Office 2016 programs.
>>>Go Further: Applying Your User Name and Initials Across Accounts
If you have multiple Microsoft accounts, you might still want to use the same user name and initials no matter which account you’re currently signed in with. You can configure Office 2016 to do this by opening the Options dialog box in any Office 2016 application, selecting the General tab, and then selecting the Always Use These Values Regardless of Sign In to Office check box. Select OK to put the setting into effect.
Bypassing the Start Screen at Launch
By default, Word, Excel, and PowerPoint display the Start screen when you first launch the application, which lets you choose a template for a new file or select a recently used file. If you almost always opt to open a blank document, workbook, or presentation at startup, you can make this the default behavior.
1. Launch the Office 2016 application you want to customize.
2. Select File to open the File menu.
3. Select Options to open the Options dialog box.
4. Select the General tab.
5. Deselect the Show the Start Screen When This Application Starts check box.
6. Select OK. The Office 2016 application puts the setting into effect.
Customizing the Interface
Besides the work area of any Office 2016 application window, the Office 2016 interface mostly consists of the Ribbon and its associated Quick Access Toolbar. These two elements are the royal road to all things Office 2016, so you’ll be less efficient and less productive if these elements aren’t set up to suit the way you work.
Pinning the Ribbon
By default, some of the Office 2016 applications hide the Ribbon to give you maximum screen real estate for your documents, and you display the Ribbon by clicking any tab. If you find that extra click to be a pain, you can avoid it by pinning the Ribbon so that it appears on screen full-time.
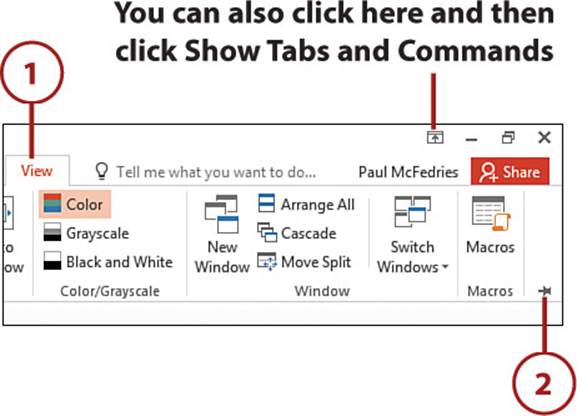
1. Click any Ribbon tab to display the Ribbon.
2. Click Pin the Ribbon. The Ribbon appears onscreen full-time.
Shortcuts for Pinning the Ribbon
The Office 2016 applications give you two shortcut methods for pinning the Ribbon: Either double-click any Ribbon tab or press Ctrl+F1.
Hiding the Ribbon
If you followed the steps in the previous section to display the Ribbon all the time, you might later decide that you prefer the extra screen space over the convenience and want to revert to hiding the Ribbon until needed.
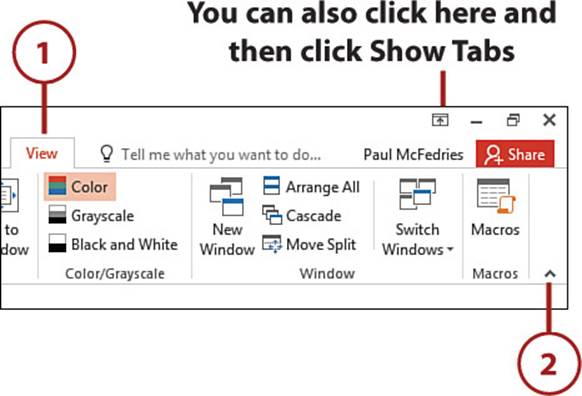
1. Click any Ribbon tab to display the Ribbon.
2. Click Collapse the Ribbon. The Office 2016 application hides the Ribbon.
Shortcuts for Unpinning the Ribbon
As with pinning, Office 2016 gives you two shortcuts for unpinning the Ribbon: Either double-click any Ribbon tab or press Ctrl+F1.
Customizing the Ribbon
The Ribbon is handy because it enables you to run Office commands with just a few clicks. However, the Ribbon doesn’t include every command for a given Office 2016 app. If there’s a command that you use frequently, you should add it to the Ribbon for easy access.
1. In the Office 2016 application you want to customize, select File.
2. Select Options. The Options dialog box opens.
3. Select the Customize Ribbon tab.
Faster Access to the Customize Ribbon Tab
A quicker route to the Customize Ribbon tab is to right-click any part of the Ribbon and then select Customize the Ribbon.
4. Select the tab you want to customize.
5. Select New Group. The Office 2016 application adds the group.
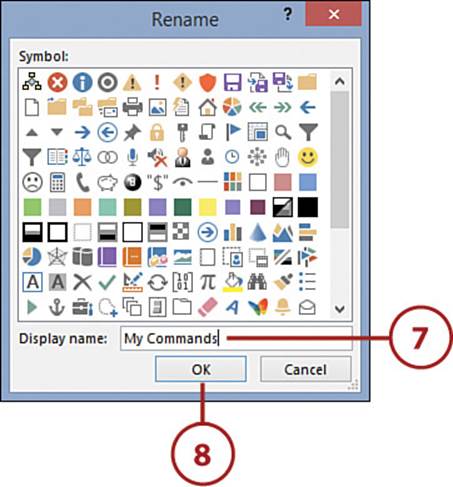
6. Select Rename.
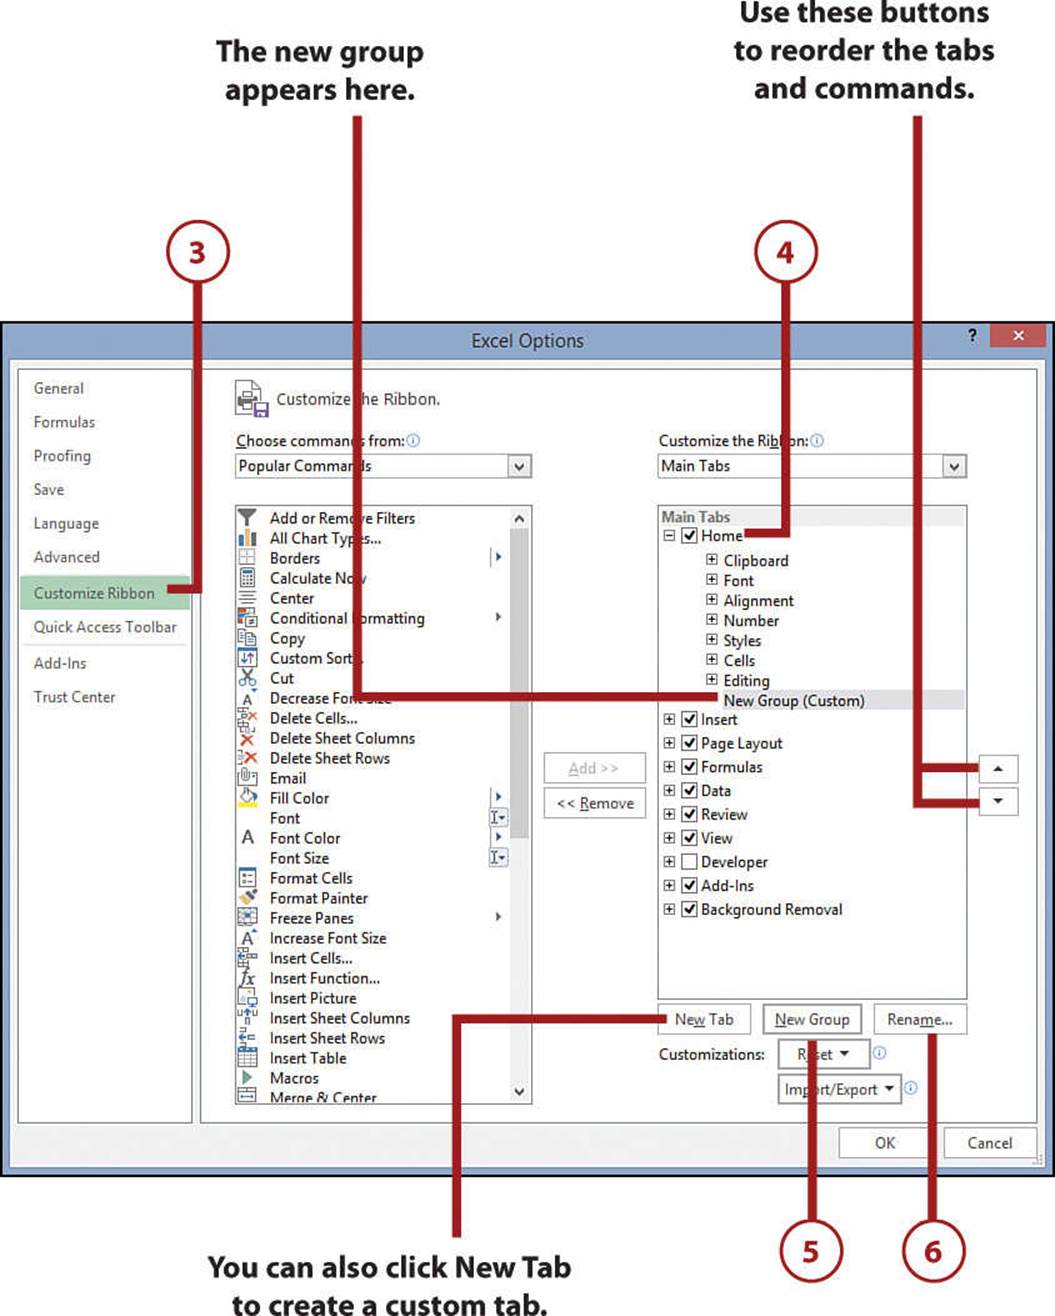
7. Type a name for the group.
8. Select OK.
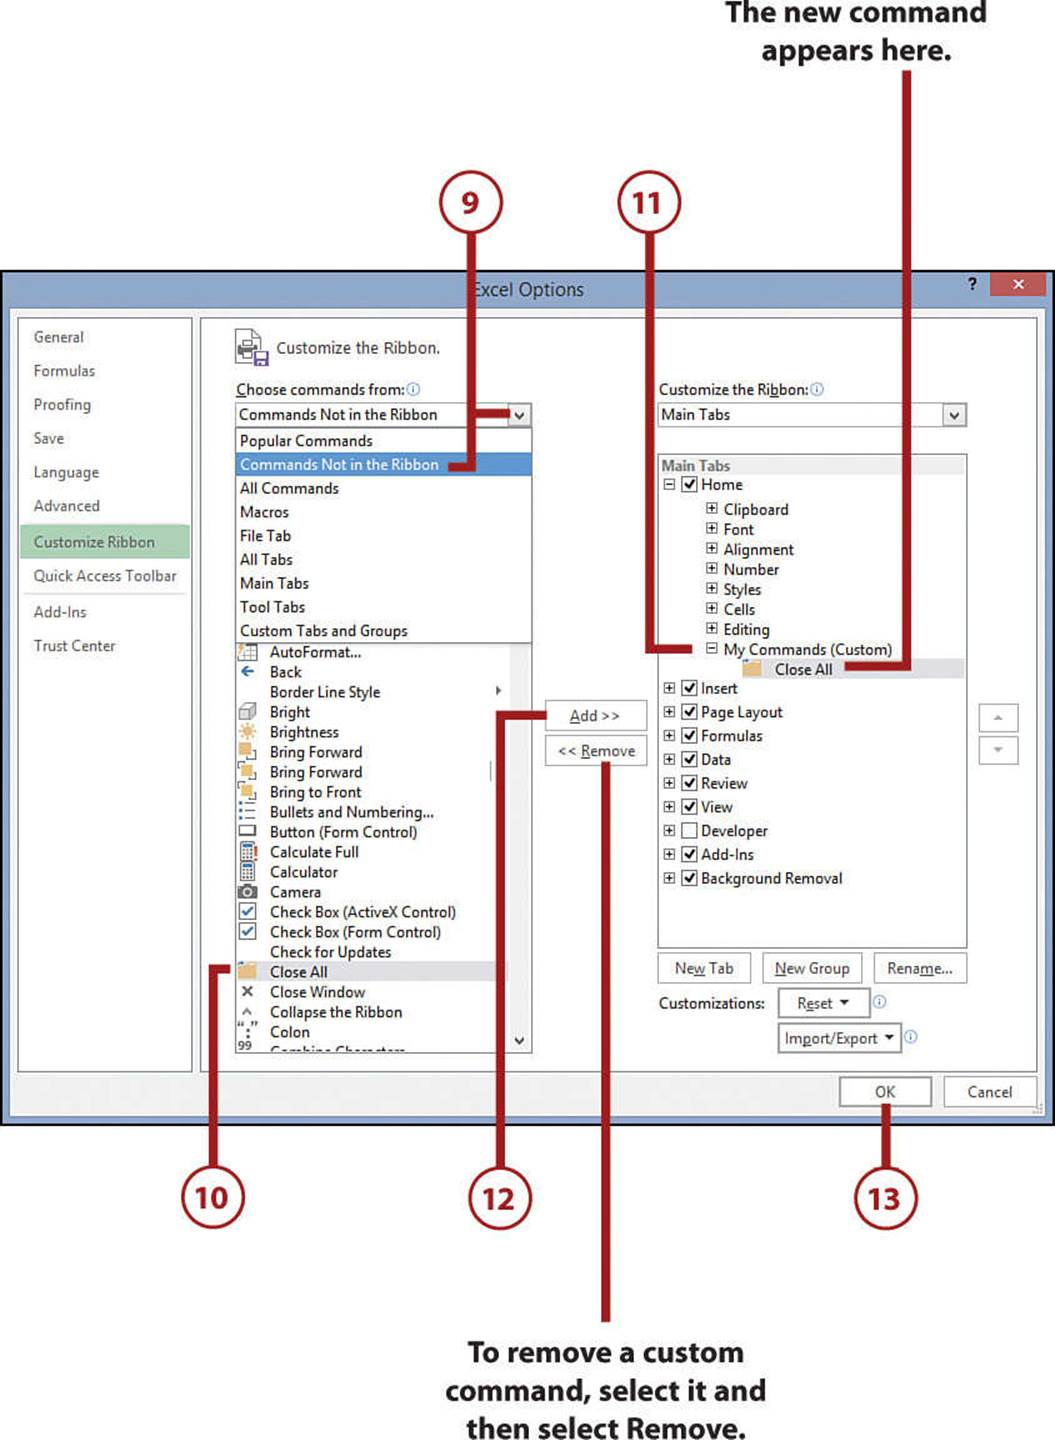
9. Use the Choose Commands From list to select the command category you want to use.
10. Select the command you want to add.
11. Select the custom group or tab to which you want to add the command.
Customizing Tool Tabs
The tabs that appear only when you select an object are called tool tabs, and you can add custom groups and commands to any tool tab. Drop down the Customize the Ribbon list, select Tool Tabs, and then select the tool tab you want to customize.
12. Select Add. The Office 2016 application adds the command to the custom group or tab. Repeat steps 9 to 12 as needed.
13. Select OK. The Office 2016 application adds the new groups and commands to the Ribbon.
>>>Go Further: Exporting Ribbon Customizations
Customizing the Ribbon or the Quick Access Toolbar is not difficult, but it can be time consuming, particularly if you want to make a substantial number of changes. If you use the same Office 2016 application on another computer, it’s likely that you want to have the same customizations on the other computer so that you are dealing with a consistent interface no matter where you do your work. Rather than wasting valuable time repeating the same customization steps on the other computer, you can export your customizations to a file. You can then import that file on the other computer, and the Office 2016 application automatically applies the customizations for you.
In the Customize Ribbon tab of the Options dialog box, select Import/Export and then select Export All Customizations. In the File Save dialog box, select a location for the customization file, type a name for the file, and then select Save. Select OK to close the Options dialog box.
To apply the Ribbon customizations on another computer running the same Office 2016 application, you need to import the customization file. Note, however, that importing a customization file replaces any existing customizations that you have created. Display the Customize Ribbon tab of the Options dialog box, select Import/Export, and then select Import Customization File. In the File Open dialog box, locate and then select the customization file, and then select Open. When the application asks you to confirm that all your existing customizations will be replaced, select Yes and then select OK.
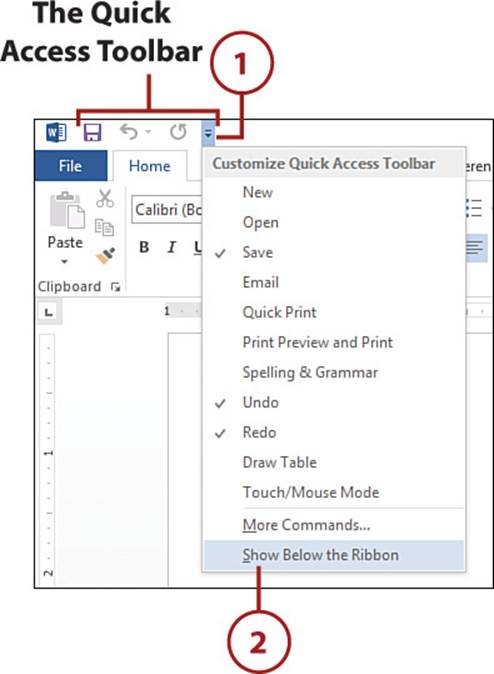
Changing the Position of the Quick Access Toolbar
The Quick Access Toolbar offers one-click access to common commands such as Save and Undo. By default, the Quick Access Toolbar appears above the Ribbon. This spot is good if you only have a few commands on the Quick Access Toolbar because the relatively small size of the Quick Access Toolbar means that the host Office 2016 program has enough room to display the document title and application name. If you want to load up the Quick Access Toolbar with many commands, consider moving it below the Ribbon. Doing so gives the Quick Access Toolbar the full width of the window, although it does reduce the amount of space available for your document content.
1. Select Customize Quick Access Toolbar.
2. Select Show Below the Ribbon. The Office 2016 application moves the Quick Access Toolbar below the Ribbon.
Customizing the Quick Access Toolbar
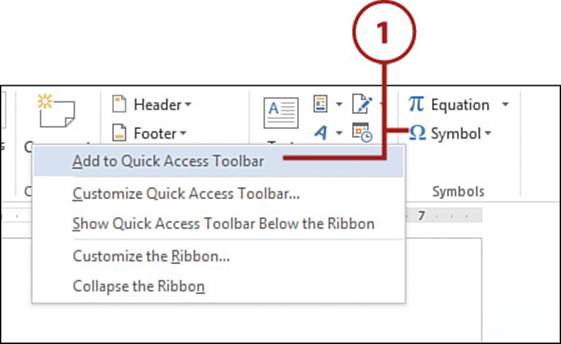
To get the most out of the Quick Access Toolbar, you need to populate it with the commands that you use most often. Note that you are not restricted to just a few commands. If you place the Quick Access Toolbar below the Ribbon, as described in the previous section, you can use the full width of the window, plus you get a More Controls button at the end of the toolbar that enables you to display a whole other row of commands.
1. If the command you want to add is on the Ribbon, right-click the command and then select Add to Quick Access Toolbar.
Adding a Gallery to the Toolbar
You can add a Ribbon gallery to the Quick Access Toolbar. Use the Ribbon to open the gallery, right-click any item in the gallery, and then select Add Gallery to Quick Access Toolbar.
Adding a Group to the Toolbar
Conveniently, you can also add entire groups to the toolbar. To add a group, right-click the group name in the Ribbon and then click Add to Quick Access Toolbar.
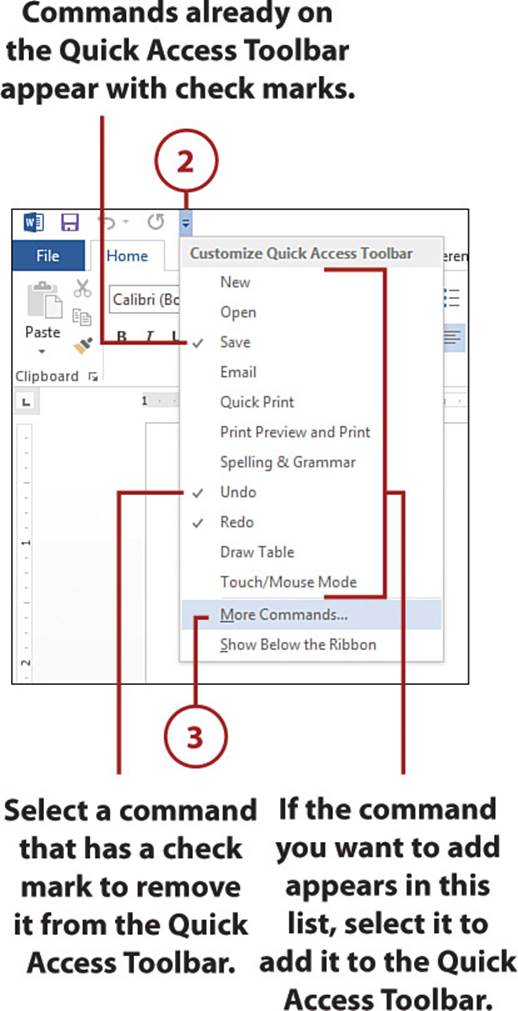
2. Select Customize Quick Access Toolbar.
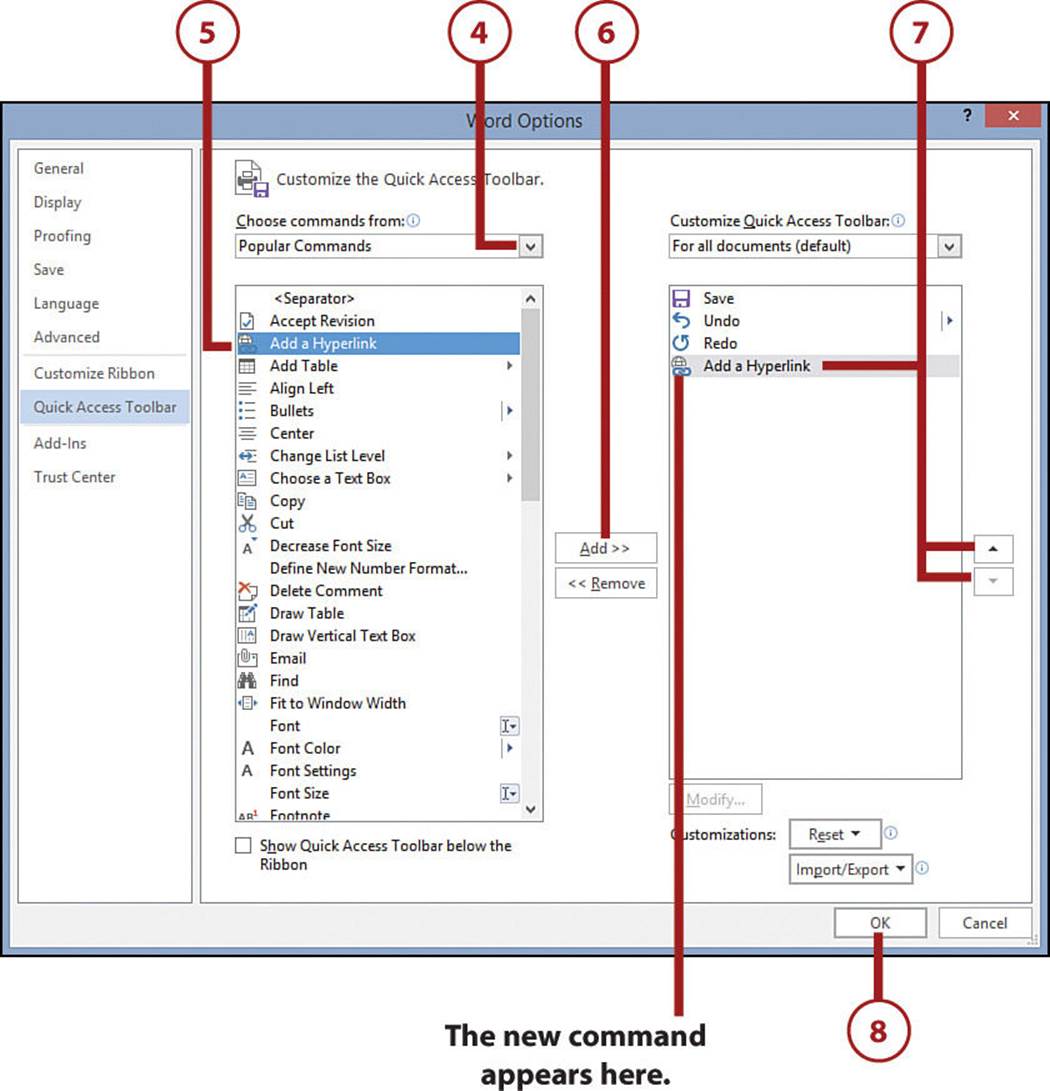
3. Select More Commands. The Office 2016 application opens the Options dialog box with the Quick Access Toolbar tab displayed.
4. Use the Choose Commands From list to select the command category you want to use.
5. Select the command you want to add.
6. Select Add. The Office 2016 application adds the command to the custom group or tab.
7. Select a command and then select Move Up or Move Down to position the command within the Quick Access Toolbar. Repeat steps 4 to 7 as needed.
8. Select OK. The Office 2016 application adds the commands to the Quick Access Toolbar.
Setting the Office Background
You can add a bit of visual interest to your Office 2016 applications by applying a background pattern that appears in the title bar.
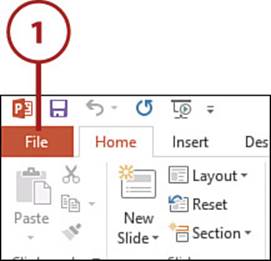
1. Select File.
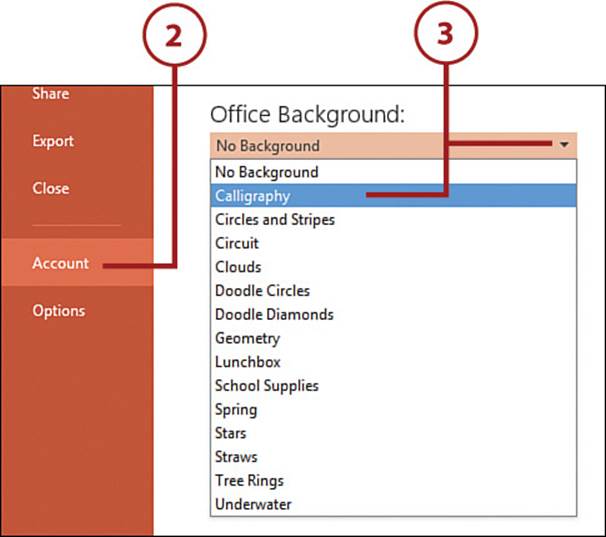
2. Select the Account tab.
3. Use the Office Background list to select the pattern you want to use. Office 2016 applies the pattern to all the Office 2016 applications.
All materials on the site are licensed Creative Commons Attribution-Sharealike 3.0 Unported CC BY-SA 3.0 & GNU Free Documentation License (GFDL)
If you are the copyright holder of any material contained on our site and intend to remove it, please contact our site administrator for approval.
© 2016-2026 All site design rights belong to S.Y.A.