My Office 2016 (2016)
9. Building a PowerPoint Presentation
In this chapter, you learn the basics of building a PowerPoint presentation, from inserting slides to adding text, graphics, charts, and other content. Topics include the following:
![]() Inserting and duplicating slides
Inserting and duplicating slides
![]() Adding slide content, such as text, graphics, charts, and tables
Adding slide content, such as text, graphics, charts, and tables
![]() Working with slide layouts
Working with slide layouts
![]() Adding presentation notes to a slide
Adding presentation notes to a slide
![]() Understanding and using the Slide Master
Understanding and using the Slide Master
It’s probably not a stretch to claim that, in terms of market share, PowerPoint is the most dominant software program in the world. A few years ago, Microsoft said that PowerPoint had 95% of the presentation graphics market, but it wouldn’t surprise me if that number were even higher today. And with many of our kids learning and using PowerPoint in school, this dominance is poised to continue into the foreseeable future. In short, we live in a PowerPoint world.
So learning how to get along in this world is important, and that is what this chapter and the next can help you do. The focus is on a PowerPoint “middle way” that avoids the two most common PowerPoint faults: drab, lifeless presentations that are ineffective because they bore the audience to tears and PowerPointlessness—those overly fancy formats, transitions, sounds, and other effects that have no discernible purpose, use, or benefit. With the middle way, you learn how to create attractive presentations that offer visual interest without sacrificing clarity.
Adding a Slide to the Presentation
The heart and soul of any presentation is the collection of slides that comprise the bulk of its content and that serve as both the focal point and the organizing structure of the talk. The slides are the bridge between the audience—who, for the most part, has no idea what you’re going to talk about—and yourself—who knows exactly what you want to say (presumably!). Building an effective presentation consists mostly of creating and organizing slides, which in turn involves four things:
• The content—the text and graphics—presented on each slide
• The organization of the content presented on each slide
• The formatting applied to each slide: fonts, colors, background, and so on
• The placement of the slides within the context of the entire presentation
The bulk of this chapter takes you through various PowerPoint techniques that support these four design ideas.
Understanding Slide Layouts
Before we get to the specifics of adding a slide, you should understand that all slides contain some combination of the following three elements:
• Title—This is a text box that you normally use to add a title for the slide.
• Text—This is a text box that you normally use to add text to the slide, which is usually a collection of bullets.
• Content—This is a container into which you add any type of content supported by PowerPoint: text, a picture, or a SmartArt graphic. In some cases, PowerPoint displays placeholders for specific types of content. For example, a Picture placeholder can contain only a picture.
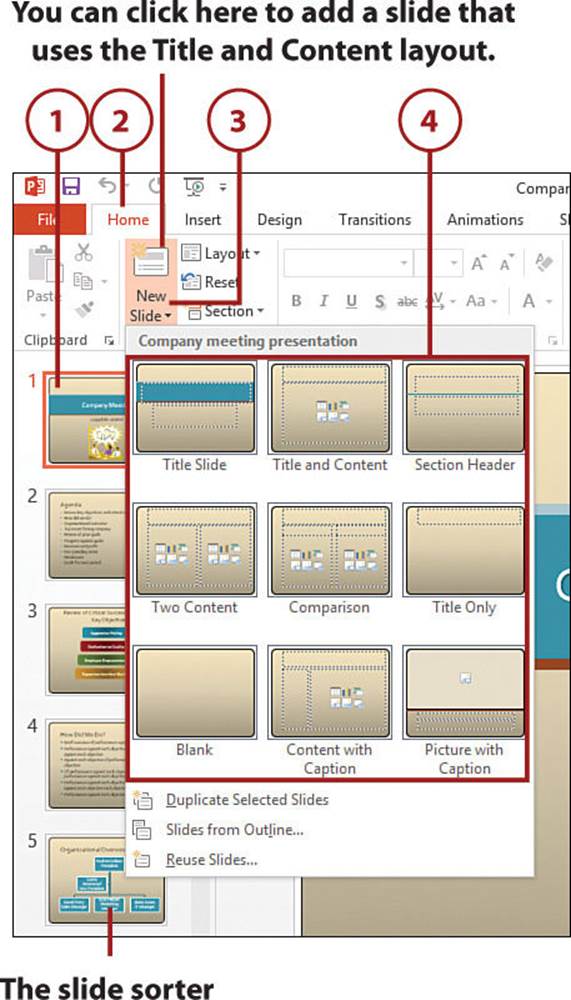
In each case, the new slide contains one or more placeholders, and your job is to fill in a placeholder with text or a content object. Each slide uses some combination of Title, Text, and Content placeholders, and the arrangement of these placeholders on a slide is called the slide layout. PowerPoint offers nine layouts:
• Title Slide—A slide with two text boxes: a larger one for the overall presentation title and a smaller one for the subtitle
• Title and Content—A slide with a Title placeholder and a Content placeholder
• Section Header—A slide with two Text placeholders: one for the description and one for the title of a new presentation section
• Two Content—A slide with a Title placeholder above two Content placeholders placed side by side
• Comparison—A slide with a Title placeholder, two Content placeholders placed side by side, and two Text placeholders (one above each Content placeholder)
• Title Only—A slide with just a Title placeholder
• Blank—A slide with no placeholders
• Content with Caption—A Content placeholder with two Text placeholders to the left of it: one for the content title and the other for the content description
• Picture with Caption—A Picture placeholder with two Text placeholders beneath it: one for the picture title and the other for the picture description
Insert a New Slide
Inserting a new slide into your presentation is a straightforward matter of deciding what content you want on the slide and then deciding which slide layout would best display that content. Note that you can always change the slide layout later on (see “Change the Layout of a Slide” later in this chapter).
1. In the slide sorter, select the slide after which you want the new slide to appear.
2. Select the Home tab.
3. Select the bottom half of the New Slide button.
4. Select the slide layout you want to use. PowerPoint inserts the new slide.
Keyboard Shortcut
You can quickly add a slide that uses the Title and Content layout by pressing Ctrl+M.
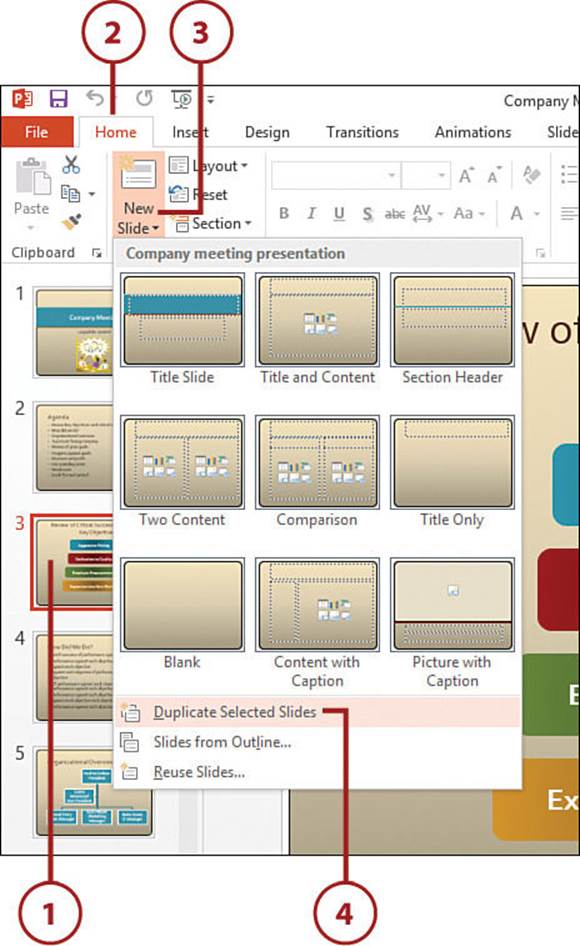
Duplicate a Slide
If you have a slide in the current presentation that has similar content and formatting to what you want for a new slide, you can save yourself a great deal of time by inserting a duplicate of that slide and then adjusting the copy as needed.
1. In the slide sorter, select the slide you want to duplicate.
2. Select the Home tab.
3. Select the bottom half of the New Slide button.
4. Select Duplicate Selected Slides. PowerPoint creates a copy of the slide and inserts the copy below the selected slide.
Duplicating Via Copy-and-Paste
A quicker way to duplicate a slide is to select it, select the Home tab, select Copy (or press Ctrl+C) to copy it, and then select Paste (or press Ctrl+V) to paste the copy. If you want the copy to appear in a particular place within the presentation, select the slide after which you want the copy to appear and then select Paste (or press Ctrl+V).
>>>Go Further: Reusing a Slide from Another Presentation
One of the secrets of PowerPoint productivity is to avoid redoing work you have performed in the past. If you have a slide with boilerplate legal disclaimer text, why re-create it in each presentation? If you create an organization chart slide and your organization has not changed, you don’t need to build the chart from scratch every time you want to add it to a presentation.
In this section, you saw how to duplicate a slide from the current presentation. However, the far more common scenario is that the slide you want to reuse exists in another presentation. Select the Home tab, select New Slide, and then select Reuse Slides to open the Reuse Slides task pane. If this is the first time you’ve displayed the Reuse Slides pane in the current PowerPoint session, select the Open a PowerPoint File link; otherwise, pull down the Browse list, select Browse File, select the presentation you want to use, and then select Open. PowerPoint adds the presentation’s slides to the Reuse Slides task pane. If you want the formatting of the original slide to appear in the new slide, select the Keep Source Formatting check box to activate it. Select the slide you want to reuse to insert it into the presentation.
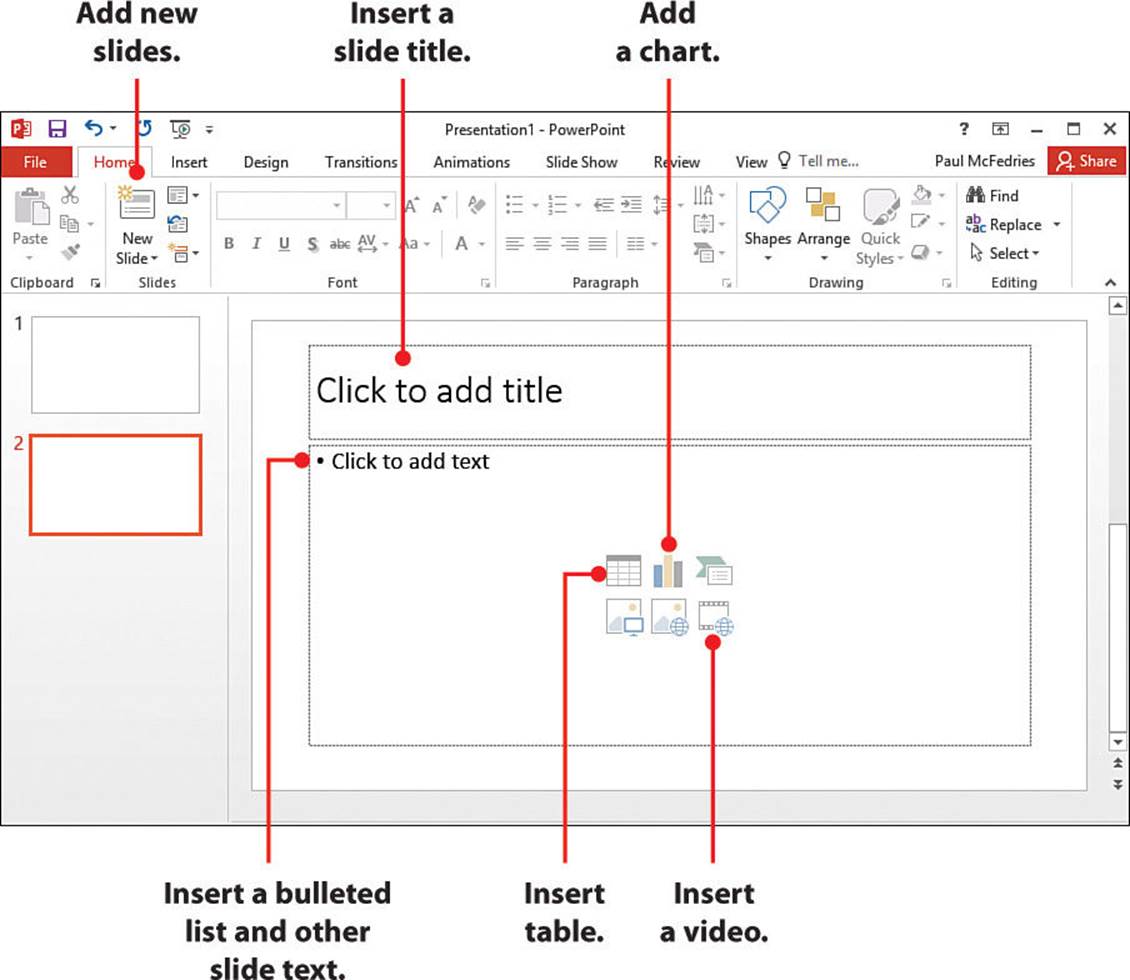
Adding Data to a Slide
After you have added one or more slides, the next step is to fill in the placeholders. The next few sections take you through some of the details. For now, you should know that the Content placeholder contains six icons grouped together in the middle of the box. These icons represent the six main types of content you can add to the placeholder, and clicking each icon launches the process of inserting that content type. In the sections that follow, I ignore the picture-related icons because I already covered adding graphics in Chapter 3, “Working with Office 2016 Graphics.”
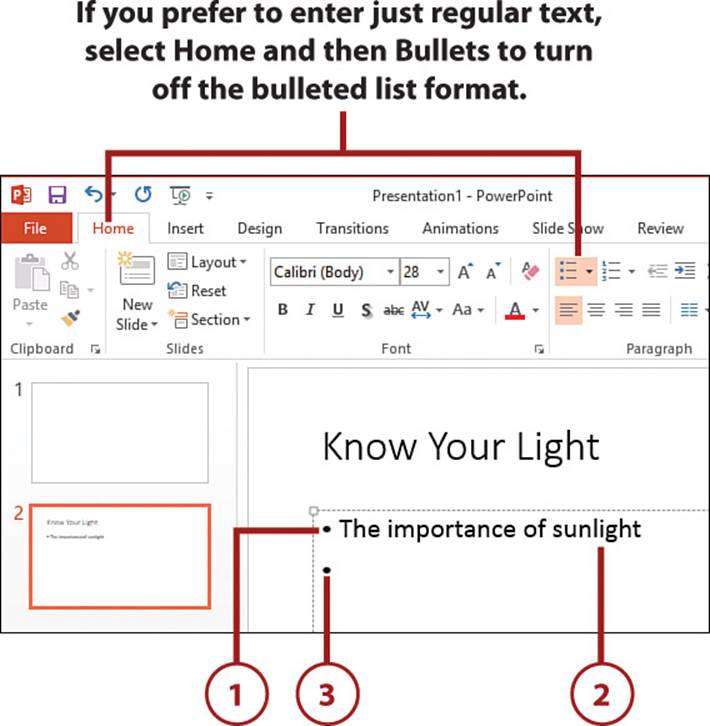
Add Text
With a Title or Text placeholder, select inside the placeholder to enable editing and then type your text. In a Text placeholder, PowerPoint assumes that you’ll be adding bullet points, so the Bullets format is on by default. PowerPoint supports four standard list levels, which determine where a bullet appears in the list hierarchy:
• Level 1—This is the main level. It uses a solid, round bullet and appears flush with the left side of the placeholder.
• Level 2—This is the next level in the hierarchy. It uses a slightly smaller bullet and appears indented by one tab stop from the left side of the placeholder.
• Level 3—This is the next level in the hierarchy. It uses an even smaller bullet and appears indented by two tab stops from the left side of the placeholder.
• Level 4—This is the final level in the hierarchy. It uses the smallest bullet and appears indented by three tab stops from the left side of the placeholder.
You can actually create higher and higher levels, but the bullet remains the same size and PowerPoint simply indents the bullets farther from the left. The next section illustrates what these levels look like.
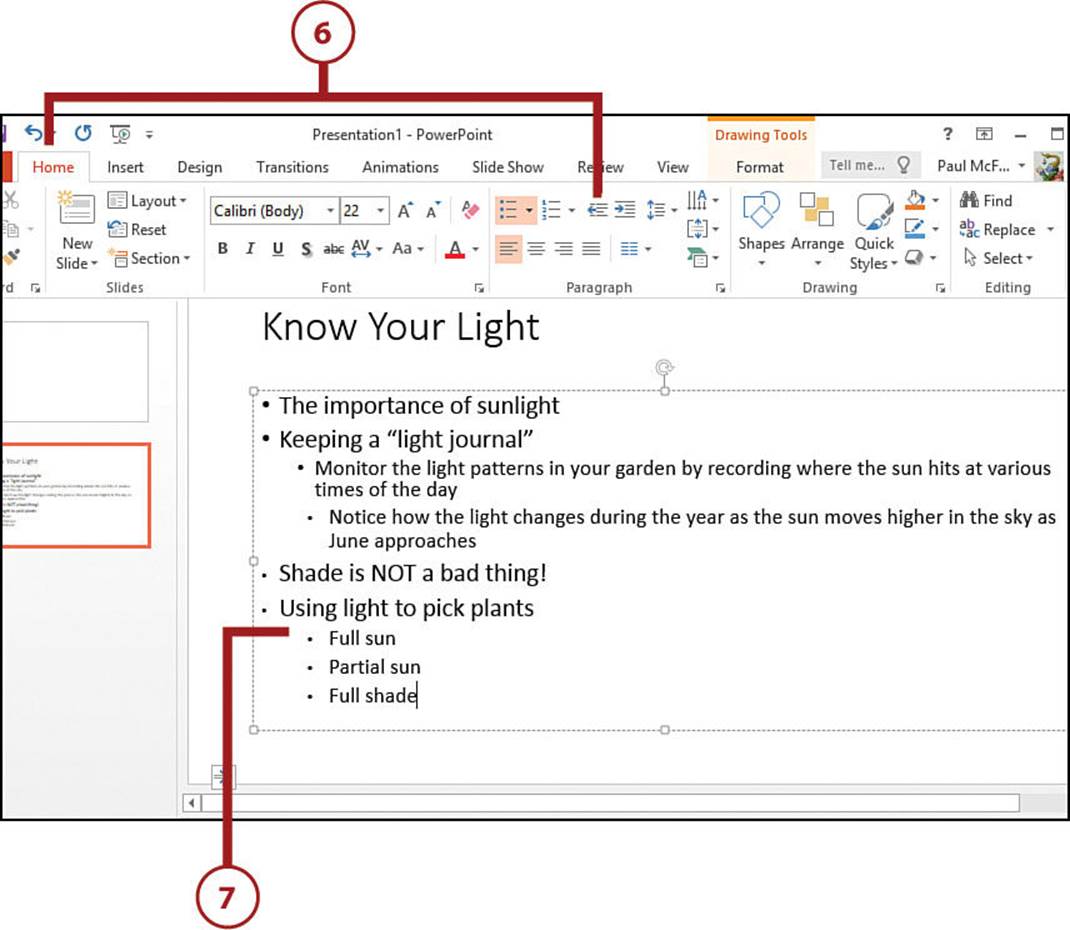
Create a Bulleted List
Populating a Text placeholder with a bulleted list will likely be your most common PowerPoint chore.
1. Click inside a Text placeholder to open it for editing. PowerPoint displays the first bullet.
2. Type the text for the list item.
3. Press Enter. PowerPoint adds a bullet for the next item in the list.
4. Repeat steps 2 and 3 to add more items to the list.
5. To increase the list level of the current item, select the Home tab and then select Increase List Level.
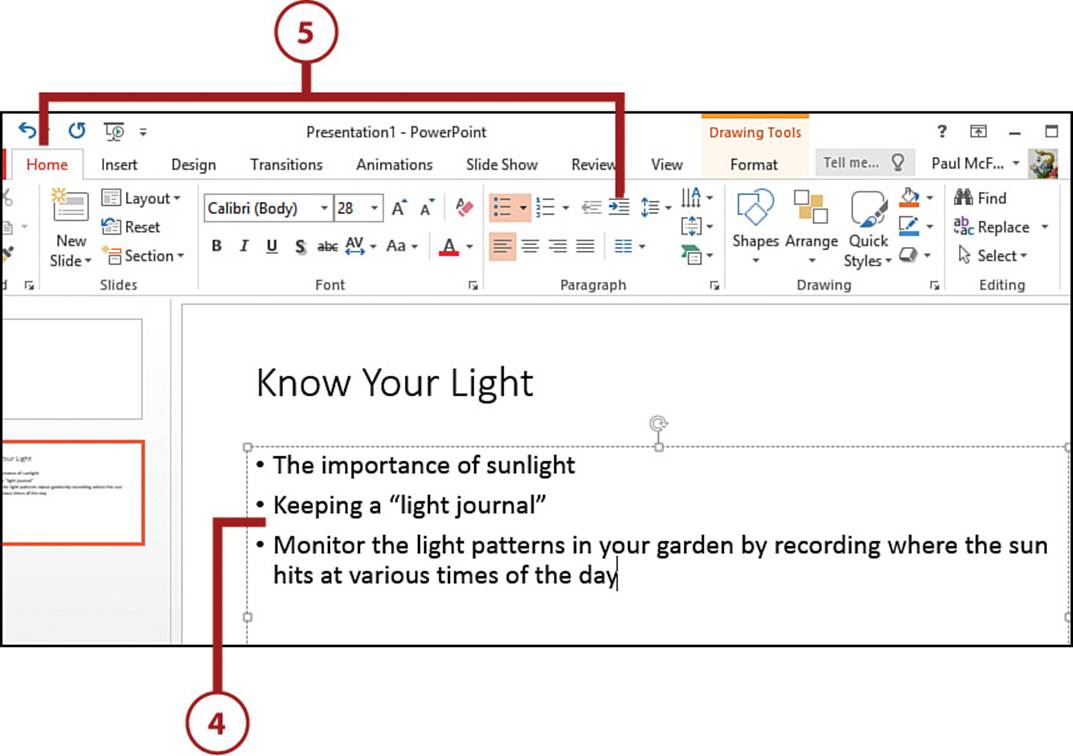
6. To decrease the list level of the current item, select the Home tab and then select Decrease List Level.
Keyboard Shortcut
To change the list level via the keyboard, place the insertion point at the beginning of an item and then press either Tab to increase the list level, or Shift+Tab to decrease the list level.
7. Repeat steps 2 through 6 until your list is complete.
>>>Go Further: Converting Regular Text to a Bulleted List
What if a slide already includes regular text that you want to display as a bulleted list? Select the entire list, select the Home tab, and then select the Bullets icon in the Ribbon. PowerPoint converts the text into a bulleted list.
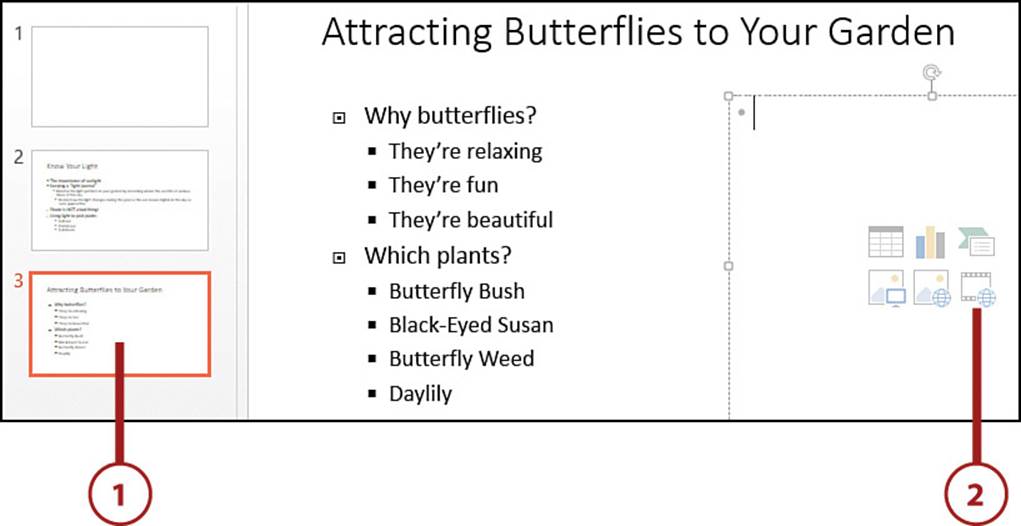
Add a Video
Earlier in this chapter (see “Understanding Slide Layouts”), I described PowerPoint slide layouts and said you need a Content placeholder to insert a picture into a slide. Five layouts come with Content placeholders: Title and Content, Two Content, Comparison, Content with Caption, and Picture with Caption. Before you can insert a video into a presentation, you must first add a slide that uses one of these five layouts.
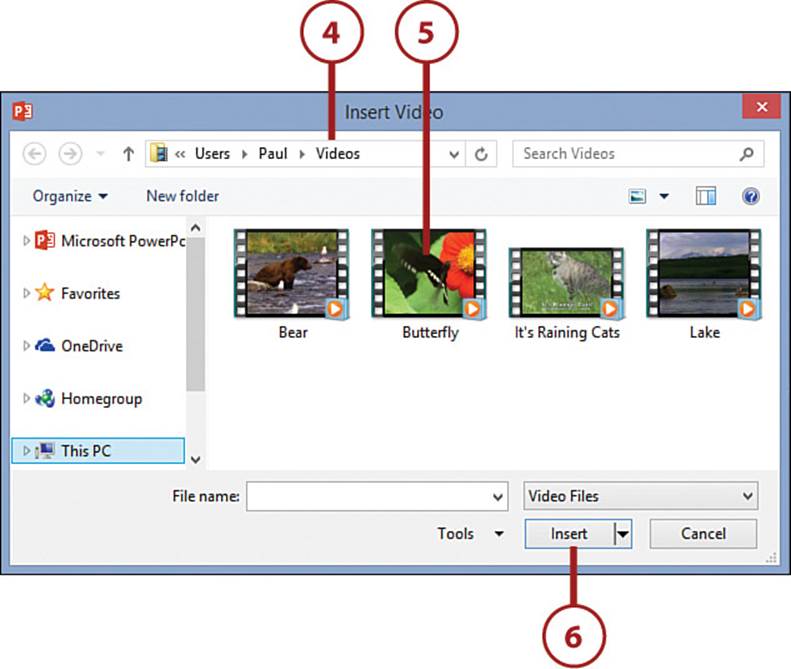
1. Select a slide that contains a Content placeholder.
2. In the Content placeholder, select the Insert Video icon. PowerPoint displays the Insert Video dialog box.
3. Select From a File. PowerPoint displays the Insert Video dialog box.
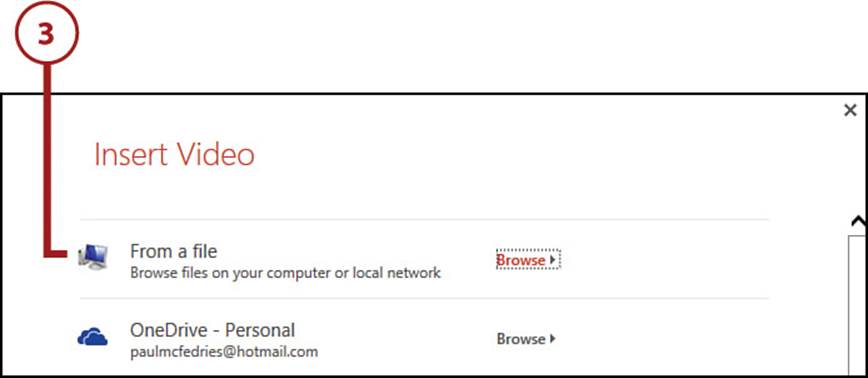
4. Select the location of the video.
5. Select the video file you want to insert.
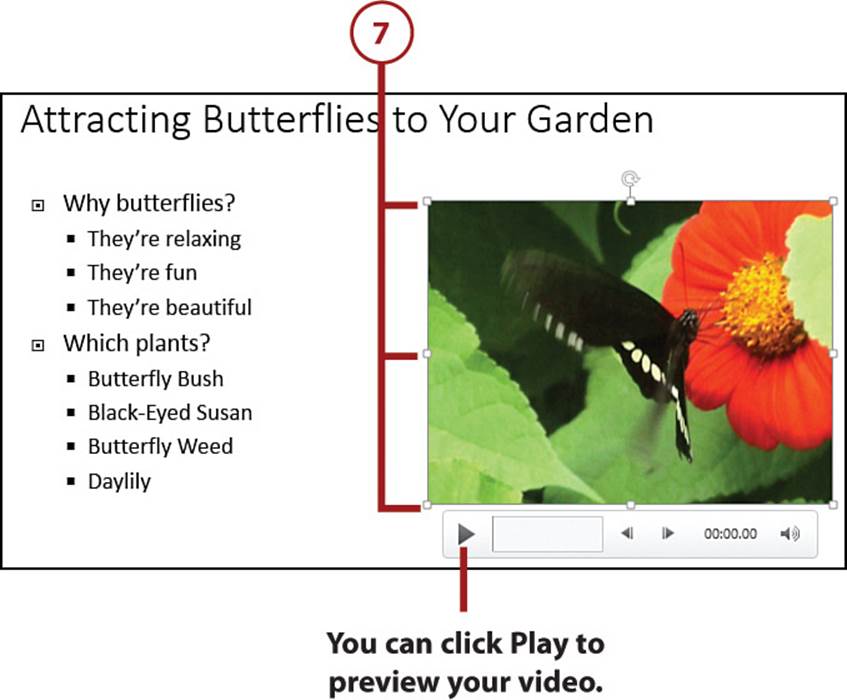
6. Select Insert. PowerPoint inserts the video into the placeholder.
7. Drag the video’s selection handles to set the size of the video.
>>>Go Further: Embedding an Online Video
If you have an online video you want to use, you can insert a special code that embeds the video into your slide. All online video sites—including YouTube—offer with each video a special code called the video embed code, as well as a mechanism for copying that code. Once you’ve copied the embed code for the video you want, select a slide that contains a Content placeholder and then select the Insert Video icon to open the Insert Video dialog box. Click inside the From a Video Embed Code text box, paste the copied code, and then click the Insert arrow.
Add a Chart
If you have numeric results to present, one surefire way to make your audience’s eyes glaze over is show them a slide crammed with numbers. Most slide shows present the “big picture,” and nothing translates numeric values into a digestible big-picture format better than a chart. PowerPoint uses Excel charts, which means that adding a chart to a PowerPoint slide is not that much different from creating a chart in Excel, which I explain in detail in Chapter 8, “Visualizing Excel Data with Charts.”
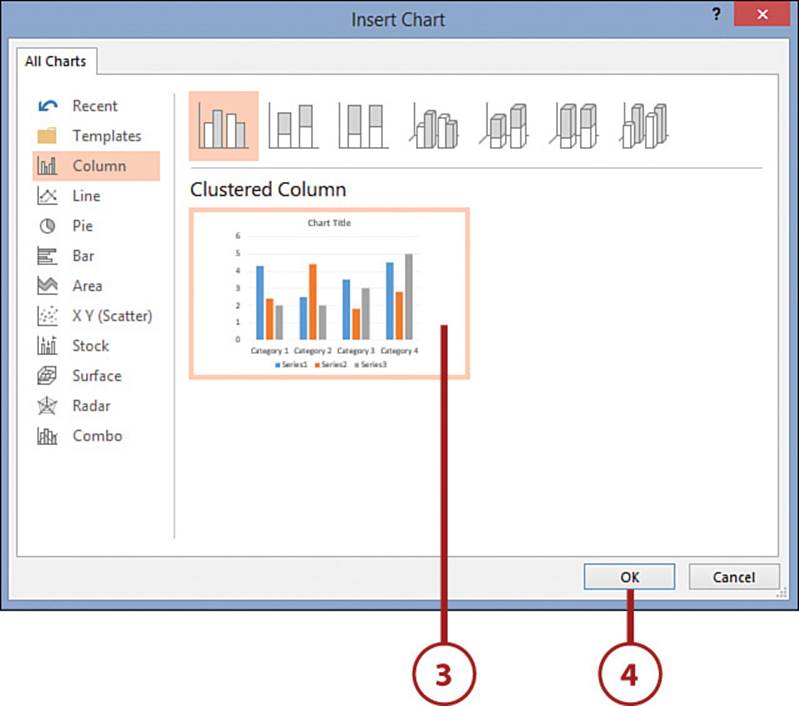
1. Select a slide that contains a Content placeholder.
2. In the Content placeholder, select the Insert Chart icon. PowerPoint displays the Insert Chart dialog box.
3. Select the chart type you want to use.
4. Select OK. PowerPoint launches Excel, adds sample data to a worksheet, inserts a chart into the slide, and displays the Excel content in a new window.
5. Adjust the worksheet labels and values as needed.
6. When you are done, select Close.
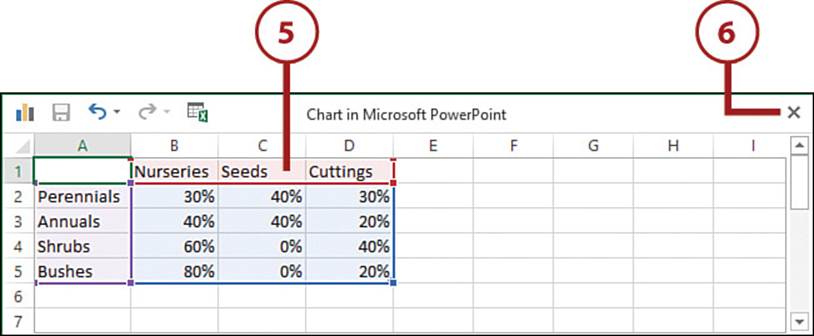
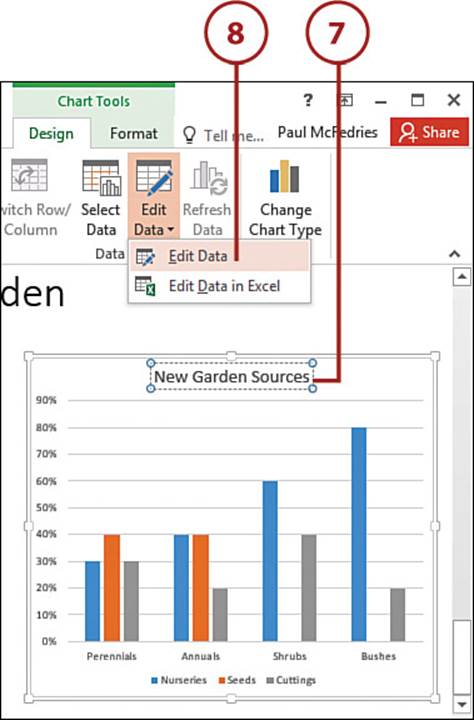
7. Click the chart title and then type the title you want to use.
8. To change the chart data, select Design, Edit Data, Edit Data.
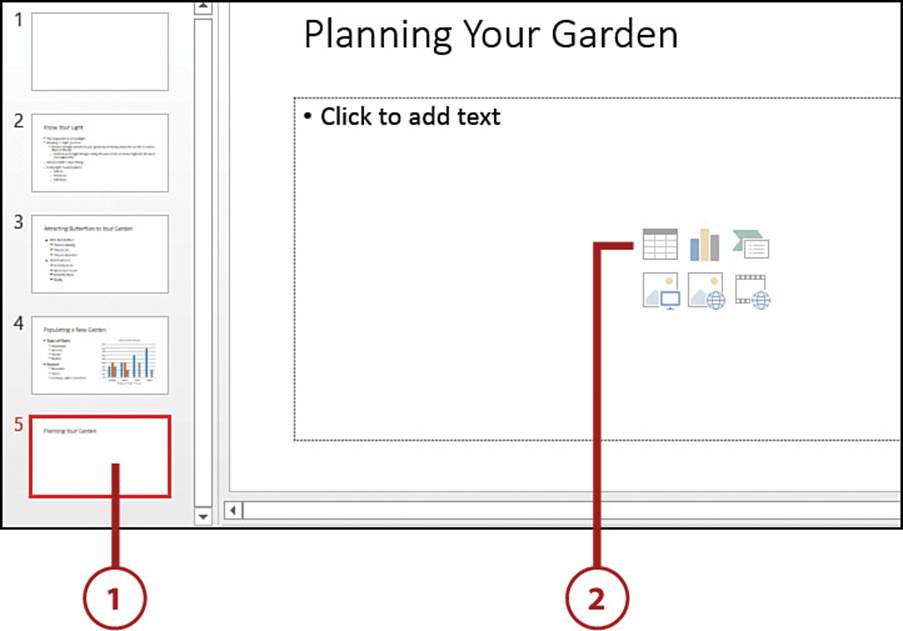
Add a Table
If you want to present data that would look best in a row-and-column format, use a table. Note that a PowerPoint table is nearly identical to a Word table, so see the section “Building a Table” in Chapter 5, “Working with Page Layout and Design in Word,” for more table details.
1. Select a slide that contains a Content placeholder.
2. In the Content placeholder, select the Insert Table icon. PowerPoint displays the Insert Table dialog box.
3. Specify the number of columns you want in your table.
4. Specify the number of rows you want in your table.
5. Select OK. PowerPoint inserts the table into the slide.
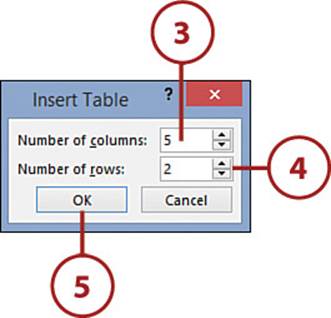
6. Type your column headings.
7. Type your table data.

Working with Slides
Now that your presentation is populated with a few slides and your slides have some content on them, it’s time to learn a few useful techniques for working with your slides. The rest of this chapter shows you how to select and rearrange slides, change the slide layout, hide a slide, add slide notes, and work with the Slide Master.
Select Slides
To work with slides, you must first select one or more. Here are the techniques you can use in the slide sorter:
• To select a single slide, click it.
• To select multiple, consecutive slides, click the first slide, hold down Shift, and then click the last slide.
• To select multiple, nonconsecutive slides, click the first slide, hold down Ctrl, and click each of the other slides.
• To select all the slides, select any slide and then press Ctrl+A. You can also choose Home, Select, Select All.
Rearrange Slides
PowerPoint gives you two different methods for changing the order of slides in a presentation:
• In the slide sorter, select the slide you want to move, select the Home tab, and then select Cut (or press Ctrl+X). Select the slide after which you want the moved slide to appear, and then select Paste (or press Ctrl+V).
• In the slide sorter, click and drag the slide and drop it below the slide after which you want it to appear.
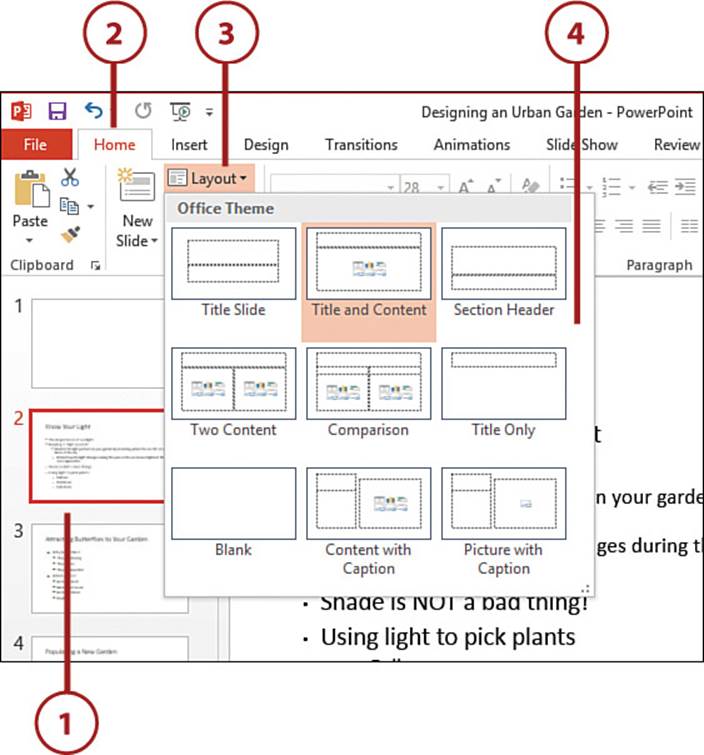
Change the Layout of a Slide
If the original layout you applied to a slide is not what you want, you can change it.
1. Select the slide or slides you want to change.
2. Select the Home tab.
3. Select Layout. PowerPoint displays a gallery of slide layouts.
4. Select the layout you want to use. PowerPoint applies the new layout to the selected slides.
No Content Is Lost
It’s okay to select a slide layout that has fewer placeholders than the current slide layout. In this case, Excel retains the data, but it now appears in the slide as a separate object rather than in its own placeholder.
Hide a Slide
In some presentations, there may be slides you don’t want to show:
• You might have a short version and a long version of a presentation.
• You might want to omit certain slides, depending on whether you are presenting to managers, salespeople, or engineers.
• You might have “internal” and “external” versions; that is, you might have one version for people who work at your company and a different version for people from outside the company.
You could accommodate these different scenarios by creating copies of a presentation and then removing slides as appropriate. However, this process takes a great deal of work, wastes disk space, and is inefficient when one slide changes and you have to make the same change in every version of the presentation that includes the slide.
A much better solution is to use a single presentation but mark the slides you don’t want to show as hidden. PowerPoint skips hidden slides when you present the show.
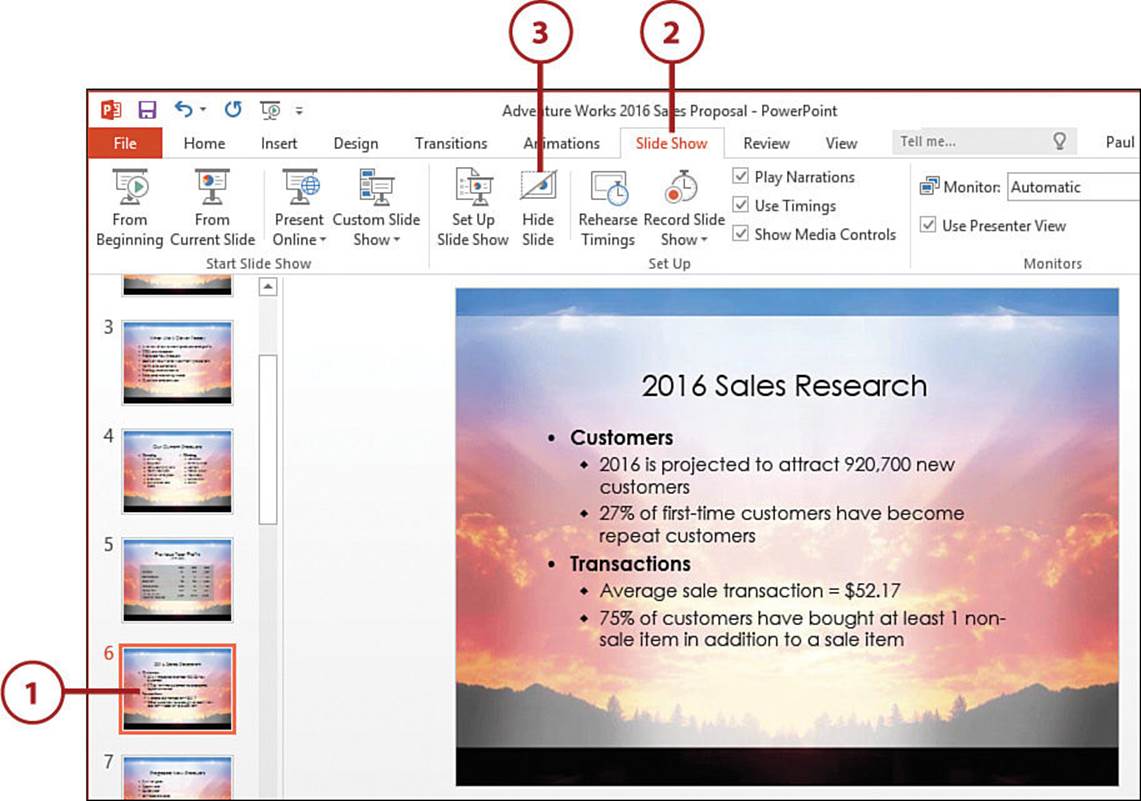
1. In the slide sorter, select the slide you want to hide.
2. Select the Slide Show tab.
3. Select Hide Slide. PowerPoint displays a faded version of the slide thumbnail and adds a strikethrough to the slide number.
Unhiding a Slide
To unhide a slide, select it, select Slide Show, and then select Hide Slide. You can also right-click the slide in the slide sorter and then click Hide Slide to turn off that command.
>>>Go Further: Deleting a Slide
If you have a slide that you no longer need, you should delete it from your presentation to reduce the size of the presentation, reduce clutter in the slide sorter, and prevent the slide from appearing when you present the show. To delete a slide, right-click on the slide in the slide sorter, and then click Delete Slide.
Add Notes to a Slide
When determining the content of a presentation, you keep the actual amount of information on a slide to a minimum—just the high-level points to provide the framework for the topics you want to present. How, then, do you keep track of the details you want to cover for each slide? You add notes to the presentation. When you run through the presentation in PowerPoint’s Reading View mode, you (or any other viewer) can display the notes.
1. Select the slide you want to work with.
2. If you don’t see the Notes page (the section with the Click to Add Notes text) below the slide, select the View tab and then select Notes.
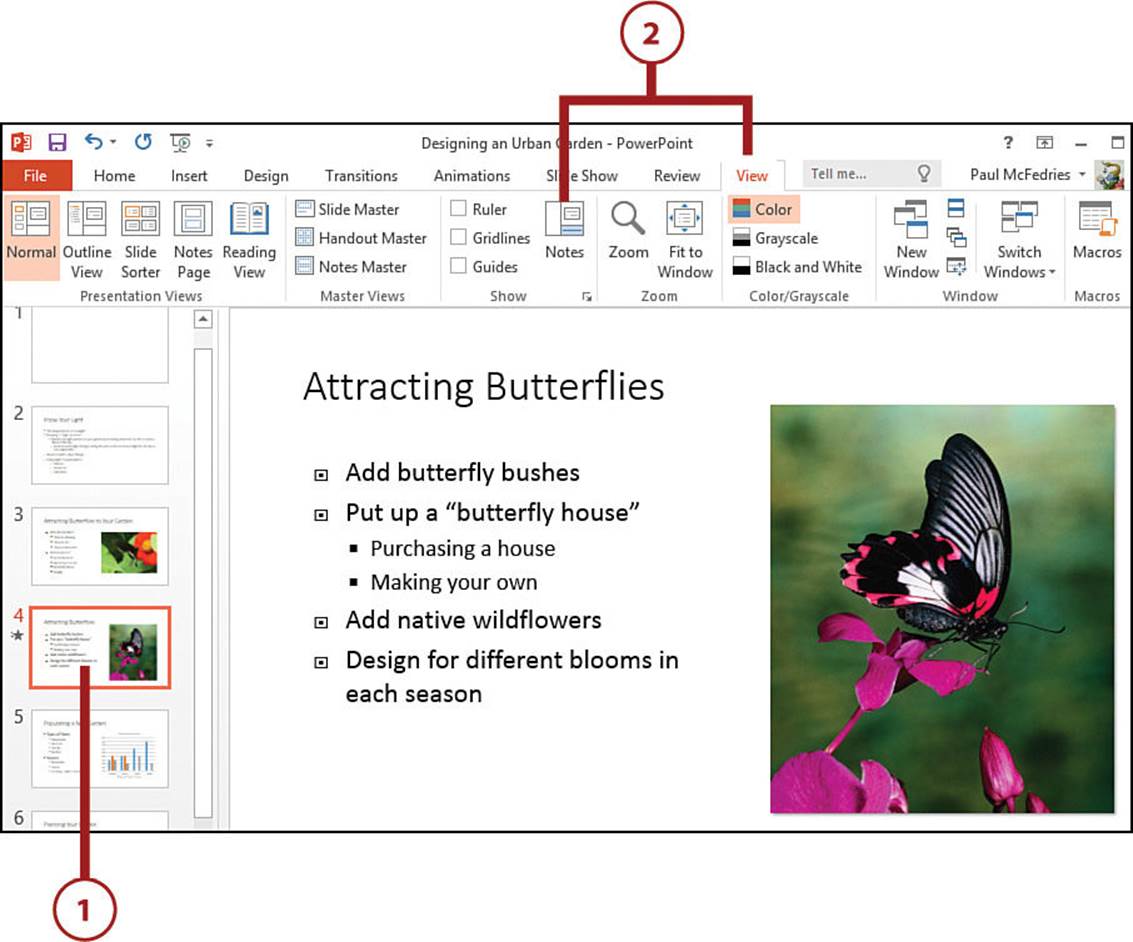
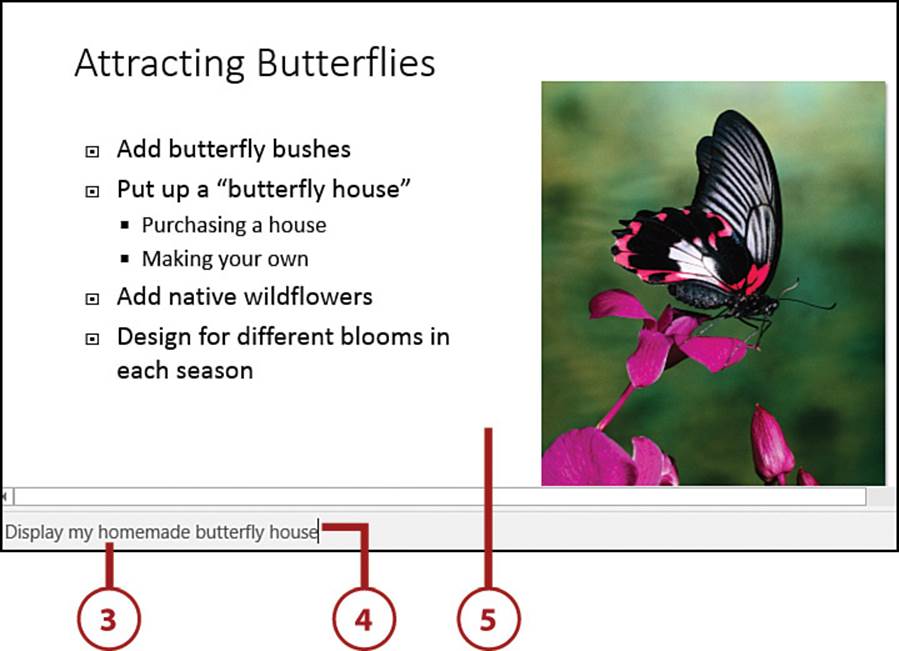
3. Click anywhere inside the Notes page below the slide. PowerPoint converts the section to a text box.
4. Type your notes.
5. Click outside the Notes page to close it for editing.
Making Room for Notes
If you want more room to type in the Notes page, PowerPoint provides a couple of choices. First, you can click and drag the separator bar at the top of the Notes page. Drag the bar up until the Notes page is the size you want, and then release the bar. This gives you less room for the slide, but you can also return the Notes page to its original size after you have added your notes. The second way to get a larger Notes area is to select the View tab and then select Notes Page. This changes the view to display the full Notes Page text box.
>>>Go Further: Using Slide Notes
Here are some suggested ways you can use notes:
• As additional details for the audience.
• As a student guide. If you use a presentation as your primary teaching medium, you can put additional information on notes pages for your learners.
• As an instructor’s guide. Again, if you teach from your presentation, you might have points you want to make, or other information associated with a particular slide. Add this information as notes, and you have your instructor’s guide, perfectly in sync with the information you’re giving your learners.
• As your presentation notes.
• As additional detailed handouts for your audience.
The first two points here apply to both offline presentations (where you present in front of an audience) and online presentations (where audience members run the show themselves), but the last three apply only to offline presentations.
Understanding the Slide Master
One of PowerPoint’s templates might be just right for your presentation. If so, great! Your presentation’s design will be one less thing to worry about on your way to an effective presentation. Often, however, a template is just right except for the background color, title alignment, or font. Or perhaps you need the company’s logo to appear on each slide. Using the template as a starting point, you can make changes to the overall presentation so that it’s just right for your needs.
However, what if your presentation already has a number of slides? It will probably require a great deal of work to change the background, alignment, or font on every slide. Fortunately, PowerPoint offers a much easier way: the Slide Master, which is available for every presentation. The Slide Master acts as a kind of “design center” for your presentation. The Slide Master’s typefaces, type sizes, bullet styles, colors, alignment options, line spacing, and more are used on each slide in your presentation. Not only that, but any object you add to the Slide Master—a piece of clip art, a company logo, and so on—also appears in the same position on each slide.
The beauty of the Slide Master is that any change you make to this one slide, PowerPoint propagates to all the slides in your presentation. Need to change the background color? Just change the background color of the Slide Master. Prefer a different type size for top-level items? Change the type size for the top-level item shown on the Slide Master. You can also make separate adjustments to the masters of the seven standard layouts (Title Slide, Title and Content, and so on).
Work with the Slide Master
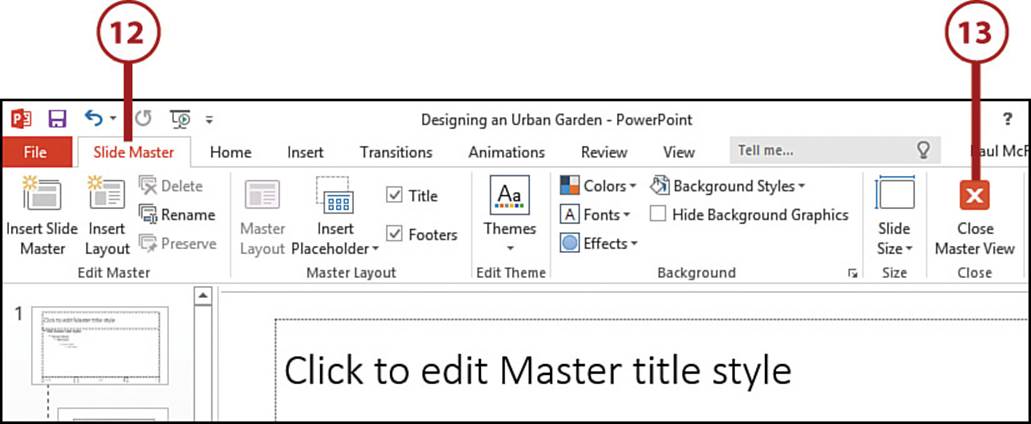
Before you can work with the Slide Master, you must first switch to it.
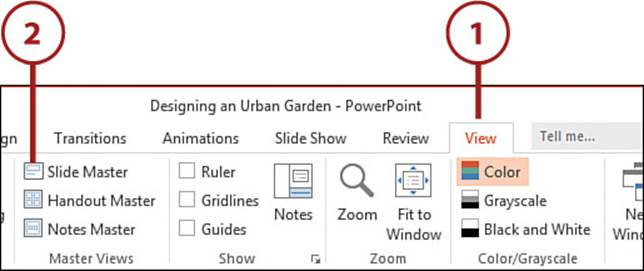
1. Select the View tab.
2. Select Slide Master. PowerPoint switches to Slide Master view.
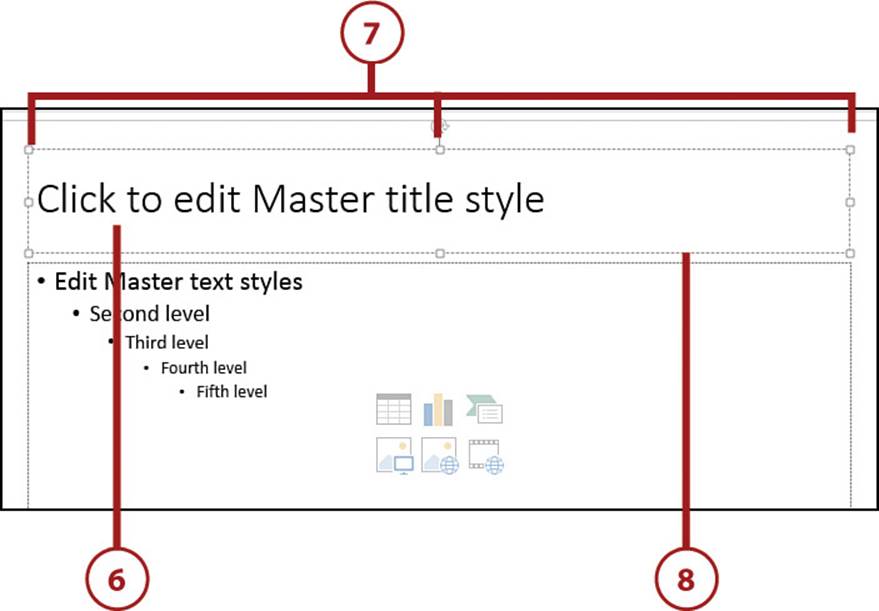
3. Select the Slide Master and then make your changes to the Slide Master formatting.
Formatting the Slide Master
Whether you’re working with the Slide Master or a layout master, you can format the text, background, bullets, and colors as if you were working in a regular slide.
4. To apply a theme to the masters, select Slide Master, Themes and then select a theme.
5. Select the layout master you want to work with.

6. Select a placeholder.
7. To size a placeholder, click and drag the selection handles.
8. To move a placeholder, click and drag the placeholder border (being careful to not drag a selection handle).
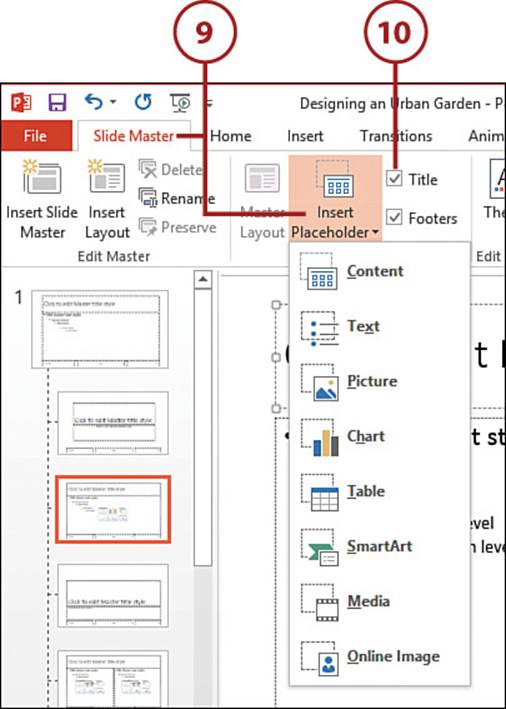
9. To add a placeholder to the layout master, select Slide Master, Insert Placeholder, and then select the placeholder type you want.
10. To toggle the title on and off for the layout master, select the Title check box.
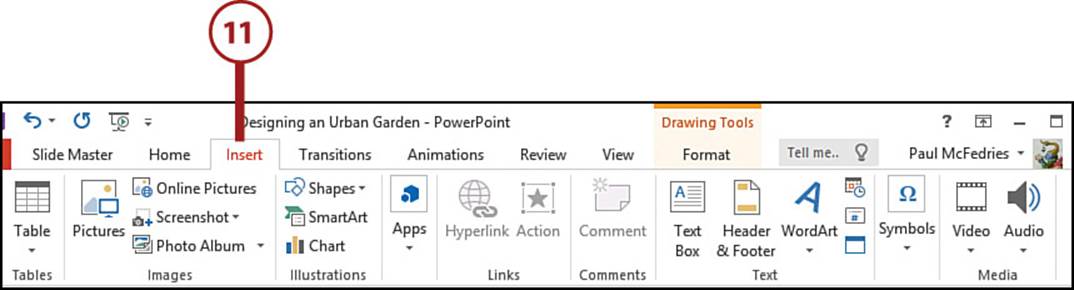
11. To display an object—such as clip art or a text box—on the layout, select the Insert tab and then insert the object into the master.
>>>Go Further: Adding a Custom Layout
To add a custom layout to the Slide Master, select the Slide Master tab and then select Insert Layout. To supply a name to the new custom layout, select it, select Slide Master, Rename; then use the Rename Layout dialog box to type a new name and select Rename. Use the Slide Master, Insert Placeholder command to add placeholders to the new layout.
12. Select the Slide Master tab.
13. Select Close Master View.
All materials on the site are licensed Creative Commons Attribution-Sharealike 3.0 Unported CC BY-SA 3.0 & GNU Free Documentation License (GFDL)
If you are the copyright holder of any material contained on our site and intend to remove it, please contact our site administrator for approval.
© 2016-2026 All site design rights belong to S.Y.A.