Learning System Center App Controller (2015)
Chapter 3. Deploying and Configuring System Center Virtual Machine Manager Server
System Center 2012 R2 App Controller enables the private cloud management feature by integrating with System Center Virtual Machine Manager. This chapter will provide step-by-step instructions for successful deployment of Virtual Machine Manager service. In this chapter, we will cover the following topics:
· Prerequisites of SCVMM installation
· Installation of the SCVMM service
· Configuration of SCVMM objects
One of the key requirements for successful Virtual Machine Manager installation is availability of supported SQL Server. SQL Server will be hosting the Virtual Manager DB database. This database contains SCVMM configuration and critical data for the service. For help with installation of SQL Server, review the Installing SQL Server section of Chapter 2, Installing and Working with Different App Controller Components.
Download installation media from the Microsoft website. Attach or copy extracted media to the server that will be hosting the SQL Server services.
Prerequisites for installation
In this section, we will be installing the necessary prerequisites before installation of Virtual Machine Manager.
Installing ADK 8.1
For instructions on the installation of ADK 8.1, refer to the Windows assessment and deployment kit for Windows 8.1 section in Chapter 1, Introduction to System Center 2012 R2 App Controller.
Account permission requirements
The Virtual Machine Manager service requires elevated access to some server roles. The following are the settings that need to be configured before starting the installation of the VMM server:
· Create a standard domain user account in Active Directory's users and computers. Then add it to the local administrators security group on the VMM server. We created an srv_vmm account. A restart is recommended after adding the account to the local administrators group.
· Add the VMM server computer account to the local administrator group on a designated SQL server. A restart is recommended after adding the computer account to the local administrators group.
Installing System Center 2012 R2 Virtual Machine Manager
In this section, we will be installing System Center 2012 R2 Virtual Machine Manager. Copy or mount the installation media onto the server by performing the following steps:
1. We have created a service account for VMM Service, named srv_vmm. Add this account to the local administrators group on the VMM server.
2. Extract the files by running the wizard. Right-click on the Setup.exe folder and select Run as administrator.
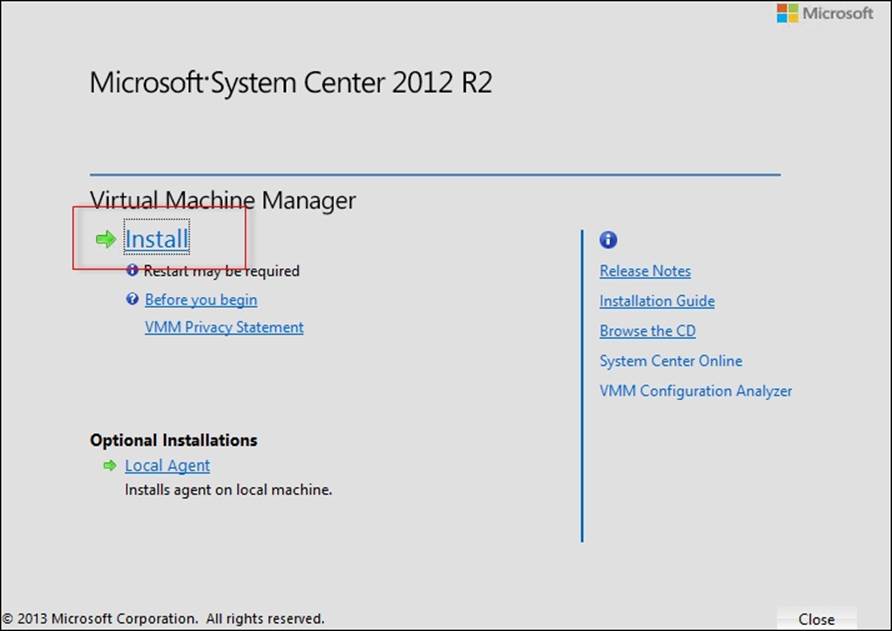
3. Click on the Install link, as shown in the following screenshot:
4. Select VMM management server on the Select features to install dialog box. Then click on Next.
5. On the Product registration information dialog box page, provide Name, Organization and Product key. Then click on Next.
6. Read and select the checkbox next to I have read, understood, and agree with the terms of the license agreement. Then click on Next.
7. Select an appropriate choice according to your organization in the Customer Experience Improvement Program dialog box. Then click on Next.
8. Select Off in the Microsoft Update dialog box. Then click on Next.
9. Leave the default path for installation of the VMM server as it is on the Installation location page. The default path is C:\Program Files\Microsoft System Center 2012 R2\Virtual Machine Manager. Then click on Next.
10. Resolve any issues that show up on the Warnings page, which is a prerequisite. Then click on Next.
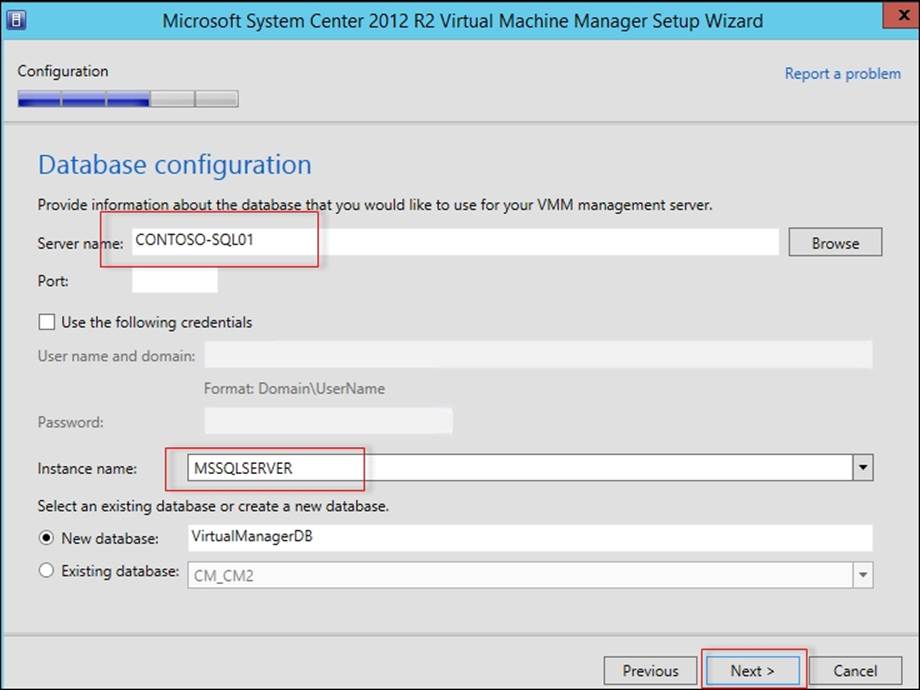
11. On the Database configuration page, provide the SQL Server name. If the SQL instance is a non-default name, we can even mention the specific port number and alternative credentials on this page. We can also change the VMM database name in theDatabase configuration dialog box. We will default name for database. Then click on Next, as shown in the following screenshot:
12. On the Configure service account and distributed key management page, provide the Domain account name that we have created earlier. This page also allows us to configure the Distributed Key Management settings to store the management keys in the Active Directory. Storing management keys in the Active Directory is a safer automated method than storing it locally on the VMM server. In a highly available VMM configuration, a distributed key has to be stored in the Active Directory. More details aboutthese keys can be found at http://go.microsoft.com/fwlink/?linkid=209609. After providing the Domain account credentials, click on Next.
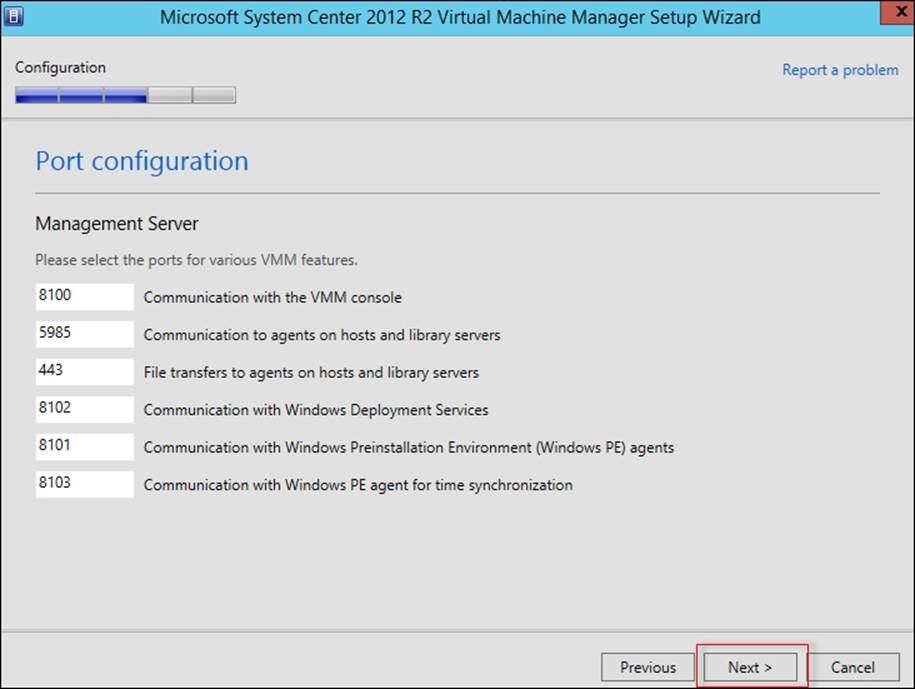
13. On the Port configuration page, review and take note of the communication ports that will be used by the VMM server. Then click on Next, as shown in the following screenshot:
14. On the Library configuration page, leave the default location as it is and click on Next.
15. Review the selected features and then click on Install.
16. After the installation is successfully finished, click on the Close button, as shown in this screenshot:
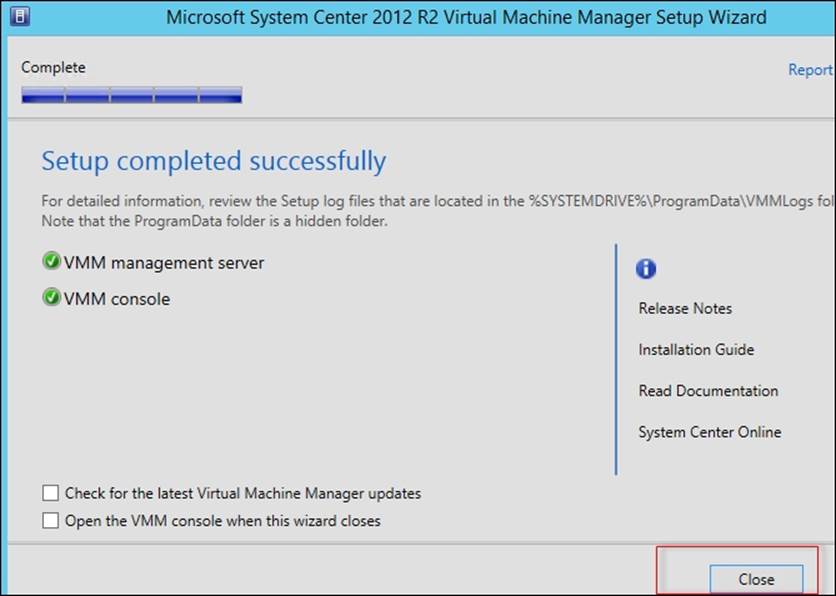
This concludes the installation of System Center Virtual Machine Manager.
Configuring the SCVMM server
Log on to the VMM server. Launch the VMM console by double-clicking on the Virtual Machine Manager Console icon on the desktop, as shown here:
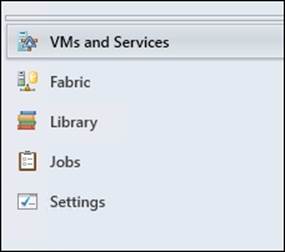
VMM console is divided into five different sections: VMs and Services, Fabric, Library, Jobs, and Settings. All of these sections can be seen in the left pane, as shown in the following screenshot:
The VMs and Services section can show configured Tenants, Clouds, VM Networks, Storage, and All Hosts components.
The Fabric section is further subdivided into Servers, Networking, and Storage. The Servers subsection contains infrastructure building components such as Library Servers, PXE servers, Update Server, vCenter Servers, and VMM Server.
The Networking section contains Logical Networks, MAC Address Pools, Load Balancers, VIP Templates, Logical Switches, Port Profiles, Port Classifications, and Network Service.
The Storage section contains Classifications and Pools, Providers, Arrays, File Servers, and Fibre Channel Fabric resources.
The Library section contains Templates, Service Templates, VM Templates, Service Deployment Configuration, Profiles, Hardware Profiles, Operating System Profiles, Cloud Libraries, Library Servers, Self Service User Content, and Update Catalog and Baselines.
We need at least one cloud configured in Virtual Machine Manager so that App Controller can display the configuration and templates assigned to the resources.
Adding Hyper-V host to the SCVMM server
To add a Hyper-V host to the VMM server, perform the following steps:
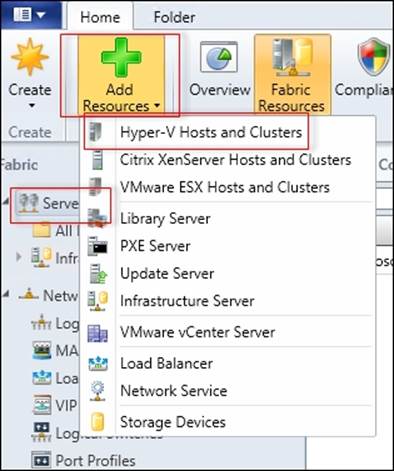
1. Launch VMM Console. Click on Fabric in the left pane. Click on Servers, then click on Add Resources in the top ribbon, and select Hyper-V Hosts and Clusters, as shown in the following screenshot. This will launch Add Hyper-V Host wizard.
2. Select Windows Sever computers in a trusted Active Directory domain. Then click on Next.
3. At the Specify the credentials to use for discovery page, specify Run as account that has local administrator access to the Hyper-V host. Then click on Next.
4. On Specify the search scope for virtual machine host candidates, select Specify Windows Server computers by names. After specifying the Hyper-V hostname, click on Next.
5. Select the discovered computer from the list in the Target Resources pages. Then click on Next.
6. On the Specify a host group and virtual machine placement path settings for hosts page, add the Hyper-V host to the default option or a specific Host Group. Then click on Next.
7. Confirm the settings on the Summary page. We can also save the PowerShell script for the purpose of automation. Then click on Finish.
8. Wait for the VMM job to finish adding the Hyper-V host.
This concludes adding the Hyper-V host to the VMM server.
Creating hardware profiles
The following steps will walk you through the tasks required to create a new hardware profile:
1. Launch VMM Console and select the Library button in the left pane. Expand Profiles, right-click on Hardware Profiles, and select Create Hardware Profile from the pop-up menu.
2. After the New Hardware Profile wizard launches, provide a unique name for the profile. It's good practice to name the profile according to the services being offered. We will be using Small HW Size Windows Server 2012 R2.
3. Provide a good description and select the generation for Hardware Profile. We will be using the default, which is Generation 1.
4. Switch to the Hardware Profiles tab in the left pane. In the Cloud Capability section, select the checkbox next to Hyper-V. In the Processor section, select Appropriate number of processors. In the Memory section, we will be using Static Memory of2048 MB. In the Networking section, select a VM network. Finally, in the Availability section, select the checkbox next to Make this virtual machine highly available if the virtual machine will be residing on a Hyper-V cluster. In our case, it's a standalone Hyper-V machine, so we won't be selecting this option.
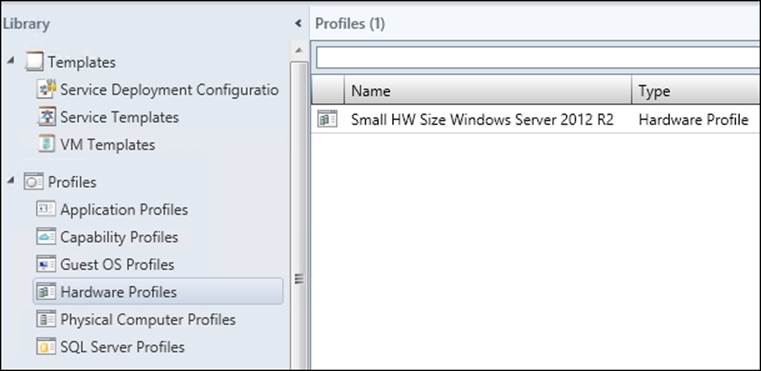
5. There are many more settings that can be configured for Hardware Profiles in this section, but they are out of the scope of this book. Once the preceding settings are configured, click on OK as shown in the following screenshot:

6. We can have multiple Hardware Profiles to address the needs of the corporate end user, while also enforcing corporate policies and standardizing virtual machine configurations. The end user does not need to know where these resources are going to be created and information related to the backend of the infrastructure. These will be configured by the VMM administrator. Take a look at the following screenshot:
Creating Guest OS profiles
Guest operating system profiles allow the VMM server to apply a computer name pattern, compatibility, product key, local administrator credentials, time zone, domain join credentials, and answer files to a single package. We can also add roles and features during virtual machine deployment. The following steps will walk you through the procedure of creating a Guest OS profile:
1. Launch VMM Console, select Library from the left pane, and expand Profiles.
2. Right-click on Guest OS Profiles and select Create Guest OS Profile from the pop-up menu.
Once the Create New Guest OS profile wizard launches, provide a unique name. We will be using OS Profile Windows Server 2012 R2, and will provide a good description for the OS profile. Leave Compatibility to the default setting of Microsoft Windows.
3. Switch to the Guest OS Profile tab in the left pane. In the General settings section, select Operating System and Windows Server 2012 R2 Standard. In the Identity information section, replace the asterisk with Contoso-Web_###. This will allow VMM to assign a sequence number during the provisioning process. If we leave the asterisk in Computer name as it is, a random name will be generated each time a new virtual machine is deployed.
4. In the Admin password section, specify and confirm a strong local administrative password. In the Product Key section, provide your corporate VLK or MAK key. Then, in the Time Zone section, select your local time zone.
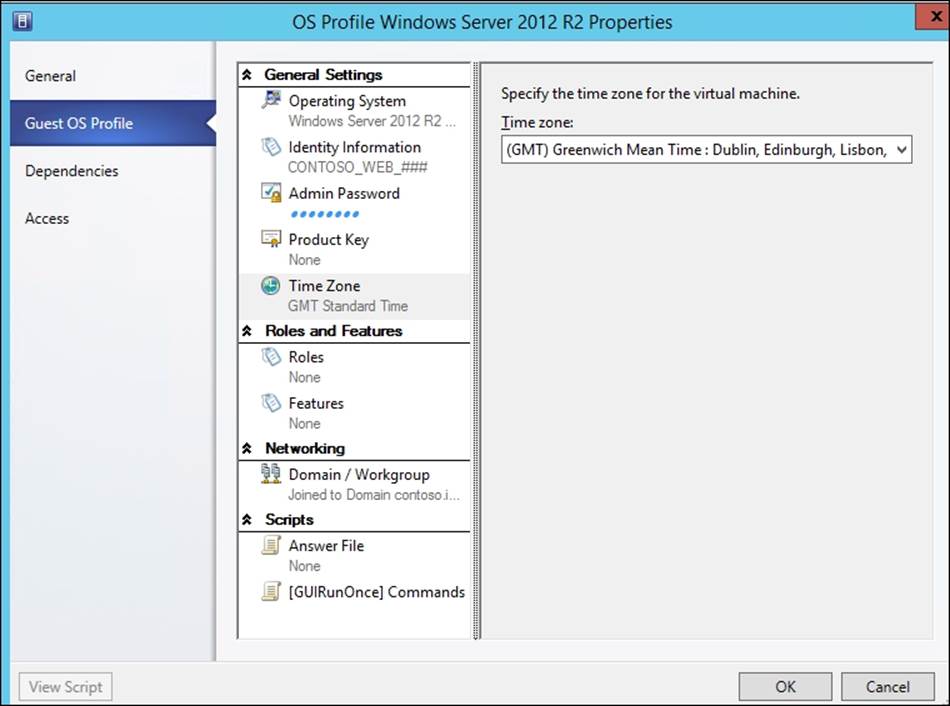
5. In the Networking section, specify Domain name and User account credentials details that have enough permission to join a machine to the domain.
6. When all the details have been provided, click on OK.

Creating a VM network
In this section, we will be creating a VM network that will be assigned to a private cloud later. Perform the following instructions to create a new VM network:
1. Launch VMM Console and select Fabric in the left pane.
2. Expand Networking, right-click on Logical Networks, and select Create Logical Network from the pop-up menu.
3. In the Name field, provide a unique name. We will be using Contoso Logical Network. Under the One connected network section, select the checkbox next to Allow new VM networks created on this logical network to use network virtualization, and also check the box next to Create a VM network with the same name to allow virtual machines to access this logical network directly. Then click on Next.
4. In the Network Site tab, click on the Add button. On the right side, select the checkbox next to the All Hosts group. In the Associated VLANs and IP subnets section, click on the Insert row button. Then add a VLAN number and IP subnet. Now click onNext.
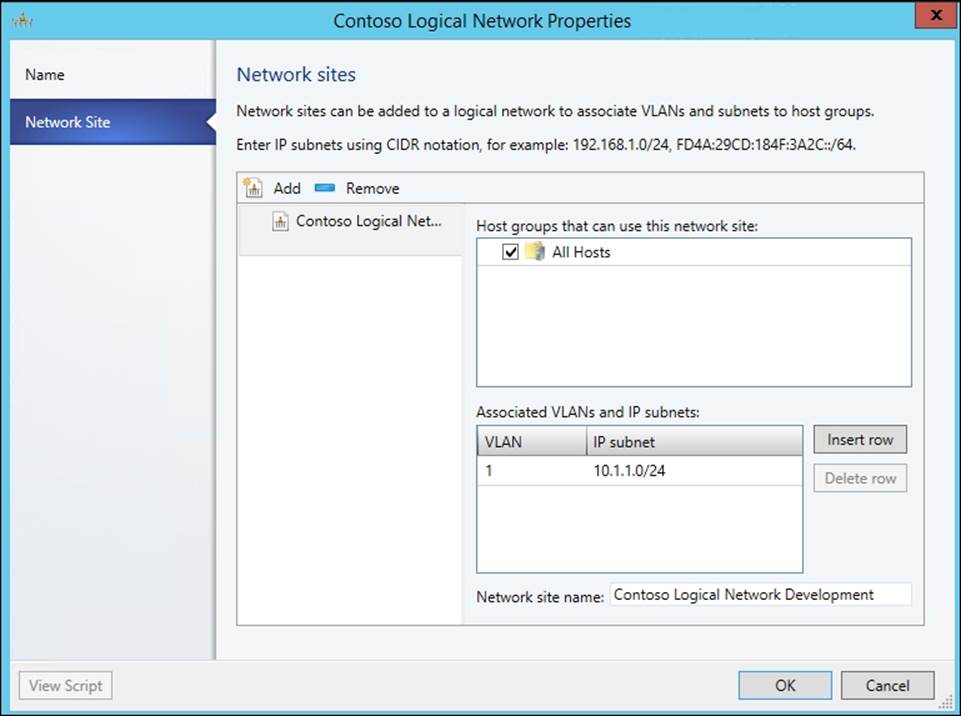
5. Review Settings and click on the Finish button.
6. In a single wizard, we were able to configure a logical network and a virtual network. We also have the ability to add multiple subnets and VLANs to a single logical network. Such settings are out of the scope of this book.
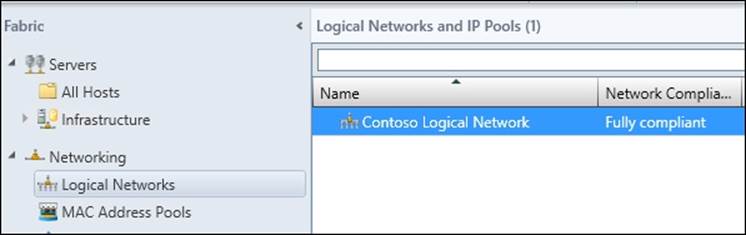
7. Right-click on Contoso Logical Network and select Create IP Pool. Here, we create an IP pool, and it is assigned to a particular logical network for automatic distribution of IPs. Newly provisioned virtual machines will receive IPs from this pool of addresses.
8. Step through Create IP Pool wizard to define the IP address distribution to VMs. Provide a unique name for IP Pool, Logical network, and Description. Then click on Next.
9. We will use an existing network site that was created earlier, and then click on Next.
10. Specify the starting and ending ranges and click on Next.
11. Specify the Gateway, DNS, and WINS settings according to your environment. Then click on Next.
12. On the Summary page, review the settings and click on Finish.
Creating the VM template
Now that we have all the building blocks configured in the VMM server, we will create a VM template. Perform the following steps to configure a new VM template:
1. Launch VMM Console. Select Library in the left pane.
2. Expand Templates, right-click on VM Templates, and select Create VM Template from the pop-up menu.
3. Click on the Browse button in Use an existing VM template or a virtual hard disk stored in the library.
4. Select a VHD or VHDx file that has been prepared for storage in the VMM library. I have a Windows Server 2012 R2 file already imported. Click on OK after selecting the appropriate file.
5. Now you will be taken back to the Create VM Template wizard. Click on Next.
6. Provide a unique name in VM Template Name. We will be using Windows Server 2012 R2 WEB Template. Provide a good description, leave Generation type to the default value of Generation 1, and click on Next.
7. On the Configure Hardware page, select the Small HW Size Windows Server 2012 R2 hardware profile from the drop-down list. Then click on Next.
8. On the Configure Operating System page, select the OS Profile Windows Server 2012 R2 OS profile from the drop-down list. Then click on Next.
9. We don't have any application configuration profiles and SQL Server profiles to configure, so select None in the drop-down list on both pages and click on the Next button on both pages.
10. On the Summary page, review the selection and then click on the Create button.

Creating a private cloud
In this section, we will be combining all the pieces of the puzzle into a single entity called cloud. We have the ability to create multi-tenant environment on a single physical hardware or cluster. Perform the following steps to configure a cloud in the VMM server environment:
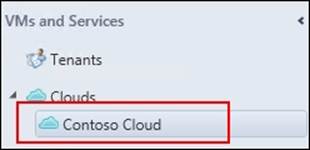
1. Launch VMM Console if it is not already open. Select VMs and Services from the left pane.
2. Right-click on Clouds and select Create Cloud from the pop-up menu.
3. On the General page, specify a unique name and description for the cloud. We will be using Contoso Cloud as the name. Then click on Next.
4. On the Resource page, select the appropriate Host Group (we will be using All Hosts group) and then click on Next.
5. On the Logical Network page, select an appropriate logical network. Then click on Next.
6. Click on Next on the Load Balancers and VIP Templates pages.
7. On the Port Classifications page, select the appropriate port classifications that should be allowed for this cloud, and then click on Next.
8. On the Storage page, select the appropriate storage classifications according to your environment. Then click on Next.
9. On the Library page, click on the Add button, select the default VMM Library, and click on OK. Then click on Next.
10. On the Capacity page, leave default settings of Unlimited capacity as they are, and click on Next.
11. On the Capability Profiles page, select Hyper-V. Then click on Next.
12. On the Summary page, review the selections and click on Finish.
Summary
In this chapter, we installed the prerequisites for successful installation of System Center 2012 R2 Virtual Machine Manager. Then we configured hardware profiles, guest OS profiles for automation of Virtual Machine deployment. We also created a VM template to consolidate hardware and guest OS profiles. Then we created a logical network and VM network to route data from virtual machines.
In the next chapter, we will continue with System Center 2012 R2 App Controller, integrate the VMM server with App Controller and Azure Subscription, and add a network share.
All materials on the site are licensed Creative Commons Attribution-Sharealike 3.0 Unported CC BY-SA 3.0 & GNU Free Documentation License (GFDL)
If you are the copyright holder of any material contained on our site and intend to remove it, please contact our site administrator for approval.
© 2016-2026 All site design rights belong to S.Y.A.