Windows 10. Absolute Beginner’s Guide (2016)
Part I: Getting Started
5. Working with Windows Apps
In This Chapter
• Starting and Stopping Windows Apps
• Working with Menus in Windows Apps
• Assigning Default Apps for Common Tasks
• Managing Storage Issues Related to Windows Apps
If you are a long-time user of Windows, you might have developed some basic expectations when it comes to running applications. If you are new to Windows, you might have had experience with running applications in other operating systems. Windows 10 has improved the way that modern apps, Windows apps, run on a device.
In this chapter, we look at some of the characteristics of Windows apps. We also learn about settings for storage, app management, and system defaults related to Windows apps.
This chapter builds on some key points that were covered in the previous chapter, “Introducing Windows Apps.” Additionally, be sure to review Chapter 2, “Interacting with Windows,” if you are confused while reading the step-by-step procedures.
Running Windows Store Apps
Starting an app probably seems like a basic topic, perhaps one that doesn’t merit its own section in a book. But Windows apps are still a relatively new creation that most Windows users have never used. Although you might not readily notice much difference between a Win32 Desktop application and a Windows app, differences do exist. This section explains what happens when a Windows Store app starts, what happens when a Windows app is running, as well as how to close a running app.
 Note
Note
Much has been done to ensure that Windows apps perform well on Windows 10. Microsoft has provided more tools to developers for Windows 10 than were previously available for Windows 8. This enables developers to create snappier apps with more ways to leverage the hardware on your device.
Starting a Windows Store App
To start a Windows Store app, select the tile from the Start menu that represents the app you want to start. Figure 5.1 shows a representative set of Windows Store app tiles. Immediately after you select a tile, you see a bit of fancy animation that quickly transitions to the open app.
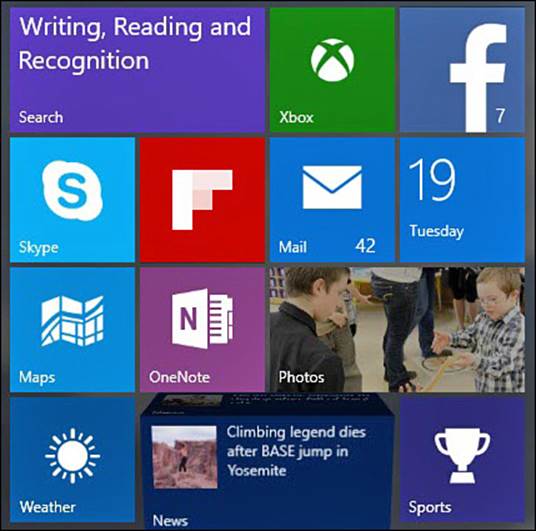
FIGURE 5.1 Windows apps are started by selecting a tile from the Start menu. The tiles can be simple in design using static colors and graphics, or they can include live tile updates and animation.
Depending on whether your device is in Tablet mode or Desktop mode, the app will open full screen or as a window. You’ll notice Windows apps appear flat, borderless, and broad. There are no buttons, sliders, or other controls that appear to be raised off the screen, as shown in Figure 5.2, which features the popular Flipboard app.

FIGURE 5.2 Notice how Windows apps, like Flipboard, appear flat with no raised buttons or ribbon menus.
Because Windows apps are designed to keep the focus on content and to keep distracting menus and controls off the screen until needed, you might initially feel that settings are missing or that an app is too simple. Just remember that most controls are hidden or minimized until selecting icons like the hamburger menu or visual cues such as an ellipsis that the app developer might use to let you know additional controls or options are hidden. Some Windows apps even hide the title bar when they are in full screen. To reveal a title bar that has hidden on you, swipe down from the top of the screen with a touchscreen or position your mouse cursor near the top of the screen, as shown in Figure 5.3.

FIGURE 5.3 Windows apps can hide title bars until needed; you can reveal them with a simple swipe or by using your mouse cursor.
 Tip
Tip
When your device is in Tablet mode, apps open to full screen by default, hiding any other apps that might be open. To further complicate this situation, your taskbar does not show open apps by default while in Tablet mode. How do you return to other apps that are open? The easiest way is to simply swipe in from the left side of the screen to reveal open apps in Task View. You could also select the Start menu and reselect the app or minimize the current app from its title bar.
Stopping a Windows 10 App
Closing a Windows 10 app is pretty straightforward compared to Windows 8. Closing a Windows 10 app truly closes and immediately releases any memory or CPU resources that were being allocated for that app. If you are instructed to close an app, perhaps for troubleshooting purposes—or you simply want to impress your friends—here are a few ways to close an app (these methods work for Desktop applications as well):
![]() Be sure you are in the app you want to close. Slowly drag your finger on the screen down from the top of the screen. By the time you reach the bottom of the screen, the app will shrink and should disappear from view. When you start this gesture, be sure your finger is close to the edge of the screen that borders the rest of your device.
Be sure you are in the app you want to close. Slowly drag your finger on the screen down from the top of the screen. By the time you reach the bottom of the screen, the app will shrink and should disappear from view. When you start this gesture, be sure your finger is close to the edge of the screen that borders the rest of your device.
![]() Press Alt+F4.
Press Alt+F4.
![]() From the title bar, close the app by selecting X.
From the title bar, close the app by selecting X.
![]() From Task View, select the X to close an app even if it is on a different desktop. (Task View is covered in detail in Chapter 6, “Finding Your Way Around the Windows Desktop.”)
From Task View, select the X to close an app even if it is on a different desktop. (Task View is covered in detail in Chapter 6, “Finding Your Way Around the Windows Desktop.”)
Using Common Windows App Menu Tools
Almost all Windows apps have at least one setting that you can adjust. Accessing and locating the menus and settings can vary a bit between Windows apps because the placement and implementation is left to the app developer, although consistency is encouraged. For example, the Adobe Reader app enables you to input a name that will be used to tag any annotations made on a PDF file using the app. Settings for the Adobe Reader app are accessed from the hamburger menu located on the title bar, as shown in Figure 5.4.

FIGURE 5.4 Many hidden controls can be accessed from the title bar of apps, like the Adobe Reader app.
Other apps might locate a hamburger menu below the title bar to keep it visible at all times, as shown in the Sports app in Figure 5.5. Select the hamburger menu icon to reveal the menu. The contents of a hamburger menu will vary according to the app and what the developer of the app has decided to include there. Options such as Settings or Favorites are commonly found in a hamburger menu.
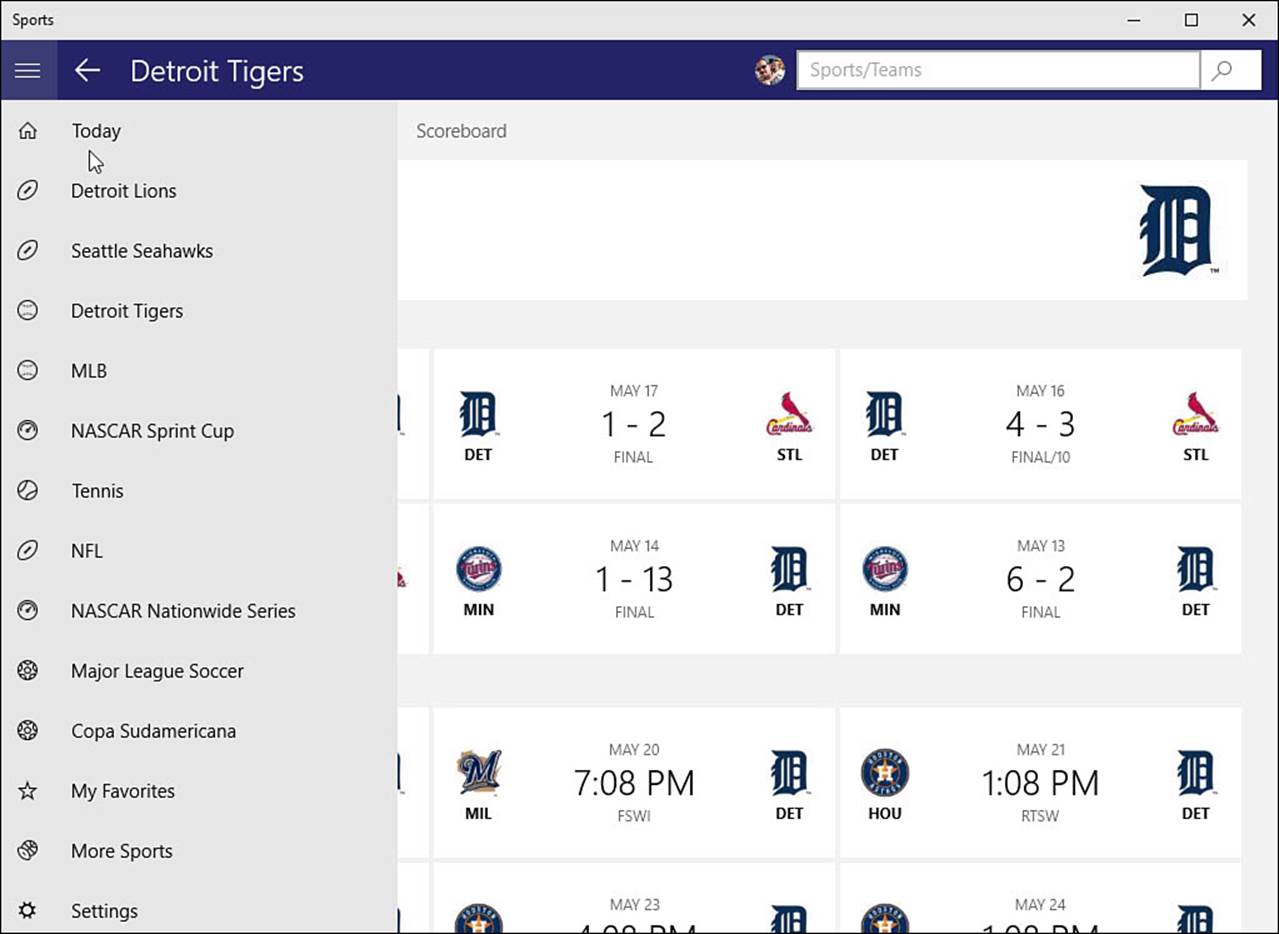
FIGURE 5.5 Hamburger menus can be used to contain many tools, including the settings for that app as shown here in the Sports app.
Many apps use upper or lower App Command bars to contain additional tools or options. Shown in Figure 5.6, the Adobe Reader app reveals tools for printing or annotating.
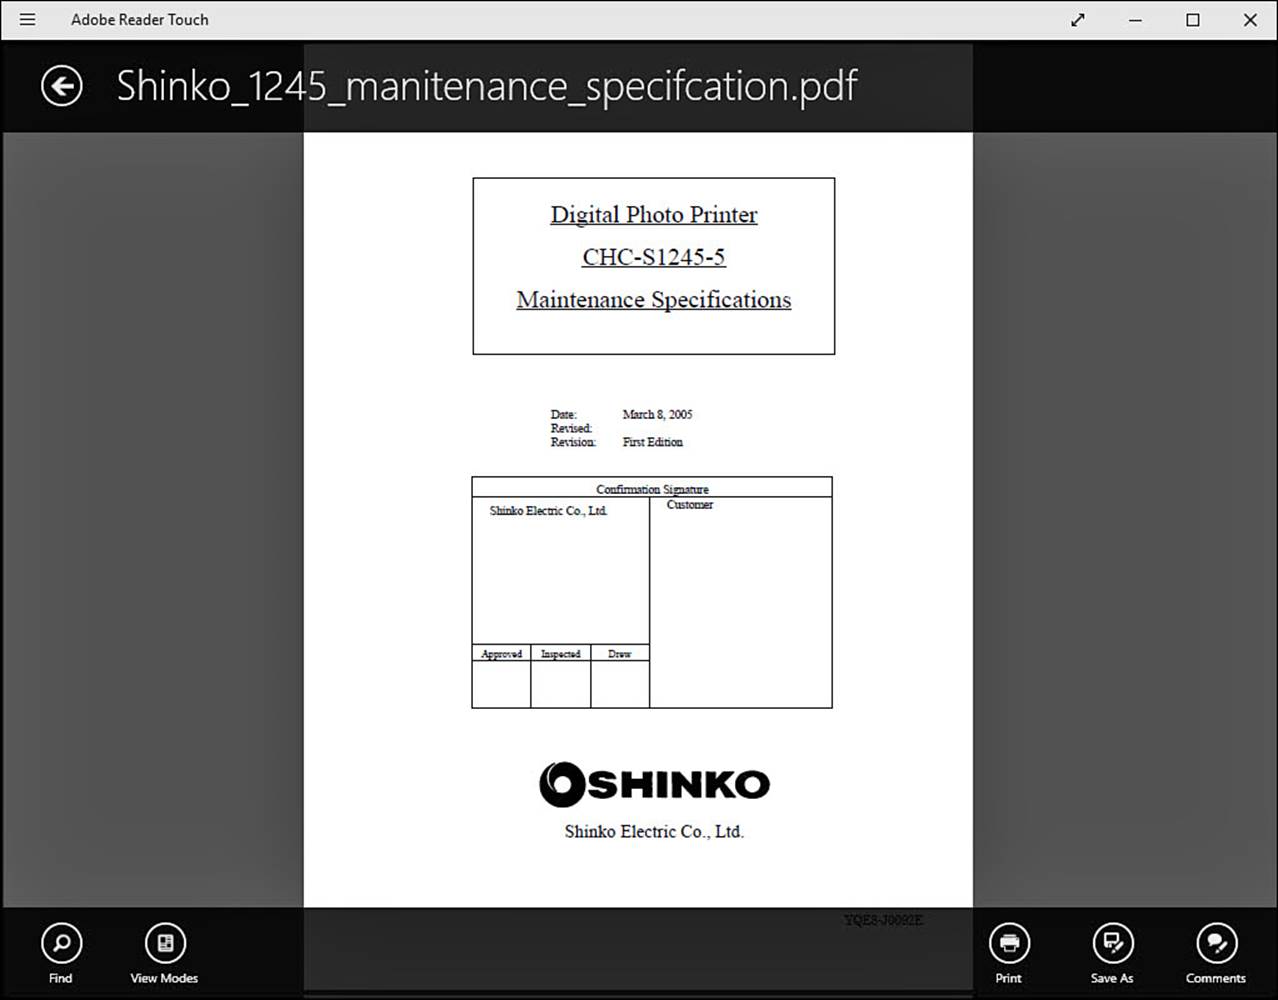
FIGURE 5.6 Some apps, like the Adobe Reader app, hide tools in the App Command bar until you need them.
To open an App Command bar, try one of the following based on the device you use:
![]() Look for a hamburger menu on the title bar of the app. Select App Commands from the hamburger menu.
Look for a hamburger menu on the title bar of the app. Select App Commands from the hamburger menu.
![]() Press Windows+Z.
Press Windows+Z.
![]() Right-click any empty area of the Start screen.
Right-click any empty area of the Start screen.
Managing Windows Apps
Windows 10 offers a few additional ways to manage your Windows apps. File types and tasks are associated with Microsoft recommended defaults, which coincidentally tend to be Windows apps. Another area where Windows 10 enables you to manage apps is storage. Both of these areas are discussed in this section.
Choosing Default Apps
When you need to send an email, perhaps using the Share feature in another app, Windows will check to see which app is your default for handling this task and then open the designated app. The same thing determines which app is used to play music, look at pictures, or open a web page when you open a file or shortcut. Although the default choices are good, you might have reasons to use a different app. This determination is actually something you can change with a few simple clicks.
To modify the current Windows default apps, follow these steps:
1. From the Start menu, select Settings to open the Settings app.
2. Select System and then select Default apps from the vertical menu to the left. The app will display Choose Default Apps with a list of common apps, as shown in Figure 5.7.
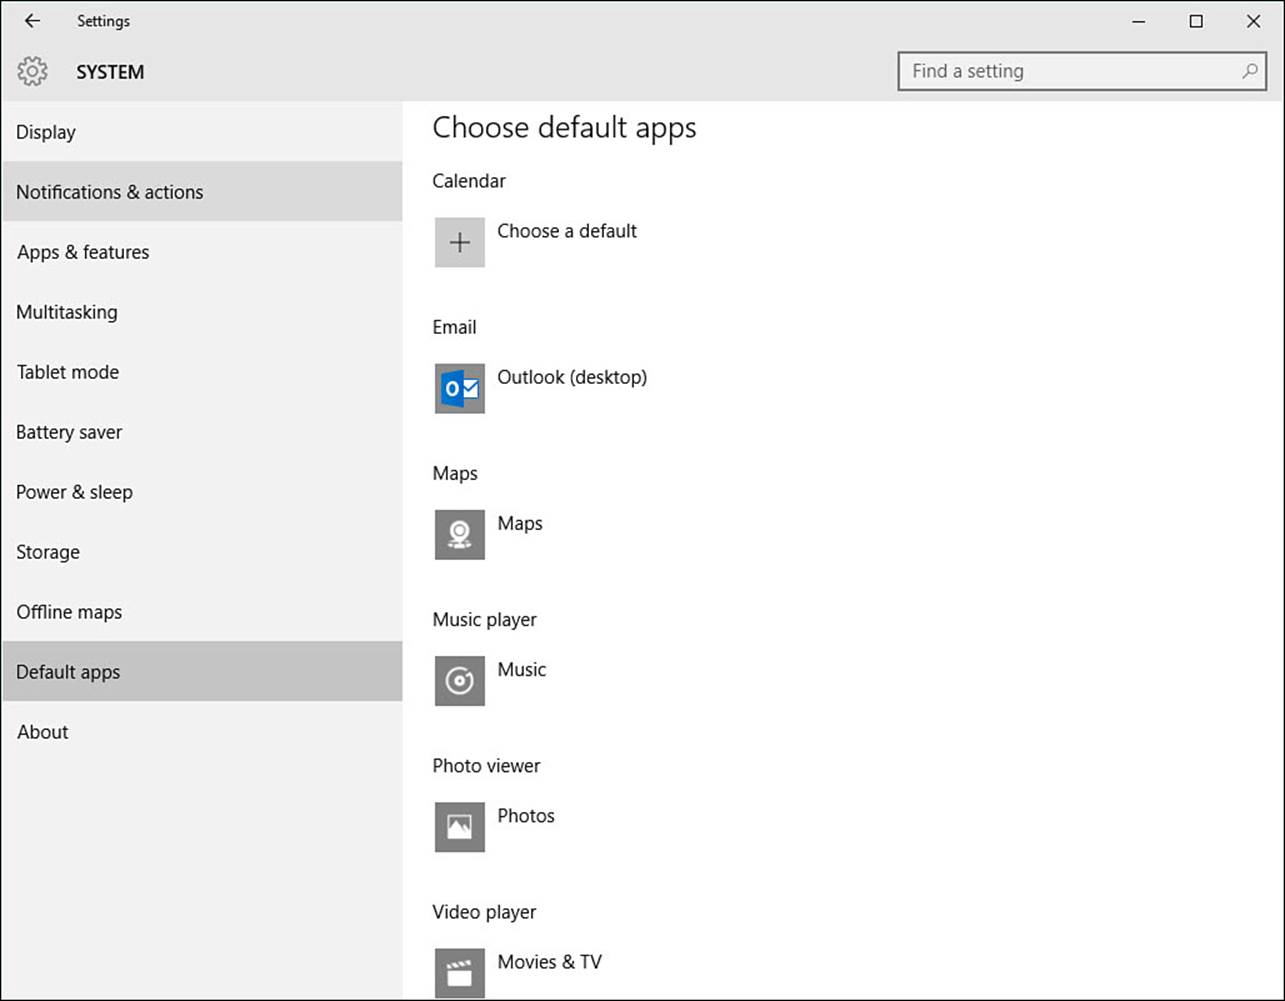
FIGURE 5.7 Windows keeps track of preferred apps to handle common tasks in the Settings app.
3. Select the current app for the task, and a menu will appear with other apps (including Desktop applications) that can handle this task, as shown in Figure 5.8.
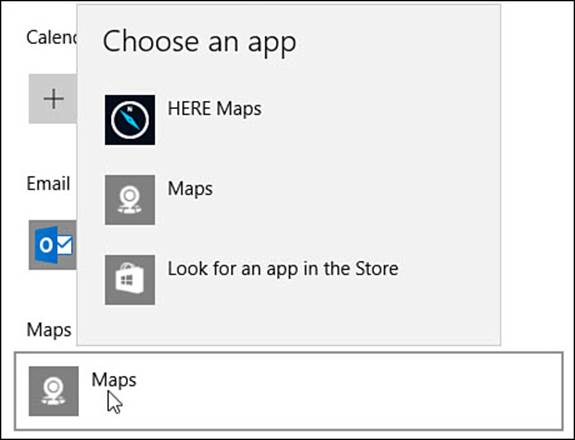
FIGURE 5.8 Change which app is used for a task by selecting it from a list.
4. Select an app or select Look for an App in the Store to browse for Windows apps in the Windows Store to install to your device.
5. Close the Settings app. Your choice will immediately take effect.
Managing Storage Options for Windows Apps
Managing how your device uses attached storage such as a memory card is an issue that is more likely to concern tablet users who have limited storage space than a desktop user with a large-capacity hard drive. Additionally, there are some large apps out there and more to come, so the flexibility to move apps around and manage your storage options is an important feature to be aware of. Windows includes tools that allow you to see which apps are consuming the most storage space and uninstall apps. In some cases you can even move an app to a different drive.
To view and make changes to your installed apps, follow these steps:
1. From the Start menu, select Settings to open the Settings app.
2. Select System and then select Apps & Features from the vertical menu to the left. Windows will capture current information about the Windows apps and Desktop applications installed on your device; then this information will be displayed under Apps and Features, as shown inFigure 5.9.
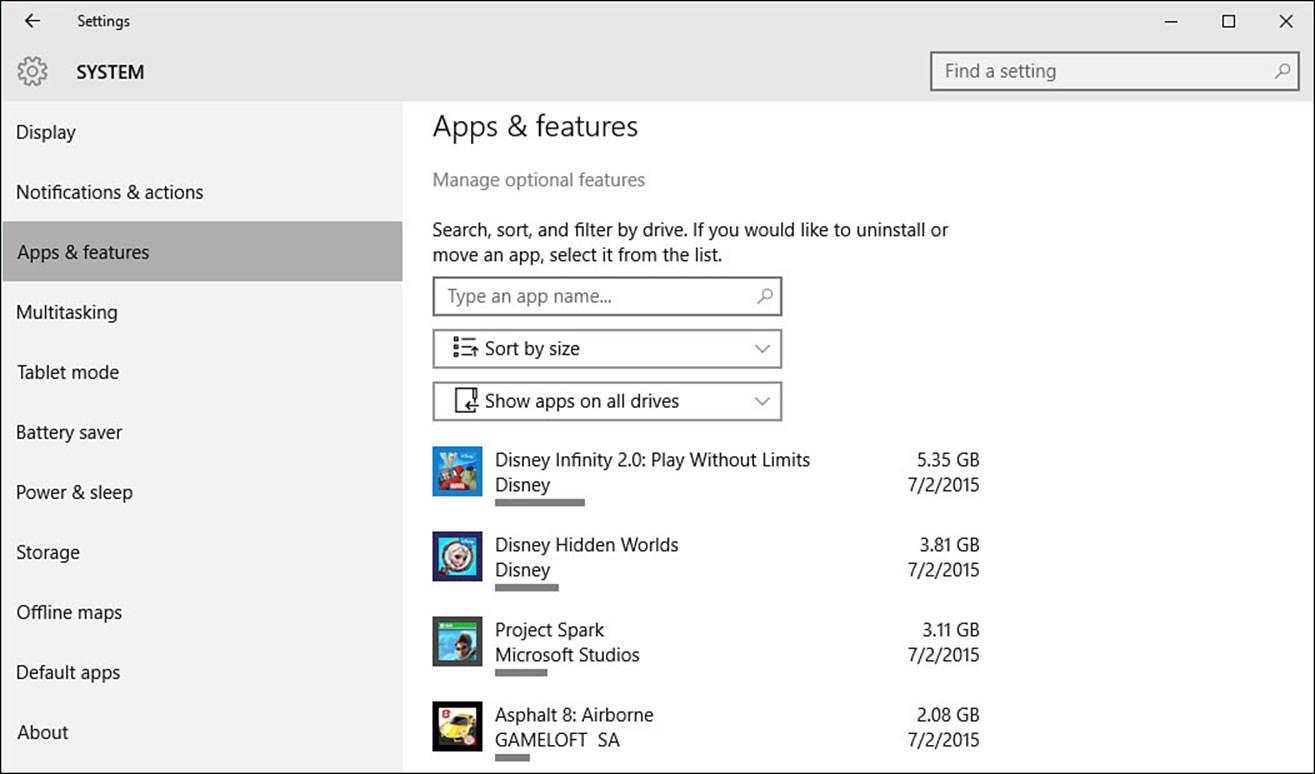
FIGURE 5.9 Open the Installed Apps pane in the Settings app to check which apps are taking up the most storage space.
3. Use the filters to target the information. For example, you can sort the apps by size, name, or install date. You can also select which drive you want to look at.
4. Select an app from the list. The buttons Move and Uninstall will be displayed for the selected app, as shown in Figure 5.10. (An additional drive must be available or the Move button will be grayed out.)
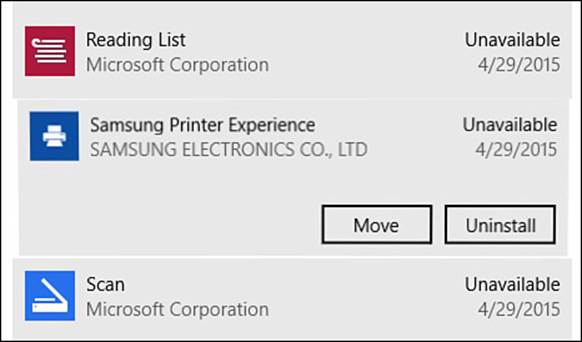
FIGURE 5.10 You can choose to uninstall or move apps from the Settings app.
5. To uninstall a Windows app, select Uninstall. You will be prompted to confirm your decision to uninstall the app and its data. Select Uninstall to confirm.
6. To move an app to a different drive, select Move. You will be prompted to select a drive, as shown in Figure 5.11.
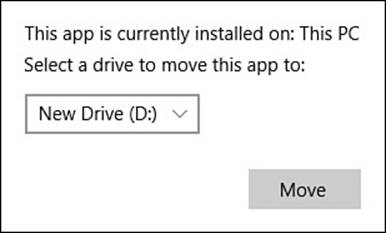
FIGURE 5.11 To recover some space, you can move a large app to a different drive.
7. Windows will move the app to the selected drive, which can take some time depending on the size of the app you are moving.
Note
Even though Desktop applications are listed in the Installed apps list, they cannot be moved in this manner. The only option you will see is to Uninstall a Desktop application. Desktop applications are covered in detail in Chapter 7, “Working with Windows Desktop Applications.”
Managing Default Save Locations
Another way that storage can be managed is by indicating a default save location for a specific task, such as installing new apps or saving certain file types. Windows 10 enables you to modify the locations used by default.
Follow these steps to manage default save locations on your device:
1. From the Start menu, select Settings to open the Settings app.
2. Select System and then select Storage from the vertical menu to the left. The Storage pane of the Settings app will appear, as shown in Figure 5.12.
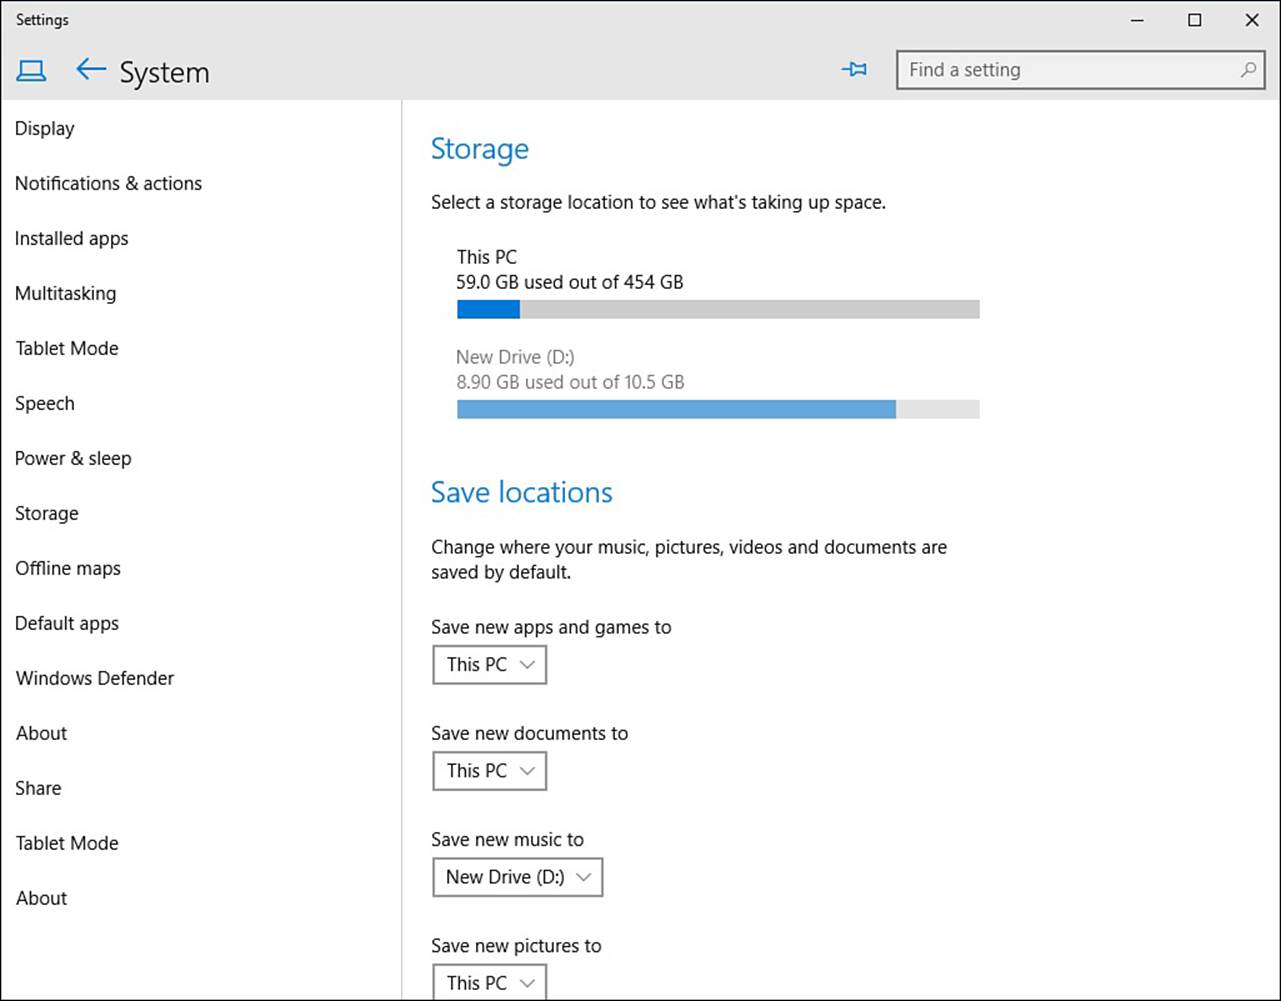
FIGURE 5.12 Use the Storage pane in the Settings app to manage default save locations.
3. To change the default location used when installing new apps, select the drop-down menu below Save New Apps and Games To. From the drop-down menu, select a new drive location. When installing apps in the future, Windows will save them to this new location.
4. Notice that other default locations are indicated here. Select from the drop-down menus to change the default location for any of these, as shown in Figure 5.13.
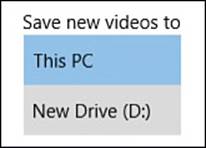
FIGURE 5.13 Select a different drive location for saving apps or other types of media that can consume a lot of space.
 Caution
Changing your default save location for apps could make things overly complicated on most devices from a support standpoint and should be a last resort if you are dealing with low space issues on your main drive. Saving things like videos, pictures, and music to a different drive, however, is a much more practical way to use this feature. If space is not an issue, I recommend leaving your save locations at their defaults.
The Absolute Minimum
• Windows apps are software programs developed by Microsoft and other software developers that are designed to run in Windows 10. They are designed to run efficiently without overtaxing your system resources, and most will run across a variety of form factors.
• The hamburger menu is a common design feature in Windows apps. Look to this menu for settings and other important tools when using an app.
• Rather than using the default apps that Microsoft has chosen for tasks, select the apps you prefer in the Default Apps pane of the Settings app.
• If you are running out of space in your main drive, you can move large apps that are space hogs.
• Default save locations can be modified in Windows 10 for media and for installing new apps.
All materials on the site are licensed Creative Commons Attribution-Sharealike 3.0 Unported CC BY-SA 3.0 & GNU Free Documentation License (GFDL)
If you are the copyright holder of any material contained on our site and intend to remove it, please contact our site administrator for approval.
© 2016-2026 All site design rights belong to S.Y.A.