Using Windows 8.1: Return of the Start Button (2014)
Chapter 1. Setting Up Windows 8
Most PCs will be running some version of Microsoft Windows.
Windows 8 is the latest version of Windows produced by Microsoft and is intended for use on personal computers, such as home and business desktops, laptops, tablets, and media center PCs.
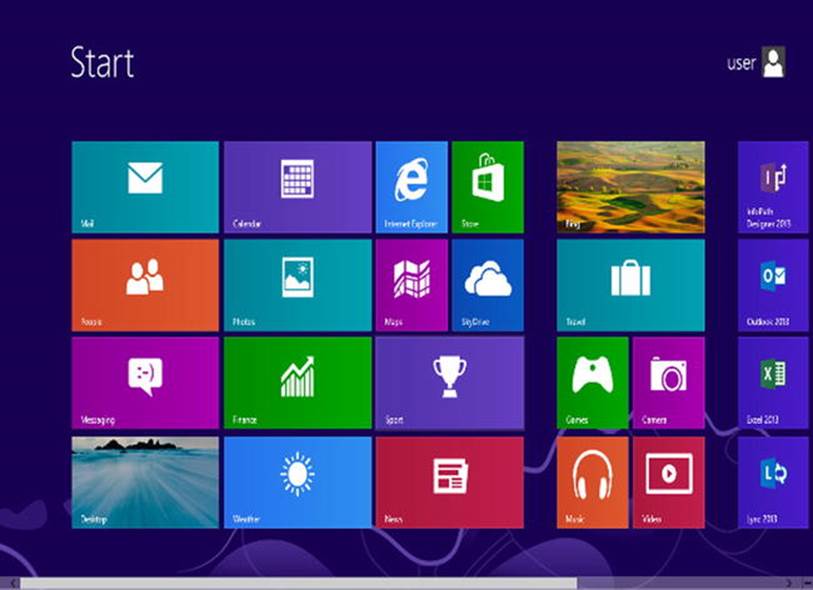
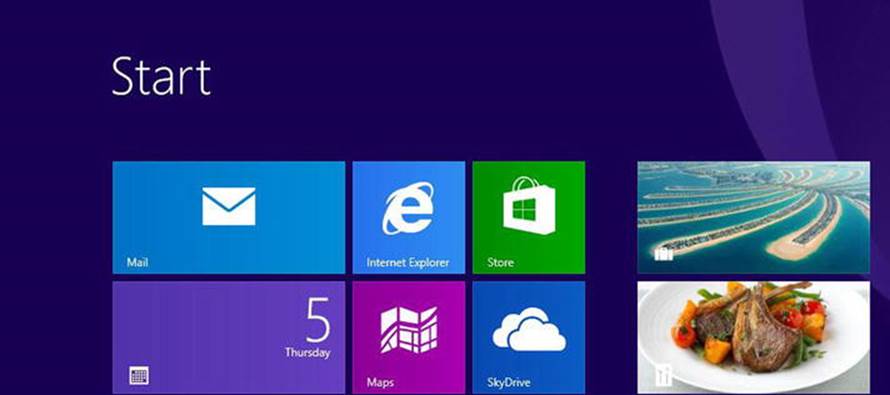
There are significant changes to the operating system, including a new touch-friendly interface with a new Start screen featuring a grid of applications offered with the system. These grid tiles dynamically update.
The Start screen replaces the Start menu of earlier Windows versions, putting more emphasis on touch-screen input.
Windows 8 provides more integration with online services and introduces a new Windows Store, which is where different apps can be downloaded. Free and paid apps are available through the Windows Store. These apps are optimized for touch-screen environments and have a smaller scope in relation to desktop applications.
Windows 8 is available in four versions.
Windows RT is a version of Windows 8 designed specifically for mobile devices such as tablets.
Windows 8 is intended for home users and is most likely installed on your new laptop or PC.
Windows 8 Pro is aimed toward enthusiast users and professional environments such as offices, schools, and colleges.
Windows 8 Enterprise is aimed toward larger business environments and large offices.
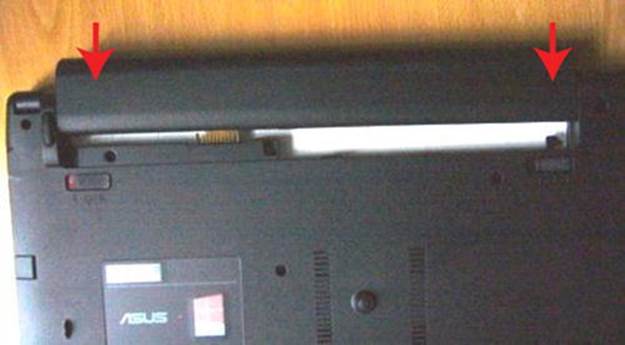
Hardware Setup
First, place your machine on a firm desk and insert the battery.
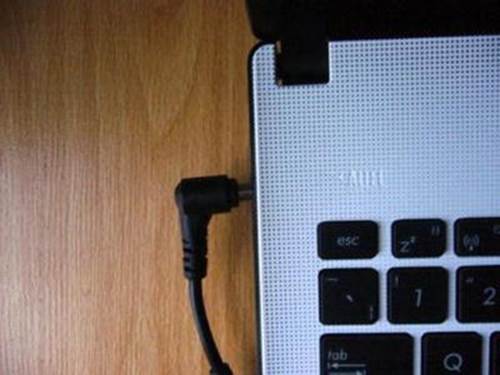
Connect the power cord.
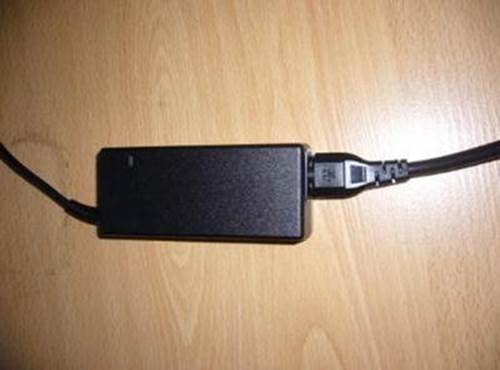
Plug power cord into the side of your laptop or desktop and press the Power button. I will be using my laptop for this example.
USB ports, which you will no doubt come across, let you connect mice, printers, scanners, cameras, and any other accessories you can think of to your computer quickly and easily.

You usually have some USB ports on the back of your machine; these are good for connecting devices you can leave permanently plugged in.
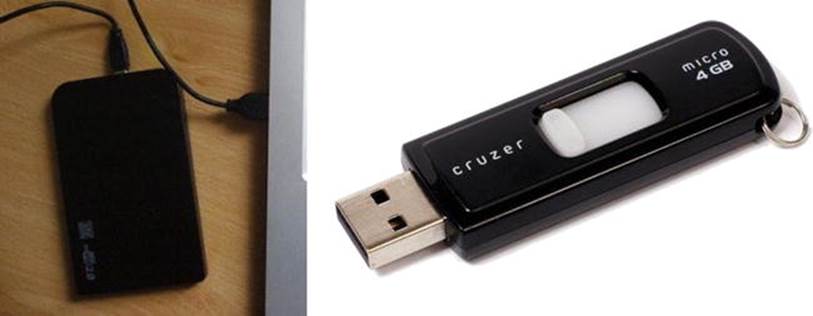
You will also find some USB ports on the front of your machine, which are good for connecting removable media such as external hard disks and USB memory sticks.
Laptops will have USB ports on the sides of the machine.
Upgrading to Windows 8.1
When upgrading from Windows 8, Windows 8 Pro, Windows RT, and any Windows 8.1 Preview versions, the process is the same.
Before you start it is a good idea to make sure all your files, photographs, and music files are backed up onto an external hard disk.
Launch the Windows Store and click "Update to Windows 8.1 for free," which should be on the main page as you launch the Windows Store.
If it isn't on the Store page, you can search for it using the search field on the top right of your screen.

On the screen that follows click Download.
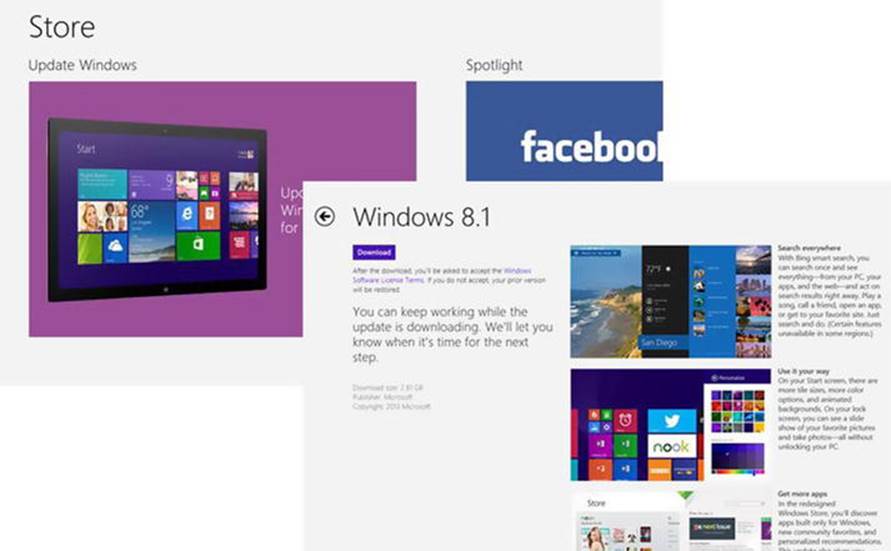
The update will begin to download and will install itself in the background, allowing you to keep working in other programs in the meantime. This process is automated and will take some time depending on the speed of your computer and your Internet connection.
Once the download is complete click Restart Now to begin installation. This may take a while.
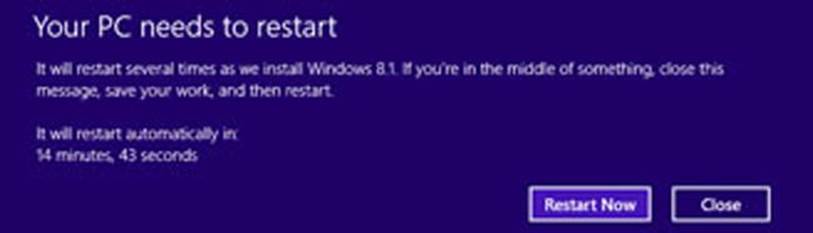
The computer may reboot a few times while it updates itself.
Starting Windows 8 for the First Time
Once the update is installed and your computer has rebooted, you will be guided through a process similar to the one below, which will allow you to choose some configurations and settings.
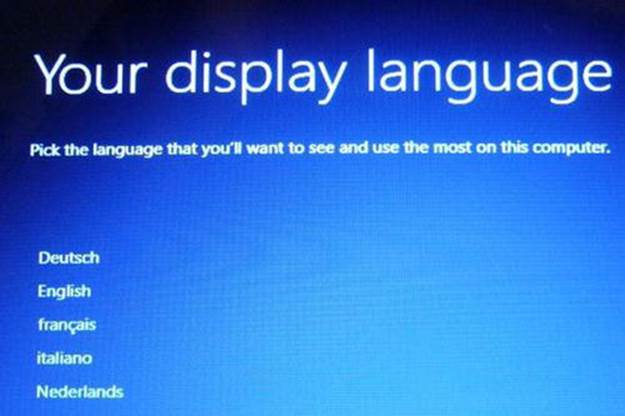
Step 1 – Pick a language
As shown in the following screen, you have several choices.
Step 2 – Agree to the license agreement
Once you read the terms, click Accept.
Step 3 – Personalize your copy of Windows 8
Pick a color –I like blue.
PC name – This is useful if you have more than one PC in the house. Good strategy is to name the PC according to either who is using it or what room it’s in. I’m going to go with KW-Laptop, because I am using Windows 8 on my laptop. Other examples are ClairesLaptop, PC-Study, PC-livingroom, and so on.
Step 4 – Set up your wireless Internet
Windows 8 will automatically scan for nearby wireless routers. It is just a matter of finding the name of yours in the list. The name of your wireless Internet is called the SSID and will be written on the back of your router.

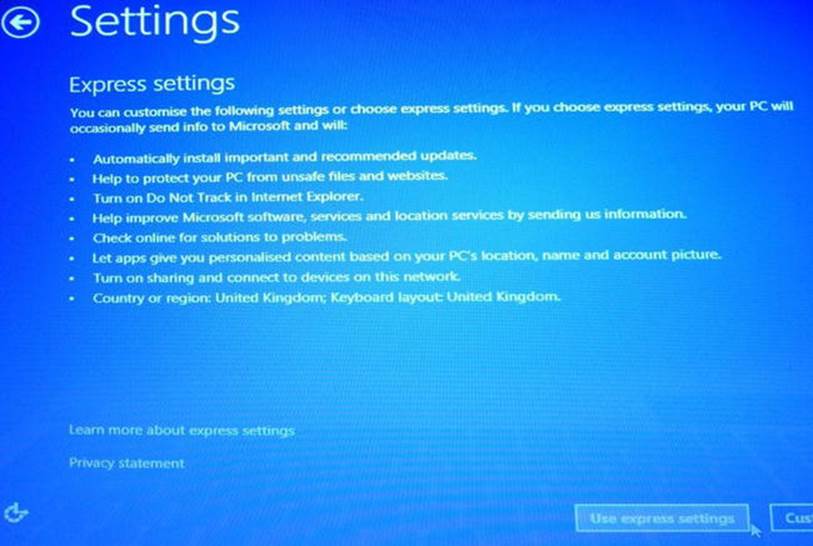
Step 5 – Configure your settings
I would go with express settings. This allows Windows 8 to configure the settings for you.
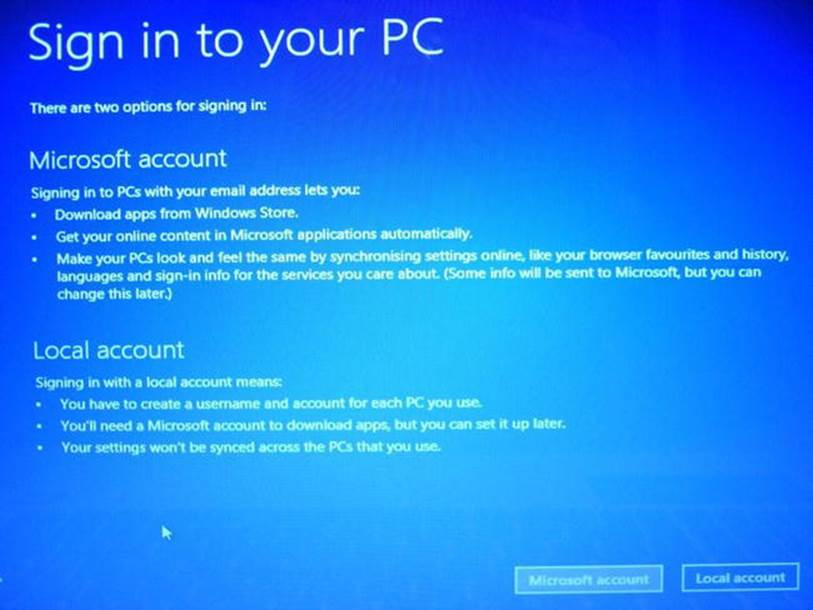
Step 6 – Create a Microsoft account
Click Microsoft Account and follow the instructions on screen. A Microsoft account gives you access to email, the Windows Store, and a lot more than a local account does.
Transferring Files
Now that we’re all up and running with Windows 8, you can transfer files from your old machine.
On Your Old Computer
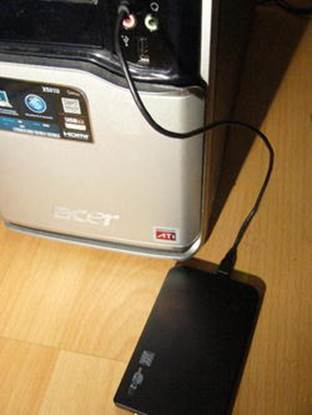
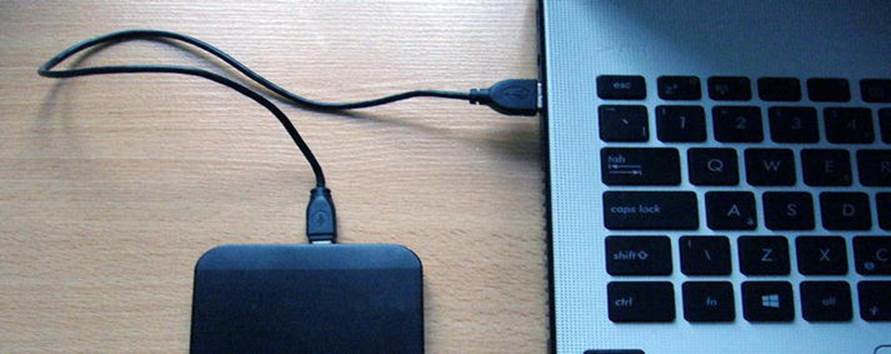
First, connect the external drive to one of the USB ports on your old computer.
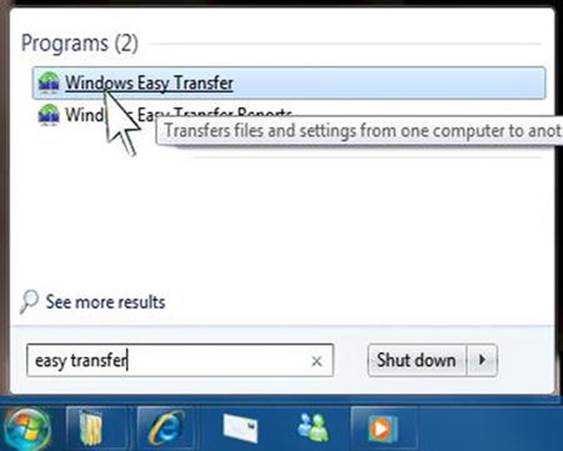
If transferring from Windows 7, click on Start and type "Easy Transfer." Under the Programs heading on the search results, click Windows Easy Transfer.
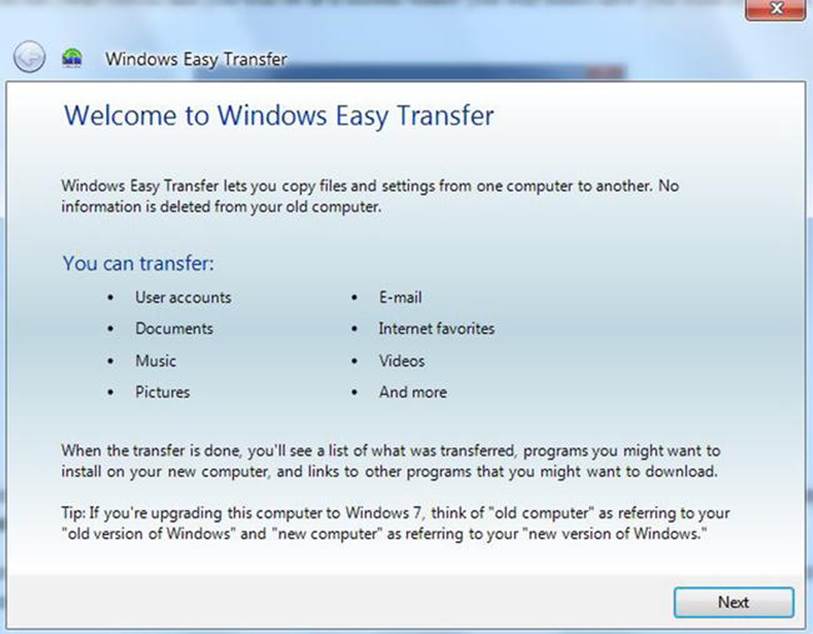
Once Windows Easy Transfer has opened, you will see a screen telling you what Windows Easy Transfer does and what files it transfers. Click Next.
You will need to choose how you want to transfer your files across to your new computer. I recommend using an external hard disk with at least 500GB of space.
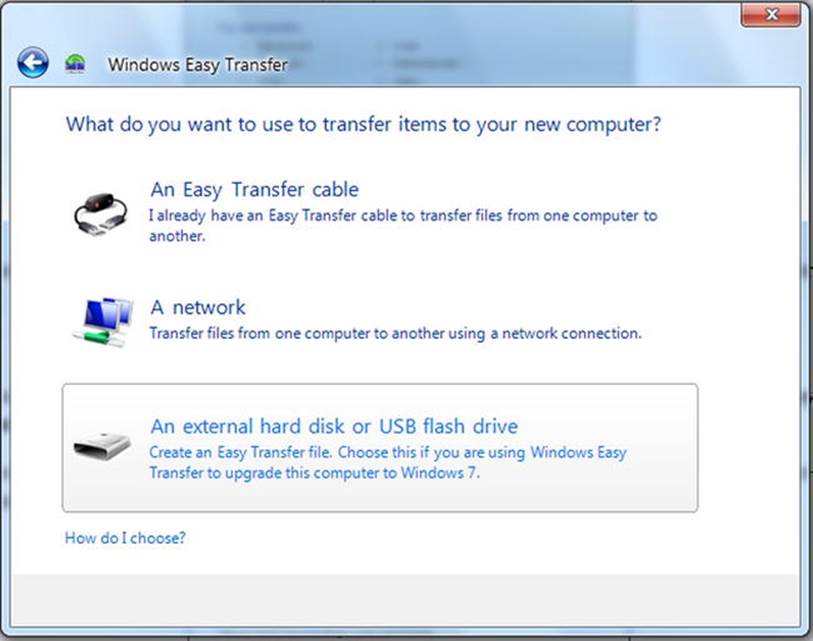
Click on "An external hard disk or USB flash drive."
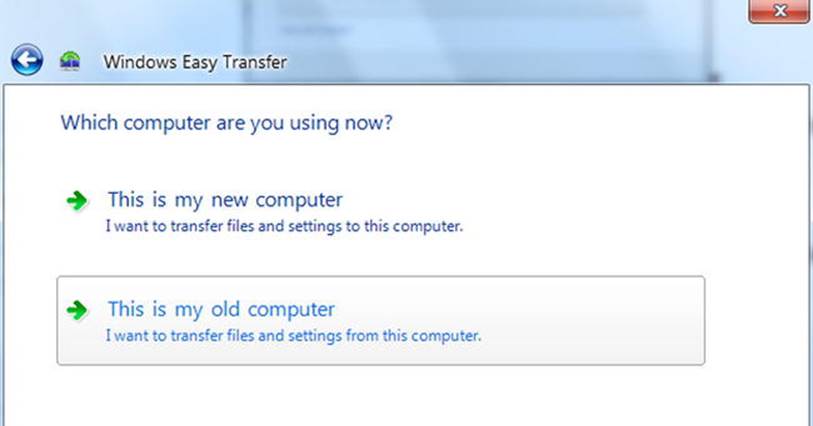
Next, you need to specify which computer you are using: your old computer or your new computer. Since this machine has all your data on it, it would be your old machine, so click "This is my old computer."
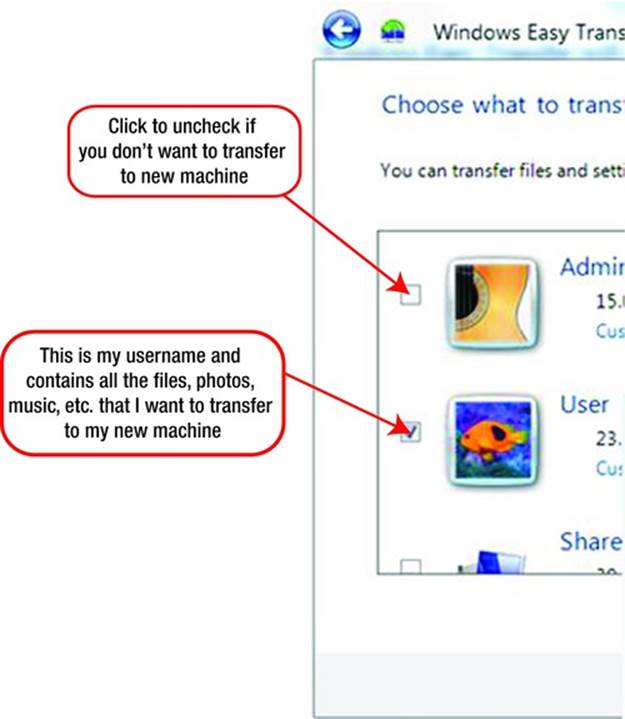
First, select the users whose files you want to transfer to your new machine by clicking the check boxes on the left-hand side, as shown in the following screen.
If you are upgrading to Windows 8, you should not transfer any Windows or Program settings, as this can cause compatibility problems.
To remove these options, click on the Customize link under your user name. From the following popup menu, make sure every option is selected except Program Settings and Windows Settings.
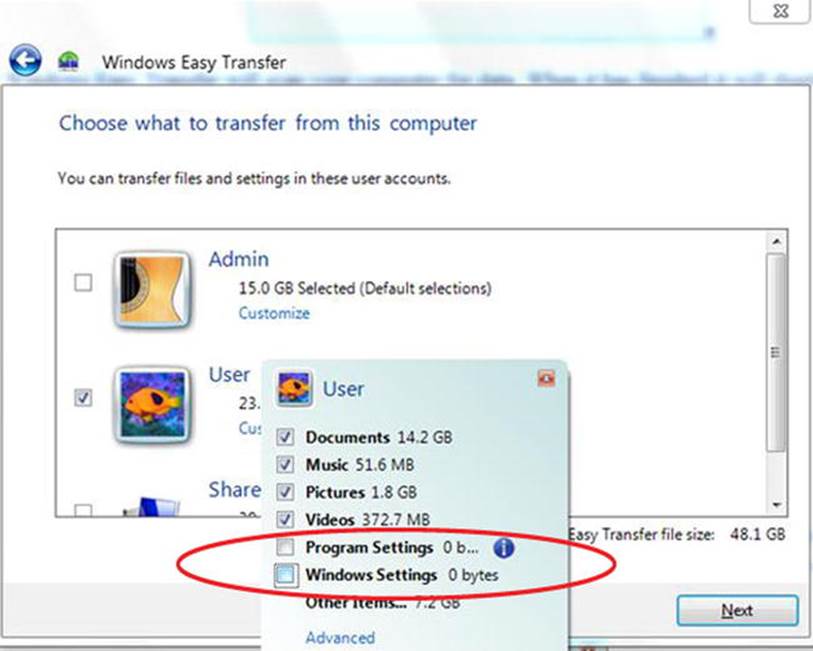
Click Next.
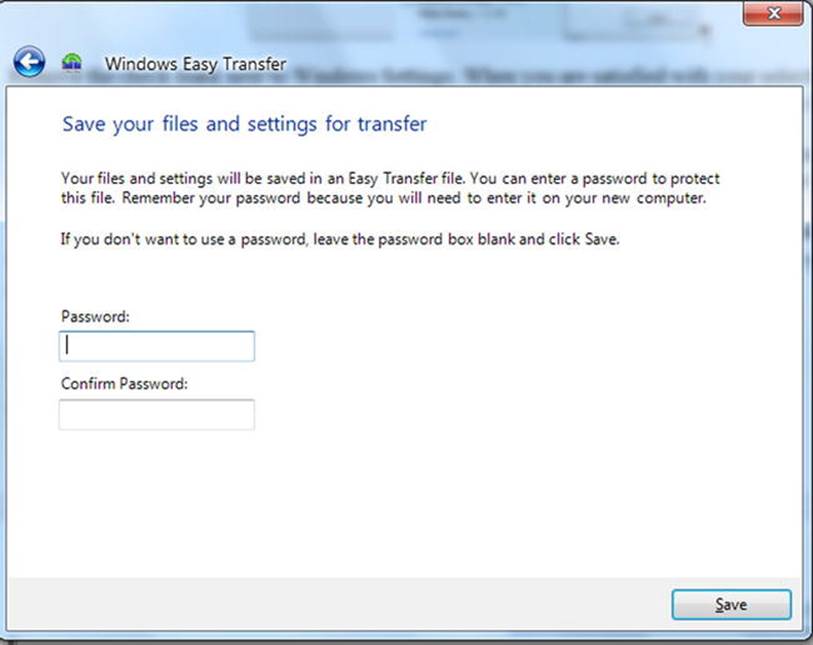
In the "Save your files and settings" screen I recommend leaving the password field blank, as adding a password can complicate things later on when you copy the files to your new computer. Click Save.
In the next screen, select a location where you wish to save your files. This should be your external hard drive. You will find it listed under the Computer section if you scroll down the left-hand pane of the dialog box.
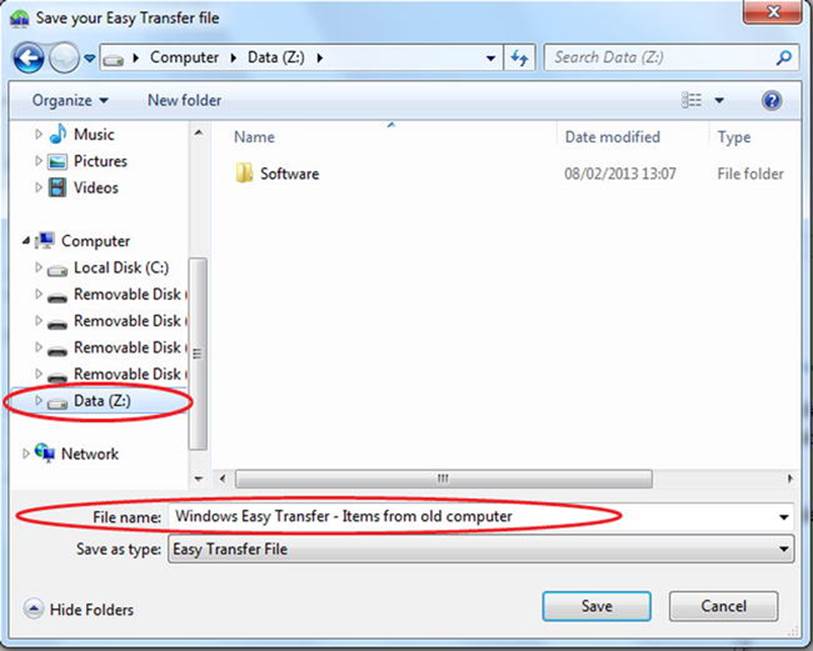
Click on the drive letter associated with the external drive. In this case it is the Z: drive.
As a guideline, unless you have renamed it, the drive is usually identified by the manufacturer’s name. For example, mine is from Data Pacific, so it’s called Data. The drive letters are not the same on every machine.
Once you have done that click Save.
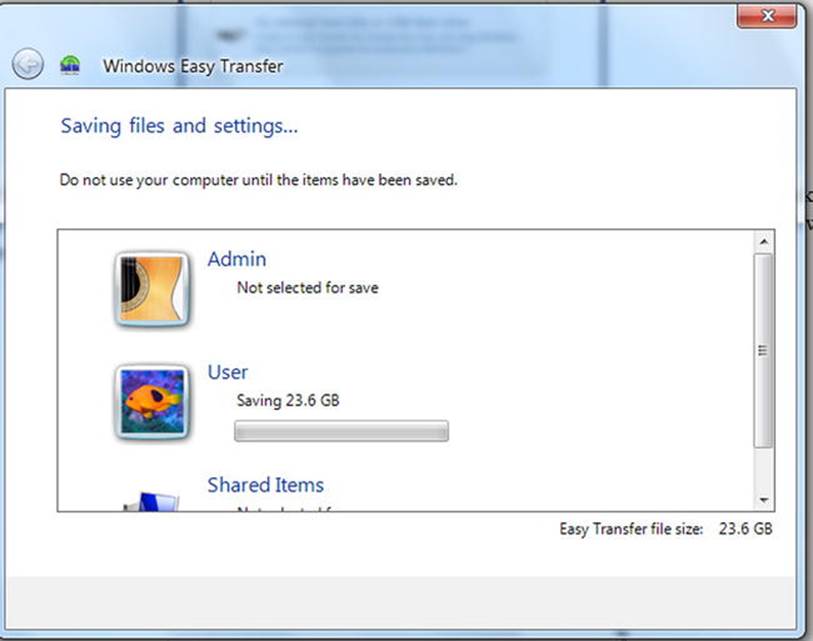
Your files will now be saved to the external hard drive, which could take a while.
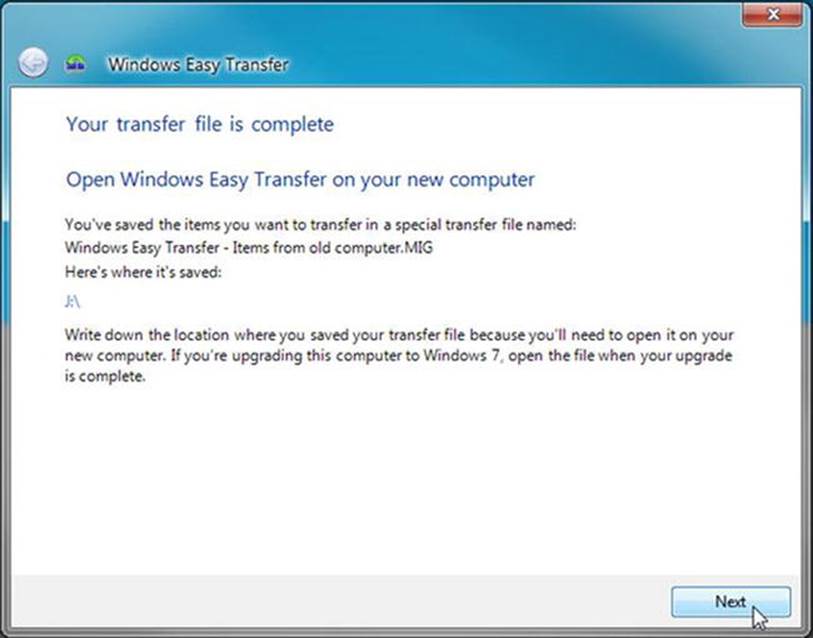
When the data is saved, click Next to close Windows Easy Transfer. Then unplug your external drive.
On Your New Computer
Plug your external drive into your new computer.
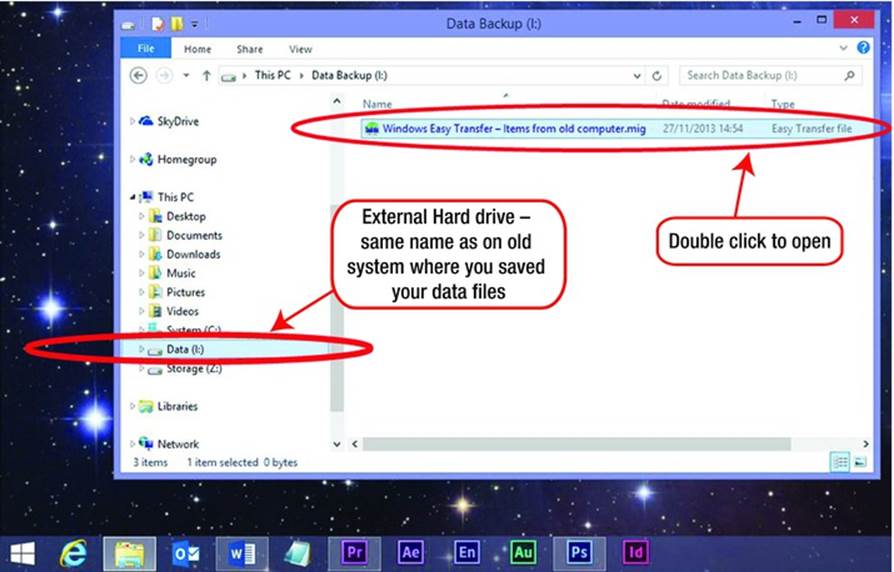
From the Start screen, click your desktop tile, then click the File Explorer icon on your taskbar at the bottom

In the File Explorer window, go to the This PC heading and look for your external drive. Find and double click on the file "Windows Easy Transfer – Items from old computer.mig."
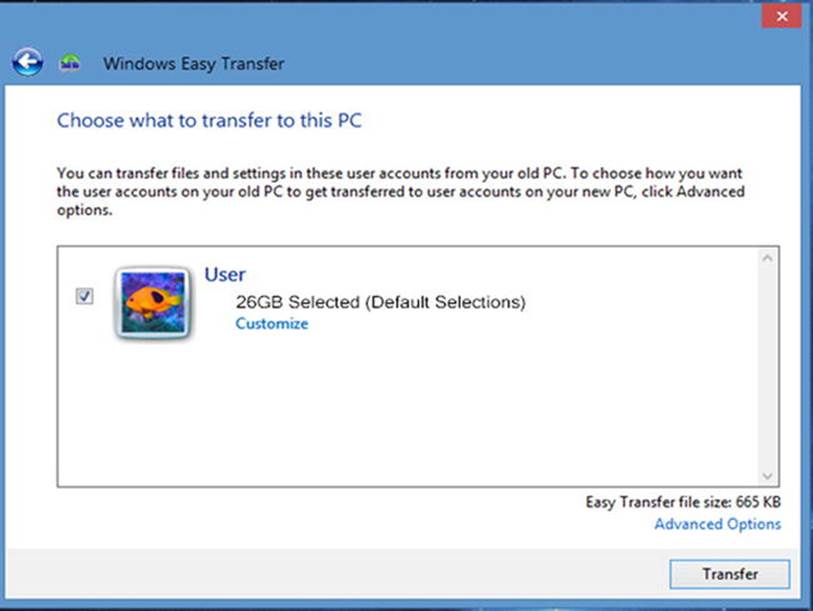
Make sure your user name is checked and then click Transfer.
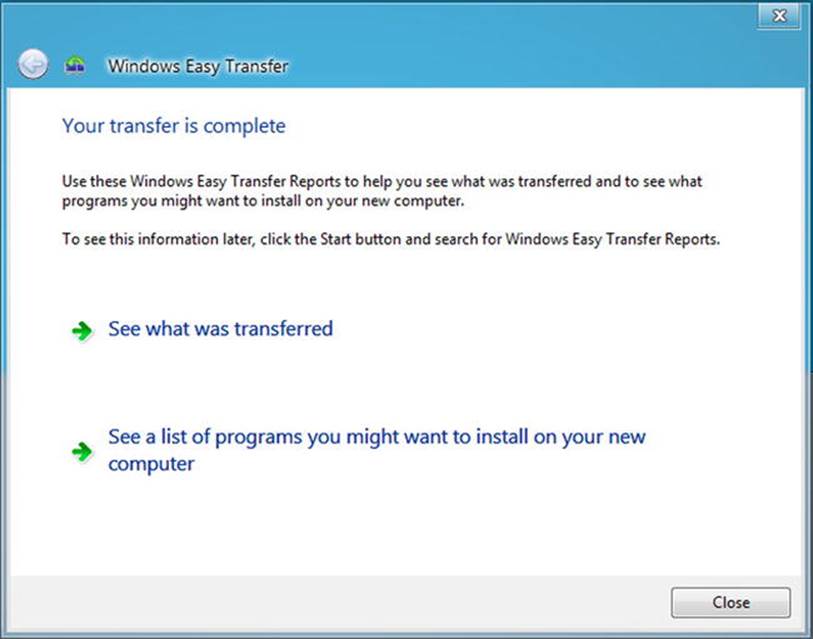
Again, this could take a while. Once your files have finished transferring, you will see the following screen. Click Close.
Now that we have our files from our old computer, we can get to know Windows 8 a little better.
All materials on the site are licensed Creative Commons Attribution-Sharealike 3.0 Unported CC BY-SA 3.0 & GNU Free Documentation License (GFDL)
If you are the copyright holder of any material contained on our site and intend to remove it, please contact our site administrator for approval.
© 2016-2026 All site design rights belong to S.Y.A.