Programming for Musicians and Digital Artists: Creating music with ChucK (2015)
Appendix A. Installing ChucK and miniAudicle
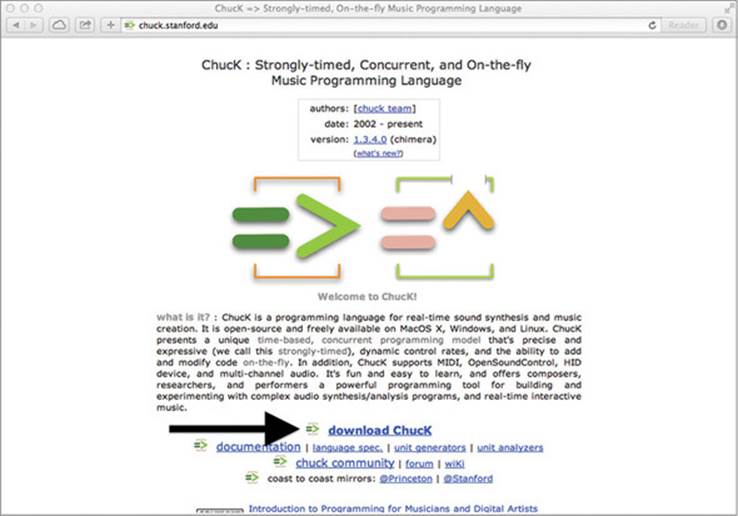
This appendix tells you how to download and install miniAudicle, ChucK’s integrated development environment (IDE), and other components of ChucK onto your computer. To start, navigate to the ChucK website at http://chuck.stanford.edu/ and click Download ChucK, as shown in figure A.1. This takes you to the
Figure A.1. Main download page for ChucK and miniAudicle (located at http://chuck.stanford.edu/)
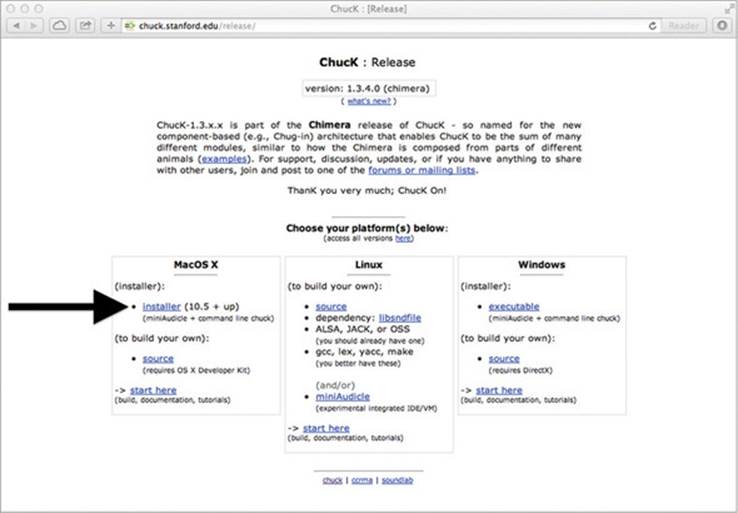
ChucK : Release page, where you can see download links for each platform that ChucK supports. For Mac users, the following section covers the process from here. Windows users can skip to the next section, “Installing on Windows,” and Linux users can jump to the last section, “Installing on Ubuntu Linux.”
Installing on Mac OS X
From the main ChucK : Release download page, shown in figure A.2, click the Installer link under the MacOS X subheading, and a file called chuck-W.X.Y.Z.pkg will start to download (where W, X, Y, and Z are version numbers that will vary as new versions of ChucK are released). On Mac OS X, a single installer application installs both miniAudicle (the editor and graphical development application for ChucK) and the chuck command-line program.
Figure A.2. Click the Installer link under MacOS X.
Open this file when it has finished downloading, and the standard Mac OS X installer dialog, shown in figure A.3, will appear.
Figure A.3. Installer dialog box. Click Continue and follow the steps from there.
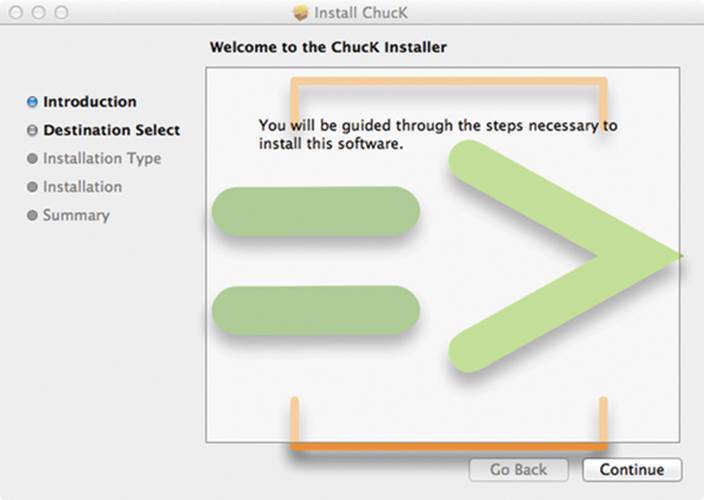
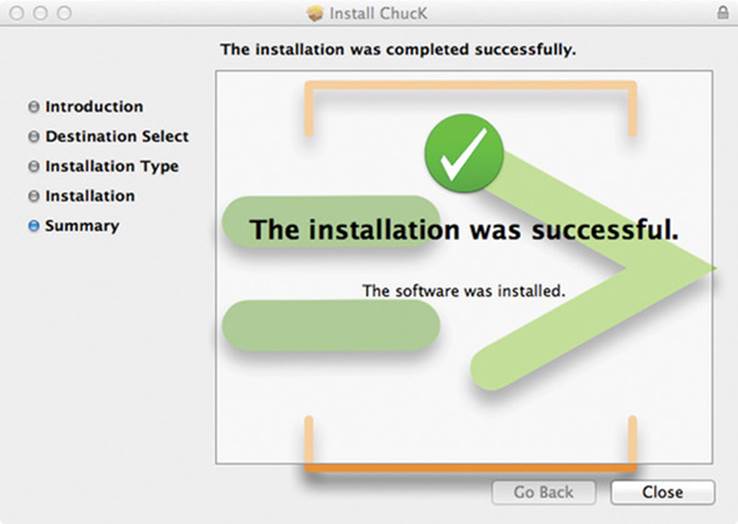
Click Continue (Accept and so on) on the various screens that appear; the default install configuration is typically sufficient. Once you click Install, you’ll be asked for your password; enter it and then click Install Software. After that, the installation will take a few minutes to complete. If all goes well, you’ll see the screen shown in figure A.4, indicating success.
miniAudicle is now available in your Applications folder. You can now return to chapter 1 and begin using miniAudicle!
Figure A.4. Success! You can now click Close and return to chapter 1 to learn ChucK.
Installing on Windows
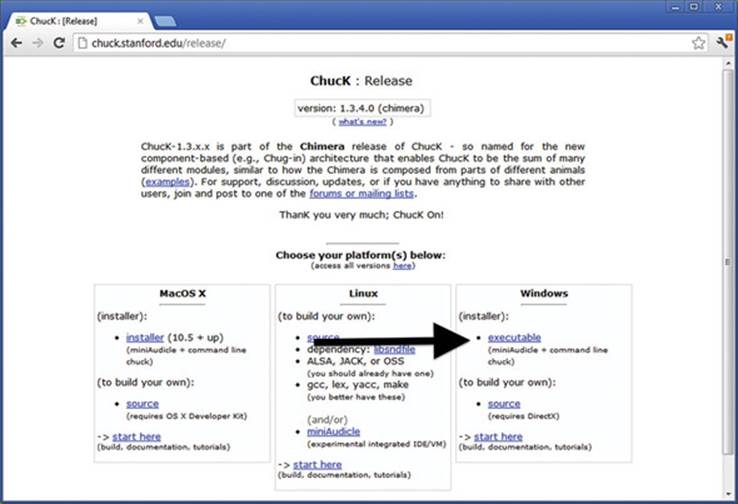
To install ChucK and miniAudicle on Windows, from the main ChucK : Release download page click the Executable link under the Windows downloads section, as shown in figure A.5.
Figure A.5. Download link for Windows installer
Clicking this link will download a file called chuck-W.X.Y.Z.msi (where W, X, Y, and Z correspond to the current version numbers). Open this file when it finishes downloading, and you’ll see a standard setup dialog, as shown in figure A.6.
Figure A.6. Installer dialog box. Click Next and then Accept, and do what it asks from there on.
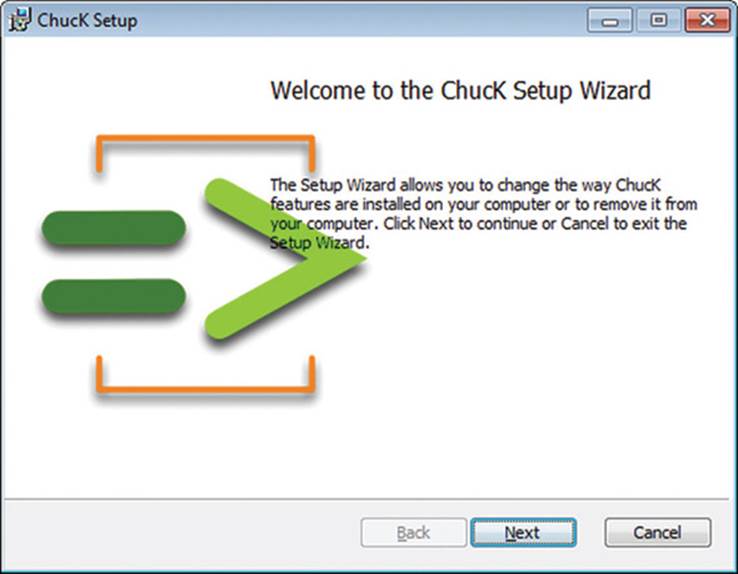
Click through the various screens of this dialog, being sure to agree to ChucK’s license. After you click the Install button, Windows will ask if you want to allow changes to your computer; click Yes. The installer will take a few minutes to proceed at this point; after it finishes, you’ll see the screen shown in figure A.7. You can now return to chapter 1 and begin to use miniAudicle to learn ChucK programming, as shown in figure A.8.
Figure A.7. Success! You can now click Finish and return to chapter 1 to learn ChucK.
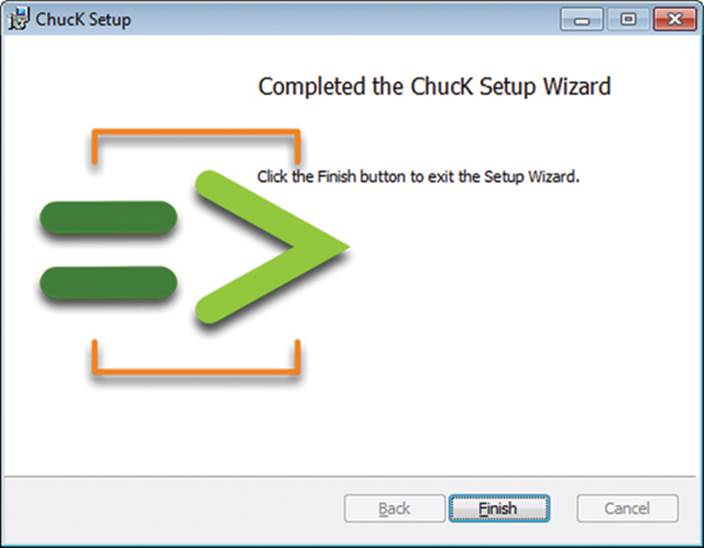
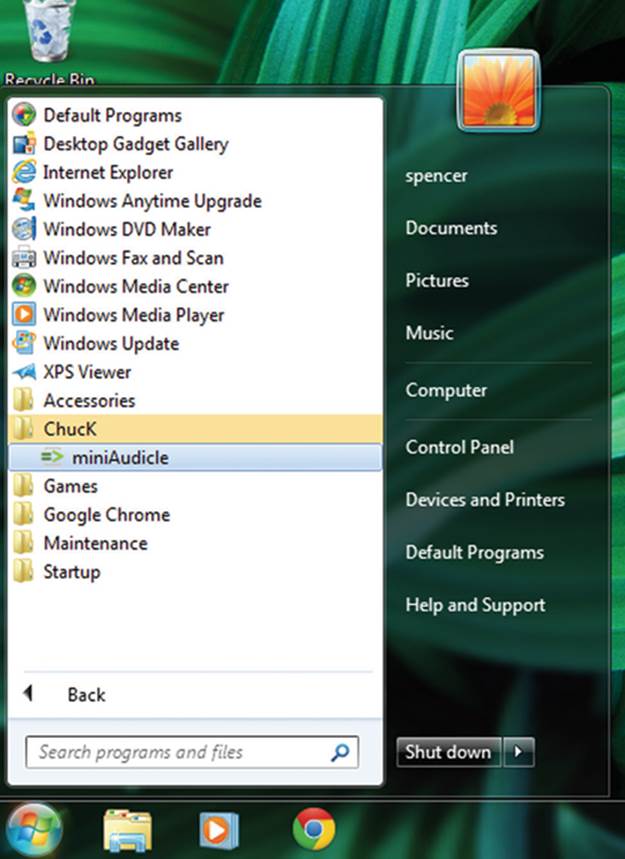
Figure A.8. ChucK is now listed in the Start menu. In Windows 7 and earlier, miniAudicle is now available in the Start menu under All Programs > ChucK. In Windows 8 and 8.1, there should now be a miniAudicle icon on the desktop (navigate there from the Windows home screen).
Installing on Ubuntu Linux
Installing ChucK and miniAudicle on Linux requires a little more work, but with a few Terminal commands you can be on your way to ChucKian bliss. Given the variety of Linux systems available, we’ve geared these instructions toward Ubuntu Linux, a popular choice for novices and experts alike. For other Linux systems, the installation procedure is conceptually similar, although the exact commands will vary.
To start, open the Terminal app. On Linux, ChucK and miniAudicle are compiled from source code, and a number of additional programs and libraries must be installed to enable this. In the Terminal window, enter the following command (on a single line) and then hit Return:
$ sudo apt-get install make gcc g++ bison flex libasound2-dev libsndfile1-dev
libqt4-dev libqscintilla2-dev libpulse-dev
(The $ character indicates the shell prompt and should not be typed.) If asked for your password, enter it and hit Return again. This command will automatically install make, gcc, g++, bison, and flex, which are tools for building software from source code, whereas the rest are support libraries used by ChucK and miniAudicle. This command can take some time to finish, because it downloads and installs each component and its dependencies individually.
Once the command finishes, head to the ChucK website (http://chuck.stanford.edu/), click the Download link, and then click Source under the Linux category. This links to a tar-zip file (with a .tgz extension), which is an archive containing the source code. You should save the source archive to a location on your hard disk, such as the Downloads folder. While that’s downloading, click the miniAudicle link under the Linux section of the webpage. This will take you to the miniAudicle web page, where a link to the miniAudicle source code can be found. Click that link, and it will also begin a .tgz file download.
After both downloads have completed, hop back to Terminal. Enter the command
$ cd Downloads
where Downloads is whatever folder you downloaded the .tgz files into. This will navigate your terminal session to that directory. Now unpack the archives with these commands:
$ tar xzf chuck-W.X.Y.Z.tgz
$ tar xzf miniAudicle-A.B.C.tgz
When you enter the commands, ensure that W.X.Y.Z and A.B.C match the actual version numbers of ChucK and miniAudicle you downloaded. Now navigate to the ChucK source directory, freshly unpacked, and enter the command to start the build procedure:
$ cd chuck-W.X.Y.Z/src
$ make linux-pulse
This will take some time, because all of the source code files are compiled into a single program. When the make command completes, the last step is to install the newly compiled program:
$ sudo make install
You’ll need to enter your password. You can test that it works by entering this command:
$ chuck --version
This will print the following:
chuck version: W.X.Y.Z (chimera)
linux (pulse) : 64-bit
http://chuck.cs.princeton.edu/
http://chuck.stanford.edu/
Compiling miniAudicle, the graphical editor for ChucK, is a similar procedure: navigate to the miniAudicle source directory, compile the program, and then install.
$ cd ../../miniAudicle-A.B.C/src
$ make linux-pulse
lots of stuff printed here ...
$ sudo make install
If all went well, you can now start miniAudicle by typing the following in the command line:
$ miniAudicle
The miniAudicle editor and associated windows should pop up on your screen. Now you’re ready to start ChucKing!
ChucK on Raspberry Pi
Running ChucK on the Raspberry Pi is also very straightforward. If your Raspberry Pi is running Ubuntu Linux or a related variant, you can just follow the previous instructions for Linux. Alternatively, we recommend installing Satellite CCRMA on your Raspberry Pi. Satellite CCRMA is an entire customized version of Linux that includes a number of applications for computer music and physical computing, including ChucK. For more information, visit https://ccrma.stanford.edu/~eberdahl/satellite/.