Python Programming by Example (2015)
12. Encoding
This chapter explains how to work with encoding in Python.
12.1 Getting Started
In this chapter, we explore encoding package from Python. The following is a list of our demo to illustrate how to use encoding package:
· Base64
· Hexadecimal
· JSON
· XML
· CSV
Let's start to implement these encoding.
12.2 Encoding Base64
The first demo is to work with base64 encoding. We can use base64 package, https://docs.python.org/3/library/base64.html . To encode string to base64 string, we can use b64encode(). Otherwise, we can decode it using b64decode() function.
For testing, we encode a string message to base64. Then, we decode base64 message to original message. Write these scripts.
import base64
plaintext = 'Hello world from Python'
s_bytes = plaintext.encode()
enc1 = base64.b64encode(s_bytes)
dec1 = base64.b64decode(enc1)
s_dec1 = dec1.decode()
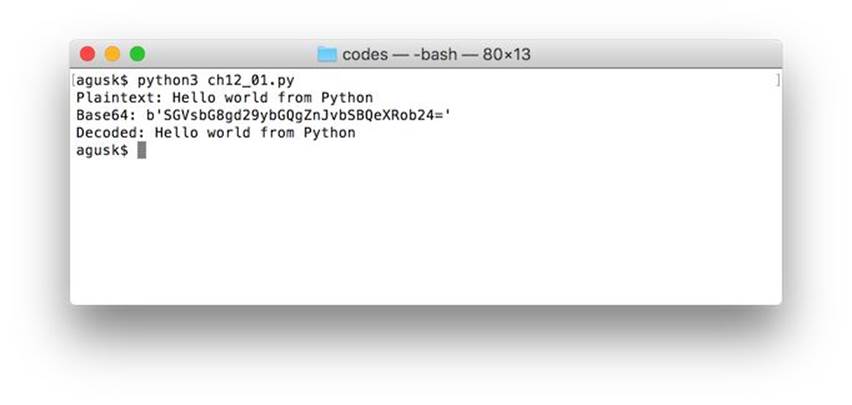
print('Plaintext:', plaintext)
print('Base64:', enc1)
print('Decoded:', s_dec1)
Save into a file, called ch12_01.py.
Now you can test to build and run the program.
$ python3 ch12_01.py
A sample output can be seen in Figure below.
12.3 Hexadecimal
The second demo is to encode and decode string to Hexadecimal. We can use encode and decode from Python 3.x, to implement our demo.
Create a file, called ch12_02.py. The following is implementation of encoding/decoding Hexadecimal.
from codecs import encode, decode
# declare hex data
num = 0x64
print(num, '-->', chr(num))
num_s = "\x64"
print(num_s)
# display hex from string data
s = 'Hello world from Python'
s_bytes = s.encode()
s_hex = encode(s_bytes,'hex')
s_decoded = decode(s_hex, 'hex')
s_plaintext = s_decoded.decode()
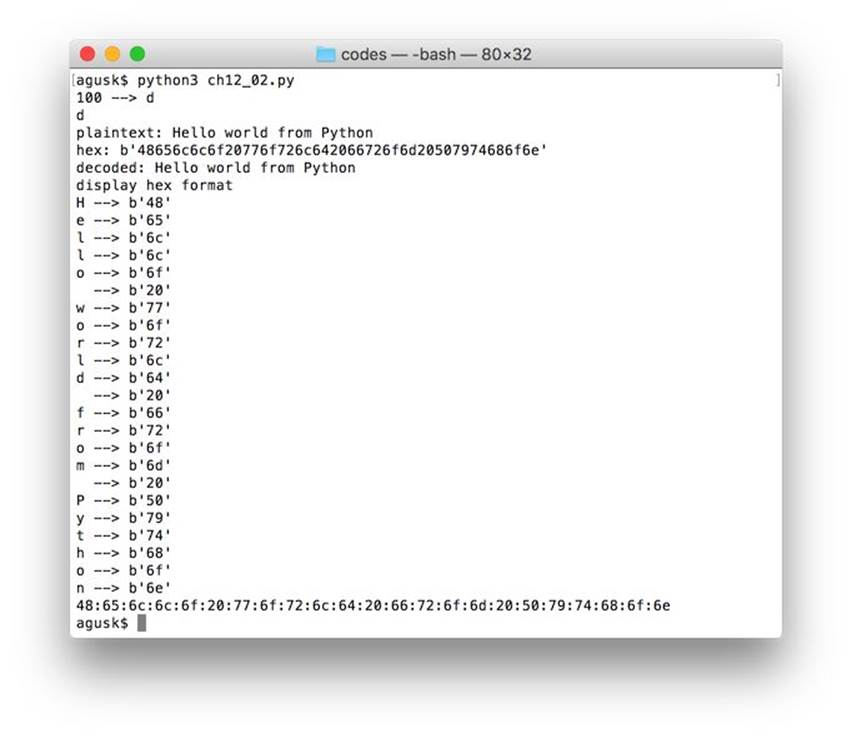
print('plaintext:', s)
print('hex:', s_hex)
print('decoded:', s_plaintext)
# samples for displaying hex data
print('display hex format')
for c in s:
print(c,'-->', encode(c.encode(),'hex'))
hex2 = ":".join("{:02x}".format(c) for c in s_bytes)
print(hex2)
Save this code. Now you can build and run this program.
$ python3 ch12_02.py
A sample output can be seen in Figure below.
12.4 JSON
The third demo is to construct and parse JSON data. In Python, we can use json package, https://docs.python.org/3/library/json.html .
For demo, create a file, called ch12_02.py and write this code.
import json
import time
# construct json
data = {
'name': 'anna',
'sex': 'woman',
'age': 20,
'country': 'germany'
}
blog = {
'title': 'my blog',
'created': time.time(),
'comments': [
{'name':'user 1', 'comment': 'this is comment 1'},
{'name':'user 2', 'comment': 'this is comment 2'},
{'name':'user 3', 'comment': 'this is comment 3'}
]
}
# json object to json string
json_data = json.dumps(data)
json_data2 = json.dumps(blog)
print(json_data)
print(json_data2)
# decode json string to json object
# you define json string or load json string from file
json_o1 = json.loads(json_data)
json_o2 = json.loads(json_data2)
# iteration json values
print('----json_o1---')
print(json_o1['name'])
print(json_o1['sex'])
print(json_o1['age'])
print(json_o1['country'])
print('----json_o2---')
print(json_o2['title'])
created_s = time.strftime("%b %d %Y %H:%M:%S", time.gmtime(json_o2['created']))
print(created_s)
print('comments:')
for comment in json_o2['comments']:
print('---',comment['name'],':',comment['comment'])
Save this code. Now you can build and run this program.
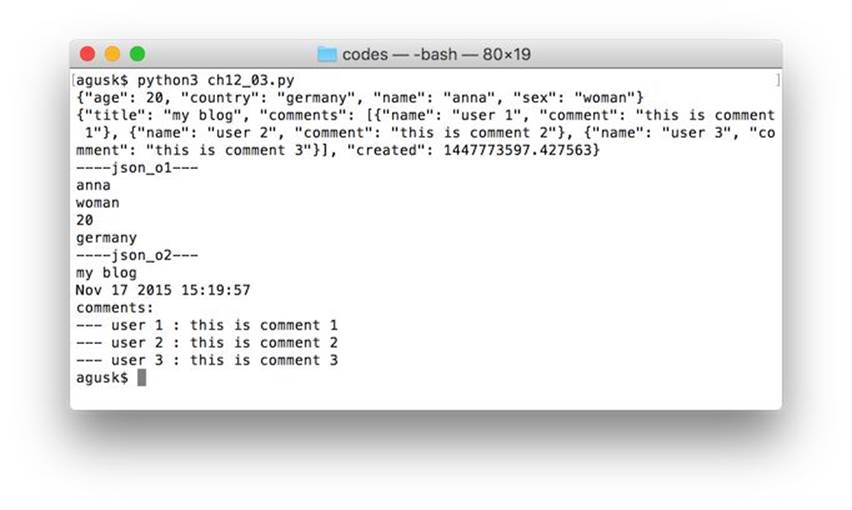
$ python3 ch12_03.py
A sample output can be seen in Figure below.
12.5 XML
The fourth demo is to read and write XML data. We can use xml package, https://docs.python.org/3/library/xml.html . In this demo, we use xml.etree.ElementTree to process XML data. In this demo, we read xml file and create a new xml file.
Firstly, we create xml file for testing, called products.xml and write this data.
<?xml version="1.0"?>
<products>
<product name="product 1">
<code>1001</code>
<year>2015</year>
<model color="red" category="food">12E</model>
</product>
<product name="product 2">
<code>1002</code>
<year>2015</year>
<model color="green" category="beverage">15C</model>
</product>
<product name="product 3">
<code>1003</code>
<year>2015</year>
<model color="blue" category="electronics">19A</model>
</product>
</products>
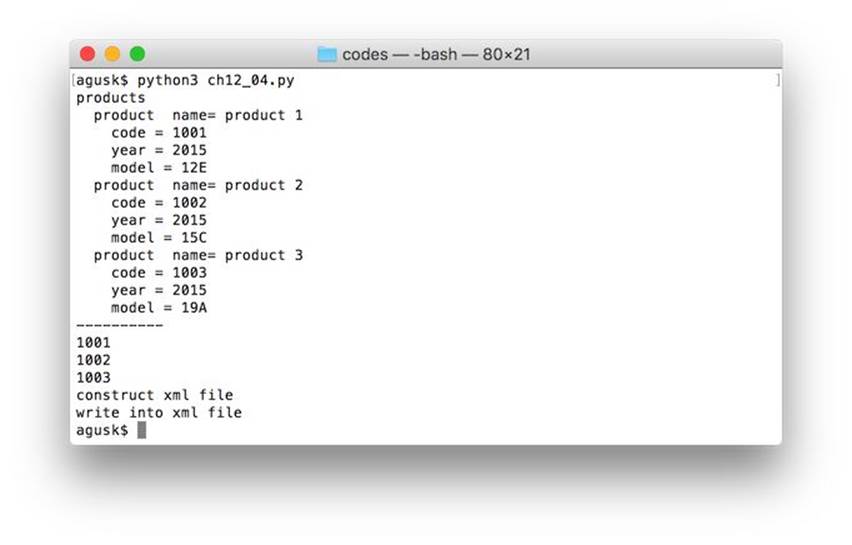
Now we read xml file and display it into Terminal.
import xml.etree.ElementTree as Et
# load xml file and iterate
xml_tree = Et.parse('products.xml')
products = xml_tree.getroot()
print(products.tag)
for product in products:
print(' ',product.tag, ' name=',product.get('name'))
for product_item in product:
print(' ',product_item.tag, '=',product_item.text)
# finding specific data
print('----------')
for code in products.iter('code'):
print(code.text)
# construct xml and save into a file
print('construct xml file')
users = Et.Element('users')
for i in range(1, 5):
user = Et.SubElement(users, 'user')
user.set('name', "User " + str(i))
user_item = Et.SubElement(user, 'age')
user_item.text = str(i * 3)
user_item2 = Et.SubElement(user, 'id')
user_item2.text = "1203" + str(i)
print('write into xml file')
tree = Et.ElementTree(users)
tree.write("users.xml")
Save this code into a fiile, called ch12_04.py. Now you can run this program.
$ python3 ch12_04.py
If success, you see users.xml file and you should see the content as follows.
<users>
<user name="User 1"><age>3</age><id>12031</id></user>
<user name="User 2"><age>6</age><id>12032</id></user>
<user name="User 3"><age>9</age><id>12033</id></user>
<user name="User 4"><age>12</age><id>12034</id></user>
</users>
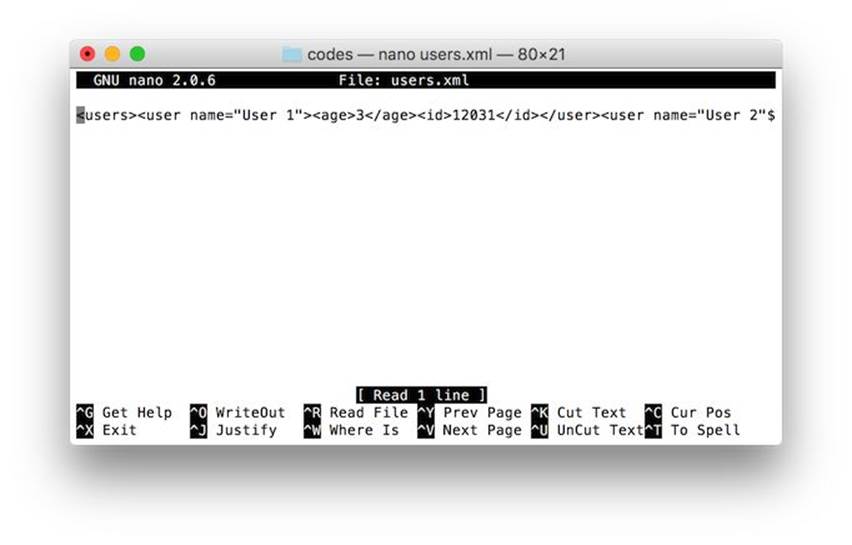
A sample of program output can be seen in Figure below.
12.6 CSV
The last demo is to read and write data CSV which is a collection of comma-separated data. We can access CSV file using csv package, https://docs.python.org/3/library/csv.html . Now we build a program to read csv file and write data into csv file.
For testing, we create a CSV file, customers.csv, with the following content.
id,full_name,age,country
12,James Butt,23,US
13,Josephine Darakjy,40,UK
14,Art Venere,35,US
15,Lenna Paprocki,34,DE
16,Donette Foller,27,NL
The following is implementation of reading/writing CSV file.
import csv
# reading csv file
with open('customers.csv', newline='') as csv_file:
customers = csv.reader(csv_file, delimiter=',')
for row in customers:
print(', '.join(row))
csv_file.close()
print('------------')
# reading csv file with handling header
with open('customers.csv') as csv_file:
reader = csv.DictReader(csv_file)
for row in reader:
print(row['id'], row['full_name'], row['age'], row['country'])
csv_file.close()
# writing csv file
print('----------------')
print('writing csv file')
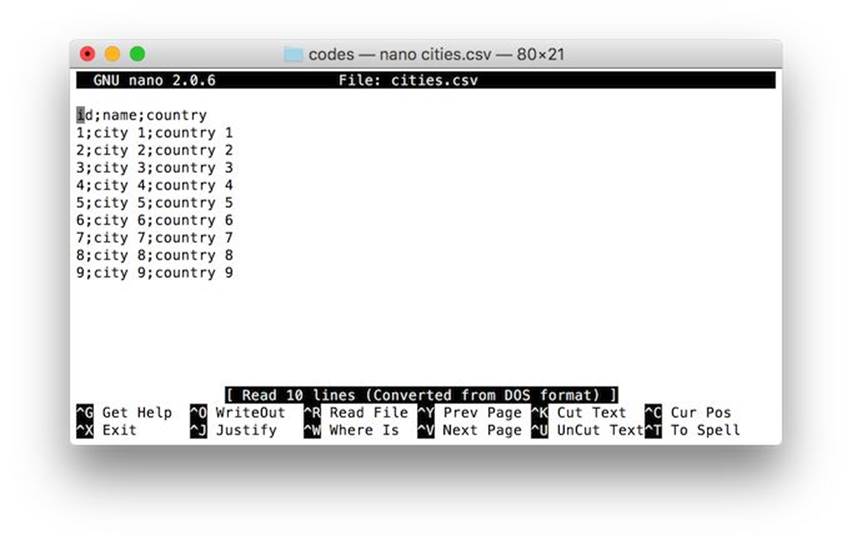
with open('cities.csv', 'w') as csv_file:
fieldnames = ['id', 'name', 'country']
writer = csv.DictWriter(csv_file, fieldnames=fieldnames, delimiter=';')
writer.writeheader()
for i in range(1,10):
writer.writerow({'id': i, 'name': "city " + str(i), 'country': "country " + str(i)})
csv_file.close()
print('done')
Note: You can change CSV file path.
Save this code into a file, called ch12_05.py. Now you can run this program.
$ python3 ch12_05.py
A sample output can be seen in Figure below.

The program also generate cities.csv file.
If you open cities.csv, you get a content of cities data like a content of customers.csv file.
All materials on the site are licensed Creative Commons Attribution-Sharealike 3.0 Unported CC BY-SA 3.0 & GNU Free Documentation License (GFDL)
If you are the copyright holder of any material contained on our site and intend to remove it, please contact our site administrator for approval.
© 2016-2026 All site design rights belong to S.Y.A.