BeagleBone Media Center (2015)
Appendix B. Ideas to Improve Your Server
I think you have now understood the main value added by this book, which can be assumed to be "do more by yourself." Then, as a bonus, I thought you might be interested in some additional software.
As we mainly focused on servers for managing video files and streams, we'll see their musical equivalents, which are the following:
· MiniDLNA
· Subsonic
If you have read the chapters carefully and have successfully installed, configured, and run the software, then this appendix will bring you additional fun. Frankly speaking, you should be able to install these servers to your BeagleBone Black easily. Think of adding these extras servers as adding chocolate chunks to a cookie.
MiniDLNA
Before we talk about the software that uses DLNA, let's first understand what it is.
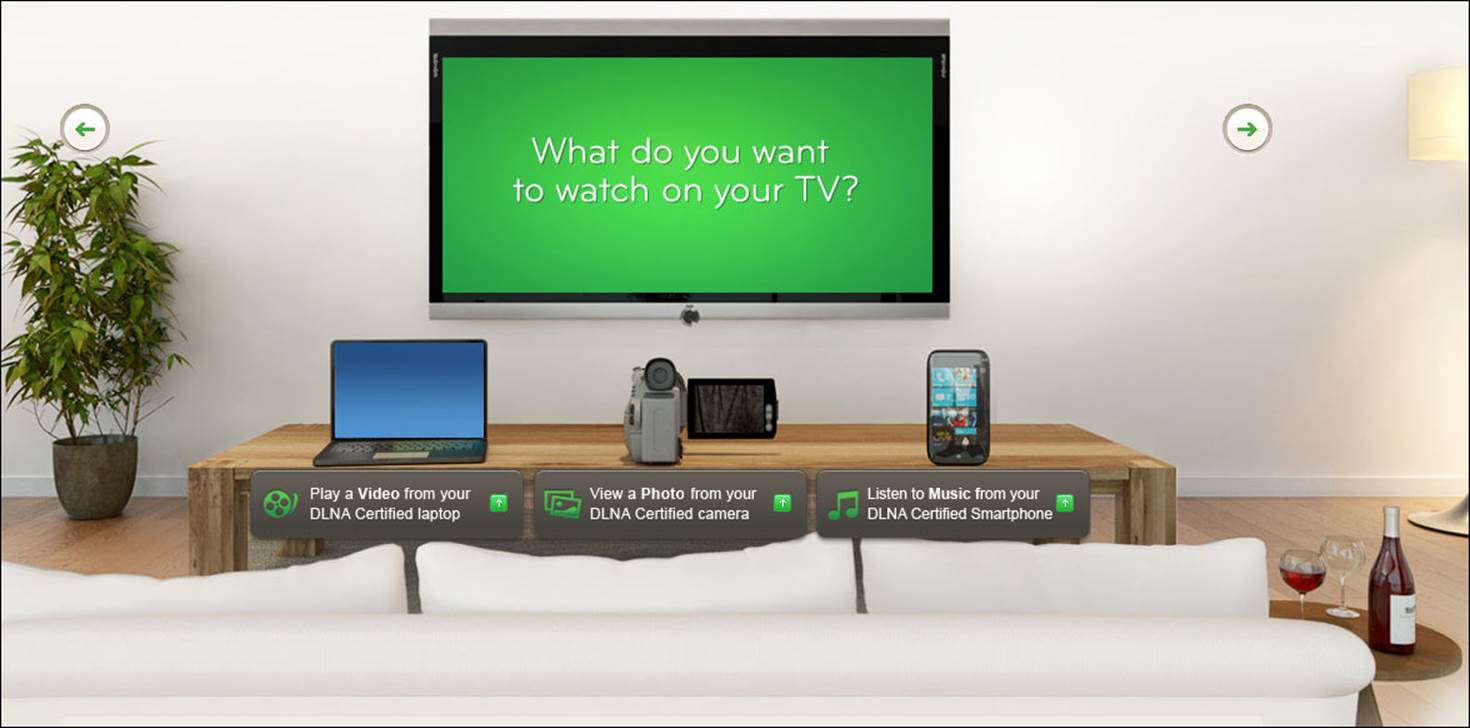
Digital Living Network Alliance (DLNA) aims to ease the connection between heterogeneous devices. This means that you can connect with any other DLNA-certified device to share your music, pictures, and videos—regardless of the manufacturer.
Introducing MiniDLNA
Now that we know what DLNA can do for us, we are going to see how to add it to our existing services. Here comes MiniDLNA.
As defined at http://sourceforge.net/projects/minidlna/, this project is as follows:
ReadyMedia (formerly known as MiniDLNA) is a simple media server software, with the aim of being fully compliant with DLNA/UPnP-AV clients. It is developed by a NETGEAR employee for the ReadyNAS product line.
As the Debian packages still use the original name, we will keep calling it MiniDLNA.
What a DLNA server can do for you
MiniDLNA is able to serve media files such as music (also pictures and videos) to clients on a network that can be applications such as VLC, XBMC, and devices such as portable media players, smartphones, televisions, and gaming systems. You can even connect your Raspberry Pi to it.
Installing miniDLNA
In order to install miniDLNA, you need to perform the following steps:
1. Install the software:
2. debian@arm:~$ install minidlna
3. Verify that it's running:
4. debian@arm:~$ /etc/init.d/minidlna status

This is all you need, so you can use the miniDLNA right now.
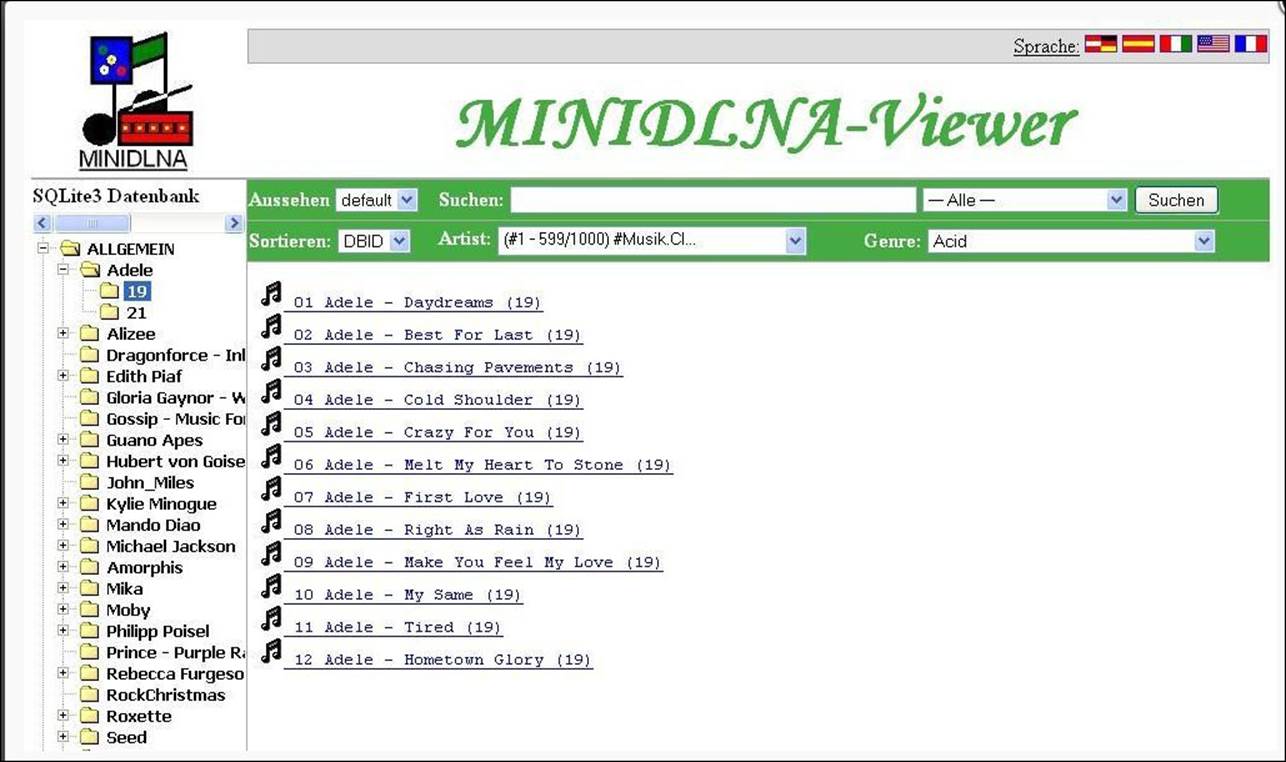
On Windows Explorer, a BeagleBone device with a MiniDLNA service will appear as follows:

So, you can access the BeagleBone device through miniDLNA as you would do with usual media provider/reader.
Configuring and customizing miniDLNA
The configuration file is located at:
debian@arm:~$ nano /etc/minidlna.conf.
This is where you can configure the different options of the server, for example:
· Your share(s):
· media_dir=/media/usbdrive/Videos
· The name that the devices will retrieve:
· friendly_name=BeagleBoneHomeServer
However, if you are still not at ease with the command line, there are additional tools, such as the web interface dedicated to miniDLNA, at http://sourceforge.net/projects/minidlna-web/.
Subsonic
Here is another server application that is able to support a very large range of clients (for Android, iPhone, Windows Phone, BlackBerry, Roku, Chumby, Sonos, and so on), but the most interesting feature is that a lot of media formats are available as Subsonic support is able to manage on the fly conversions. It is available at http://www.subsonic.org, and you will be intrigued by its simplicity; this simplicity doesn't avoid Subsonic to be secure and it can propose different security protocols such as HTTPS/SSL encryption and authentication capability with LDAP or Active Directory (check the documentation for more details).
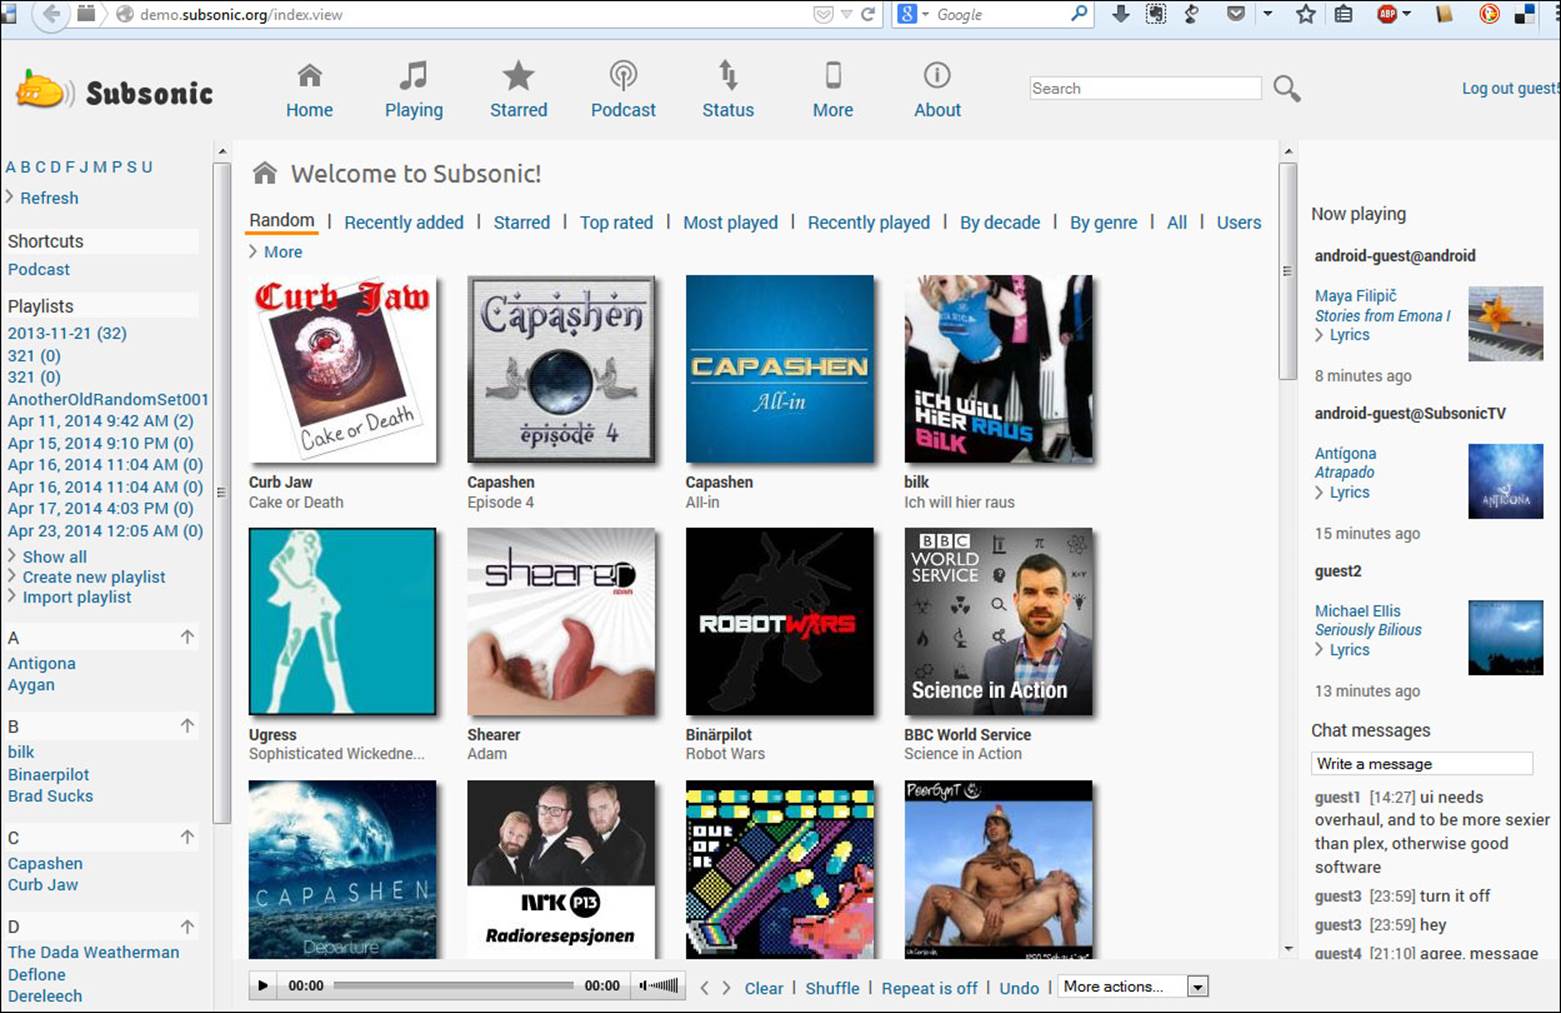
You can access the subsonic online demonstration at http://demo.subsonic.org/index.view.
Installing Subsonic
Like MiniDLNA, Subsonic is really easy to install and simple to configure. Before the installation itself, you need to retrieve a small but needed prerequisite:
debian@arm:~$ install openjdk-6-jre
Then perform the following steps to install Subsonic:
1. Click on the Download button from the website or directly go to http://www.subsonic.org/pages/download.jsp.
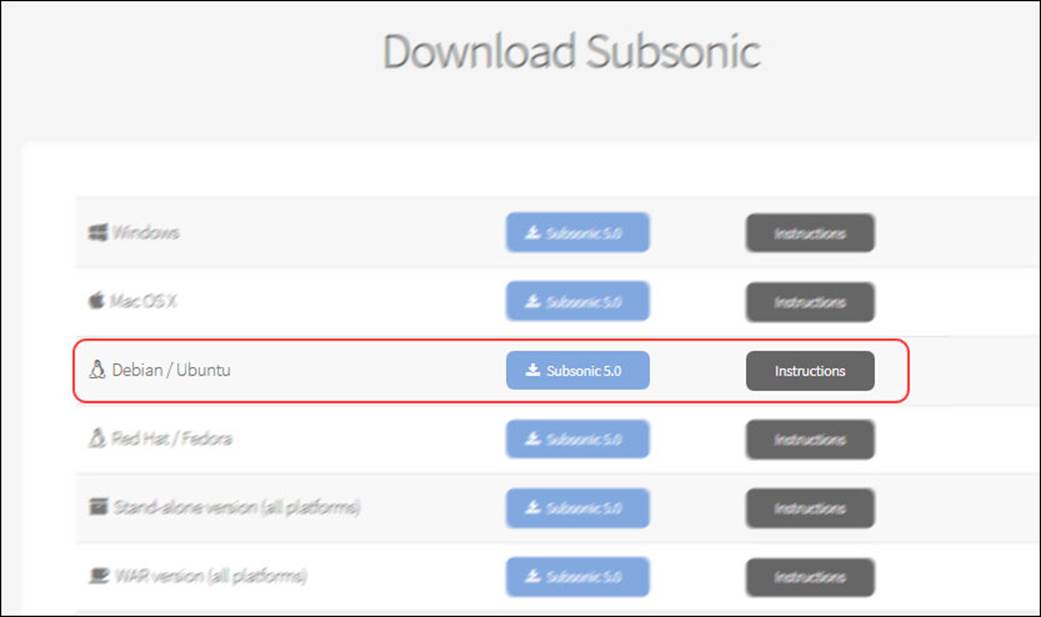
2. Select the Debian/Ubuntu installer, which will redirect you to the nearest SourceForge site with the latest stable release.
3. Copy the provided URL and paste it in the BeagleBone command line on PuTTY:
4. debian@arm:~$ Wget http://sourceforge.net/projects/subsonic/files/subsonic/4.9/subsonic-4.9.deb/download?use_mirror=netcologne -O subsonic.deb
5. debian@arm:~$ sudo dpkg -i subsonic.deb
Administering Subsonic
Note that the installer configures your system to start Subsonic automatically when booting. After the installation, open the Subsonic web page at http://localhost:4040.
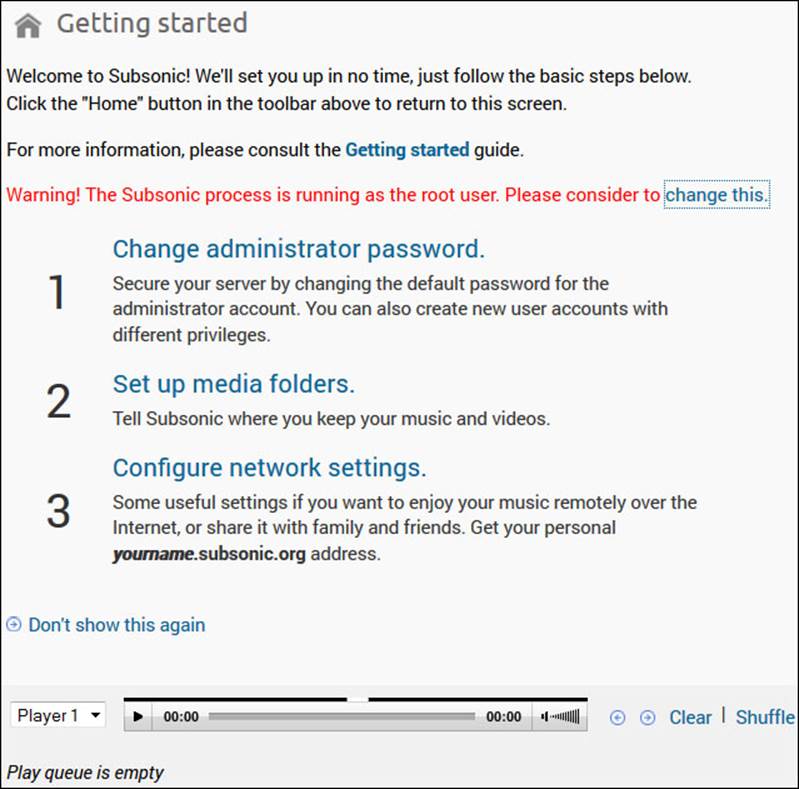
Changing users
The Subsonic process is run with the root user in the provided default configuration. Therefore, you should the server as a dedicated user with fewer privileges. You can specify these rights by setting the SUBSONIC_USER variable in /etc/default/subsonic:
SUBSONIC_USER=debian
Note that nonroot users are by default not allowed to use ports below 1024 then use ports above that. Also, make sure to grant write permissions to the user in the music directories, otherwise changing the album art and tags will fail.
This can be done using the following command:
debian@arm:~$ sudo chown debian:debian /var/music
The music directory is the one defined in the configuration, as explained in the next section. For more details, check out the documentation at http://www.subsonic.org/pages/getting-started.jsp#1.
Restarting the service to apply changes
When you modify a configuration, as we did before, consider restarting the service (no need to reboot) so that the changes are applied.
To restart Subsonic, execute the following command:
debian@arm:~$ sudo service subsonic restart
Accessing configuration settings
Back to the web view, from Settings on the home page, you'll be able to access most of the settings that any network application can propose:

Advanced configuration
To change the port number, Java memory settings, or other startup parameters, edit the SUBSONIC_ARGS variable in /etc/default/subsonic.
Troubleshooting
You have all the logs at
debian@arm:~$ nano /var/subsonic/subsonic_sh.log
This is a good place to look when things are not working as they should.
For example, an issue with a music file might be coming from the transcoder (a software responsible for transforming your files) configuration. Check this in Setting/players.