Learning Ubuntu: A Beginners Guide to Using Linux (2016)
CHAPTER 2
SETTING UP A VPS ON DIGITALOCEAN
If you have decided to pay the small monthly fee for a VPS, I think you made the right decision. What I like about using a VPS is that it doesn’t use my machines hardware and I can work on it from anywhere that I have an internet connection.
Let’s go ahead and get our server setup in a few seconds.
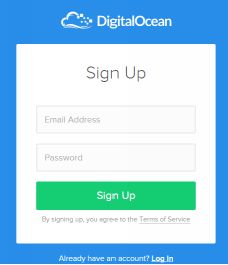
First, go to https://www.digitalocean.com/ and click on ‘Sign Up’ in the top right. From there, enter an email address and password that you want to use for your account. Then click ‘Sign Up’.
Now we need to confirm our email address. Open your email and find the email from DigitalOcean. It will be titled “DigitalOcean – Please confirm your email address.” Open the email and proceed to click on the verification link.
Great, now that our email is confirmed, we need to select a payment option. DigitalOcean gives you the option of using a credit card or PayPal. For me, I use PayPal for convenience.
If you use PayPal, you have to prepay $5, which is credited to your account. This will cover our first month!
Once you have added your payment method, we can create our VPS, what DigitalOcean calls a Droplet. In the top right, click on the green ‘Create Droplet’ button.
![]()
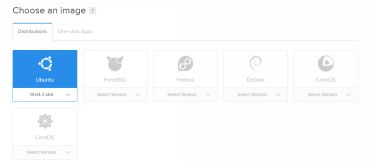
Next, it will ask you to select a distribution. We want to select Ubuntu 14.04, which is the default.
Once you have selected Ubuntu, scroll down to select the size of server you want to deploy. They have the $20 per month plan selected as the default. Just click on the $5 per month plan, if that is the size you want, and then scroll down to select a datacenter region.
I recommend selecting a region based on your location. Since I am in the USA on the east coast, New York is my pick.
Under the additional options, it is up to you if you would like a backup. If we were doing development or anything outside of training and testing, I would recommend selecting the backup option, but since we just want the basics for now to learn, I am going to leave these options unchecked.

From there, scroll down to the bottom and click the big green ‘Create’ button.
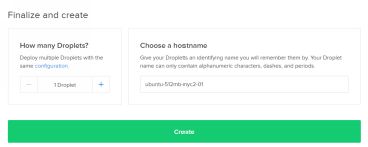
Then in a matter of a few seconds, your system is setup and ready. DigitalOcean will then email you the IP address, username, and password for your server.