WordPress To Go - How To Build A WordPress Website On Your Own Domain, From Scratch, Even If You Are A Complete Beginner (2013)
IN-DEPTH GUIDE - DRILL DOWN TO THE WONDERS OF WORDPRESS
Lesson 9. Add Images To Your Wordpress Website
WordPress has some very powerful and flexible ways of handling media on a website and, in this lesson, we are going to look at several ways of doing so
First, some background information. WordPress provides a folder within your website called the ‘Media Library’ (Figure 9.1) which can contain images, documents, downloadable files etc. This is the depository of all of the images (and other media) that you have uploaded for use in your website.
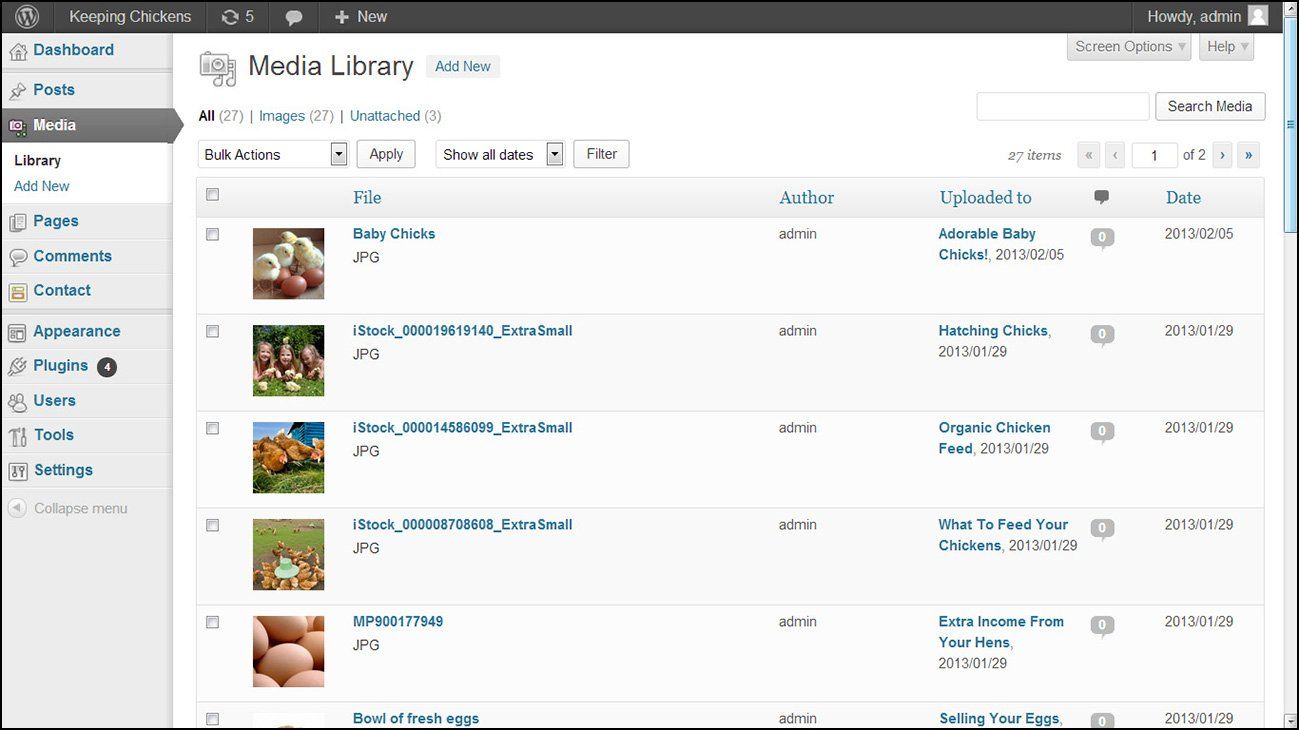
Media files are labeled either ‘Attached’ or ‘Unattached’, depending on whether or not you have actually used the media by linking to it from one of your posts or pages.
Adding a picture into a post or page to illustrate your text is one way of making your webpage look attractive and relevant. If you upload the picture when adding a post or page WordPress automatically loads it into the Media Library and it becomes an ‘attached’ image.
If you want to add an image for use later, you can upload it directly into the Media Library as an ‘unattached’ image and then call it whenever you want it.
To add an image to a page or post, you need to have the image file stored on your computer as a JPEG, GIF or PNG file type, sized in pixels that will fit on your page and generally less than 8 megabytes in size.
WordPress is quite flexible in handling images and will happily resize your picture to fit the available space in a post or page. But it’s worth just checking out the default settings for image sizes because your website will look more professional if you present your images in consistent shapes and sizes.
To do this, from the dashboard, go to ‘Settings’, ‘Media’ (Figure 9.2) and check out the pixel dimensions that WordPress will use when displaying your pictures. The standard ‘medium’ size is maximum 300 pixels height and width. If your theme is wider than about 1000 pixels you may want to increase this to 400 or 500 pixels to display your images larger.
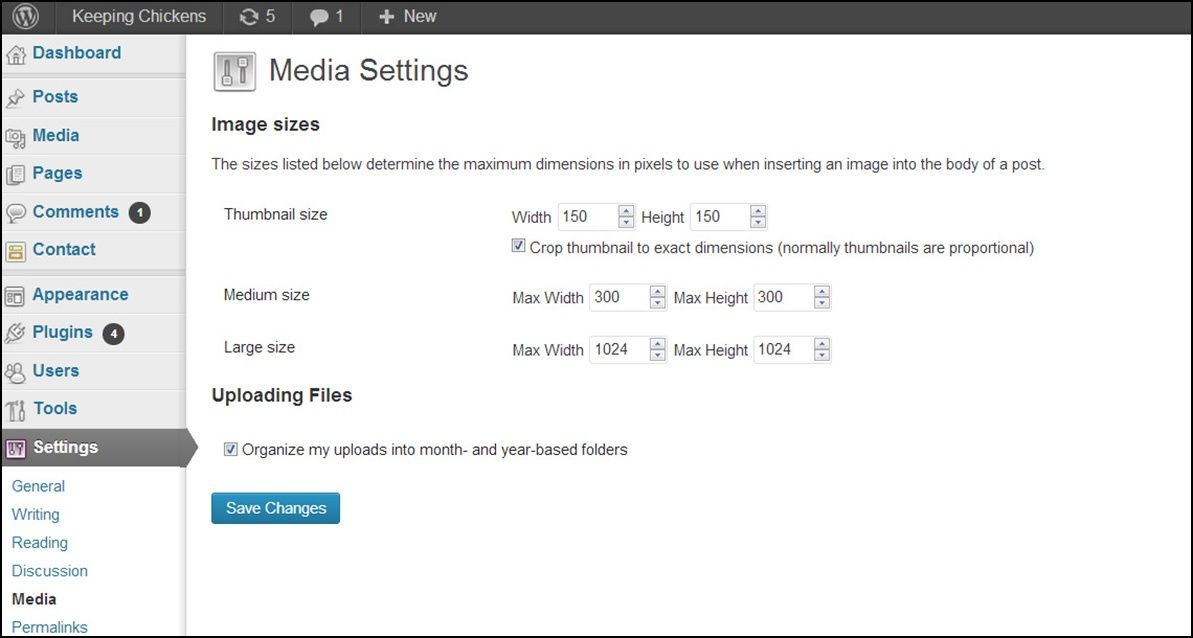
If you change the Media Settings be aware that the settings will apply only to images you insert after this: WordPress won’t retrospectively apply the settings to any images you have already inserted on posts or pages.
Add A Picture To A Post Or Page
To add an image to a post or page, first click on the point in your text where you want the image to appear. This can be anywhere within the text: right at the beginning, or in the middle of a text block or after the end. The image will be embedded exactly at the point you select here.
Then click on the button labeled ‘Add Media’. A pop-up box appears, prompting you to locate the file you want to upload. You’ll see that there are two tabs, ‘Upload Files’ and ‘Media Library’. Click on ‘Upload Files’ if this is not already displayed.
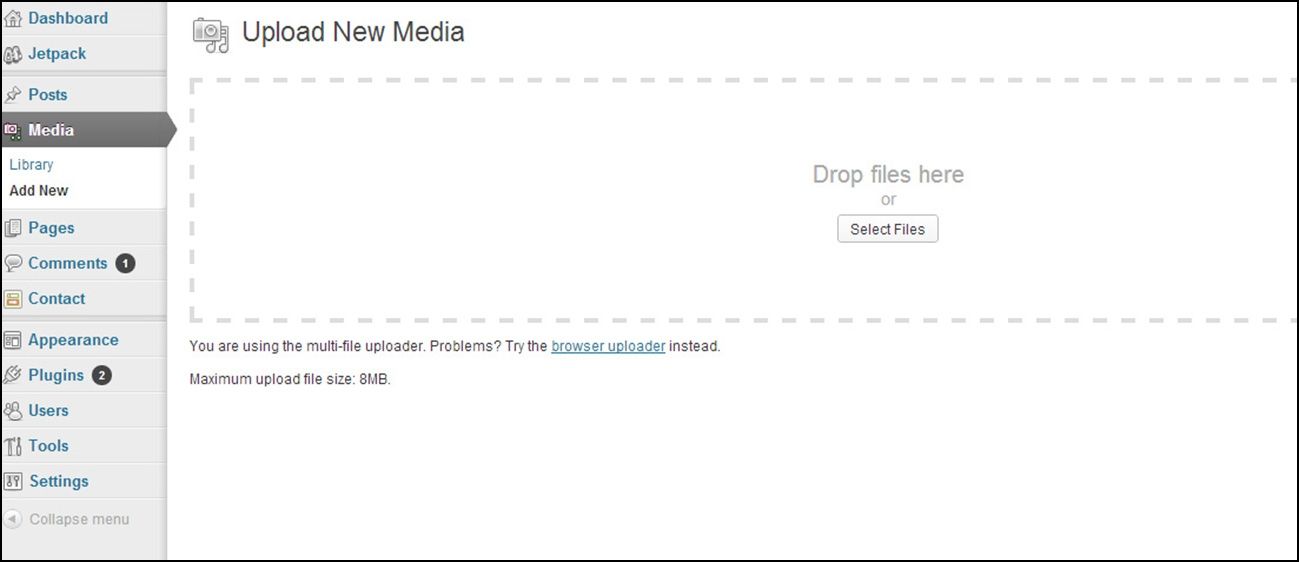
As you can see from Figure 9.3, you can actually drag and drop the file(s) you want to insert but I’ll demonstrate the alternative, which is to upload from your computer.
Click on ‘Select Files’ and navigate to where you have stored the image on your computer. Click on the file you want to upload, and then click ‘Open’. A screen as in Figure 9.4 appears:
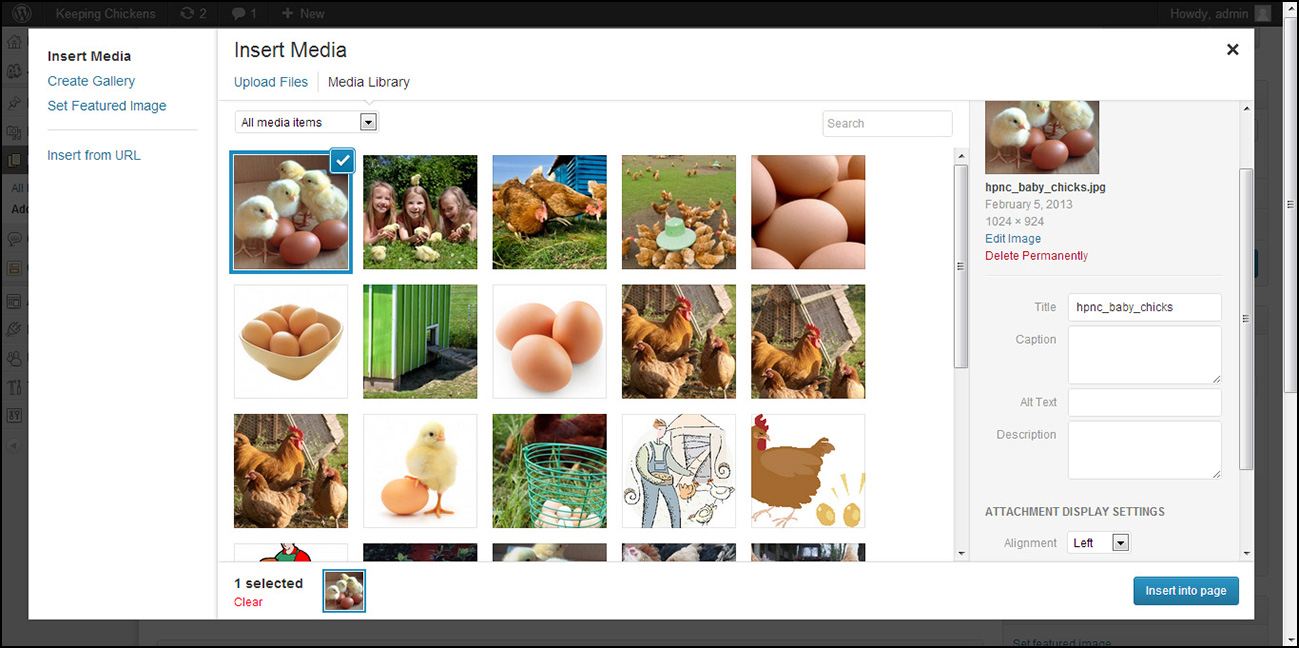
Here you can see that the screen displays all the images I have already uploaded to my Media Library, with the latest one checked on the left and the ‘Attachment Details’ for the latest image on the right.
Now you can enter the title of the image, optionally a caption, alt text (alternative text to display on devices that don’t display images) and description. Entering descriptive details in these boxes will help the search engines index and classify your images and relate them to the text that you enter in your posts and pages.
Beneath this is the ‘Attachment Display Settings’. Here you can specify the alignment of the image - left, right, center or none. I encourage you to experiment with alignments because you can get some very striking effects with the right image in the right place.
You will also see that there is a ‘Link To’ box. This is where the visitor would be taken if they clicked on the image. You can change this link to anything you like: if this was a product you were selling you might replace this with a link to your order page.
If you leave the ‘Link URL’ unchanged and the visitor clicks on the image they will see a full-pixel version of the image on their screen. If you don’t want the image to be a link then click on ‘None’.
Finally, you can choose the size of the image within the post or page. Your options here are determined by the settings you specified earlier in this lesson. Again, experiment with this to get the effects that you want for your website.
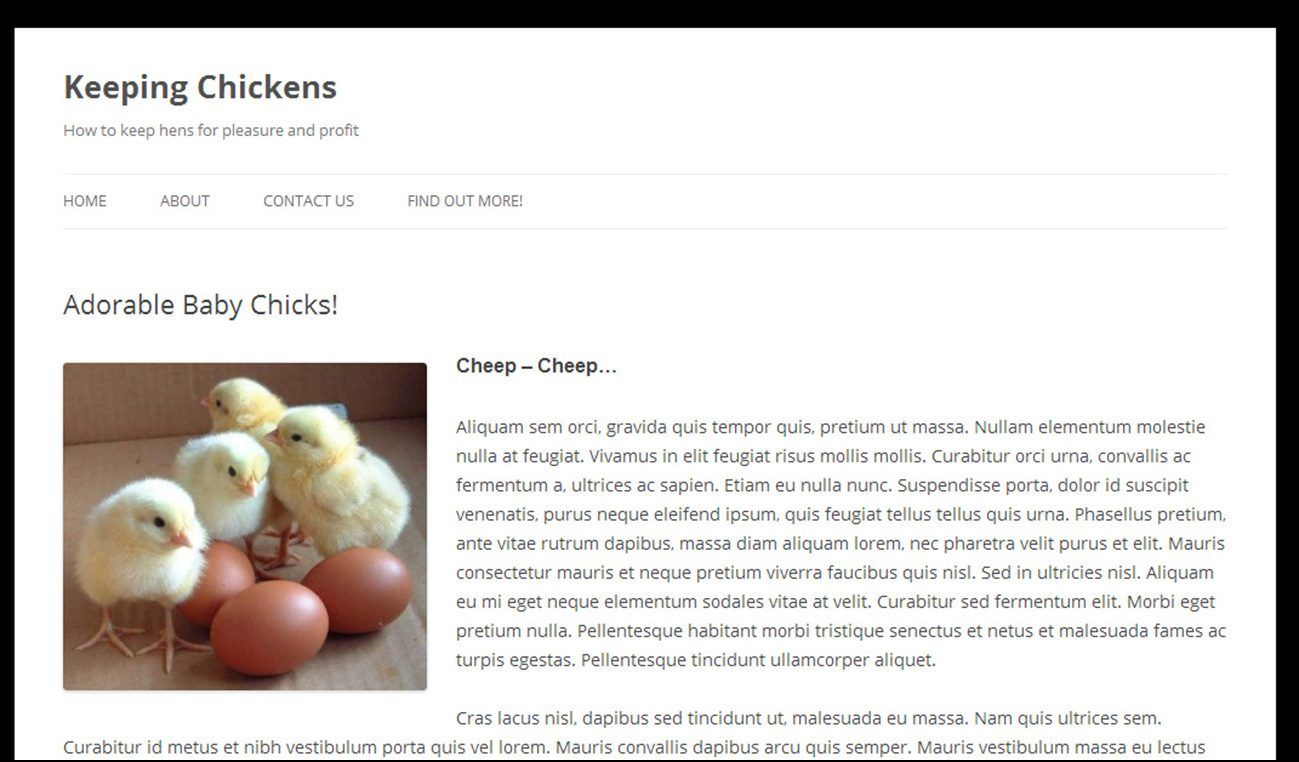
Then click on ‘Insert into Post’ and Figure 9.5 shows what the page will look like:
Now let’s have a look at uploading images directly into the Media Library for use later.
Add A Media File To The Media Library
Sometimes you will want to add an image (or some other media) to be displayed somewhere on your website other than a post or a page. In that case, you need to upload it to the Media Library before you can use it.
For example, I have a graphic file on my computer that is actually a little banner that I want to place in my sidebar to advertise a product that I want to promote on my website. I will cover how get the image into the sidebar in Lesson 11 but here I’ll briefly show you how to upload the image to the Media Library:
From the dashboard, click on ‘Media’ / ‘Add New’.
Click on ‘Select Files’ and upload the image as before.
As before, it is good practice to enter a title, alternate text and description, which will help with SEO (see Lesson 18) then click on ‘Save all changes’. That’s it. The file is now stored on your WordPress Media Library, ready for when you need it.
Add A Featured Image
This is a relatively new WordPress facility which lets you associate an image with a post or page. At the time of writing, featured images are not used in every theme and different themes use them in different ways. However, Twenty Twelve does use featured images and this is how to use them:
Essentially, the featured image facility in Twenty Twelve enables you to insert an image above the post/page title and below the header image (if present) and site title. If you do not have a header image for your site and you upload a similar-sized image (960px x 250px) as a featured image to a post or page, it will effectively become the header for that post/page only.
In the screen where you add or update a post or page, you will see at the bottom of the right-hand menu a box labeled ‘Featured Image’. Click ‘Set featured image’ and you will be taken to a screen similar to the ones illustrated above, where you can either upload an image or use one from your Media Library. Click on ‘Set featured image’ and you will see the image thumbnail appear on your post/page. That’s all - save/update your post/page but do not insert the same image into your post/page or it will display twice!
When you view the page you will see your image at the top.
Add A Picture Gallery
If you are a photographer or an artist or anyone who wants to display a lot of pictures, you might want to add a gallery of pictures to a page or post. A ‘gallery’ is a way of displaying thumbnails of images on a page in a rectangular grid and when a visitor clicks on an image they can see it full size.
In this case, it is preferable to prepare the images first on your own computer, so that they are all the same orientation and size (in pixel dimensions). That way the gallery display will look professional.
Before adding a gallery you should decide what size you want to display thumbnail images. By default, the thumbnails will be 150 pixels x 150 pixels. But you can change this by going from the dashboard to ‘Settings’, ‘Media’. This will display the Media Settings screen and you can change the dimensions of how WordPress will display thumbnail images on your site.
Then, from the page or post where you want to display the gallery, click on the ‘Add Media’ button as before, but this time select multiple files to upload. You will see WordPress upload them one at a time to the Media Library.
Make sure that all the pictures you want are checked and then click ‘Create Gallery’ over on the top left of the screen. Then click ‘Create a new gallery’ in the bottom right of the box, then ‘Insert Gallery’. The big blue gallery icon will be displayed. You can add text before or after this icon.
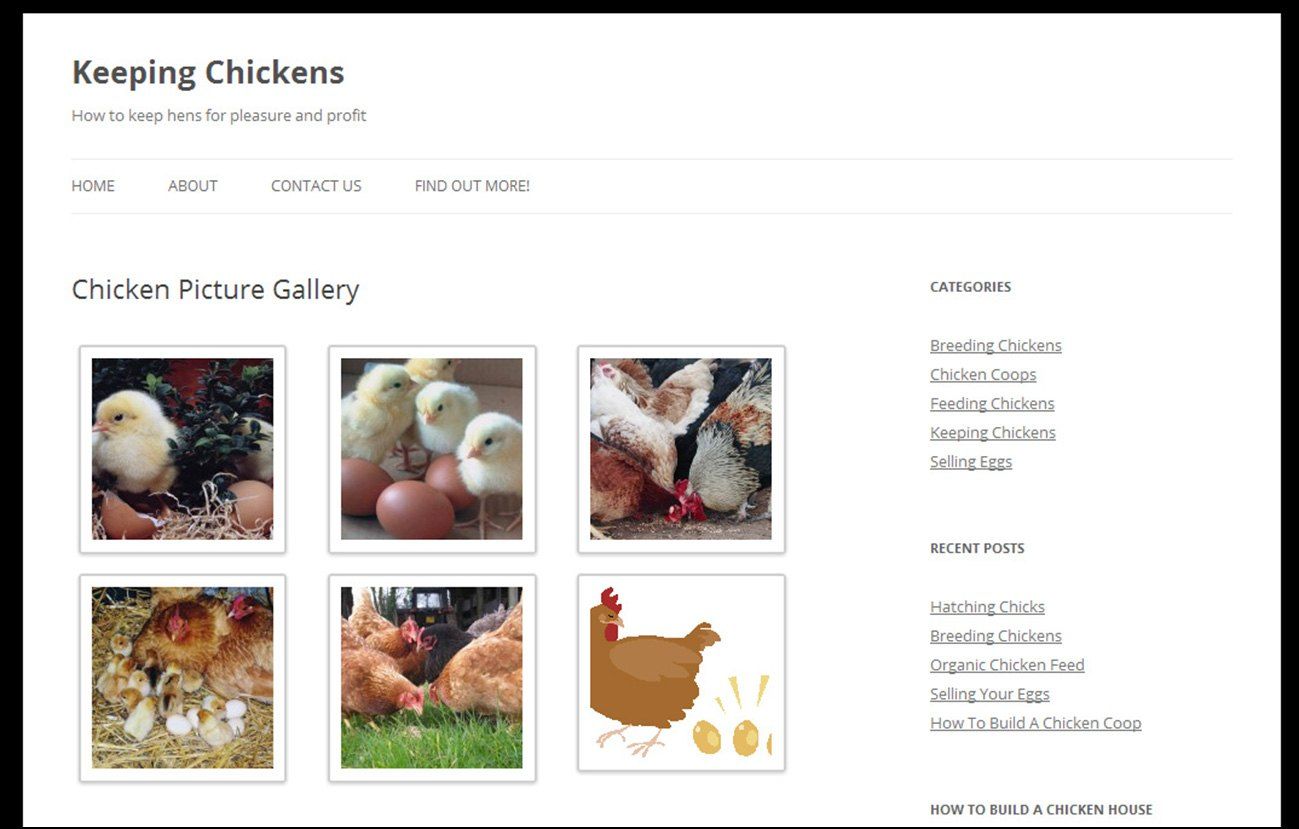
Then Save or Publish your post or page and you can then view the page to see the gallery, as in Figure 9.6:
As you can imagine from what you’ve seen, there are actually a great many options for displaying images and other media in WordPress, some of which are rather specialized and would be of interest to people like photographers and graphic artists etc.
Also, there are a number of very fancy plugins you can use to display images in a slideshow or gallery that go way beyond the basic facilities shown here. And some themes offer a ‘slider’ function that can include some very dramatic effects.
___
In this lesson I have shown the basic methods of adding images and media that you are most likely to use in a regular website. As ever, I encourage you to explore the options further for yourself if you want to be a bit more adventurous.
FAQ
I added an image to my post but how can I move it to a different position?
In the ‘Edit Post’ page, click on the image that you want to move and drag it to where you want it. If that doesn’t work, click on the image and then click on the small ‘Edit Image’ icon that appears in the far top left of the picture. This displays a pop-up which allows you to edit the alignment, link, title, caption etc. Make what changes you want and then click the ‘Update’ button.
Or, if you want to start over, click on the image, hit the delete key on your keyboard, insert the cursor where you want the image to appear in your text and insert the image over again.
Then click ‘Update’ to update the post or page.
How can I get one of those moving slideshows on my website?
There are a number of very good plugins that will display a slideshow of images and it is worth experimenting with several to find the one that suits you. Some slideshow plugins will display the gallery (see above) associated with a post or page while others will require you to upload your images separately.
One slideshow plugin that I currently like is called ‘Portfolio Slideshow’ because it is relatively easy to set up and there is also a low-cost ‘pro’ version of it available. See Lesson 15 for how to find and install plugins.
All materials on the site are licensed Creative Commons Attribution-Sharealike 3.0 Unported CC BY-SA 3.0 & GNU Free Documentation License (GFDL)
If you are the copyright holder of any material contained on our site and intend to remove it, please contact our site administrator for approval.
© 2016-2026 All site design rights belong to S.Y.A.