App Trillionaires: How To Become An App Developer: Enjoy Life, Make Money, and Live Your Dreams! (2013)
8. STEP 2: APP DESIGN AND PAPER TESTING
In this step you will require a paper and pencil with an eraser. I usually use a mechanical pencil with lots of lead and a solid eraser. You can easily pick up these items in your local office store or dollar store.
For your photocopying purposes I have included a paper version of a mobile phone device I created on a separate page. Simply photocopy that page several times and cut out to start drawing your paper designs in the next part.
Also as a bonus if you visit my website at http://www.gamescorpion.com and click on the App Trillionaires menu link above, I will post up several documents there, including a special document called Phone Trace Paper which has 6 of the same mobile phone images so you can simply print it out, cut out the phone designs and start paper testing and designing your app! It’s a free download available only to my readers and those who are part of my programs and use my tools. To access this special download page you will require the password: onetrillion. Feel free to sign up to our mailing list while there as well!
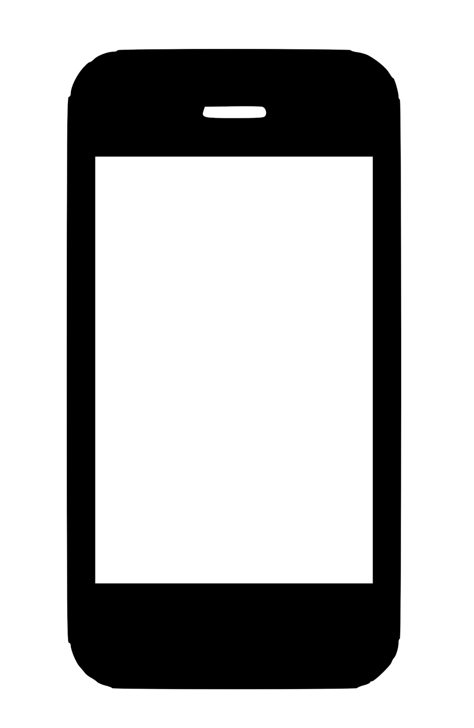
PHONE TRACE PAPER - SINGLE PHONE
Step 1: Paper Modeling (PROTOTYPING)
i. Paper modeling is simply drawing out what your app looks like via paper and pencil.
ii. Create your app designs and then finally once completed scan them in if you wish to send them to a developer or save them for future.
iii. You can even take your prototyping and designing to the next level by buying various stencils and design tools by visiting UIstencils.com (http://www.uistencils.com/)
Step 2: Common Components in Apps
i. Virtual Keyboard
ii. Left/Right buttons
iii. Home Button
iv. Drop Down (COMBO) boxes
v. Radio Buttons
vi. Checkboxes
vii. Text Boxes
viii. Sliders
Step 3: 80/20 rule
i. If 20% of your labor can overcome 80% of your work, do the 20% labor first!
ii. In terms of an app, if you are developing an app with various functionalities, if you know that lets say it takes 5 minutes to develop an image for a clock background or 2 hours to program a clock image background, you’re better off taking the faster 5 minute approach and moving on. You can easily update the app in the future to add more advanced functionality.
Step 4: KISS Method
i. Same as before, Keep It Simple Stupid (KISS). When designing apps always keep your designs easy and simple. Even though you may have many complex ideas, it’s the apps that can make these complex ideas EASY that hit off and gain major success.
ii. Usually try and keep an app (Especially those from more complex markets) SIMPLE and easy to use. The reason why GOOGLE hit off as a search engine was due to its SIMPLE interface. Just a SINGLE search box, you search for what you want. Other search engines were more complex, had all kinds of things to do, and many other areas that confused users. Today who do we know owns the entire search engine market without a doubt? GOOGLE. KEEP IT SIMPLE!
Step 5: FUN FACTOR AND TALK Method
i. When designing, ask yourself, “Would someone have FUN with this app?” or “Would someone show their friends and talk about this app?” Let me break it to you straight…IF NO ONE TALKS ABOUT YOUR APP, your app will not sell very well. Word of mouth is the most powerful method of marketing, and now even more so in the app world. We see it via App Reviews, but we also see it via PHYSICAL app sharing. You may see a friend using an app, or having fun with an app, and guess what, you just created a conversation starter right there. Always ask yourself if your app will either be fun, talked about or both!
Step 6: Easy online tools to help in Prototyping
a. iPhone Mockup Web App à http://iphonemockup.lkmc.ch/
b. Serena Prototype Composer à http://www.serena.com/products/prototype-composer/index.html
c. Rethink Realizer à http://www.realizerapp.com/
d. (TOP CHOICE) Just In Mind Prototyper à http://www.justinmind.com/prototyper/free-edition
PROTOTYPE AND PAPER TESTING ACTION STEPS
1. Start by photocopying and cutting out the amount of screens you believe your app will have by using the Phone Trace Paper shown on an earlier page.
2. Draw out rough versions of your screens. Try and make your app functional. For example if you want to show a button, draw a rectangle, and then if someone was to click on that button, draw the screen that would show up after pushing that button.
3. After drawing out all the paper prototypes, start doing some paper testing. Put the slides in the correct order and get a friend or someone who you know to come and test the app out on paper. If they click on a button, show the next page that they would see by clicking on it. Paper testing is the fastest and cheapest way to really get your app idea off the ground.
4. Repeat this process for all of the apps you selected in earlier steps (Around 3-5 apps) and then once you have paper tested all the ideas, start scanning them in for actual creation.
5. At this point you are now ready to either outsource the app development to an overseas company or to build it yourself. Based on what you have decided, it is now time to put together all your assets and items.
“Sometimes a fall is the only way to rise!”
— Abhinav Gupta
All materials on the site are licensed Creative Commons Attribution-Sharealike 3.0 Unported CC BY-SA 3.0 & GNU Free Documentation License (GFDL)
If you are the copyright holder of any material contained on our site and intend to remove it, please contact our site administrator for approval.
© 2016-2026 All site design rights belong to S.Y.A.