iPad For Seniors For Dummies, 8th Edition (2016)
Part II. Taking the Leap Online
Chapter 9. Expanding Your iPad Horizons with Apps
Get ready to …
· Explore Senior-Recommended Apps
· Search the App Store
· Get Applications from the App Store
· Organize Your Applications on Home Screens
· Organize Apps in Folders
· Delete Apps You No Longer Need
· Update Apps
Some apps (short for applications) come preinstalled on your iPad, such as Contacts and Videos. But there’s a world of other apps out there that you can get for your iPad, some for free and some for a price (typically, from $0.99 to about $10, though some can top out at $90 or more).
Apps range from games and travel planners to financial tools such as loan calculators and productivity applications, including the iPad version of Pages, the Apple software for word processing and page layout.
In this chapter, I suggest some apps you may want to check out and explain how to use the iPad’s App Store to find, purchase, and download apps.
Explore Senior-Recommended Apps
As I write this book, apps are being created for the iPad at a furious pace, so many more apps that could fit your needs will be available by the time you have this book in your hands. Still, to get you exploring what’s possible, I provide a quick list of apps that may whet your appetite.
Access the App Store by tapping the App Store icon on the Home screen. You can start by exploring the Featured or Top Charts categories (see the buttons along the bottom of the screen). Or, you can tap Explore and find apps divided into categories. Search for an app by typing its name in the Search box in the top-right corner of the screen and tapping the Search key on the onscreen keyboard. Here are some interesting apps to explore:
· Sudoku 2 (free): If you like this mental logic puzzle in print, try it out on your iPad (see Figure 9-1). It has three lessons and several levels ranging from easiest to nightmare, making it a great way to make time fly by in the doctor’s or dentist’s waiting room.
· StockWatch Portfolio Tracking and Stock Market Quotes ($1.99): This app helps you keep track of your investments in a portfolio format. You can use the app to create a watch list and record your stock performance.
· DealCatcher Coupons & Deals (free): Use this app to find low prices on just about everything local to your area. Read product reviews and compare list prices.
· SpaceEffect FX HD (free): If you need a photo-sharing service with some cool features, try SpaceEffect. You can not only upload and share photos, but apply awesome effects to them.
· Paint Studio ($3.99): Get creative! You can use this powerful app to draw, add color, and even create special effects.
· Mediquations Medical Calculator ($4.99): Use this handy utility to help calculate medications with built-in formulas and read scores for various medications. Check with your physician before using!
· Nike Training Club (free): Use this handy utility to help design personalized workouts, see step-by-step instructions to help you learn new exercises, and watch video demonstrations. The reward system in this app may just keep you going toward your workout goals.
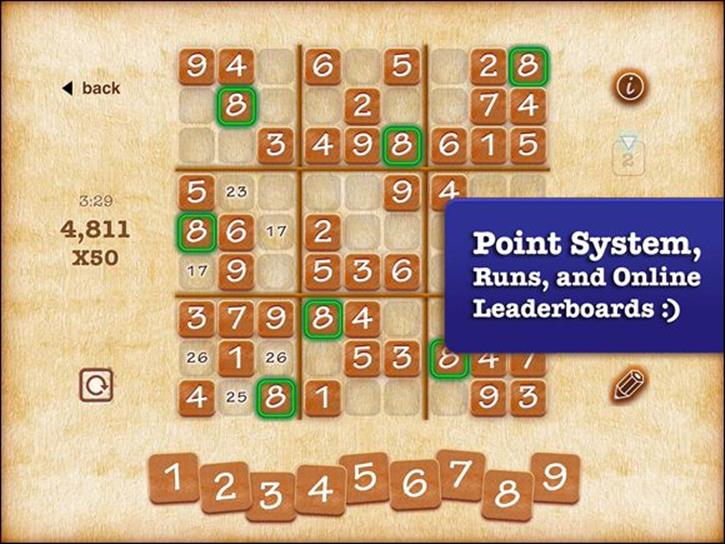
Figure 9-1
 Most iPhone apps work on your iPad, so if you own the mobile phone and have favorite apps on it, sync them to your iPad!
Note that you can work on documents using apps in the cloud from other devices, such as your Mac laptop. Use Keynote, Number, Pages, and more apps to get your work done from any device. See Chapter 3 for more about iCloud Drive.
Search the App Store
1. Tap the App Store icon on the Home screen. The site shown in Figure 9-2 appears.
2. At this point, you have several options for finding apps:
· Tap the Search field, enter a search term, and then tap the Search button on the onscreen keyboard to see results.
· Swipe the screen downward to scroll down, or swipe to the right to see more selections.
· Tap the Categories button at the top of the screen to see different categories of apps.
· Tap the Top Charts button at the bottom of the screen to see which free and paid apps other people are downloading most.
· Tap the Explore option to display apps in categories such as Great Free Games, Get Stuff Done, and Interactive Kids Stories. Tap a category to display apps that fit within it.
· The Popular Near Me option at the top of the Explore view displays apps that are popular among people in or near your location. (This may or may not produce useful results, depending on where you are!)
· Tap the Purchased button at the bottom of the screen to view apps you’ve already purchased, as shown in Figure 9-3. An item with a cloud symbol to the right of it means you need to download it to use it; note that it might be an app you installed on another Apple device such as an iPhone, but that hasn’t yet been installed on your iPad.
· Tap the See All button in any category shown in the Featured view to view all the items in that category.
· In the Top Charts view, use the Paid, Free, and Top Grossing tabs to narrow your search.
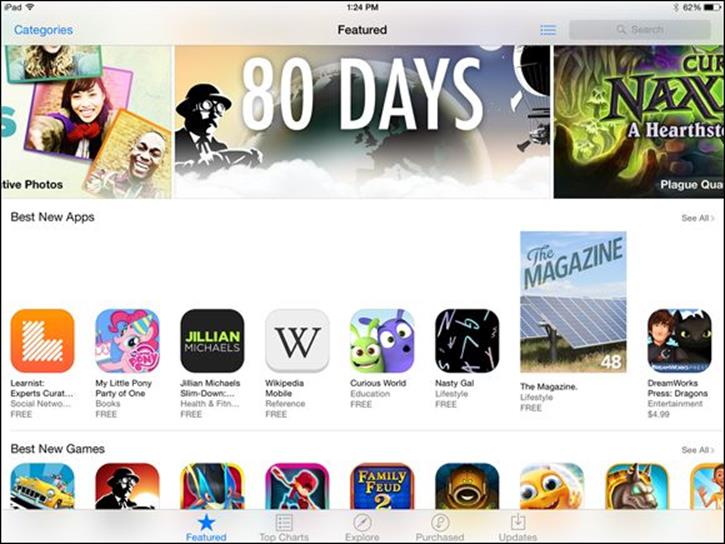
Figure 9-2
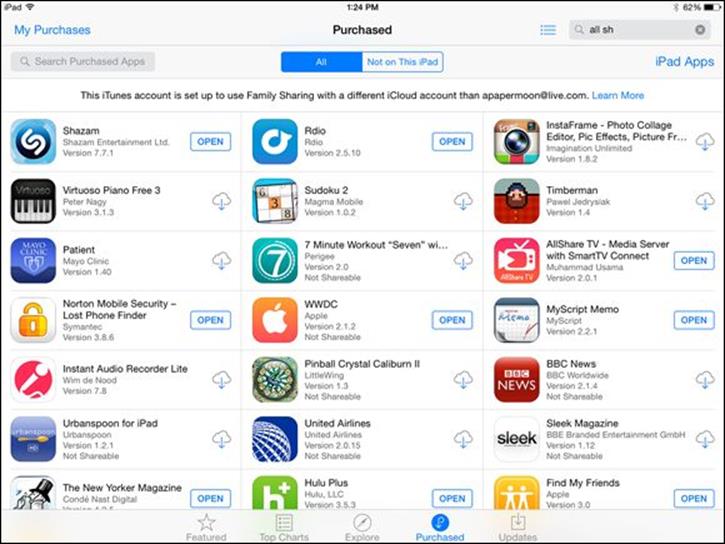
Figure 9-3
Get Applications from the App Store
1. Getting free apps or buying apps requires an iTunes account, which I cover in Chapter 3. After you have an account, you can use your saved payment information to buy apps or download free apps in a few simple steps. With the App Store open, tap the Search field, enter an app name (a free app you might like to have is Netflix, for example), and then tap Search on the onscreen keyboard.
2. Tap Netflix in the suggested search results that appear and then tap the Get button for Netflix. (To get a paid app, you’d tap the same button, which would be labeled with a price.) The Get button changes to Install (or, in the case of a paid app, to Buy), as shown in Figure 9-4.
3. Tap the Install button.
4. You may be asked to enter your iTunes password. If so, enter it, and then tap the OK button to proceed. The app downloads and appears on a Home screen (probably your second Home screen, if you haven’t downloaded many apps yet). If you purchase an app that isn’t free, at this point, your credit card or iTunes gift card (if you’re using iTunes to buy apps) is charged for the purchase price.
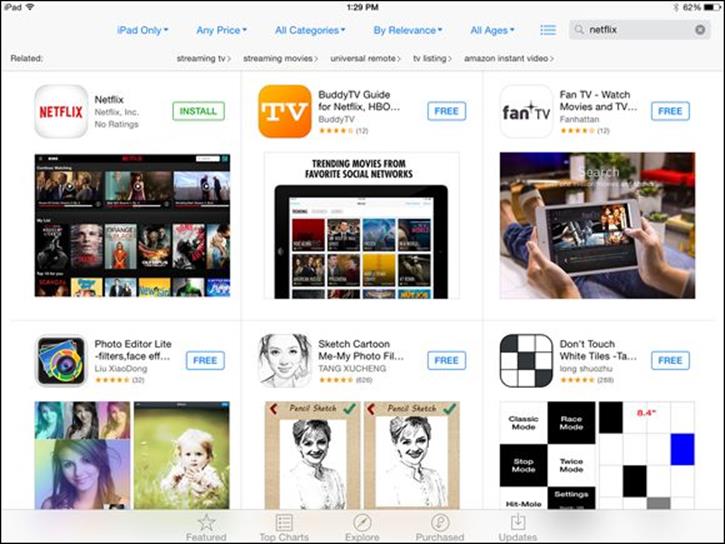
Figure 9-4
Out of the box, only preinstalled apps are located on the first iPad Home screen. Apps that you download are placed on additional Home screens, and you have to scroll to view and use them. See the next task for help in finding your newly downloaded apps on multiple Home screens.
If you’ve opened an iCloud account, anything you purchase on your iPad can be set up to be pushed to other Apple iOS devices automatically. See Chapter 3 for more about iCloud.
Organize Your Applications on Home Screens
1. The iPad can display up to 11 Home screens. By default, the first contains preinstalled apps; other screens are created to contain any apps you download or sync to your iPad. At the bottom of any iPad Home screen (just above the Dock), dots indicate the number of Home screens, and a solid dot specifies the Home screen you’re on, as shown in Figure 9-5. Press the Home button to open the last-displayed Home screen.
2. Flick your finger from right to left to move to the next Home screen. To move back, flick from left to right.
3. To reorganize apps on a Home screen, press and hold any app on that screen. The app icons begin to jiggle (see Figure 9-6), and any apps you’ve installed sport a Delete button (a gray circle with a black X on it). Some preinstalled apps cannot be deleted and so have no Delete button on them.
4. Press, hold, and drag an app icon to another location on the screen to move it.
5. Press the Home button to stop all those icons from jiggling!
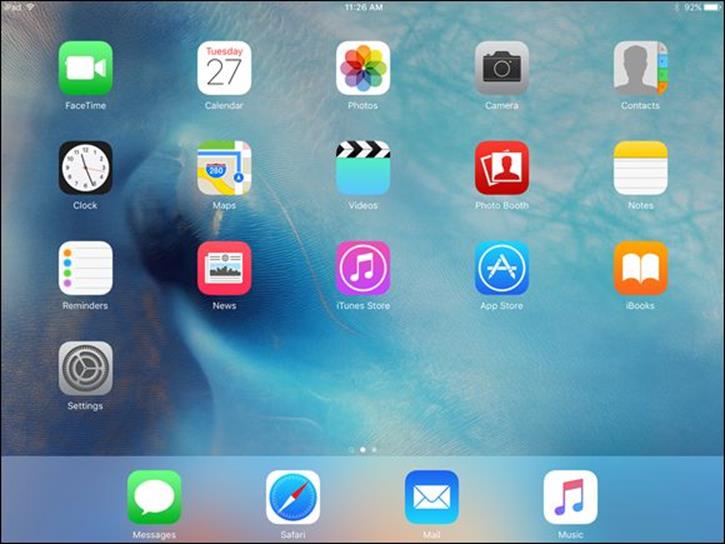
Figure 9-5
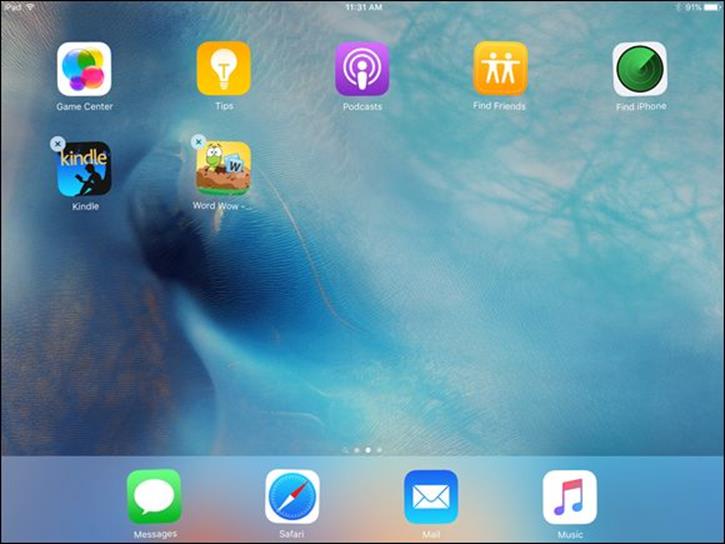
Figure 9-6
To move an app from one page to another while the apps are jiggling, you can press, hold, and drag an app to the left or right to move it to the next Home screen. You can also use iTunes to manage what app resides on what Home screen and in which folder when you’ve connected the iPad to iTunes via a cable or wireless sync. This process may be easier for some people and allows you to rearrange Home screens, which you can’t do from the iPad.
 Press the Home button twice, and you get a view of open apps in the App Switcher. Scroll among the apps and tap the one you want to go to. Swipe an app upward from this preview list to close it.
Organize Apps in Folders
iPad lets you organize apps in folders so that you can find them more easily. There is no limit on the number of apps you can store in a folder. The process is simple:
1. Tap and hold an app until all apps do their jiggle dance.
2. Drag one app on top of another app. The two apps appear in a box with a placeholder name in a strip above them (see Figure 9-7).
3. To change the folder name, tap the bar above the box. The keyboard appears.
4. Tap the Delete key to delete the placeholder name, and type one of your own.
5. Tap Done and then tap anywhere outside the bar to save the name.
6. Press the Home button to stop the icons from dancing around. Your folder appears on the Home screen where you began this process.
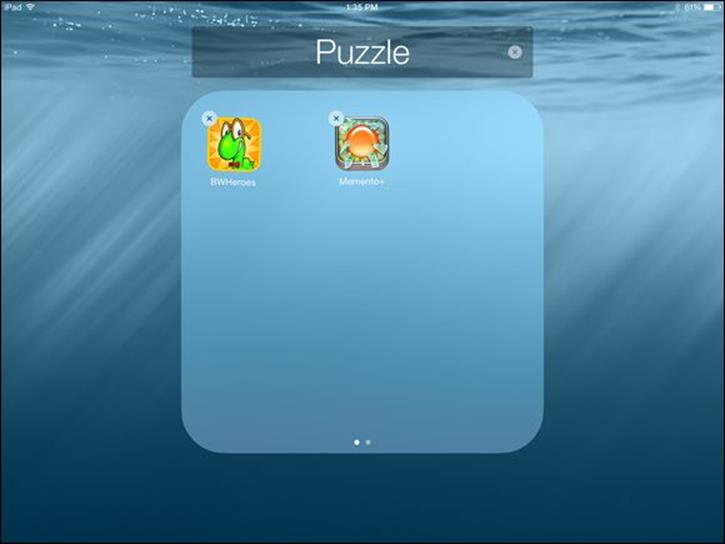
Figure 9-7
Delete Apps You No Longer Need
1. When you no longer need an app that you installed, it’s time to get rid of it. (You can’t delete apps that are preinstalled on the iPad, such as Notes, Calendar, and Photos, however.) If you use iCloud to push content across all Apple iOS devices, note that deleting an app on your iPad won’t affect that app on other devices. Display the Home screen that contains the app that you want to delete.
2. Press and hold the app until all apps begin to jiggle.
3. Tap the Delete button for the app you want to delete (see Figure 9-6). A confirmation message like the one shown in Figure 9-8 appears.
4. Tap Delete to proceed with the deletion.
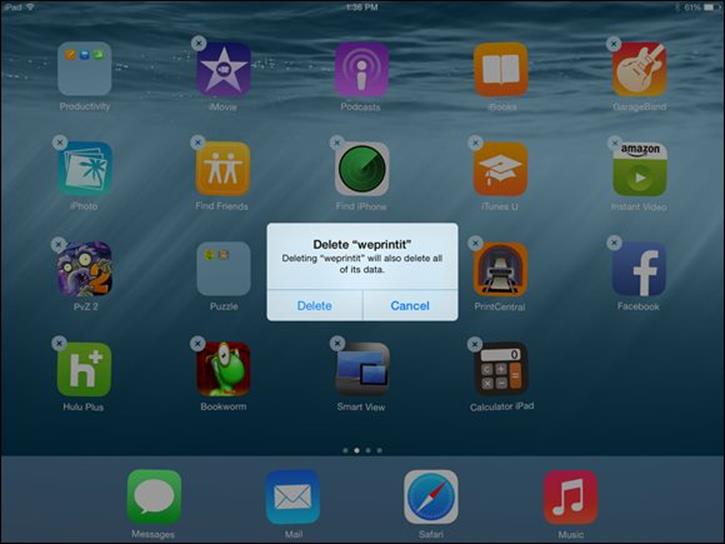
Figure 9-8
Don’t worry about wiping out several apps at once by deleting a folder. When you delete a folder, the apps that were contained within the folder are placed back on Home screens.
If you have several apps to delete, you can delete them by using iTunes connected to your iPad, making the process a bit more streamlined.
Update Apps
1. App developers update their apps all the time to fix problems or add new features. You can use the Automatic Downloads on/off switches to set up automatic downloads of apps (this is under the iTunes & App Store settings). If you’d rather not have updates happen automatically, or want to get the latest update in case the automatic download hasn’t occurred yet, you may want to check for those updates. The App Store icon on the Home screen displays the number of available updates in a red circle. Tap the App Store icon.
2. Tap the Updates button to access the Updates screen and then tap any item you want to update. Note that if you have Family Sharing turned on, there will be a folder titled Family Purchases you can tap to display apps that are shared across your family’s devices. To update all, tap the Update All button.
3. On the screen that appears, tap Update. You may be asked to confirm that you want to update or to enter your Apple ID Password; after you do, tap OK to proceed. You may also be asked to confirm that you’re over a certain age or agree to terms and conditions; if so, scroll down the terms dialog (reading the terms as you go, of course), and at the bottom, tap Agree.
You can download multiple apps simultaneously. If you choose more than one app to update, instead of downloading them sequentially, all items will download in parallel. You can keep working in the iTunes Store while you’re downloading an item.
If you have an iCloud account that you’ve made active on various devices, when you update an app on your iPad, it also updates automatically on any other Apple iOS devices you have (and vice versa).
All materials on the site are licensed Creative Commons Attribution-Sharealike 3.0 Unported CC BY-SA 3.0 & GNU Free Documentation License (GFDL)
If you are the copyright holder of any material contained on our site and intend to remove it, please contact our site administrator for approval.
© 2016-2026 All site design rights belong to S.Y.A.