Practical Auto Layout: Beginning Auto Layout Techniques for iOS8 (2015)
Chapter 12. Constraint Priorities
If you have worked a bit with auto layout, you may have noticed a few extra settings that you have no idea how to use. Most of this book is tutorials making proportional or equal sized buttons with a static amount of space between them. What if you want to control the space between buttons? What if you don't want a button to re-size? That is what this lesson is about.
Set Up the Project
Make a new project called AutoLayoutPriorities. Use a Universal device. Once loaded, go to the storyboard and add two buttons. Label one button Button1 and Button2. Make the Blue background for Button 1 with White lettering and the Red background for Button 2 with Whitelettering. Make the superview's background Light Gray.

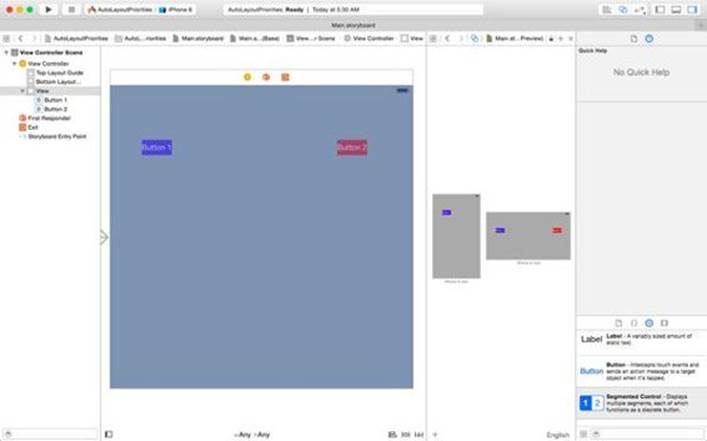
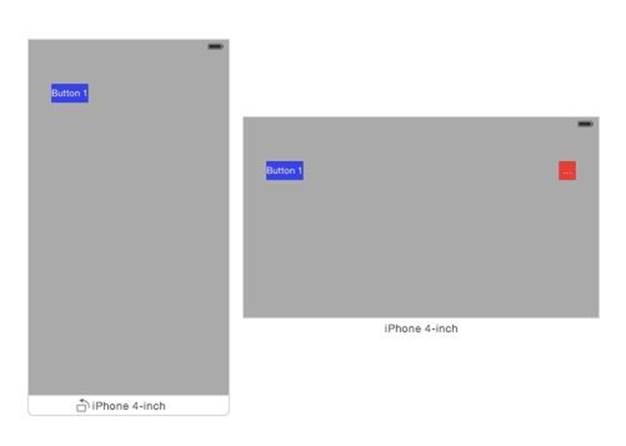
Set up your workspace by closing the navigator on the left, and opening the assistant editor. Change from Auto or Manual to Preview in the assistant editor and add another iPhone 4 inch. by pressing the Add button on the bottom of the assistant editor. Make sure the document outline is open. Your workspace should look like this:
In the document outline, make sure your controls have this order:
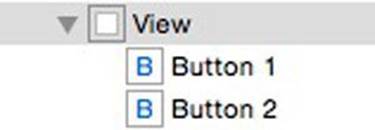
If not, change the order by dragging Button 1 to the top of the list.
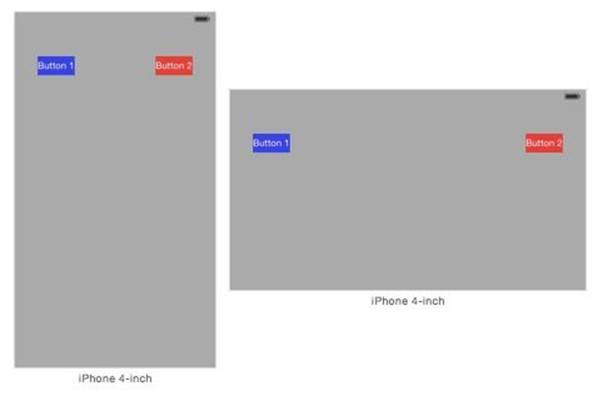
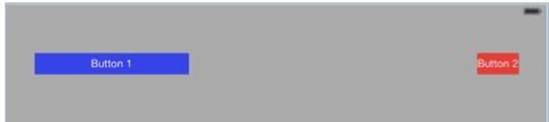
Pin Button 1 50 up and 20 left and update Items of New Constraints. Pin Button 2 50 up and 20 right and select Items of New Constraints. The preview looks like this:
Drag Order of Constraints
Control drag from Button 1 to Button 2. Make a horizontal spacing constraint.

You'll notice that the preview changes..
Delete the constraint. Control drag from Button 2 to Button 1. again select a horizontal spacing constraint.
The order we control-drag items matters. Click on a button and then click on the horizontal constraint between them. In the attribute inspector, you will find
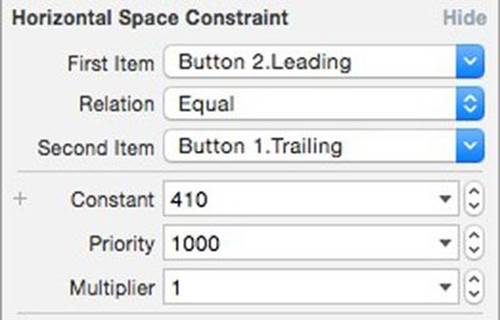
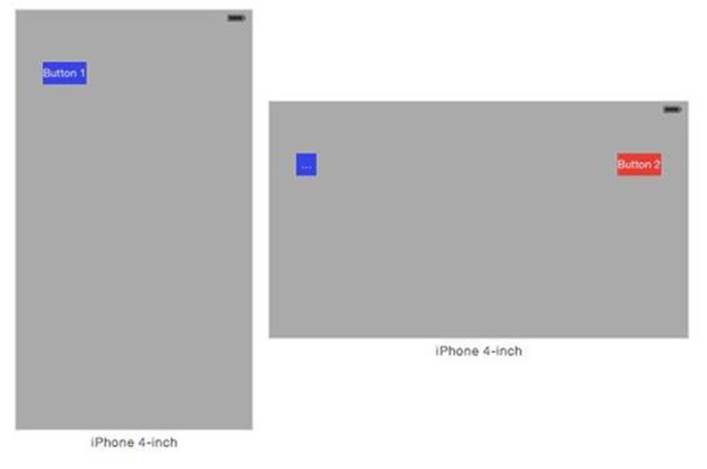
You can now see the order between the first and second item. Why is the first item disappearing in portrait and compressing in landscape? We have three constant values. on Button 1 we have a pin of 20 points to the left margin. We have pin of 20 points to the right margin on Button 2, and we have a constant space of 410 points between them.
The Disappearing, Compressing Button
We need to be careful here with the difference between points and pixels, since Auto layout works in points. An iPhone 4 inch has a 640 pixel width. In retina displays, a point is 2 pixels. A iPhone 4 inch has a width of 320 points in portrait. The 410 point constraint alone is wider than the phone. The horizontal space constraint pushes button 2 off the screen.
In landscape, the width is 568 points. Our three constraints add up to 450 points, and the buttons are about 60 points each plus 16 more for the margin for a total size of 586 points. We are over by 18 points. To make everything fit, Auto layout squeezes our first item to fit the screen.
We have a few options to handle this. The thee horizontal constraints have equal priorities of Required, which is a value of 1000. One way to handle such constraint problems is to change the horizontal constraint between the buttons to an inequality.
Using Inequalities
Select the horizontal constraint between the buttons if not already selected. In the attribute inspector, change the Relation to Less Than or Equal.

We get a constraint telling us we did this:

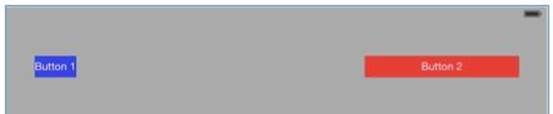
This satisfies the buttons on our phone.
To the preview, add a iPad. The iPad is not happy with these constraints, stretching button 2.
It has a width of 768 points and needs to make up the difference somewhere. Once again, it uses the first item, Button 2, to make up the difference. Rotating the iPad to landscape will only make Button 2 wider, since it needs to make up a bigger difference. Set the relation back to Equals.
Changing Priorities
Another option is to change the priority. We can make some constraints less important than others. Change the Priority of the constraint between Button 2 and Button 1 to 750, which Xcode tells is is a high priority.

The constraint changes to a dotted line in both the storyboard to tell us we changed the priority,
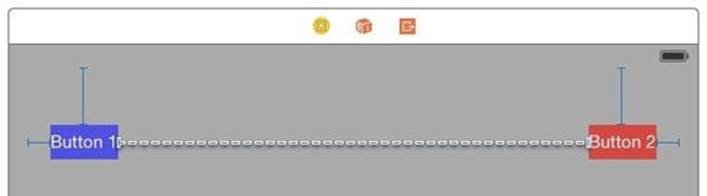
It does so in the inspector too with a dashed border.

The preview shows both buttons correctly again in the iPhone, but the iPad still adds to Button 2.
Content Hugging
While this would be a good place to start working with size classes, an alternate way to control the iPad Button 2 is with content hugging. Select the Button 2. In the size inspector, just under the list of the constraints you will find this:
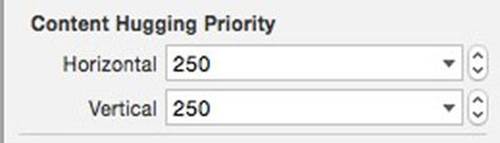
This priority controls stretching. Items with a higher priority will keep to the size of their content, for a button the title, more than items with less content. Change the horizontal content hugging to High(750). The iPhone does not change, but the iPad does.
The first item now has a higher content hugging priority than the second button. Auto Layout stretches Button 1 instead of Button 2. Change Button 1's Horizontal content hugging priority to High(750). Now we see in the preview the buttons in the iPad and iPhone looking the same.
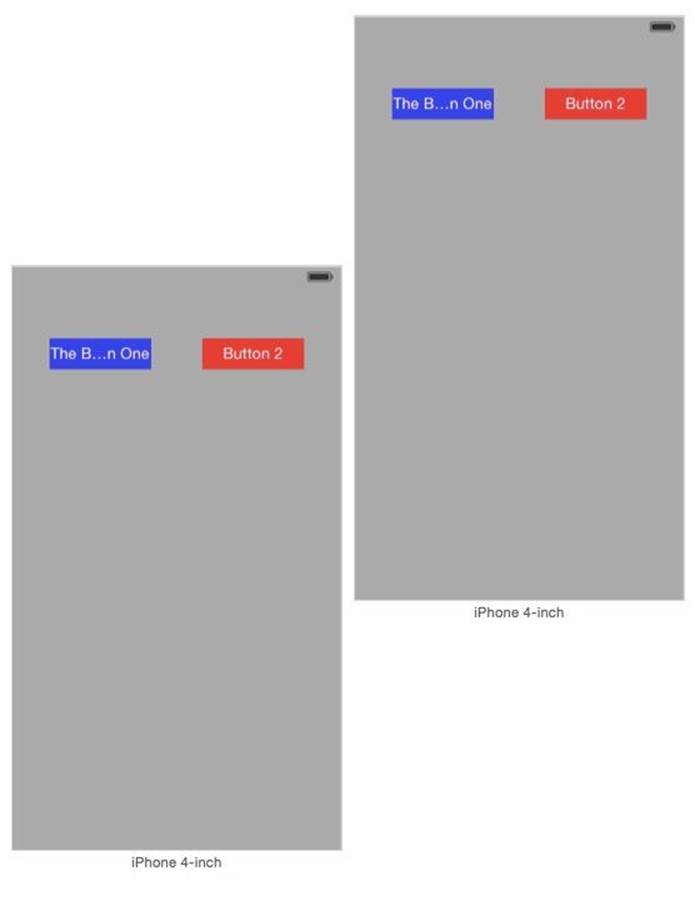
Why would we use content hugging instead of setting a size for the button? We might have a button which changes titles dynamically as we run our app. We'd like auto layout to re-size the layout accordingly. We have two buttons of about the same size. Change Button 1's title to The Button One. The iPhones change to this:
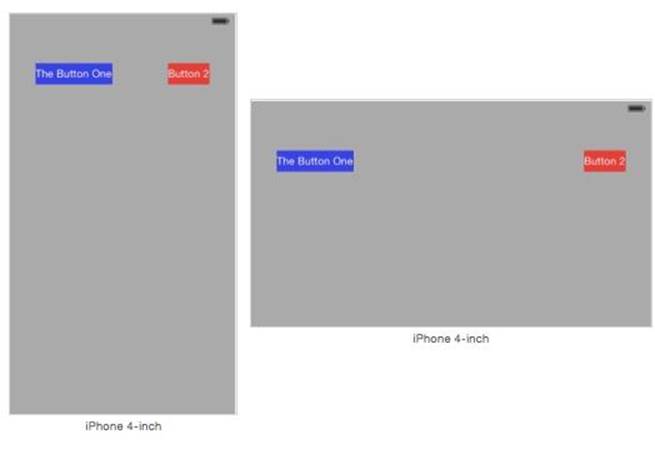
The iPad changes to this:
With a layout like this, any time we change the button's title in code the layout changes by itself to accommodate the content.
Content Compression resistance
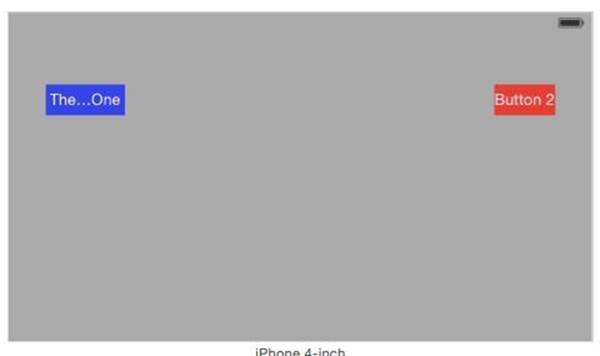
For stretching, we have content hugging, but what of compression? Delete the horizontal constraint between Button1 and Button 2. Control-drag from Button 1 and Button 2 and select Horizontal Spacing to start with a fresh constraint. Look at the iPhone in landscape in the preview.

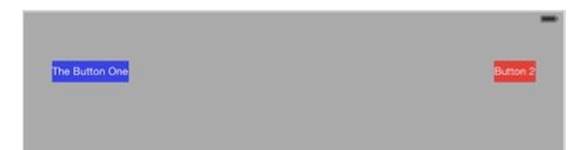
Button 2 compressed this time. We can change the priority for compression with content compression resistance. Under content hugging you will find content compression resistance:
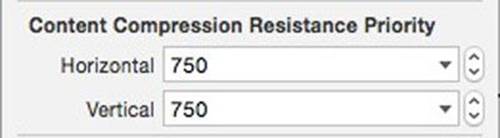
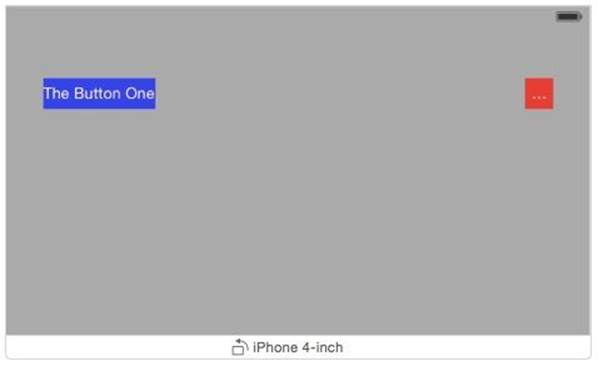
Change the Horizontal compression resistance to Required(1000). The preview changes to compress the lesser priority The Button One and keep all content visible in Button 2
Unlike content hugging, changing the priority of content resistance gets us back to our original situation.
Control-drag from the blue button to the red button. Select Equal Widths. Change the Constant on the constraint between the buttons to 50 points. Change the compression resistance on the red button to 750 and the blue button to 1000. Some times, even when it has compression resistance, big content just doesn't fit. The iPhone in portrait still compresses the content
Why I Don't Use This
You might notice there is no practical example this time. While I can think of situations where these might be useful, I can't think of a practical example. My style of design for user interfaces stays simple, the one that most of this book follows. All subviews keep proportional to each other and to the superview, and the space between them stays the same. The three types of priorities are used when you have a dynamic spacing constraint, when the space between views changes or the views themselves change at runtime. I'm sure there are uses, but I can't think of any.Knowing how to use priorities is still still a good skill. Sometime in the future, I'll end up using them. I'm sure you will too.
All materials on the site are licensed Creative Commons Attribution-Sharealike 3.0 Unported CC BY-SA 3.0 & GNU Free Documentation License (GFDL)
If you are the copyright holder of any material contained on our site and intend to remove it, please contact our site administrator for approval.
© 2016-2026 All site design rights belong to S.Y.A.