Photos for Mac: A Take Control Crash Course (1.0.1) (2015)
Add Info about Your Photos
Apple knows most of us don’t have a lot of time to organize our photo libraries. (That’s why Photos uses dates and locations to automatically group events together.) But Apple can’t divine everything about the contents of a photo library via an algorithm—at least, not yet. That’s why Photos contains a set of simple organizational tools that let you embed even more meaning into the images you’ve captured ①.

① If I had a favorite view of my photos, it would probably be quite similar to the Favorites view.
Play Favorites
Some of us like to precisely quantify things. I knew a kid in high school who actually rated every movie he watched on a five-star system. (He grew up to be a movie critic—true story!) But after years of watching how people use photos, Apple has decided that most of us can’t be bothered with complex ratings systems, so it has removed the star rating system (see Catch a Falling Star Rating) with a simpler approach: Favorites.
In thumbnail views, all your favorites appear with little white hearts in their upper-left corner ②. Awwww. (There’s even a subtle drop shadow, so if the top-left corner of your photo is entirely white, you can still see the heart.)

② Find the fave: it’s the one with the white heart in the upper-left corner.
A view of all your favorite photos appears in the Albums pane (or Albums section of the sidebar). Click Favorites and you’ll see just your very best shots, as judged by you!
Instafave!
To make a photo a favorite:
· If you are viewing a single image, click the heart button located on the right side of the title bar ③.

③ Show your love with the heart button at the far left of the buttons in the right side of the title bar.
· Select it and press the Period (.) key.
· Select it and choose Image > Add to Favorites.
Manage Those Keywords
If the binary nature of favorites doesn’t work for you, you can get as specific as you like in organizing your photos by assigning them keywords. Keywords can be just about anything—you get to name them and assign them.
To start working with keywords, open the Keyword Manager by choosing Window > Keyword Manager (Command-K). The Keyword Manager is a floating window that lists all the keywords in use in your library ④.
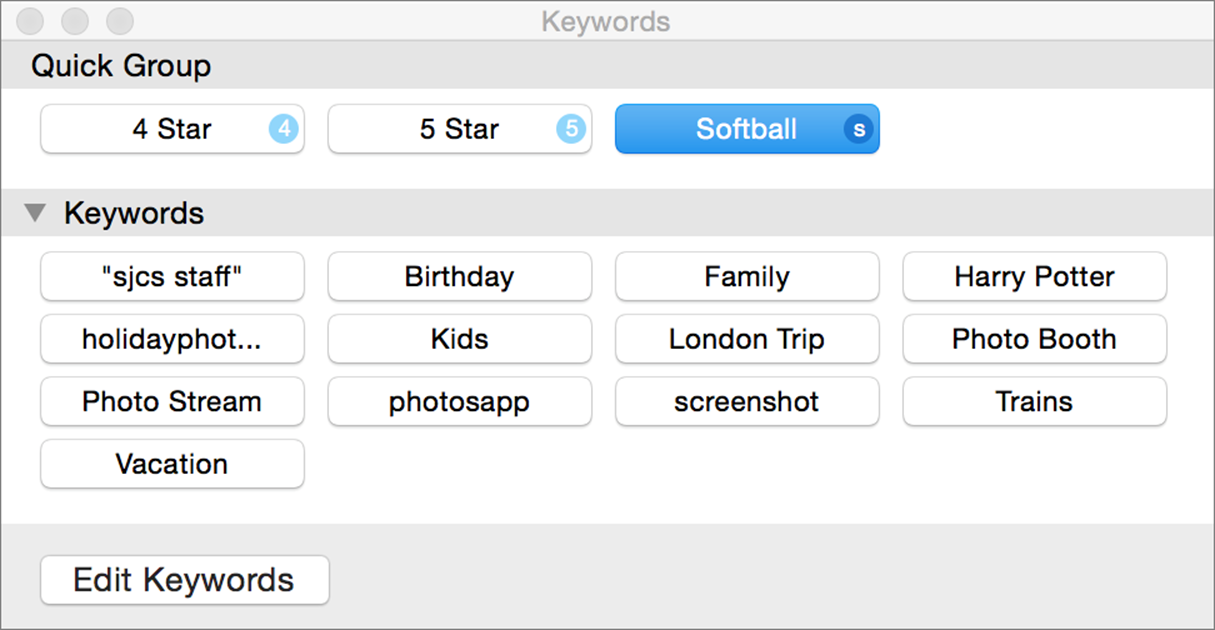
④ The Keyword Manager lets you add keywords to photos quickly.
To assign a keyword, select a single image or even a whole group of them in the main window, and then click that keyword in the Keyword Manager.
You can drag keywords from the lower Keywords list up into the Quick Group for quicker access to the ones you use the most. Photos automatically assigns a keyboard shortcut to that keyword—for example, it assigned the letter s to my Softball keyword.
Note: Keyboard shortcuts for keywords are functional only when the Keyword Manager is visible.
When you click the Edit Keywords button, you see the Manage My Keywords view ⑤. From here, you can add, delete, and rename keywords, as well as manually assign a keyboard shortcut to a keyword.
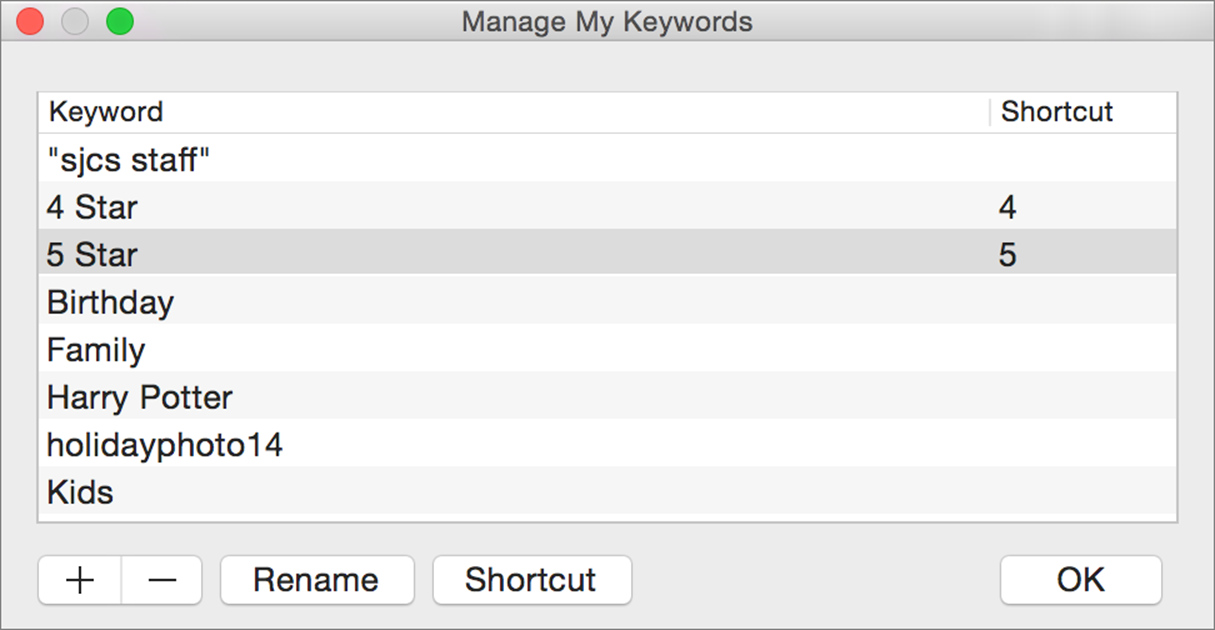
⑤ Click Edit Keywords to see the Manage My Keywords view, which lets you rename, delete, and add keywords, as well as define shortcuts.
The Keyword Manager isn’t the only way to add a keyword to a photo—the Info window can also fit the bill. For more on that, see Use the Info Window.
Star Ratings Forever?
Don’t want to give up on rating your photos via star ratings? No problem! Assuming you’ve imported an existing iPhoto or Aperture library with star ratings, you’ll see that you have keywords for every permutation of star rating.
Open the Keyword Manager and then drag those keywords into the Quick Group area. Photos will assign them shortcuts by default—probably the numerals themselves.
Once that’s done, there’s nothing stopping you from keeping the Keyword Manager open and just pressing 1, 2, 3, 4, or 5 for each photo. Granted, Photos won’t display the stars, but you’ll be gathering the same ratings information.
Organize by Faces
At the beginning of this chapter I said that Apple couldn’t divine the contents of a photo via an algorithm. Okay, that’s not entirely true. Faces—a feature from iPhoto and Aperture—can identify people in photos by recognizing their facial features.
But for Faces to work, you have to tell Photos who you know and train it a little bit. Faces lives at the top level of the Albums pane ⑥.
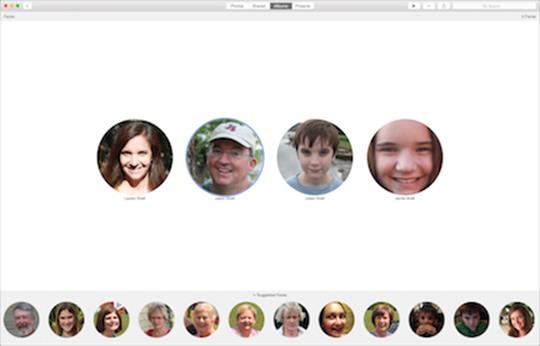
⑥ Large bubbles are people Faces knows; smaller bubbles are unrecognized faces.
To see all the photos of a particular person, double-click a large bubble.
The small bubbles at the bottom represent people Photos doesn’t recognize. Double-click one of those to kick off a training session, in which you’ll give the person a name and verify that the circled face in various photos is, in fact, that person ⑦. This quiz can have as many as several dozen pages, but at some point Photos will thank you for your time and tell you how many photos it has categorized with your help.
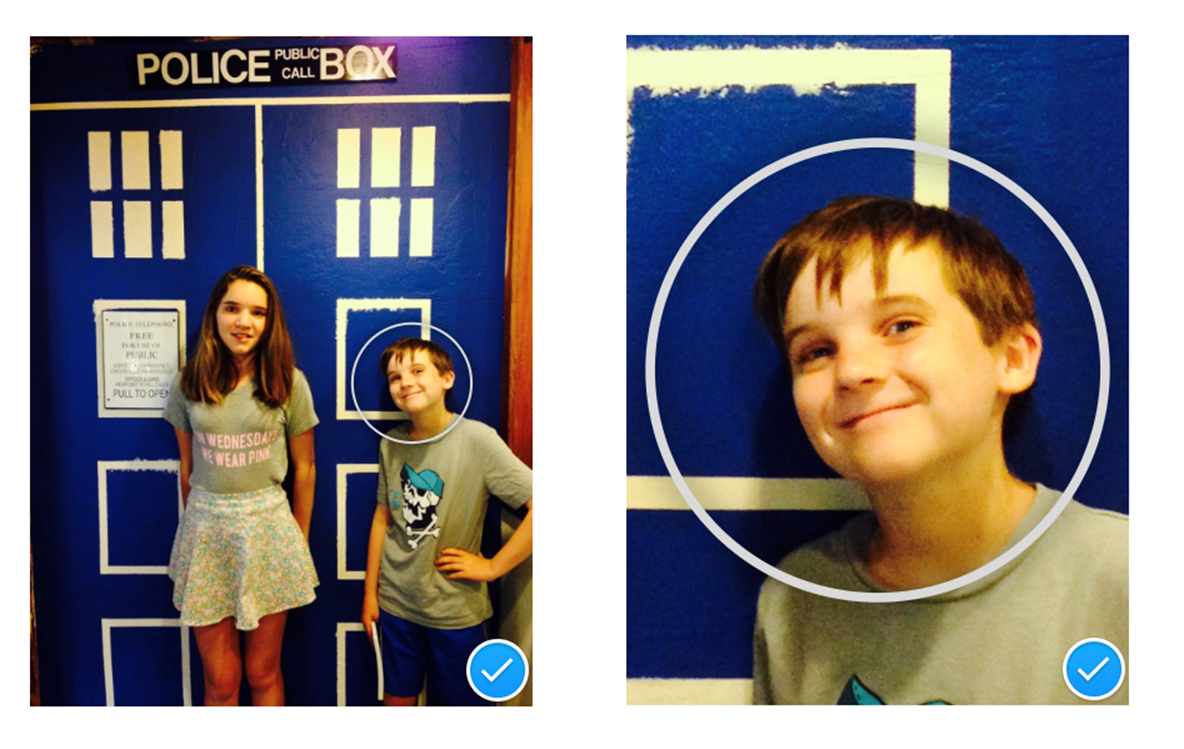
⑦ If you hover your cursor over a photo during face training (left), Photos zooms in close on the face you’re meant to identify (right).
Note: You can also manually tag faces via the faces section of the Info window, if you’re into that sort of thing.
Once you do some basic work, Faces is kind of a marvel. I used to tag every single photo I took with the names of the people who appeared in it. Now when it comes time to find photos of my family for our holiday cards and annual calendars, I can create a smart album that displays all photos containing all four of our faces (see Define Smart Albums in Photos). It’s sobering to discover that in a full year, you were photographed with your family fewer than ten times.
Fix Your Face
If you don’t like the picture that represents you (or someone else) in Faces, you can fix it:
1. Double-click the face.
2. Select a picture you like better.
3. Choose Image > Make Key Photo (Command-Shift-K).
Photos reassigns the default image for that face.
All materials on the site are licensed Creative Commons Attribution-Sharealike 3.0 Unported CC BY-SA 3.0 & GNU Free Documentation License (GFDL)
If you are the copyright holder of any material contained on our site and intend to remove it, please contact our site administrator for approval.
© 2016-2026 All site design rights belong to S.Y.A.