Android Wearables (2015)
Part I. Concepts
Chapter 3. Platforms and Technology
WHAT’S IN THIS CHAPTER?
· ➤ Installing the Android Wear SDK
· ➤ Working with emulators and real devices
· ➤ Connecting the Android Wear Preview App to your Wear emulator
· ➤ Importing and running your first Android Wear project
WROX.COM CODE DOWNLOADS FOR THIS CHAPTER
The wrox.com code downloads for this chapter are found at www.wrox.com/go/androidwearables on the Download Code tab. The code is in the Chapter 3 download and the filename is Listing_3-1.gradle.
ANDROID WEAR
Android Wear is Google’s attempt to bring order to a market that historically has been fairly scattered. Looking at recent releases in the smartwatch and wearables category for the mass market, you’ll notice that most device manufacturers, such as Samsung and Sony, use proprietary tools and libraries. This puts third-party developers like you and me in an awkward position. We have to either support just one system, such as Samsung’s Tizen, or build more-complex applications that use SDKs from multiple device vendors.
Most Android Wear devices are designed as an extension to a standard Android smartphone, providing new forms of interaction and more direct feedback from your Wear-enabled Android apps by using specially designed notifications and apps.
INSTALLING THE WEAR SDK
Before you can start developing for Android Wear you need to make sure your development environment is set up to support it. The following are requirements for developing for Android Wear:
· ➤ Android Studio, at least version 0.8.0, is almost a requirement when developing for Android Wear. Of course you can use other IDEs as well, but Android Studio comes with a set of Wear-specific tools and starter kits that make getting started with Wear a breeze.
· ➤ An Android SDK that has support for Android Wear; the first version that supports Wear is 4.4W (API 20).
· ➤ The Android Support Repository version 4 or version 13 (which happens to include the changes in version 4).
· ➤ A mobile phone running at least Android 4.3 (API 18).
You should also go ahead and install the appropriate Android Wear System Image, in most cases this is the Intel x86 Atom, and create an emulator. A good practice is creating at least two emulators, one for the rectangular screen and one of the circular screen.
WORKING WITH THE ANDROID WEAR EMULATOR
Android Wear comes in two screen configurations, rectangular and round. You should set up one emulator for each configuration. Go ahead and create an emulator for both the Round screen (Figure 3.1) and the Rectangular screen (Figure 3.2).
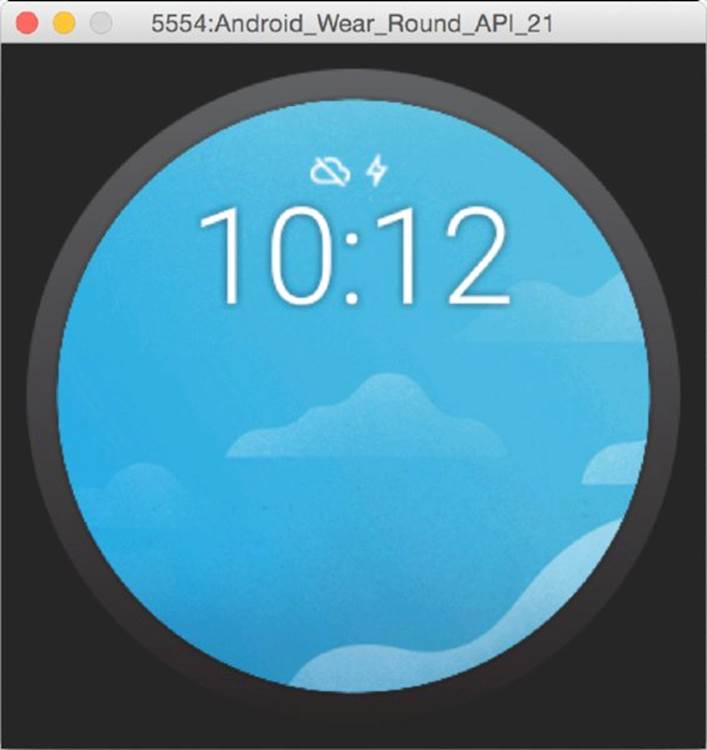
FIGURE 3.1 Round Android Wear emulator

FIGURE 3.2 Square Android Wear emulator
NOTE
It’s a good idea to keep the hardware keyboard available for Wear emulators even though a real device has no keyboard. The idea is to mimic the voice input that is unavailable on an emulator.
Because the Android Wear device is an extension to your normal Android device, you also need a connection to your normal phone to receive notifications. Google’s Android Wear App connects to your Emulator.
You can download the Android Wear App from https://play.google.com/store/apps/details?id=com.google.android.wearable.app.
After you’ve installed the Android Wear App, you see the screen shown in Figure 3.3.
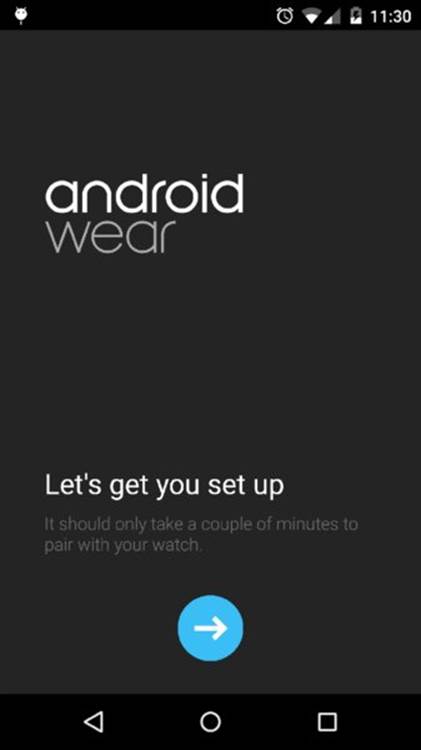
FIGURE 3.3 The Android Wear App screen
The Android Wear App works as a bridge between your real Android device (or a second emulator). Setting up a connection between your real Android device and the Wear emulator is easy, but you need some familiarity with the Android Debug Bridge (ADB).
ANDROID DEBUG BRIDGE
If you’re using Android Studio on a Windows machine, you should find your adb tool under C:\Users\username\AppData\Local\Android\android-studio\sdk\platform-tools. To access the adb tool, follow these steps:
1. Open the command prompt.
2. Type cd C:\Users\username\AppData\Local\Android\android-studio\sdk\platform-tools.
3. If you run adb.exe, you should see a list of possible commands.
4. To list all the connected Android devices (including Wear emulators), run adb.exe devices.
To get better acquainted with the ADB command set, visit http://developer.android.com/tools/help/adb.html#commandsummary and review all the commands. This chapter focuses on the port forward command.
To set up the connection, follow these steps:
1. Start your Wear emulator.
2. Connect your Android device to your computer.
3. Verify that both devices are properly connected to the ADB by typing adb devices.
4. With the Android Wear App running, type adb -d forward tcp:5601 tcp:5601.
5. Press the Connect button on your Android device. If the connection is successful, you should see the screen shown in Figure 3.4.
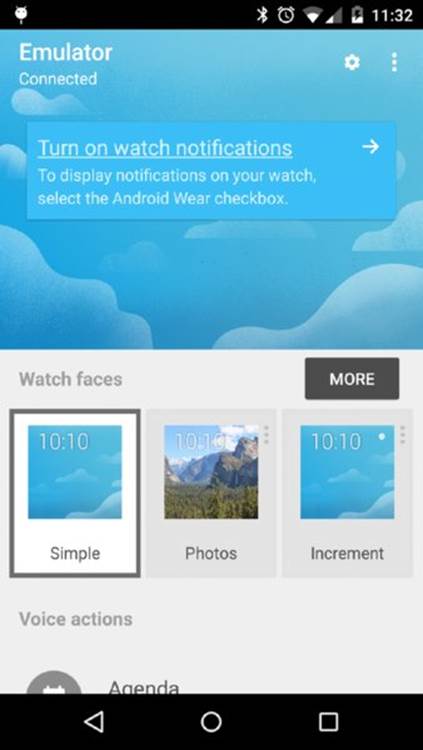
FIGURE 3.4 Successful connection between the Wear emulator and an Android device
WORKING WITH A REAL WEAR-ENABLED DEVICE
There are currently two different Android Wear devices available: the LG G Watch and the Samsung Gear Live, and they both use square screens. Motorola has announced a round watch which will be available soon.
NOTE
You can see all the available devices at https://play.google.com/store/devices. If you don’t see any Wear devices on that website, don’t be alarmed—Android Wear is still only available in a limited number of countries. Sweden, where I live, is not on that list yet.
To work with either of these devices during development you first need to pair the Wear device to your Android Phone. But first, lets become a developer!
1. Tap the screen on your Wear device once.
2. Instead of asking Wear to do something for you, scroll down to select Settings.
3. Again, scroll down and select About.
4. Find the row that says Build number and start tapping it like your life depended on it.
5. Eventually (after 7 or so taps) the device surrenders to your persistence and grants you developer permissions.
6. Go back by swiping to the right, then open the Developer options.
7. Enable both ADB debugging and Debug over Bluetooth.
Now it’s time to connect your Wear device to your development environment; when you connect your Wear device to your computer you’ll get the typical “Allow USB Debugging” dialog, but you’ll get it on the phone instead of the Wear device, as shown in Figure 3.5.
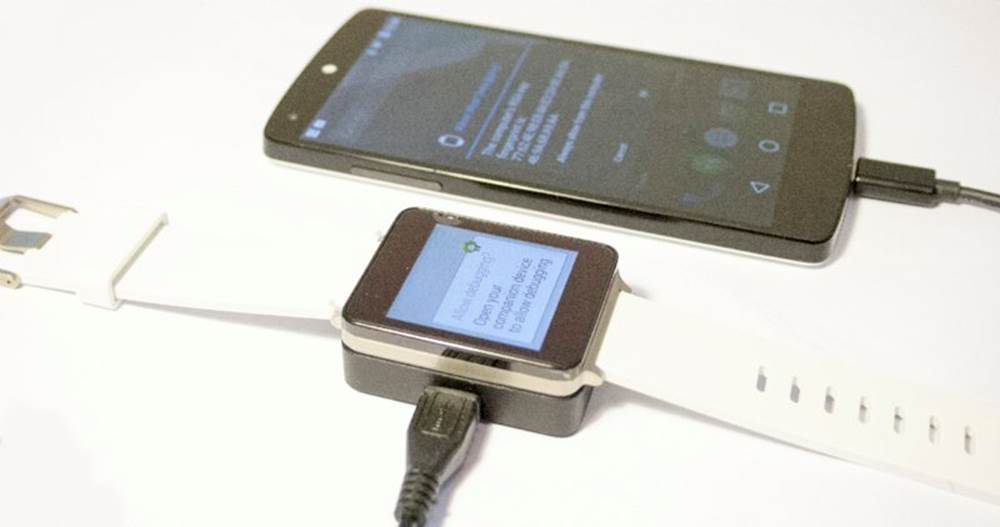
FIGURE 3.5 Allow USB Debugging on Wear
With the Wear connected and having allowed USB debugging for your computer, you’re all set! Just remember to select the correct device when uploading apps from Android Studio—you shouldn’t install mobile apps on the Wear, or Wear apps on the mobile.
If you prefer to limit the amount of cables on your desk you can choose to debug over Bluetooth. Enable the setting for Bluetooth debugging in your Wear companion app.
1. With the companion app open, open the menu and select Settings.
2. Connect the mobile phone to your computer over ADB and enter adb forward tcp:4444 localabstract:/adb-hub and adb connect localhost:4444.
3. If you were successful the status in the companion app should list both the host and the target as connected.
KICK-STARTING YOUR WEAR DEVELOPMENT
Now that your Android device and your Wear emulator are connected, your next step is diving straight into development.
Download the sample applications for Android 4.4W using the SDK Manager. Let’s install one of them to test the connection using the following steps:
1. Find your Android SDK location.
2. Navigate to the samples directory.
3. You should find an application called Recipe Assistant, which is a simple app providing step-by-step cooking instructions. Remember the path.
4. Open Android Studio.
5. Select File ➢ Import Project.
6. Navigate to the RecipeAssistant project folder, and click OK.
7. Select Run ➢ Run.
WARNING
When importing the sample application, you may have issues regarding a wrong version of Android Build Tools. To fix this, open the build.gradle file and change the buildToolsVersion to the build tools installed on your system. For me this is 20.
If everything goes well, you should see the view shown in Figure 3.6.

FIGURE 3.6 Recipe Assistant
Select one of the recipes. You should see the walk-through start on your Wear emulator. Figure 3.7 shows the first step in the beef brisket chili recipe.

FIGURE 3.7 Steps 1 through 3 of preparing beef brisket chili
A common misconception when developing Wear apps is that you should install apps straight to the Wear device. This is not the intended workflow when developing for Wear. You should avoid installing apps straight to the emulator, because the result may cause undocumented behavior.
DISTRIBUTING WEAR APPS ON GOOGLE PLAY
Installing apps directly on the Wear device is only available when developing through the ADB tool. If you want to distribute an app for Wear devices on Google Play, you will need to package this inside a standard app.
When installing an app with a wearable component from Google Play, the app is automatically pushed from your phone to the Wear device. For this to work you need to package the application properly before you release it on Google Play. The following steps quickly describe how to package your Wear app for Google Play:
1. Open the mobile build.gradle file and add the wearApp to your dependencies, if it’s not already added (code filename: Listing_3-1.gradle).
LISTING 3-1: Adding the wearApp dependency
{
compile fileTree(dir: 'libs', include: ['*.jar'])
wearApp project(':wear')
compile 'com.google.android.gms:play-services-wearable:+
}
2. From the Build menu, select Generate Signed APK and follow the instructions.
3. Log into your Google Play Developer Console and publish your new Wear-enabled app.
SUMMARY
This chapter has introduced the Android Wear system, its ideas, and its position within the Android ecosystem. You also kick-started your development by creating a Wear emulator and connected it to the Android Wear App. If you have a real Wear device, you probably also tested connecting that device to your real phone. You finished this chapter by installing your first Android Wear-enabled app to your phone and making sure it connected to your emulator properly. Finally, you looked at special considerations for distributing Wear-enabled applications on Google Play.
Coming up in Chapter 4, you’ll learn about building notifications tailored specifically for Android Wear.