JavaScript, 20 Lessons to Successful Web Development (2015)
PART II Advanced JavaScript
LESSON 20 Using Ajax

To view the accompanying video for this lesson, please visit mhprofessional.com/nixonjavascript/.
Ajax is the power behind what came to be known as Web 2.0. It transformed the Internet because it replaced static pages that had to be posted using forms to make changes with much simpler behind-the-scenes communication with a web server, so that you merely had to type on a web page for that data to get sent to the server. Likewise, Ajax-enabled sites offer assistance whenever you need it, for example, by instantly telling you whether a username you desire is available before you submit your signup details.
The term Ajax actually stands for Asynchronous JavaScript and XML. However, nowadays it almost never uses XML because Ajax can communicate in so much more than that particular markup language. For example, it can transfer images and videos or other files.
Initially, writing Ajax code was considered a black art that only the most advanced programmers knew how to implement. But it’s not actually the case. Ajax is relatively straightforward, as I’ll show you now.
Creating an Ajax Object
The first thing you need to do in order to communicate with a web server via Ajax is to create a new object, as performed by the following function (some of which I showed you in Lesson 14, explaining the try and catch() keywords):
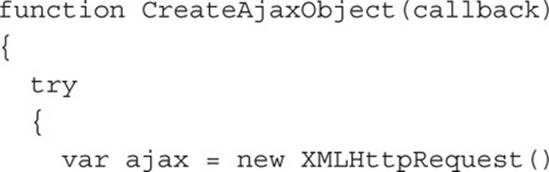
Let’s break this down, because it’s quite long but actually easy to understand. To start with, the CreateAjaxObject() function accepts the argument callback, which I’ll explain shortly, and then a sequence of try and catch() keywords attempts to use three different methods to create a new Ajax object in ajax.
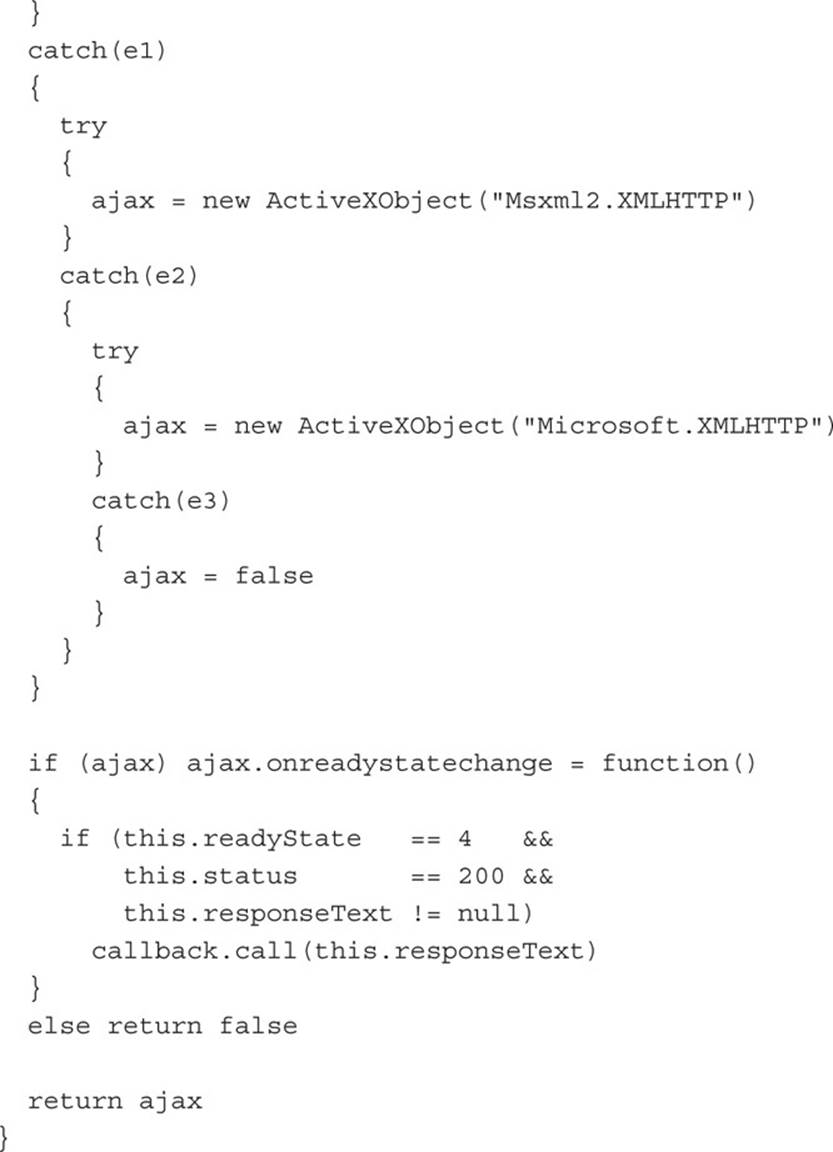
The reason for this is that different versions of Microsoft’s Internet Explorer browser use different methods for this, whereas all other browsers use yet another method. The upshot of the code is that if the browser supports Ajax (which all major modern browsers do), a new object calledajax is created.
In the second part of the function there’s a pair of nested if() statements. The outer one is entered only if the ajax object was created; otherwise, false is returned to signal failure.
On success, an anonymous function is attached to the onreadystatechange event of the ajax object:
ajax.onreadystatechange = function()
This event is triggered whenever anything new happens in the Ajax exchange with the server. Therefore, by attaching to it, the code can listen in and be ready to receive any data sent to the browser by the server:
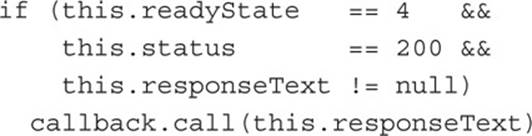
Here the attached function checks the readyState property of the this keyword (which represents the ajax object), and if it has a value of 4, the server has sent some data. If that’s the case, then if this.status has a value of 200, and the data sent by the server is meaningful and not an error. Finally, if this.responseText doesn’t have a value of null, the data was not just an empty string, so the callback.call() method is called:
callback.call(this.responseText)
I mentioned callback at the start of this explanation. It is the name of a function passed to the CreateAjaxObject() function, so that CreateAjaxObject() can call callback() when new Ajax data is received. The callback() function takes the value received in this.responseText, which is the data returned by the web server. I’ll explain what goes into the callback() function a little later.
The PostAjaxRequest() Function
You will never have to call CreateAjaxObject() yourself because there are two more functions to complete the Ajax process (which will do the calling of CreateAjaxObject() for you): one for communicating with the server by Post requests and the other for using Get requests.
The PostAjaxRequest() function takes three arguments: the name of your callback function to receive data from the server, a URL with which to communicate with the server, and a string containing arguments to post to the server. It looks like this:
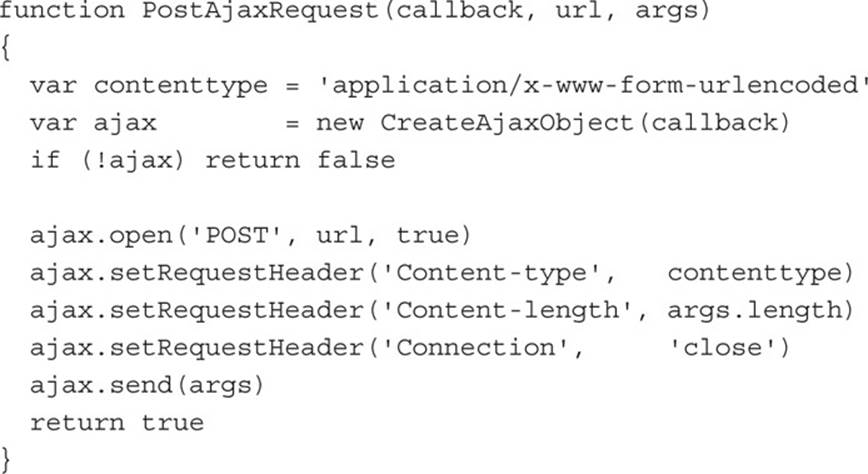
What this function does is first set contenttype to a string value that enables encoded form data to be transmitted:
var contenttype = ′application/x-www-form-urlencoded′
Then either the new ajax object is created or false is returned to indicate an error was encountered:
var ajax = new CreateAjaxObject(callback)
if (!ajax) return false
Now that an ajax object has been created, the following lines open the Ajax request with a call to the open() method of the ajax object and send headers to the server via a Post request, including the contenttype string, the length of the args argument, and a header ready to close the connection:

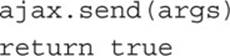
The data is then sent, the connection is closed, and a value of true returned to indicate success:
The GetAjaxRequest() Function
The PostAjaxRequest() function comes with a sister function that performs exactly the same process, but it sends the data using a Get request. You need to have both functions in your toolkit because some servers you may interact with require Post requests, and some will need Get requests for their Ajax calls.
Here’s what the partner GetAjaxRequest() function looks like:
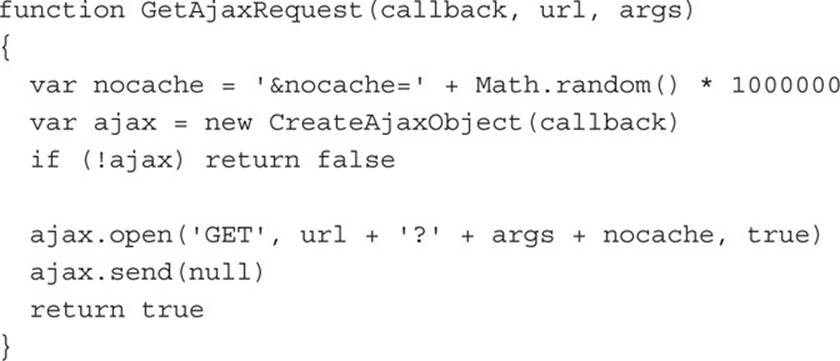
One of the main differences between this and the PostAjaxRequest() function is that a variable called nocache is created from a random number so that a unique value can be added to the query string sent by each Get request, which will prevent any caching the server, browser, or a proxy server might perform by ensuring every request sent is unique:
var nocache = ′&nocache=′ + Math.random() * 1000000
The next couple of lines are the same as the PostAjaxRequest() function. They create a new ajax object, or return false if that fails:

Finally, the Get request is made with a call to the open() method of the ajax object, the request is sent, and then true is returned to indicate success:

The callback() Function
Now we are ready to create our callback() function that will receive the data sent back to JavaScript via Ajax. This is another instance where the this keyword must be used, as follows:
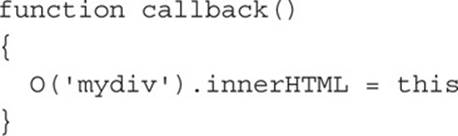
This code assumes that the O() function has been included in the page, and it supplies the value passed to the function in this to the innerHTML property of a <div> with the id of mydiv. All that remains to do is create the <div>, like this:
<div id=′mydiv’></div>
And now we are ready to call either the PostAjaxRequest() or the GetAjaxRequest() function, like this:
PostAjaxRequest(callback, ′ajax.php’, ’url=http://yahoo.com′)
Or, like this:
GetAjaxRequest(callback, ′ajax.php’, ’url=http://yahoo.com′)
In either instance, a program in the same folder as the calling code, called ajax.php, is chosen for the communication, and the URL http://yahoo.com is sent to the program as the value of the key url.
The ajax.htm Example
Here’s a document that uses Ajax in just the manner described in the previous section. It is saved as ajax.htm in the accompanying archive:
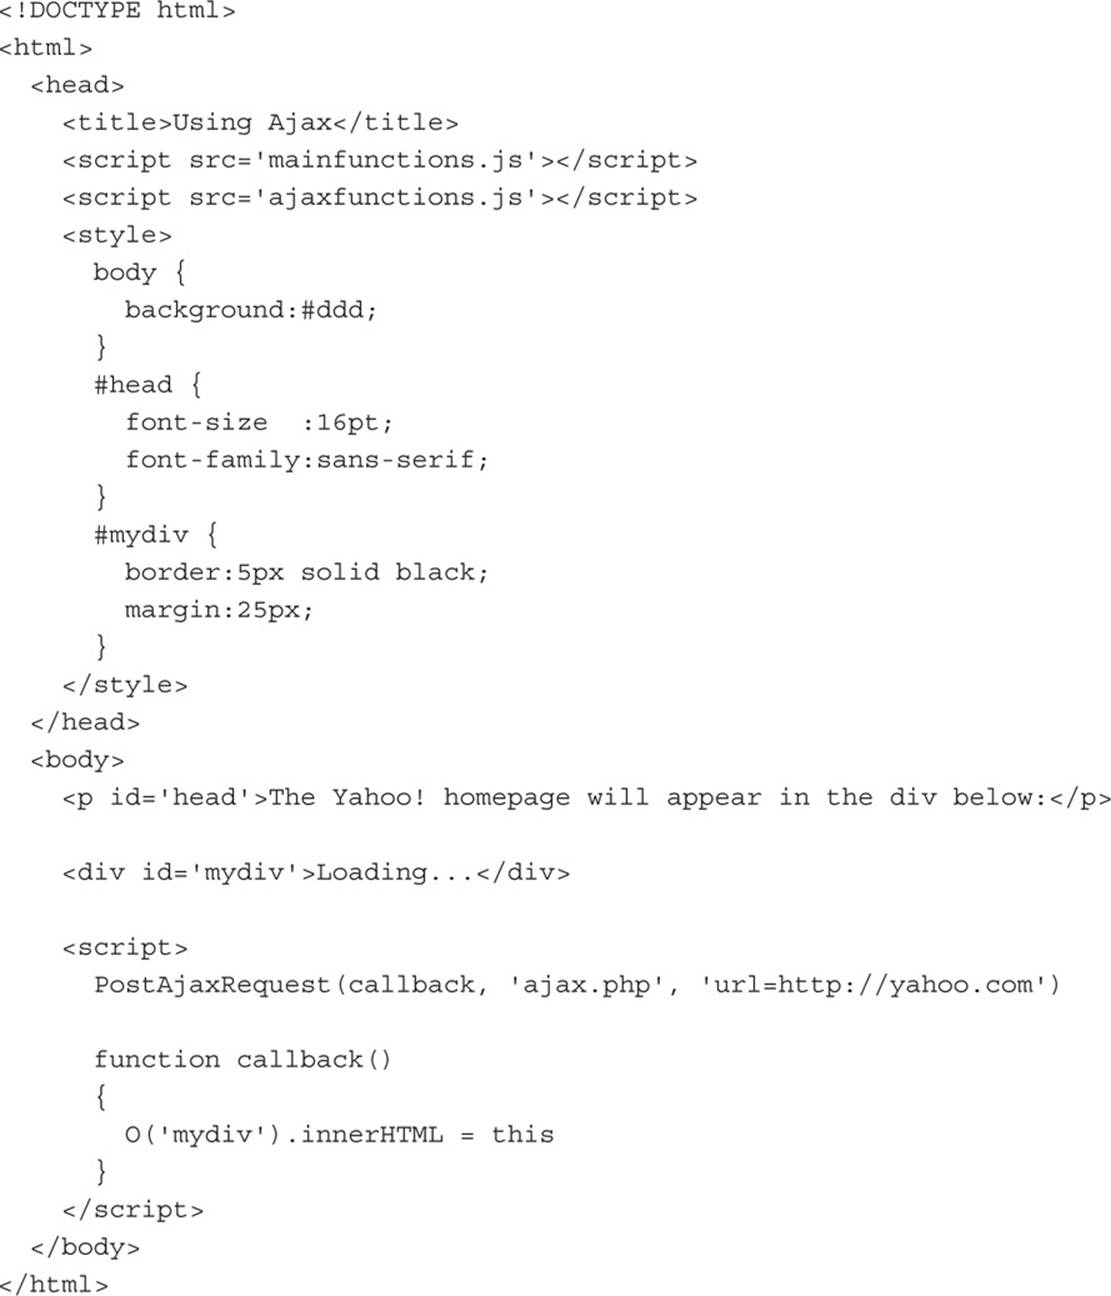
The CSS used in the <head> section is not strictly necessary, but it helps lay out the page a little more clearly. The important parts to note are the <div> with the ID of mydiv and the <script> section, in which the PostAjaxRequest() function is called, and the callback() function where theinnerHTML property of the <div> is written to with the data returned by the Ajax call.
The ajax.php Program
The last part of the Ajax puzzle is to write the program that will reside on the web server and communicate with the web browser. Server programs can be written in many different languages, including PHP, Perl, and C. But PHP is the easiest and most commonly implemented language, especially for quick tasks—in this case, the PHP code is a pair of two instructions that look like this:

The syntax of this code is very similar to JavaScript, so it’s easy to follow. What it does is test whether the key url has been sent to it, either in a Get request (as $_GET[′url′]) or in a Post request (as $_POST[′url′]).
In either case, the PHP file_get_contents() function is called on the value passed to it (which in this case is http://yahoo.com). This fetches the web page referred to, which is then returned to the calling Ajax function using the PHP echo keyword (which is like JavaScript’sdocument.write()).
Figure 20-1 shows the result of running the previous Ajax example, which then communicates with ajax.php (also in the archive) on the web server, to insert the contents of the Yahoo! home page into a <div> element.

FIGURE 20-1 The Yahoo! home page has been pulled into a <div> via Ajax.
You may notice that in Figure 20-1 some of the Yahoo! home page has located itself above the <div>, and the #ddd background color the CSS had applied to the web page has been overwritten. This is because elements are being moved to absolute locations and other properties are being changed by the CSS rules applied to the page—there are, it turns out, a number of conflicts. But there is a solution to this.
The ajax2.htm Example
Although it dramatically illustrates the power of Ajax, loading an entire document into a <div> element is not a good idea because that document will have its own <html>, <head>, <body>, and other duplicated sections that could conflict with the main document. However, I wanted to illustrate accessing the innerHTML property of an element for the purposes of displaying information obtained from an Ajax call.
But a better way to load an entire document (other than attaching its URL to the src attribute) might be to insert the result of the Ajax call into an <iframe> element, because it is suitable for containing a stand-alone document such that it won’t conflict with the parent.
Here’s an example illustrating how you would do this. It is saved as ajax2.htm in the accompanying archive and is simply a reworking of the ajax.htm document:
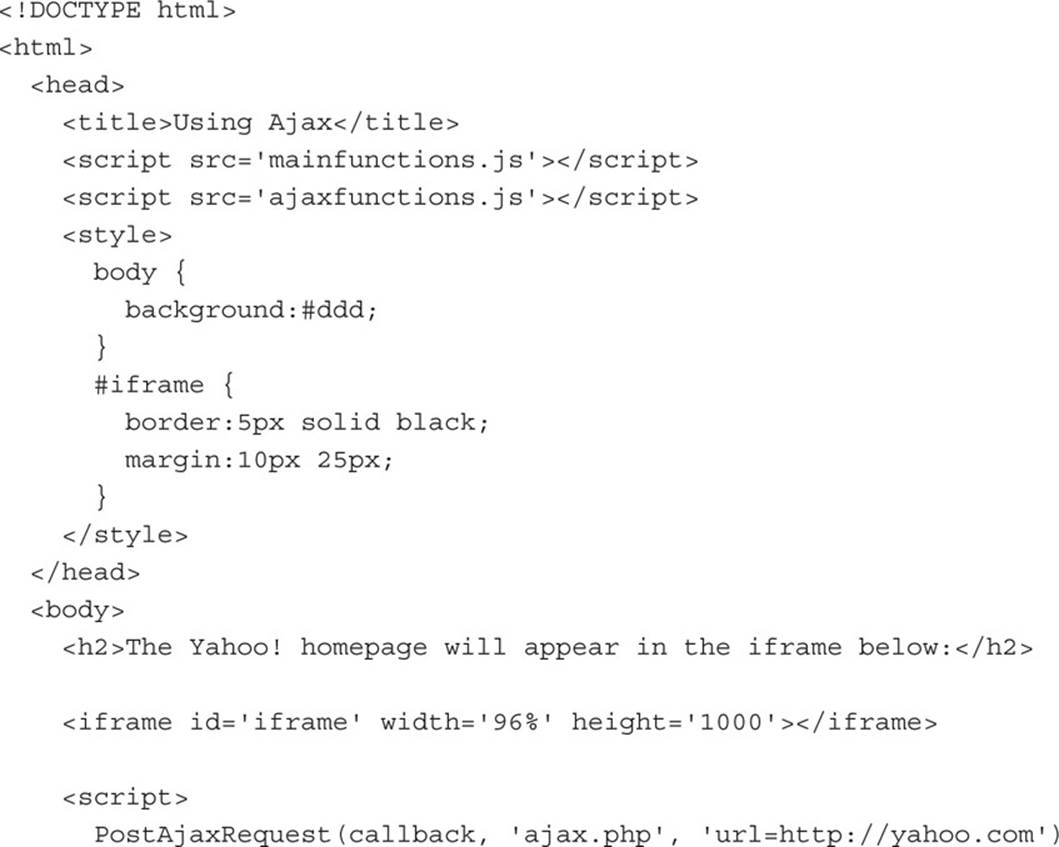
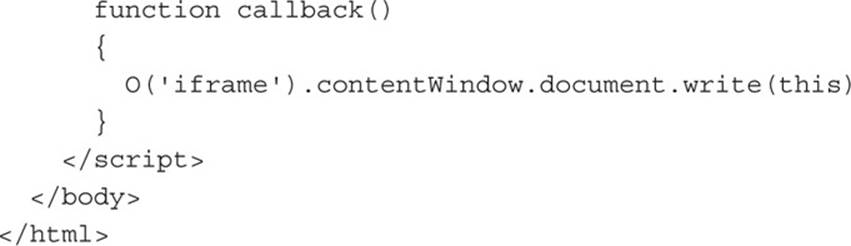
In this version, the CSS is a little different and the <div> is replaced with an <iframe> element, as shown in Figure 20-2. To cater for this, the callback() function now uses the document.write() function to write the data returned by the Ajax call into the <iframe> (instead of the previous code that wrote into the innerHTML property of a <div>). It does this by writing into the contentWindow object of the <iframe> like this:
O(’iframe’).contentWindow.document.write(this)

FIGURE 20-2 The Yahoo! home page has been pulled into an <iframe> via Ajax.
Therefore, those are two different methods you can use for outputting the data returned from an Ajax call. Others include changing the value property of <input> elements, the src property of <img> elements, or simply the style properties of any element, according to how you wish to interpret, display, or otherwise deal with the information received via Ajax.
Ajax Security Restrictions
To prevent cross-browser attacks, the way Ajax is implemented is very secure. Only the server issuing a web page containing Ajax code can communicate with that page. This prevents third-party servers muscling in and trying to steal your private data, or injecting unwanted advertisements, and so on. Also, local file systems do not work with Ajax.
Therefore, if you wish to experiment with developing Ajax code, you need a web server (either local or remote) and must store your test files there, calling them up in your browser via an http:// prefix in its address bar.
Because you may not be able to test this code on your own computer if you don’t have a web server, I have uploaded ajax.htm, ajax2.htm, and ajax.php (along with the supporting JavaScript files) to this book’s companion website. You can therefore try out the examples in this section by visiting 20lessons.com/ajax.htm and 20lessons.com/ajax2.htm.
For ease of access, I have saved the three Ajax functions in the file ajaxfunctions.js in the accompanying archive so that you can include them in the <head> of a web page that will use Ajax communication, like this:
<script src=′ajaxfunctions.js’></script>
The OnDOMReady() Function
I’d like to leave you with one final function to help your JavaScript run as fast as possible, the OnDOMReady() function. If you have a web page in which you want the JavaScript to run as soon as all the HTML is parsed and the DOM is ready (but before all resources like images are loaded and ready), then you can wrap your main section of JavaScript in the following:
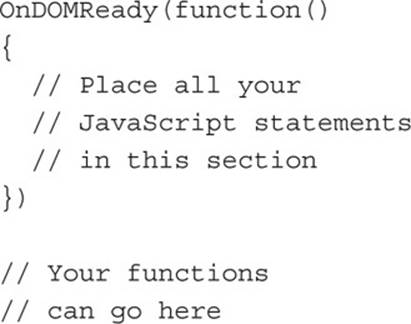

This function will trigger far sooner than window.onload due to hooking into JavaScript at the earliest point possible.
All you need to do now is ensure that the following function is alongside your code so that it can trigger your main JavaScript at the earliest possible time that the DOM is complete and ready to be accessed:
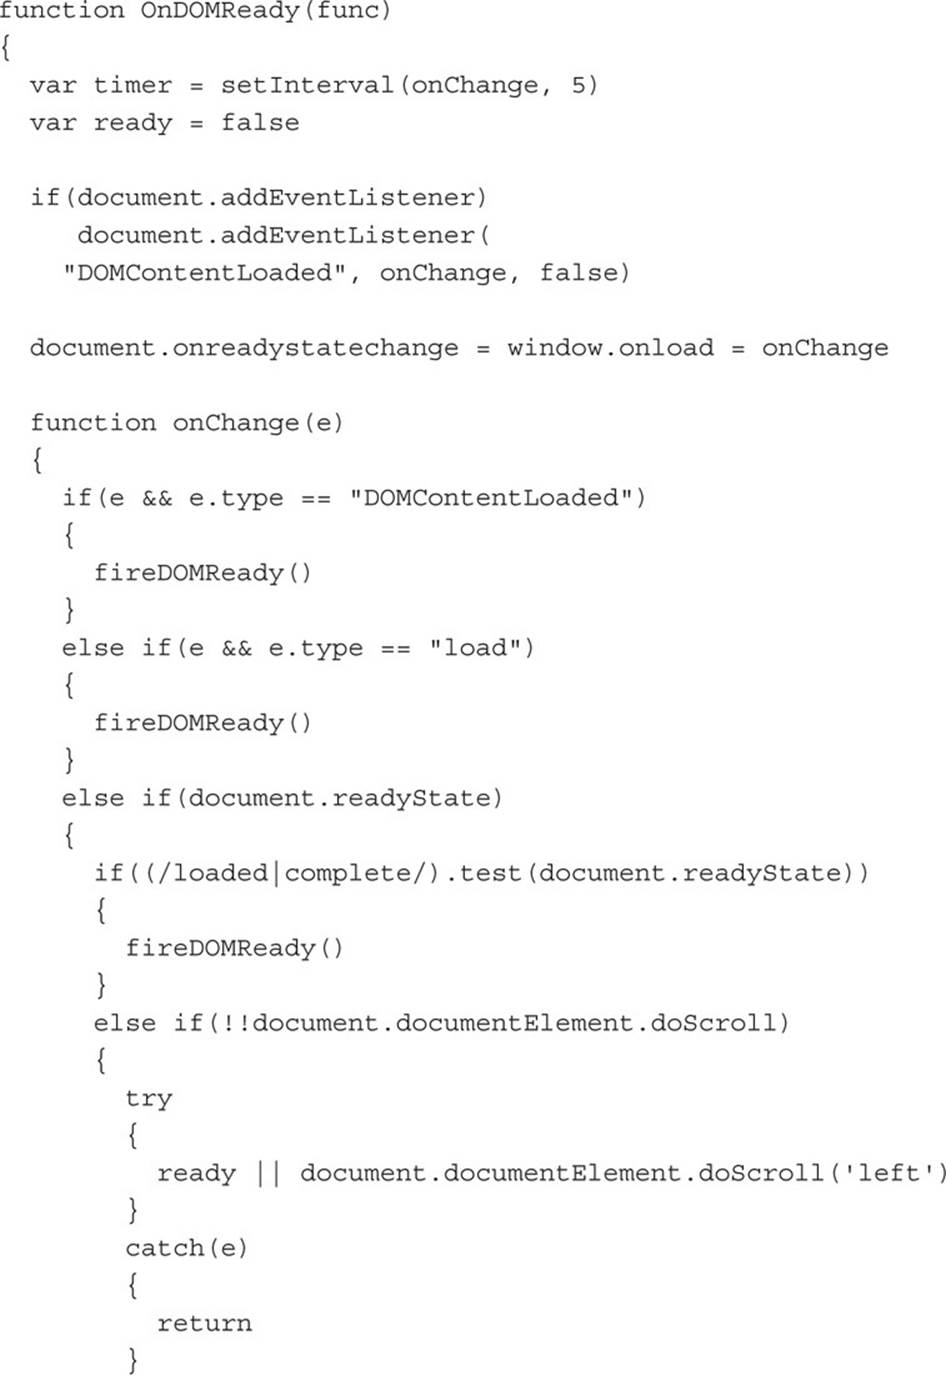
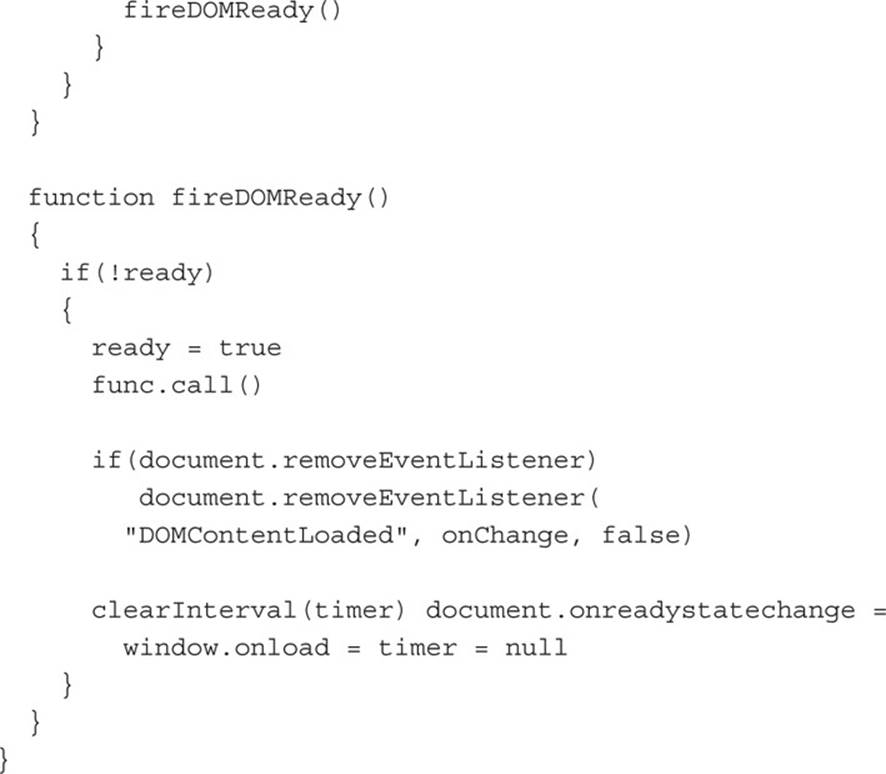
This code is quite complex, so I won’t explain how it works. But I have saved the function in the accompanying archive in the file ondomloaded.js so that you can include it in the <head> of any web page that requires the fastest possible initiation, like this:
<script src=′ondomready.js’></script>
Summary
And that, as they say, is that! You’ve reached the end of this book, and I hope you found it as easy to follow as I promised at the start. You now have all the skills you need to be a proficient JavaScript programmer and are well on your way to creating popular and dynamic websites. Before you go, though, take a browse through the appendix of JavaScript functions. I’ve listed most of them (omitting more obscure or technical functions) so that you’ll have a handy reference to quickly see how to implement the features you need.
Thanks for reading this book. I hope you’ve learned everything you set out to learn and, if you feel so inclined, will be very grateful if you would take a moment to leave a review of this book on your favorite book retailing website. Good luck with your web development!
Self-Test Questions
Using these questions, test how much you have learned in this lesson. If you don’t know an answer, go back and reread the relevant section until your knowledge is complete. You can find the answers in Appendix A.
1. Which keyword and function is used to let JavaScript try out the three methods of creating an Ajax object in turn?
2. Which event of an Ajax object informs JavaScript whenever its ready state changes?
3. What property of the onreadystatechange event contains the ready state?
4. What property of the onreadystatechange event contains the status of the Ajax call?
5. What property of the onreadystatechange event contains the response text from the Ajax call?
6. What is the purpose of a callback function?
7. How do you call a callback function?
8. What is the reason for adding a random string to Ajax Get requests?
9. Which property is used to overwrite the HTML content of an element?
10. Why is the supplied OnDOMReady() function superior to using the built-in onload() function?