Web Development with jQuery (2015)
Part III. Popular Third-Party jQuery Plugins
Chapter 22. Creating a Simple WYSIWYG Editor
Many web-based WYSIWYG (what-you-see-is-what-you-get) editors have risen in popularity only to be later supplanted by editors with better interfaces or more features. Some of these editors used <textarea> elements or modified the innerHTML of DOM elements when formatting features were used.
In this chapter you learn an attribute that changed the face of web-based editors and how you can use it with jQuery to create a simple WYSIWYG editor in a few steps.
Making an Element Editable with the contenteditable Attribute
Although those comfortable with HTML editors can find it easy to be underwhelmed by the HTML5 contenteditable attribute, its impact should not be underestimated. It is another intuitive feature; when added to a DOM element, the content of that element becomes editable by the user directly in the browser. If you've ever used a settings page to perform an action such as changing the text of a button you commonly use, imagine instead toggling your web application to editable and then typing the text directly on the button. This is the type of feature that becomes not only possible but also easy with the contenteditable attribute.
Start with an HTML example of the attribute (Example 22-1.html):
<!DOCTYPE HTML>
<html xmlns='http://www.w3.org/1999/xhtml'>
<head>
<meta http-equiv='content-type'
content='application/xhtml+xml; charset=utf-8' />
<meta http-equiv='content-language' content='en-us' />
<meta charset='utf-8' />
<title>WYSIWYG Editor 1</title>
<link href='Example 22-1.css' rel='stylesheet' />
</head>
<body>
<div id='container' contenteditable='true'>
</div>
</body>
</html>
Add the following CSS for presentation (Example 22-1.css):
body {
font: 12px Arial, sans-serif;
background: #fff;
color: rgb(50, 50, 50);
}
div#container {
position: absolute;
top: 10%;
left: 10%;
height: 80%;
width: 80%;
padding: 5px;
border: 1px solid black;
border-radius: 3px;
}
That completes the code for the example. Although you can use JavaScript to dynamically toggle whether an element is editable, you don't need any JavaScript for the simplest example of the contenteditable attribute. You simply add the attribute to a <div> element.
<div id='container' contenteditable='true'>
The CSS sets some default styles for the <body> and then positions the editable element in the center of the page with a thin, rounded (in most browsers) border and a little padding to keep the text off the border.
The preceding code results in the document shown in Figure 22.1.
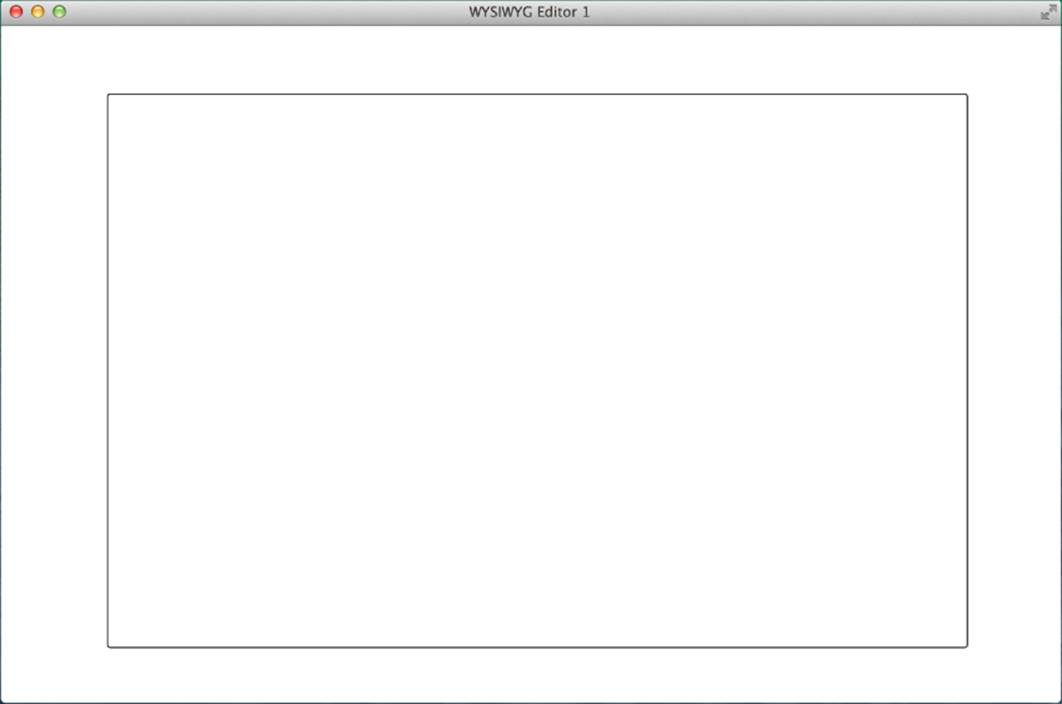
Figure 22.1
Creating Buttons to Apply Bold, Italic, Underline, Font, and Font Size
So far, you have a text editor; in this section, you learn how to add rich-text features for formatting the text. You build a toolbar to house these features. Begin with the following HTML (Example 22-2.html):
<!DOCTYPE HTML>
<html xmlns='http://www.w3.org/1999/xhtml'>
<head>
<meta http-equiv='content-type'
content='application/xhtml+xml; charset=utf-8' />
<meta http-equiv='content-language' content='en-us' />
<meta charset='utf-8' />
<title>WYSIWYG Editor 2</title>
<link href='Example 22-2.css' rel='stylesheet' />
<script type='text/javascript' src='../jQuery.js'></script>
<script type='text/javascript' src='Example 22-2.js'></script>
</head>
<body>
<div id='toolbar'>
<button class='toolbar-btn bold' data-format='bold'>B</button>
<button class='toolbar-btn italic' data-format='italic'>I</button>
<button class='toolbar-btn underline' data-format='underline'>U</button>
<select class='toolbar-ddl fontname' data-format='fontname'>
<option value="></option>
<option value='Arial'>Arial</option>
<option value='Courier New'>Courier New</option>
<option value='Times New Roman'>Times New Roman</option>
</select>
<select class='toolbar-ddl fontsize' data-format='fontsize'>
<option value="></option>
<option value='2'>Small</option>
<option value='3'>Normal</option>
<option value='4'>Big</option>
<option value='5'>Bigger</option>
</select>
</div>
<div id='container' contenteditable='true'>
</div>
</body>
</html>
Combine the preceding HTML with the following CSS (Example 22-2.css):
body {
font: 16px Arial, sans-serif;
background: #fff;
color: rgb(50, 50, 50);
}
div#container {
position: absolute;
top: 17%;
left: 10%;
height: 75%;
width: 80%;
padding: 5px;
border: 1px solid black;
border-radius: 3px;
}
div#toolbar {
position: absolute;
top: 10%;
left: 10%;
height: 5%;
width: 80%;
padding: 5px;
border: 1px solid black;
border-radius: 3px;
}
button.bold {
font-weight: bold;
}
button.italic {
font-style: italic;
}
button.underline {
text-decoration: underline;
}
Finally, include the following JavaScript (Example 22-2.js) for handling the events for the toolbar buttons:
$(document).ready(
function()
{
$('button.toolbar-btn').click(
function()
{
var data = this && $(this).data && $(this).data();
if (data && data.format && document.execCommand)
{
document.execCommand(data.format, false, null);
$('div#container').focus();
}
}
);
$('select.toolbar-ddl').change(
function()
{
var data = this && $(this).data && $(this).data();
if (data && data.format && document.execCommand)
{
document.execCommand(data.format, false,
this[this.selectedIndex].value);
this.selectedIndex = 0;
$('div#container').focus();
}
}
);
}
);
This code results in the document shown in Figure 22.2.
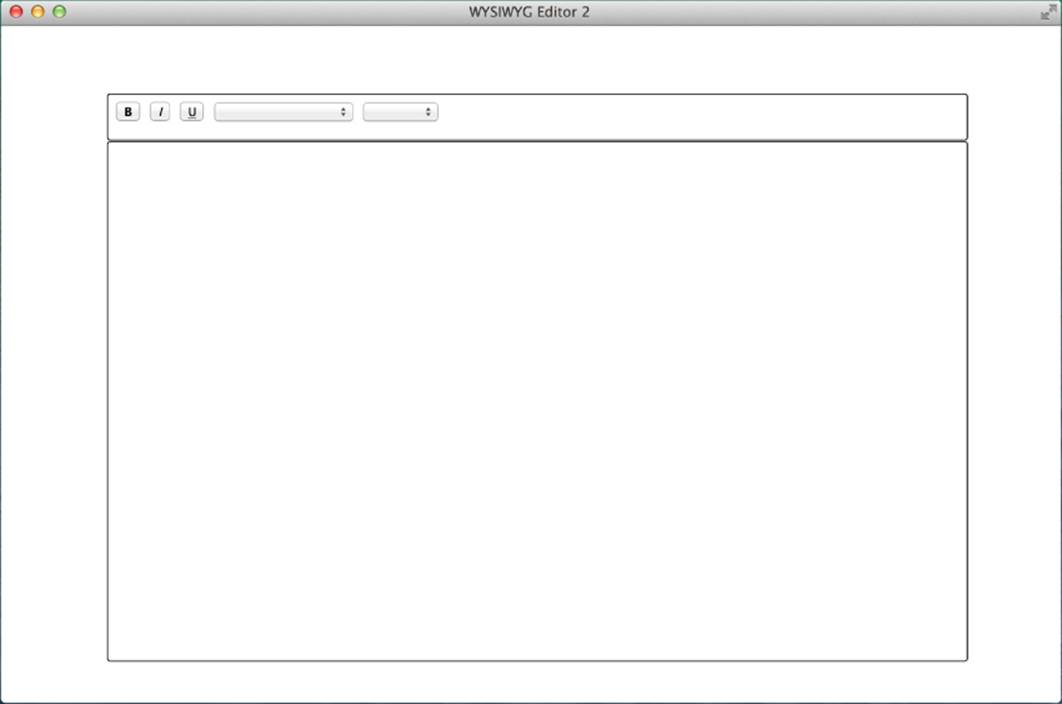
Figure 22.2
You added a <div> element for the toolbar and updated the CSS to account for positioning this toolbar. On the toolbar, you included three <button> elements for the bold, italic, and underline features, respectively, along with two <select> elements for the font name and size features. Note the data-format attribute added to these elements.
<button class='toolbar-btn bold' data-format='bold'>B</button>
This construction uses the $.data() feature of jQuery, which provides access to the dataset property mapping of the HTML5 data, attributes for use without requesting attribute values individually. The toolbar button click event handler starts with some sanity checks:
var data = this && $(this).data && $(this).data();
This line of code uses the JavaScript shortcut of combining logical checks and assignment. The variable data is assigned when this (the clicked button) exists and its wrapped jQuery object $(this) contains a data member. Unlike other programming languages, the value assigned is not the boolean (true or false) result of the conditional expression on the right side of the = assignment operator, but rather the result of the rightmost argument: $(this).data().
if (data && data.format && document.execCommand)
Again, you check that the $(this).data() function returned valid information, that it contains a format member, and finally that the HTML document object supports the execCommand function, which is a shortcut for JavaScript to tell the browser to handle specific functions using its native features.
document.execCommand(data.format, false, null);
$('div#container').focus();
After these checks pass, you send the format value to the document.execCommand function with the additional parameters false (no user interface prompt for the user) and null (no value needed for bold, italic, or underline). Finally, because the button click removed focus from the editable element, you send the focus back to the editable element.
The <select> element drop-down list event handler differs slightly:
document.execCommand(data.format, false,
this[this.selectedIndex].value);
this.selectedIndex = 0;
For the font name and size, you need to pass those values to the function. The this keyword now refers to the changed <select> element, so the indicated pattern is used as a shortcut to the selected item's value, which is then passed as the data value.
this.selectedIndex = 0;
For the purposes of this simple editor, the blank item at the top of each list is then selected. Although it does add the inconvenience of not seeing the last selected item, it also prevents some possible confusion. Without this line, a user might expect that you would detect the font name and size when you select text in the editable element.
Creating a Selection
While working with the previous examples, you might have noticed the ability to change existing content by selecting it in the editable element. JavaScript offers the ability to work with selections, including options for creating a selection programmatically, storing information about a current selection, and restoring a selection that has been deselected. The next set of example code is fairly large to account for these cases, but each is discussed in turn.
Begin with the example markup (Example 21-3.html):
<!DOCTYPE HTML>
<html xmlns='http://www.w3.org/1999/xhtml'>
<head>
<meta http-equiv='content-type'
content='application/xhtml+xml; charset=utf-8' />
<meta http-equiv='content-language' content='en-us' />
<meta charset='utf-8' />
<title>WYSIWYG Editor 3</title>
<link href='Example 22-3.css' rel='stylesheet' />
<script type='text/javascript' src='../jQuery.js'></script>
<script type='text/javascript' src='Example 22-3.js'></script>
</head>
<body>
<div id='toolbar'>
<button class='toolbar-btn bold' data-format='bold'>B</button>
<button class='toolbar-btn italic' data-format='italic'>I</button>
<button class='toolbar-btn underline' data-format='underline'>U</button>
<select class='toolbar-ddl fontname' data-format='fontname'>
<option value="></option>
<option value='Arial'>Arial</option>
<option value='Courier New'>Courier New</option>
<option value='Times New Roman'>Times New Roman</option>
</select>
<select class='toolbar-ddl fontsize' data-format='fontsize'>
<option value="></option>
<option value='2'>Small</option>
<option value='3'>Normal</option>
<option value='4'>Big</option>
<option value='5'>Bigger</option>
</select>
<button id='btnCreateSelection'>Create Selection</button>
<button id='btnStoreSelection'>Store Selection</button>
<button id='btnRestoreSelection'>Restore Selection</button>
</div>
<div id='container' contenteditable='true'>
</div>
</body>
</html>
The CSS remains unchanged from the previous example, so refer to it if needed. The updated markup is, however, enhanced with the updated JavaScript (Example 22-3.js):
$(document).ready(
function()
{
$('div#container').focus();
$('button.toolbar-btn').click(
function()
{
var data = this && $(this).data && $(this).data();
if (data && data.format && document.execCommand)
{
document.execCommand(data.format, false, null);
$('div#container').focus();
}
}
);
$('select.toolbar-ddl').change(
function()
{
var data = this && $(this).data && $(this).data();
if (data && data.format && document.execCommand)
{
document.execCommand(data.format, false,
this[this.selectedIndex].value);
this.selectedIndex = 0;
$('div#container').focus();
}
}
);
$('button#btnCreateSelection').click(
function()
{
var container = document.getElementById('container');
container.innerHTML = 'Here is some sample text for selection';
var range = document.createRange();
range.setStart(container.firstChild, 5);
range.setEnd(container.firstChild, 17);
setSelectionRange(range);
}
);
$('button#btnStoreSelection').click(
function()
{
window.selectedRange = getSelectionRange();
}
);
$('button#btnRestoreSelection').click(
function()
{
if (window.selectedRange)
{
setSelectionRange(window.selectedRange);
}
}
);
}
);
function getSelectionRange()
{
if (window.getSelection)
{
var sel = window.getSelection();
if (sel.getRangeAt && sel.rangeCount)
{
return sel.getRangeAt(0);
}
else // Safari
{
var range = document.createRange();
range.setStart(sel.anchorNode, sel.anchorOffset);
range.setEnd(sel.focusNode, sel.focusOffset);
return range;
}
}
return null;
}
function setSelectionRange(range)
{
if (range && window.getSelection)
{
var sel = window.getSelection();
sel.removeAllRanges();
sel.addRange(range);
}
}
This code results in the document shown in Figure 22.3.
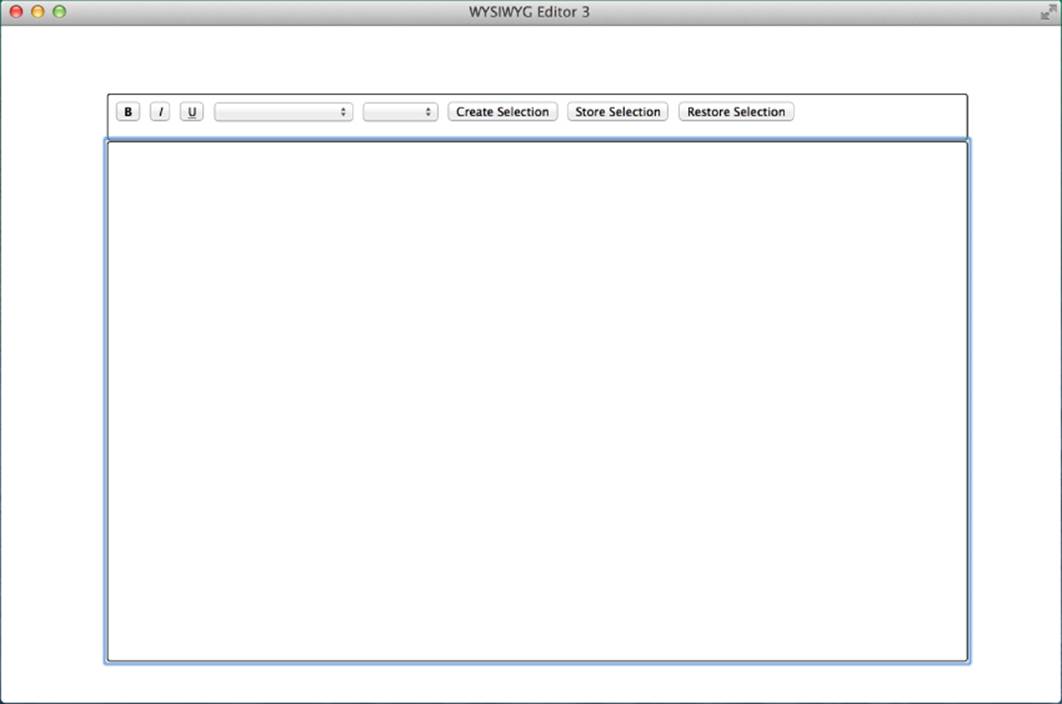
Figure 22.3
The markup now includes a button for creating a selection within the editable element:
<button id='btnCreateSelection'>Create Selection</button>
You added a click event handler for this button to the JavaScript code:
$('button#btnCreateSelection').click(
function()
{
var container = document.getElementById('container');
container.innerHTML = 'Here is some sample text for selection';
var range = document.createRange();
range.setStart(container.firstChild, 5);
range.setEnd(container.firstChild, 17);
setSelectionRange(range);
}
);
First, you obtain the editable element and place in a variable for ease of use:
var container = document.getElementById('container');
To maintain the simplicity of this example, the handler sets the contents of the editable element before creating the selection. Although it is fairly easy to select edited and formatted content, it can become tedious quickly.
container.innerHTML = 'Here is some sample text for selection';
Next, you create a Range object, which corresponds to a selection range.
var range = document.createRange();
You set the bounds of the Range object. In this example, you set the contents of the element; therefore, you know the values that would typically be determined or calculated. The start of the Range is set to the sixth character of the text, and the end is set to the eighteenth character as the offsets are zero-based.
range.setStart(container.firstChild, 5);
range.setEnd(container.firstChild, 17);
Now that you have a Range object with its bounds set, you can call your first helper function for selection ranges:
setSelectionRange(range);
The setSelectionRange function was added as a utility method to assist with this section of the chapter and the “Restoring a Selection” section:
function setSelectionRange(range)
{
if (range && window.getSelection)
{
var sel = window.getSelection();
sel.removeAllRanges();
sel.addRange(range);
}
}
As is good practice, you start with some sanity checks. Ensure that a range was provided and that the browser supports the modern window.getSelection method:
if (range && window.getSelection)
You then obtain the current Selection object.
var sel = window.getSelection();
The Selection object may contain zero to many selection ranges. In general, it contains zero until the page is clicked and one thereafter. You start by removing any existing selection ranges:
sel.removeAllRanges();
Finally, you add the programmatically created range to the Selection object, which finally selects the text “is some samp” within the editable element.
Storing a Selection
Within the previous example code, the markup was updated to add a button to the toolbar for storing the current position of a selection range:
<button id='btnStoreSelection'>Store Selection</button>
You updated the JavaScript to add a click event handler for this button. The handler performs the incredibly simple task of setting a window-level variable to store information about the currently selected content:
$('button#btnStoreSelection').click(
function()
{
window.selectedRange = getSelectionRange();
}
);
Notice that you used your second helper function:
function getSelectionRange()
{
if (window.getSelection)
{
var sel = window.getSelection();
if (sel.getRangeAt && sel.rangeCount)
{
return sel.getRangeAt(0);
}
else // Safari
{
var range = document.createRange();
range.setStart(sel.anchorNode, sel.anchorOffset);
range.setEnd(sel.focusNode, sel.focusOffset);
return range;
}
}
return null;
}
After dispensing with the window.getSelection sanity check (feature detection), you obtain the current Selection object as with the other helper function. This time, you access additional information about the object. In most cases, the Selection object supports thegetRangeAt method; you check for support as well as the existence of selection ranges. If the tests pass, return the first Range object within the Selection object:
if (sel.getRangeAt && sel.rangeCount)
{
return sel.getRangeAt(0);
}
If the logic tests fail (as is the case with Safari, which does not support getRangeAt), use familiar code to create a Range object, this time using bound information from the Selection object to specify the start and end containers and offsets:
else // Safari
{
var range = document.createRange();
range.setStart(sel.anchorNode, sel.anchorOffset);
range.setEnd(sel.focusNode, sel.focusOffset);
return range;
}
Finally, if basic feature detection indicated a lack of support for the modern Selection object, simply return null and move on. This is one of those instances in which it might be a good idea to alert the user that a better experience can be obtained with a newer browser.
return null;
Unless you hit the last case in which the Selection object was not available, you should have stored enough information about the selected content for later use.
Restoring a Selection
The last button added in the previous code example's markup enabled the restoration of a previous selection within the editable element.
<button id='btnRestoreSelection'>Restore Selection</button>
You included one final JavaScript event handler for the click of this button. First, you test for the existence of the previously stored selection. If it does exist, pass it to the previously discussed helper function, which deselects any current selections and restores the saved selection.
$('button#btnRestoreSelection').click(
function()
{
if (window.selectedRange)
{
setSelectionRange(window.selectedRange);
}
}
);
One caveat of storing and restoring selection information is that the process can be a bit fragile; in particular, the bound node information is stored. If the element content is changed, that information could become invalid, even if the content is reset to the exact same state.
Summary
In this chapter, you created a simple WYSIWYG editor in the browser. Along the way, you learned about the powerful HTML5 contenteditable attribute, which can make nearly any DOM element editable. You learned to use the document.execCommand function for processing the formatting options within your editor.
You learned some of the structure of the current browser selection model and created Range objects programmatically. Although you might not have created the next giant of word processing software, you created a stable code base for additional exploration.
Exercises
1. Which HTML5 attribute is the basis for most modern web-based WYSIWYG editors?
2. Which JavaScript command asks the browser to perform actions using native functionality?
3. Name two options that require additional information when passed to the command described in Exercise 2.
4. Describe the structure in which most browsers store information about currently selected content.
5. Which jQuery method provides access to HTML5 data attributes?
All materials on the site are licensed Creative Commons Attribution-Sharealike 3.0 Unported CC BY-SA 3.0 & GNU Free Documentation License (GFDL)
If you are the copyright holder of any material contained on our site and intend to remove it, please contact our site administrator for approval.
© 2016-2026 All site design rights belong to S.Y.A.