MEAN Machine - A beginner's practical guide to the JavaScript stack (2015)
ngRoute
ngRoute is the module that is the standard when building out routing in Angular applications. It is supported by Angular and provides routing through a service called $route (we’ll show off how this works later in this chapter).
This routing module allows us to create single page applications and websites that feel like the rich websites and mobile applications that users are growing more and more accustomed to. Think Gmail, Facebook, Twitter, and some of the great mobile newsreaders like Feedly or Flipboard.
Single page apps are becoming increasingly popular. Sites that mimic the single page app behavior are able to provide the feel of a phone/tablet application. Angular helps to create applications like this easily. Let’s dive into how we can create a 3 page application using Angular.
Node Server for Our Routing Application
In order for us to use ngRoute, we will want to use a server so that we can mimic how this app will work in browser. We’re going to spin up a server because, as you’ll see, we can’t just open files locally anymore. Our Angular app will need to make requests for view files and we will run into issues without a server.
Let’s create that server using Node and Express. This will be a good example because this will be our first glimpse of how we can build our Node and Angular applications together in the same codebase. Remember, we will be sticking to the client-server model, so we will need to maintain a good separation of our backend and frontend code.
Here is the file structure for our application:
1 - public/ // all of our frontend code (HTML/CSS/JS) will go here
2 ----- views/
3 ---------- pages/
4 ----- index.html
5 ----- js/
6 - package.json
7 - server.js
Those are the files we’ll need to start up our server and our frontend Angular application. For now, we will only focus on package.json and server.js to create a server.
Starting the Node Project
Like we’ve done before, package.json will house the packages and project information. Go ahead and run npm init or just create the file yourself. Here’s the barebones package.json file.
1 {
2 "name": "routing-app",
3 "main": "server.js",
4 "dependencies": {
5 "express": "~4.9.1"
6 }
7 }
Once you have that package.json file, run: npm install to get your dependencies (Express in this case) into your node_modules folder. Remember, you can also add dependencies from the command line using: npm install express --save.
Setting Up the Express Server
Like we have before, our server will be setup in server.js. Let’s go ahead and create a very simple server where we send an index.html to our users.
1 // get the things we need
2 var express = require('express');
3 var app = express();
4 var path = require('path');
5
6 // set the public folder to serve public assets
7 app.use(express.static(__dirname + '/public'));
8
9 // set up our one route to the index.html file
10 app.get('*', function(req, res) {
11 res.sendFile(path.join(__dirname + '/public/views/index.html'));
12 });
13
14 // start the server on port 8080 (http://localhost:8080)
15 app.listen(8080);
16 console.log('Magic happens on port 8080.');
Whenever a request comes into our server (we do this by using the * wildcard method), we will send the user the index.html file which will have all of our Angular/HTML/CSS code. We are also using Express to set the directory for static resources using app.use(express.static()). This means that whenever our client requests a file like a CSS file, image, or JS file, Node will serve that resource by looking in the public folder. All of our frontend code lives in this public folder so this is a good setup for our project.
Create a quick public/views/index.html file and just write whatever you want in it. Start your server with:
nodemon server.js
Now we can visit the app in our browser at http://localhost:8080.
This is what’s so cool about Node. Even if you aren’t using it in your final project, you can use it as a server for any projects you want to build. As we work on our Angular app, we can just work within this URL.
Now that we have the foundation ready to build out our Angular routing application, let’s get moving on that.
Sample Application
We’re just going to make a simple site with a home, about, and contact page. Angular is built for much more advanced applications than this, but this tutorial will show many of the concepts needed for those larger projects.
Goals
· Single page application
· No page refresh on page change
· Different data on each page
File Structure
These are the files that will be inside of our public folder that we set up in the earlier step.
1 public/
2 - views/
3 ----- pages/ // the pages that will be injected into the main layout
4 ---------- home.html
5 ---------- about.html
6 ---------- contact.html
7 ----- index.html // main layout
8 - js/
9 ----- app.js // stores all our angular code
10 ----- app.routes.js // stores all our angular routes
The HTML For Our App
This is the simple part. We’re using Bootstrap and Font Awesome to make our styles easier. Open up your index.html file and we’ll add a simple layout with a navigation bar.
1 <!DOCTYPE html>
2 <html>
3 <head>
4 <meta charset="utf-8">
5 <title>My Routing App!</title>
6
7 <!-- set the base path for angular routing -->
8 <base href="/">
9
10 <!-- CSS -->
11 <!-- load bootstrap and fontawesome via CDN -->
12 <link rel="stylesheet" href="http://netdna.bootstrapcdn.com/bootstrap/3.0.0/\
13 css/bootstrap.min.css">
14 <link rel="stylesheet" href="http://netdna.bootstrapcdn.com/font-awesome/4.0\
15 .0/css/font-awesome.css">
16 <style>
17 body { padding-top:50px; }
18 </style>
19
20 <!-- JS -->
21 <!-- load angular and angular-route via CDN -->
22 <script src="http://ajax.googleapis.com/ajax/libs/angularjs/1.3.8/angular.mi\
23 n.js"></script>
24 <script src="http://ajax.googleapis.com/ajax/libs/angularjs/1.3.8/angular-ro\
25 ute.js"></script>
26
27 <!-- load our custom angular app files -->
28 <script src="js/app.js"></script>
29 <script src="js/app.routes.js"></script>
30 </head>
31 <body class="container">
32
33 <!-- HEADER AND NAVBAR -->
34 <header>
35 <nav class="navbar navbar-default">
36 <div class="navbar-header">
37 <a class="navbar-brand" href="/">Angular Routing Example</a>
38 </div>
39
40 <ul class="nav navbar-nav navbar-right">
41 <li><a href="/"><i class="fa fa-home"></i> Home</a></li>
42 <li><a href="/about"><i class="fa fa-shield"></i> About</a></li>
43 <li><a href="/contact"><i class="fa fa-comment"></i> Contact</a></li>
44 </ul>
45 </nav>
46 </header>
47
48 <!-- MAIN CONTENT AND INJECTED VIEWS -->
49 <main>
50
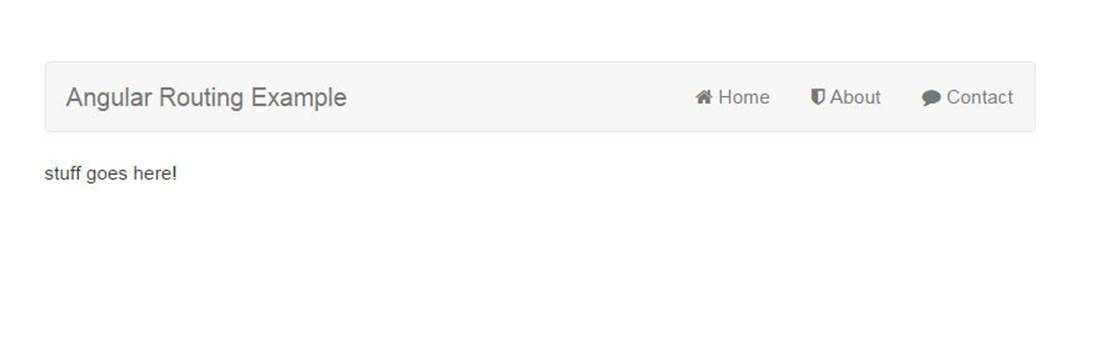
51 stuff goes here!
52
53 <!-- angular templating will go here -->
54 <!-- this is where content will be injected -->
55
56 </main>
57
58 </body>
59 </html>
We’re loading Angular and Angular Route from the Google CDN. It is important to load up the routing module separately since we will be injecting that into our main Angular app. This is another example of how we can see dependency injection working in Angular applications. We’ll also store our application routes inside of their own app.routes.js file which we will inject into our main application.
Angular Routing Foundation
Next up, we have to create our Angular application (angular.module) and then we will come back to the HTML to apply that app.
Angular Application
Module and Controller
We’re going to setup our application. Let’s create the angular module and controller. Check out the docs for more information on each. We’ll create this in our JavaScript file (public/js/app.js):
1 angular.module('routerApp', [])
2
3 // create the controllers
4 // this will be the controller for the ENTIRE site
5 .controller('mainController', function() {
6
7 var vm = this;
8
9 // create a bigMessage variable to display in our view
10 vm.bigMessage = 'A smooth sea never made a skilled sailor.';
11 })
12
13 // home page specific controller
14 .controller('homeController', function() {
15
16 var vm = this;
17
18 vm.message = 'This is the home page!';
19 })
20
21 // about page controller
22 .controller('aboutController', function() {
23
24 var vm = this;
25
26 vm.message = 'Look! I am an about page.';
27 })
28
29 // contact page controller
30 .controller('contactController', function() {
31
32 var vm = this;
33
34 vm.message = 'Contact us! JK. This is just a demo.';
35 });
Let’s add the module and controller to our HTML so that Angular knows how to bootstrap/initialize our application. To test that everything is working, we will also show the vm.bigMessage variable that we created.
We also have a homeController, aboutController and contactController here that we aren’t using yet. This is because we will use these for our About and Contact pages when we eventually show them using Angular routing. mainController will encompass everything inside of the <body>tag while the other controllers are specific to each page.
Applying the Angular Application
Let’s go back into our index.html and apply our app and controller using ng-app and ng-controller. Since we already loaded our app.js file in the <head> of our document, we’ll apply both to the <body> tag.
1 <body class="container" ng-app="routerApp" ng-controller="mainController as main\
2 ">
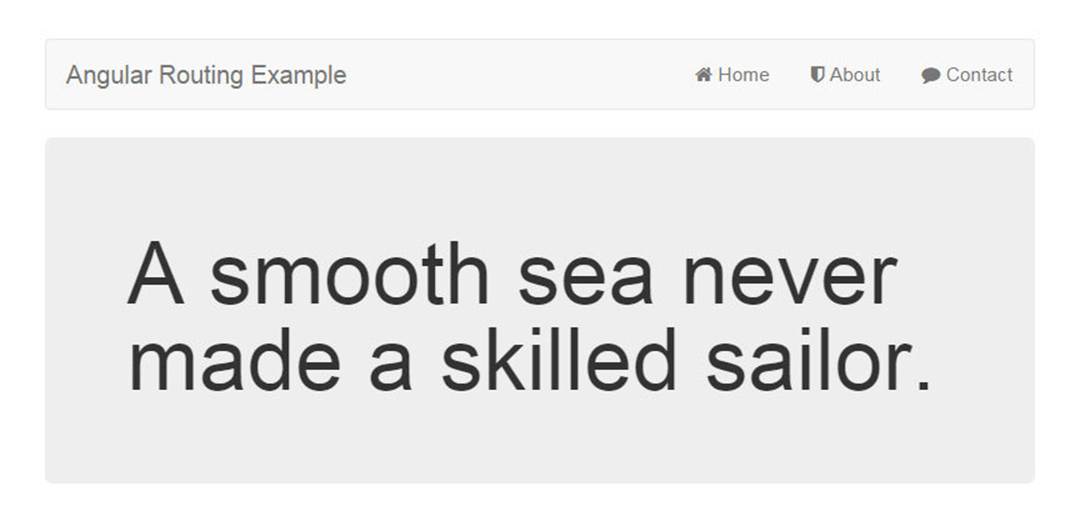
Notice again that we are using the controller as syntax when we write mainController as main. We will also show off our bigMessage inside the <main> section of our site:
1 <main>
2 <div class="jumbotron">
3 <h1>{{ main.bigMessage }}</h1>
4 </div>
5
6 <!-- angular templating will go here -->
7 <!-- this is where content will be injected -->
8 </main>
Now if we display our index.html file in our browsers, we should be able to see our message.
Angular Routing Message Display
Inside of our <main>, we will now see the message that we created. Since we have our module and controller set up and there are no errors in our JavaScript console, we know that Angular is working properly. Now we will start working on using this layout to show the different pages all without ever refreshing the page.
Injecting Pages into the Main Layout
ng-view is an Angular directive that will include the template of the current route (/home, /about, or /contact) in the main layout file.
How does this work? Angular route (ngRoute) will look at the current URL, and then match that URL with a view that we specify. So if we are at the /about page, we’ll tell ngRoute to grab a specific view file (pages/about.html in this case) and inject it where we put ng-view.
We haven’t set up those routing rules we need yet, so let’s add ng-view to our template right now and then move forward to the routing.
Inside of the <main> section of our site, delete the message part and add the following:
1 <main>
2
3 <!-- angular templating -->
4 <!-- this is where content will be injected -->
5
6 <div ng-view></div>
7
8 </main>
Configuring Routes
Now this won’t do much for our site yet. We have to define the routes and the views that will get used for each. This is how we use Angular’s routing capabilities so that our pages don’t refresh.
The Angular routing module provides us with the $routeProvider service which is how we will configure the routes. Routes are defined on the $routeProvider object using .when().
Let’s create our routes now by creating a new file ‘public/js/app.routes.js’. We’ll also apply each of the controllers we created earlier to each page.
1 // inject ngRoute for all our routing needs
2 angular.module('routerRoutes', ['ngRoute'])
3
4 // configure our routes
5 .config(function($routeProvider, $locationProvider) {
6 $routeProvider
7
8 // route for the home page
9 .when('/', {
10 templateUrl : 'views/pages/home.html',
11 controller : 'homeController',
12 controllerAs: 'home'
13 })
14
15 // route for the about page
16 .when('/about', {
17 templateUrl : 'views/pages/about.html',
18 controller : 'aboutController',
19 controllerAs: 'about'
20 })
21
22 // route for the contact page
23 .when('/contact', {
24 templateUrl : 'views/pages/contact.html',
25 controller : 'contactController',
26 controllerAs: 'contact'
27 });
28
29 // set our app up to have pretty URLS
30 $locationProvider.html5Mode(true);
31 });
Now we have defined our routes with $routeProvider. As you can see by the configuration, you can specify the route, the template file to use, and even a controller. This way, each part of our application will use its own view and Angular controller.
We are also allowed to define controllerAs here and then each controller will be defined on our site automatically. For example, inside of our home.html file, when our router brings in this file, the controller will be defined as homeController as home.

Tip: Cleaning Up the Angular URL
By default, AngularJS will route URLs with a hashtag. For example, Angular will have http://example.com/, http://example.com/#/about, and http://example.com/#/contact.
It is very easy to get clean URLs and remove the hashtag from the URL.
There are 2 things that need to be done.
1. Configuring $locationProvider
2. Setting <base> in the <head> of our document for relative links
In Angular, the $location service parses the URL in the address bar and makes changes to your application and vice versa.
We will use the $locationProvider service provided by Angular to set the HTML5 Mode of our app to true. This will ensure that our app uses the HTML5 History API (used by all the modern browsers). Older browsers will fall back to the hashtag method of showing URLs.
What is the HTML5 History API? It is a standardized way to manipulate the browser history using a script. This lets Angular change the routing and URLs of our pages without refreshing the page. For more information on this, here is a good HTML5 History API Article.
We already set the <base> and $locationProvider.html5Mode(true), so we should see clean URLs in this application.
Injecting Routes into Main App
One of the main tenants of Angular development is dependency injection. We’ll keep to that by injecting this new routes module we created into our main application. We already loaded the app.routes.js file in our index.html file so let’s go into app.js and inject this routes module.
We will add it to the very first line like so:
angular.module('routerApp', ['routerRoutes'])
Just like that, we now have applied our routes to our application!
Configuring Views
We now have our routes and they are calling the appropriate files and controllers. To finish off this tutorial, we just need to define the pages that will be injected. We will also have them each display a message from its respective controller. This is a straightforward process, just some HTML and displaying the {{ home.message }}, {{ about.message }}, and {{ contact.message }} variables within each view.
pages/home.html
1 <div class="jumbotron text-center">
2 <h1>Home Page</h1>
3
4 <p>{{ home.message }}</p>
5 </div>
pages/about.html
1 <div class="jumbotron text-center">
2 <h1>About Page</h1>
3
4 <p>{{ about.message }}</p>
5 </div>
pages/contact.html
1 <div class="jumbotron text-center">
2 <h1>Contact Page</h1>
3
4 <p>{{ contact.message }}</p>
5 </div>
We are prefixing each of the variables with the controller name for each HTML file that we defined in our routes using controllerAs.
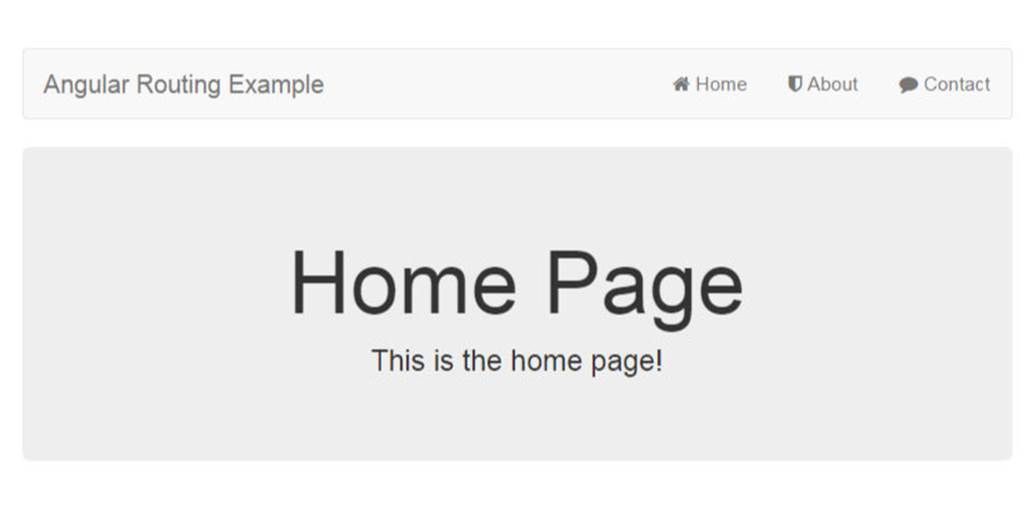
Visit your application and click through the pages. You’ll see the data change and your message variable change all without a page refresh!
Angular Routing Home Page
Conclusion
There we have it! A single page application with 3 different pages. Each page will also bring in a different Angular controller so that data can be different across our site.
You can see the value of this as it gives our basic websites into more of an integrated application feeling.
As cool as this site is without refreshing the page for routing, we will make it even cooler by animating these pages. You have probably already seen mobile apps that slide in and out of view as you click items. We’ll turn what we just built into a clean and impressive animated site (don’t worry, it won’t be anything too flashy… unless that’s what you want).

Note: An Alternative to ngRoute
While ngRoute is the routing tool built to work most closely with Angular, another tool called UI Router was built as another routing framework by the AngularUI team. AngularUI is the companion suite that works hand in hand with Angular applications. They provide many useful tools like UI Router, UI Bootstrap for using Bootstrap JavaScript components within Angular, and a few other awesome tools.
UI Router provides a different approach than ngRoute in that it changes your application views based on state of the application and not just the route URL. This means that your application is not tied to the URL path and you can adjust what templates show based on application state (ie if a user is logged in or not).
There are also great benefits by having the ability to nest states. ngRoute doesn’t provide this functionality and for more advanced UIs, it is helpful to have nested states like having multiple sidebar panels and moving components you would see more in mobile applications.
We will be using ngRoute since it is the standard, but for more reading on UI Router, here’s a good starting article: AngularJS Routing Using UI-Router. In the future, the Angular team has stated that the next routing module they build will have features from both ngRoute and UI Router.
All materials on the site are licensed Creative Commons Attribution-Sharealike 3.0 Unported CC BY-SA 3.0 & GNU Free Documentation License (GFDL)
If you are the copyright holder of any material contained on our site and intend to remove it, please contact our site administrator for approval.
© 2016-2026 All site design rights belong to S.Y.A.