MEAN Machine - A beginner's practical guide to the JavaScript stack (2015)
Starting a Node Server
We’re going to move forward and look at the ways to set up a node HTTP server so that we can send HTML files and more to our users. In the previous chapter, we only logged something to the console. In this chapter, we will take what we learned a step further so that we can serve a website to our users. We’ll be another step closer to fully-fledged web applications.
Method #1: Pure Node (no Express) This is a simple way to create our server and we’ll just do it this way so we know how it is done with barebones Node. After this, we will be using the Express method (method #2) exclusively.
Method #2: Using Express Since Express is one of the main four parts of the MEAN stack, we want to use this method. And once you learn this method you’ll probably never want to look back anyway.
Sample Application
For this chapter’s example, we will send an HTML file to our browser using Method #1 and Method #2. To get started, we need a brand new folder with the following files:
· package.json
· server.js
· index.html
Like we learned before, package.json will hold the configuration/packages for our project while server.js will have our application setup and configuration. Our index.html file will be a basic HTML file.
package.json and index.html will be the same for both methods. The only file that will change between the two methods is the server.js file because that’s where we will start up our Node server.
package.json
Here is our simple package.json file:
1 {
2 "name": "http-server",
3 "main": "server.js"
4 }
index.html
Let’s fill out a simple index.html file also:
1 <!DOCTYPE html>
2 <html lang="en">
3 <head>
4 <meta charset="UTF-8">
5 <title>Super Cool Site</title>
6 <style>
7 body {
8 text-align:center;
9 background:#EFEFEF;
10 padding-top:50px;
11 }
12 </style>
13 </head>
14 <body>
15
16 <h1>Hello Universe!</h1>
17
18 </body>
19 </html>
Method #1: Pure Node (no Express)
When using Method #1, we will pull in two modules that are built into Node itself. The HTTP module is used to start up HTTP servers and respond to HTTP requests from users. The fs module is used to read the file system. We will need to read our index.html from the file system and then pass it to our user using an HTTP server.
The server.js for Method #1 will have the following code:
1 // get the http and filesystem modules
2 var http = require('http'),
3 fs = require('fs');
4
5 // create our server using the http module
6 http.createServer(function(req, res) {
7
8 // write to our server. set configuration for the response
9 res.writeHead(200, {
10 'Content-Type': 'text/html',
11 'Access-Control-Allow-Origin' : '*'
12 });
13
14 // grab the index.html file using fs
15 var readStream = fs.createReadStream(__dirname + '/index.html');
16
17 // send the index.html file to our user
18 readStream.pipe(res);
19
20 }).listen(1337);
21
22 // tell ourselves what's happening
23 console.log('Visit me at http://localhost:1337');
We are using the http module to create a server and the fs module to grab an index file and send it in our response to the user.
With our server.js file defined, let’s go into our command line and start up our Node http server.
nodemon server.js
You should see your server start up and a message logged to the console.
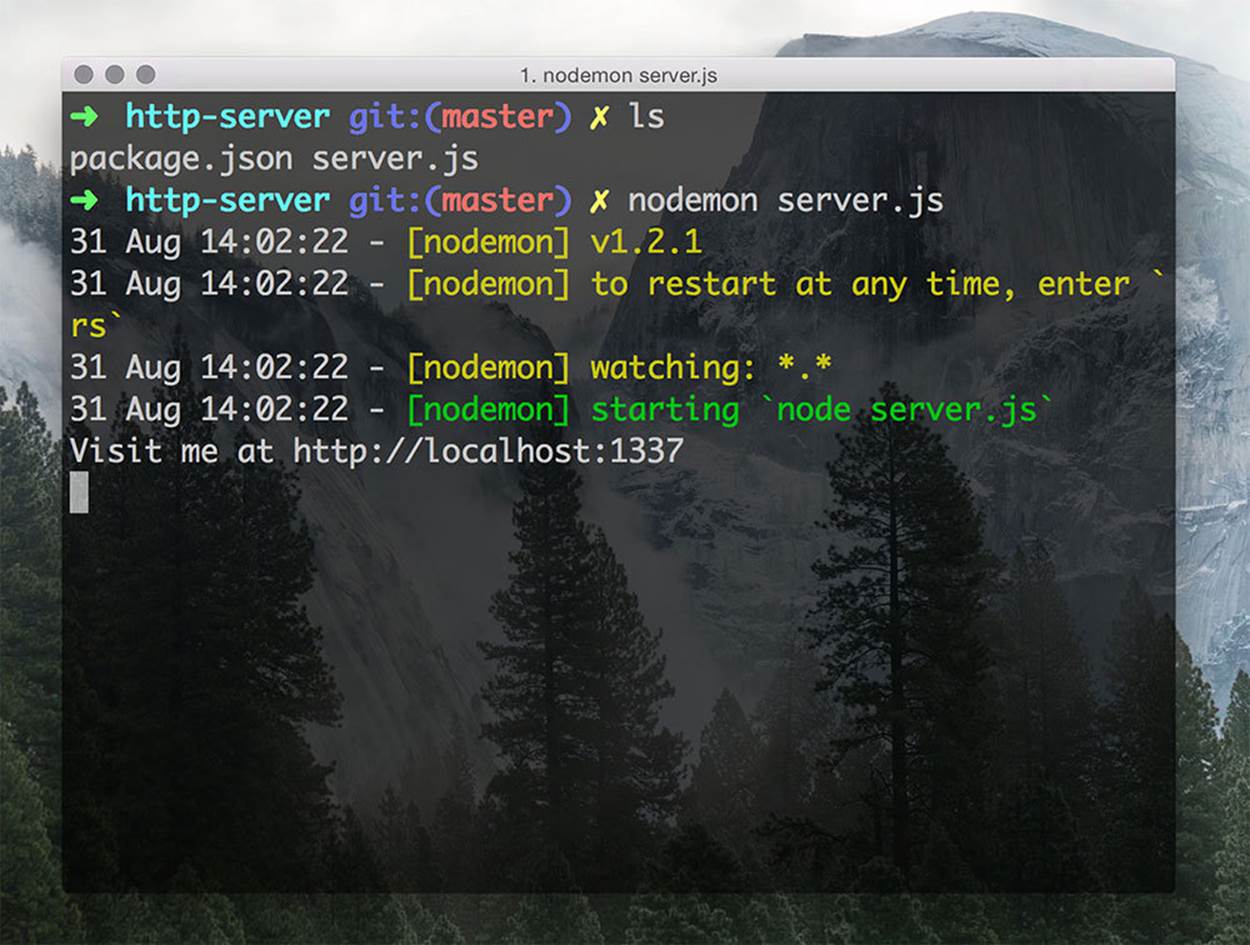
Node HTTP Server Console
Now we can see our site in browser at http://localhost:1337.
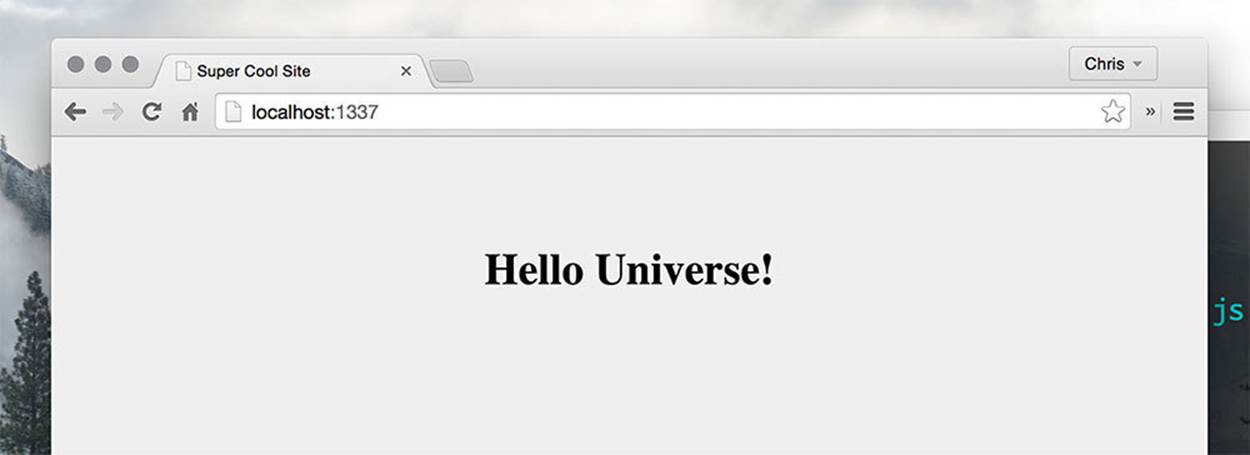
Hello Universe Browser
We’ve finally sent an HTML file to our users! You may be thinking that setting up that http server took a lot of syntax that you might not be able to remember. Don’t worry though, the Express way is much cleaner.
Method #2: Using Express
Now that we have started up a server using the HTTP module, let’s look at how we can do the same Express. You’ll find that it’s much easier to manage the code.
We will first need to add Express to this project. Let’s use the command line to install it and save it to our package.json.
npm install express --save
Now let’s change our server.js file to accommodate Express. We’ll start by calling Express. Using that instance of Express, we will define a route and send the index.html file. Then we’ll “listen” on a certain port for a request from the browser.
1 // load the express package and create our app
2 var express = require('express');
3 var app = express();
4 var path = require('path');
5
6 // send our index.html file to the user for the home page
7 app.get('/', function(req, res) {
8 res.sendFile(path.join(__dirname + '/index.html'));
9 });
10
11 // start the server
12 app.listen(1337);
13 console.log('1337 is the magic port!');
Now we have grabbed Express, set a port, and started our server. Express has made the job of starting a server much easier and the syntax is cleaner. Starting up this server using nodemon server.js will spit out our HTML file to users at http://localhost:1337 again.
We’ll see the same result as before, but now the code is a little easier to follow.
Hello Universe Browser

Tip
Defining Packages Shortcut
Just a quick tip when defining packages, instead of typing out var every time you define a package, you can string the packages together using a ",".
Here’s an example:
1 var express = require('express');
2 var app = express();
3
4 // the exact same result
5
6 var express = require('express'),
7 app = express();
This just tidies up your code a bit and lets you skip a few extra keystrokes.
We can now create a Node server and send HTML files to our users. We’ve defined a simple get route so far. Let’s take the next step and add more routes and pages to our site.
All materials on the site are licensed Creative Commons Attribution-Sharealike 3.0 Unported CC BY-SA 3.0 & GNU Free Documentation License (GFDL)
If you are the copyright holder of any material contained on our site and intend to remove it, please contact our site administrator for approval.
© 2016-2026 All site design rights belong to S.Y.A.