Sams Teach Yourself Java in 24 Hours, 7th Edition (2014)
Appendixes
Appendix D. Setting Up an Android Development Environment
Although Android apps are written in Java, they require more than just standard Java programming tools. Apps require the Java Development Kit and the Android Software Development Kit (SDK), an integrated development environment tailored to Android programming. They also require drivers for Android devices.
Eclipse is the most popular and best-supported integrated development environment (IDE) for Android.
In this appendix, you set up all these tools and make sure they can work together to run an Android app. Each of the tools is free and can be downloaded over the Internet.
Getting Started
You can accomplish Android programming on the following operating systems:
![]() Windows XP or later
Windows XP or later
![]() Mac OS X 10.5.8 or later
Mac OS X 10.5.8 or later
![]() Linux
Linux
You must have around 600MB of disk space to install the Android SDK and another 1.2GB for the Eclipse IDE.
At this point, you already should have the Java Development Kit installed because it was used throughout the hours of the book in conjunction with NetBeans to run Java programs. Android requires JDK 6 or later.
If you still need the JDK for some reason, you can download it from http://jdk8.java.net/download.html.
Installing Eclipse
Although other IDEs, such as NetBeans, offer Android development support, Eclipse has emerged as the most popular choice for writing apps for Android. Android’s developers have designated Eclipse as the preferred environment and employ it throughout their official documentation and tutorials.
Eclipse, like NetBeans, provides a graphical user interface for writing Java programs. You can use it to create any kind of Java program (and it supports other programming languages as well).
Android requires Eclipse 3.7.2 or later. Using Eclipse to create Android apps also requires the Android SDK.
Note
Eclipse also is used in popular tutorials for Android programming such as Sams Teach Yourself Android Application Development in 24 Hours, Third Edition, by Carmen Delessio, Lauren Darcey, and Shane Conder (ISBN 0-672-33444-5). You can move from this book straight into that one because the tools being set up in this appendix are used in that book as well. I’ve read the book and recommend it highly as a follow-up to this one.
The easiest way to set things up is to download Eclipse and the SDK together at http://developer.android.com/sdk. That site offers two versions: the ADT Bundle (Eclipse and the SDK together) and SDK Tools Only (no Eclipse). Choose the version of the ADT Bundle for your operating system (Windows, Mac OS, or Linux).
The bundle is packaged as a ZIP archive file that contains an eclipse folder, an android folder, and a program called SDK Manager. There’s no installation program to guide you through the process of setting it up on your computer. The eclipse folder holds all the files you need to run Eclipse. The android folder contains the Android SDK, and SDK Manager is a program you will use to manage the SDK and install new versions.
Note
To create a shortcut in Windows in the folder where you installed the program, right-click the Eclipse application file and choose Create Shortcut. A dialog might appear asking whether you want the shortcut on your desktop. Click Yes. You also can drag a shortcut to the desktop.
Create an Eclipse subfolder inside the folder where you store programs. On my Windows system, I put this in the Program Files (x86) folder. Unzip the eclipse and android folders and the SDK Manager and put all three in the eclipse folder.
After unzipping the files, go to the eclipse folder you just created and look for the executable Eclipse application. Create a shortcut to this application and put it in your menu or somewhere else where you run programs, such as the desktop or taskbar.
Installing the Android Plug-in for Eclipse
The Eclipse IDE supports numerous programming languages and technologies, but all of them are not supported right away. The IDE is enhanced with plug-ins that provide the functionality you need.
The first time you run Eclipse, it must set up a plug-in to integrate the IDE with the Android SDK. The plug-in adds menu commands to the IDE interface related to Android and makes it possible to create and manage Android apps. For this to be accomplished, Eclipse must be run with full administrative privileges on your computer. This doesn’t happen by default on Windows 7 or Windows 8, so you can’t run the program just by clicking it. Instead, right-click its shortcut and choose Run as Administrator.
Eclipse will set up Android automatically and display a welcome screen with a New Android Application button and several links to learn more about Android programming.
You should periodically check for new updates to both Eclipse and the Android SDK. Android is being developed at a furious pace as new phones and other devices hit the market, and the SDK must support them.
Choose the menu command Help, Check for Updates to see whether Eclipse has been updated.
Choose Window, SDK Manager to run the Android SDK Manager, which looks for SDK updates. The manager presents check boxes for the specific things you need to install, as shown in Figure D.1.

FIGURE D.1 Installing new packages for the Android SDK.
Some packages may be chosen automatically for update, which means the manager recommends them. Heed that advice. When you have checked the boxes for packages you want and have unchecked the ones you don’t, click Install Packages.
Caution
If the update process fails with any errors, particularly an “access denied” problem downloading files, close Eclipse and run it again with full administrative privileges. This usually resolves the problem.
After the SDK updates are installed, you may be asked to close the SDK Manager and check for Eclipse updates again.
Setting Up Your Phone
The Android SDK includes an emulator that acts like an Android phone and can run the apps you create. This comes in handy as you’re writing an app, because you can get it working in a test environment; however, at some point you need to see how it works on an actual Android phone (or other device).
You can deploy apps you write with the SDK on an Android device over your computer’s USB connection. Use the same cord you use to transfer files to and from the device.
Before connecting the cord, you must enable USB debugging on the phone by following these steps:
1. Run the Settings app on your phone, which is usually one of the apps on your Home screen or the full Applications list.
2. Run the Settings app, choose Applications (if necessary), and look for a Development or Developer Options button. Choose it, and then select the USB debugging box.
Other devices might have this option elsewhere in the settings. It is called something like USB connection mode, USB debugging, or the like. The Android site at http://developer.android.com has documentation for how to set this for different Android devices.
Note
On Android versions 4.2 and higher, Developer Options might be hidden. To make it visible, choose Settings, choose About Phone, and tap Build Number seven times.
Connect the USB cord to your computer and the other end to your phone. A small bug-like Android icon should appear along the top edge of the device alongside the time and icons for connection bars and the battery.
Drag the top bar down. You should see the USB Debugging Connected and USB Connected messages (see Figure D.2).
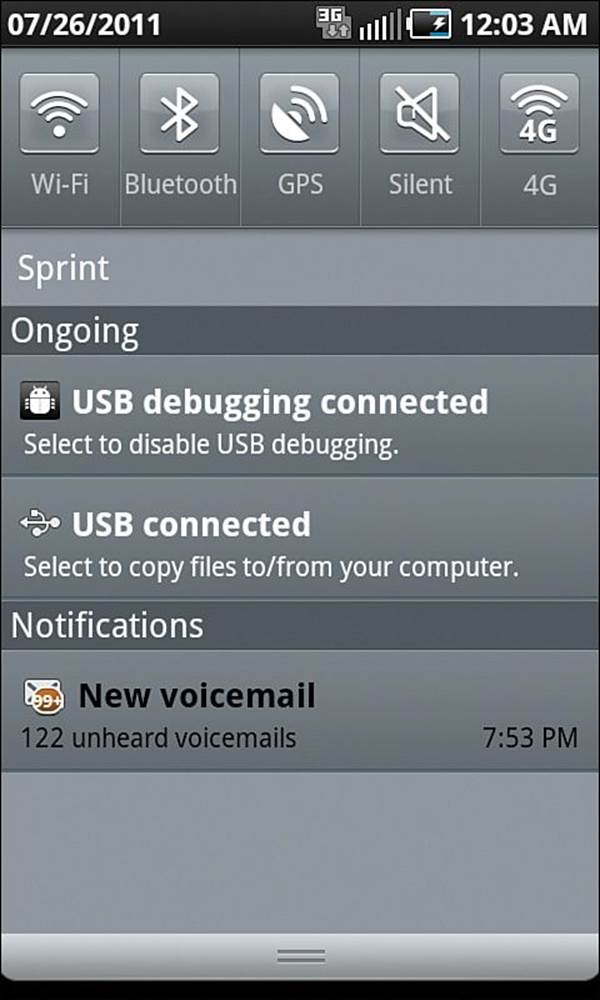
FIGURE D.2 Using an Android phone in USB debugging mode.
This sets up your phone, but your computer also might require configuration to be able to connect to the device. If you have never connected to the phone over a USB cord, check your phone’s documentation for how to do this. You might need to install a driver from a CD that came with the phone or the manufacturer’s website.
On Windows, the Android SDK runs from within Eclipse, and you can use it to download USB drivers for various phones and other devices, and other packages related to your device. Choose Window, Android SDK Manager to see what’s available.
During Hour 24, “Writing Android Apps,” you use the Android development tools to create and run an Android app. If everything’s set up correctly, it should run properly on both the emulator and an Android phone.
Android’s official documentation offers more guidance on setting up your phone in the tutorial http://developer.android.com/training/basics/firstapp.
All materials on the site are licensed Creative Commons Attribution-Sharealike 3.0 Unported CC BY-SA 3.0 & GNU Free Documentation License (GFDL)
If you are the copyright holder of any material contained on our site and intend to remove it, please contact our site administrator for approval.
© 2016-2026 All site design rights belong to S.Y.A.