Hands-On Sencha Touch 2 (2014)
Appendix A. Help with iOS Certificates and Provisioning
Running test applications on your iOS device can be hard. It’s not as simple as dragging and dropping an application via iTunes to your device. No, all iOS builds need to be signed by a developer certificate and a provisioning profile that is tied to your Apple developer account.
You will need a Mac to set up a certificate and provisioning profile. Log into the member center. Click on “Manage your certificates, App IDs, devices, and provisioning profiles.” to open the Certificates, Identifiers & Profiles view (see Figure A-1).
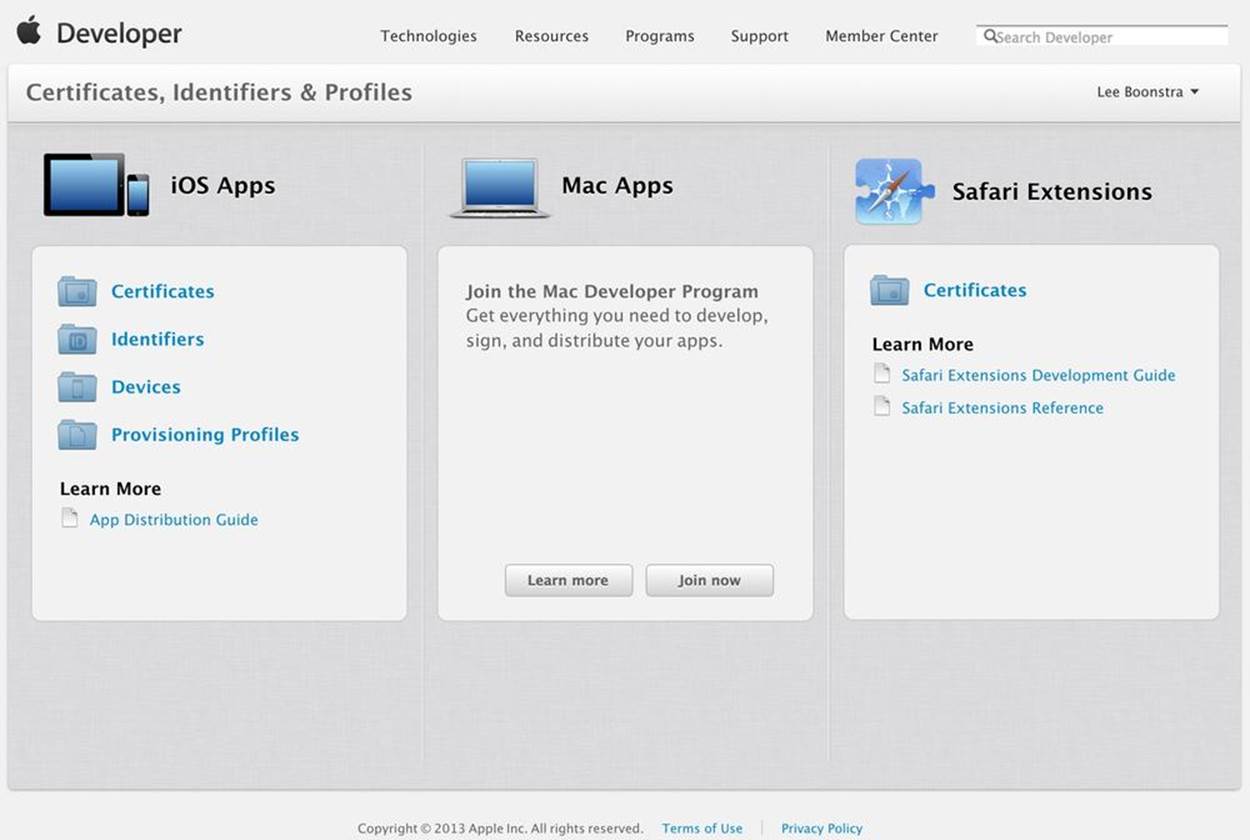
Figure A-1. The Apple developer portal
Certificates
Here are the steps for setting up your certificate profile:
1. Click “Manage your certificates, App IDs, devices, and provisioning profiles.”
2. Go to the Certificate Center and create a certificate. For development, you will need an iOS development certificate; when you want to start selling your apps in the App Store, you will need an iOS distribution certificate.
3. While creating certificates, you will need to open the KeyChain Access tool on your Mac. (Use Spotlight search to find the tool if you have never used it before.)
4. Within this tool, click on KeyChain Access Certificate Assistant → Request… and then save the certificate request to your hard disk.
5. In the developer portal, press the Continue button. The next step is to upload this certificate request in your iOS member center.
6. Press the Generate button. It will sign the certificates. After that, you can download the signed certificate and import it in the KeyChain Access Tool by double-clicking on the certificate (.cer file).
7. Click Certificates in the left category bar (see Figure A-2). Right-click on one of your Apple developer certificates, and choose Export. Give the certificate the name Developer or Distribution and sign the certificate with your password (.p12 extension). Save the certificate on your hard disk too. You will use it later.
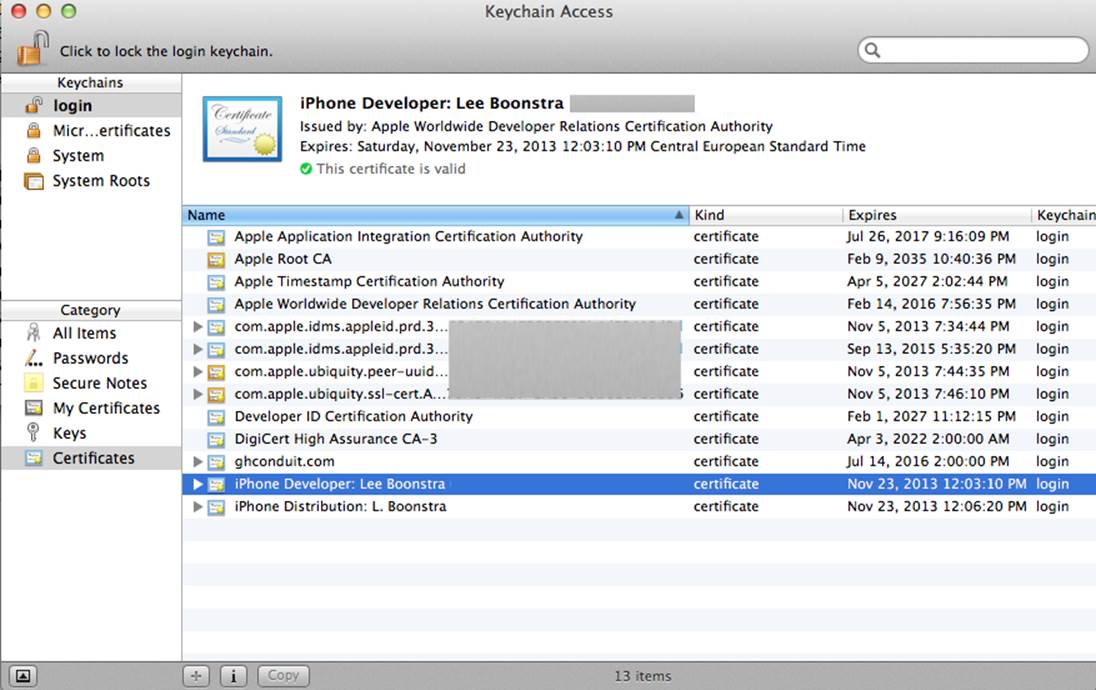
Figure A-2. Export your certificate to your hard disk
Identifiers
Next, click on Identifiers. You can create an identifier for every app you are developing and want to test on an iOS device (see Figure A-3). The app needs an app id description (text), app id prefix (choose one from the drop-down), and a wildcard app id (this the bundle ID; remember the name you are using, as you will use it often). The bundle id should be in reverse-domain-name style; for example, com.domainname.*.
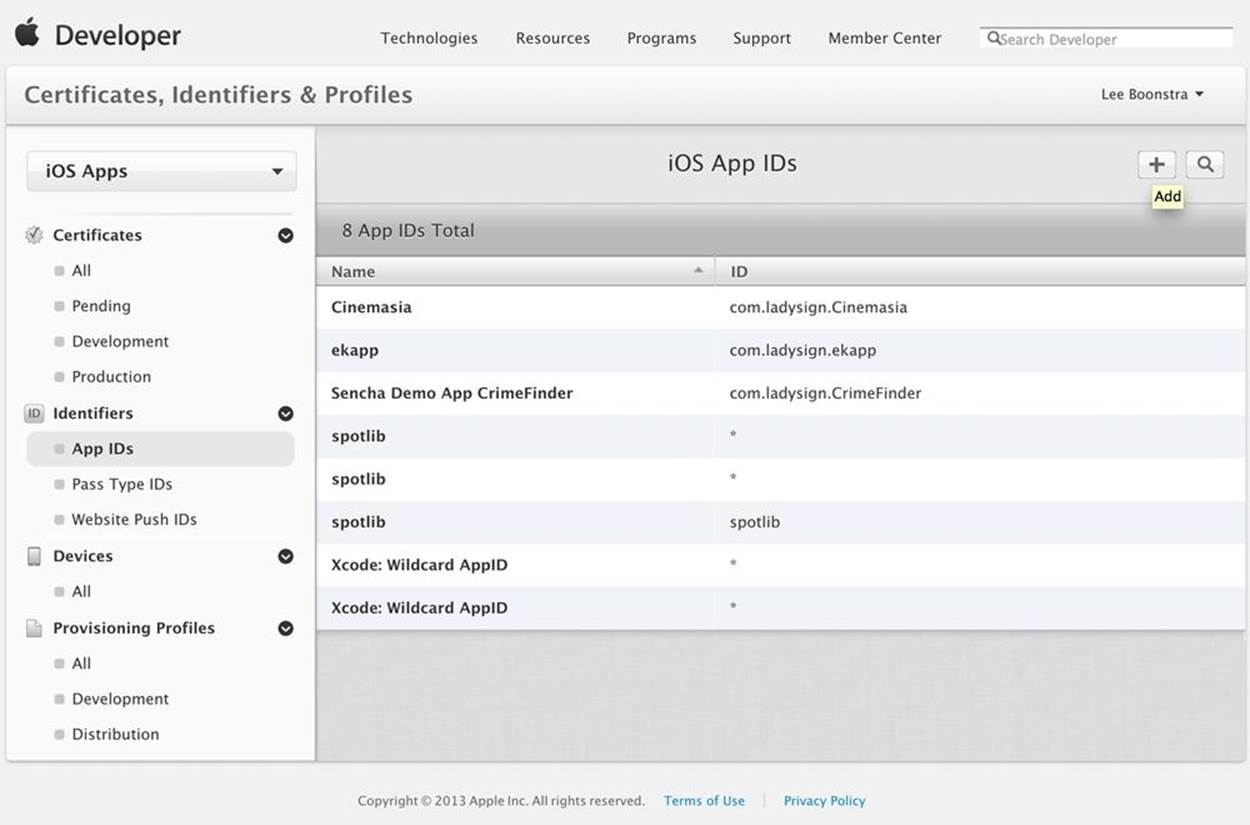
Figure A-3. Create an app identifier in the Apple developer portal
Devices
Now, you can register the iOS devices you would like to test on. It is possible to register up to 100 devices. You will need to specify the UDID (Unique Device identifier). You can get this UDID by connecting your iOS device to iTunes. Click on the Device Summary, and then click on the serial number text. It will display the identifier that you can copy and paste.
Provisioning Profile
Create a new provisioning profile and hook it up to the newly created App ID (see Figure A-4).

Figure A-4. Create a provisioning profile
Choose a certificate and a device. Then generate your profile. Download the *.mobileprovisioning profile somewhere safe on your hard disk; you will need it later (see Figure A-5).
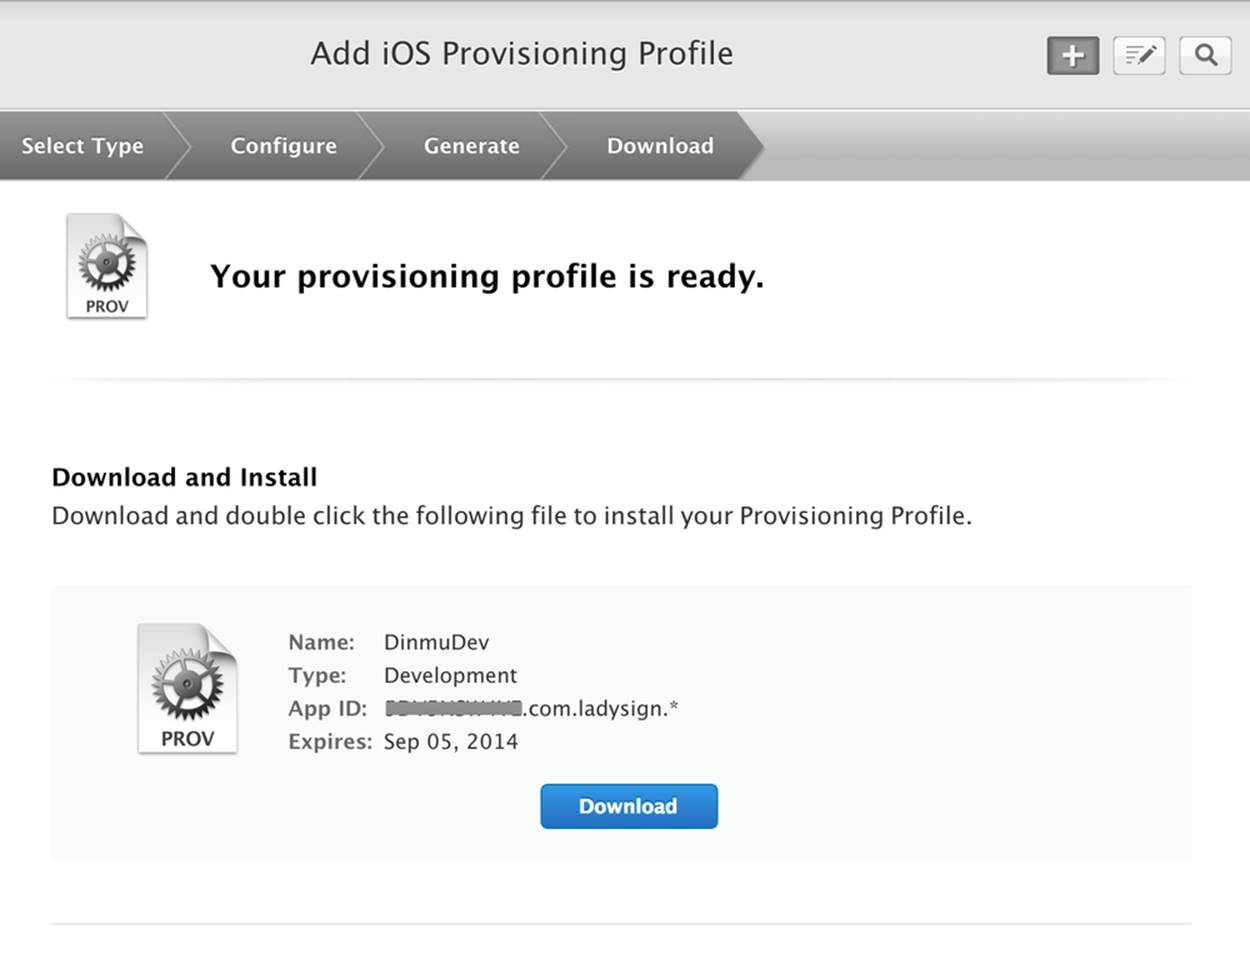
Figure A-5. Download the provisioning profile to your hard disk
iOS Provisioning and PhoneGap
On the PhoneGap Build website, click on the app so it opens edit mode. Next to the iOS build option, you should see a drop-down to enter a key. Click “add new key,” and upload the certificate and the mobile provisioning file (see Figure A-6).
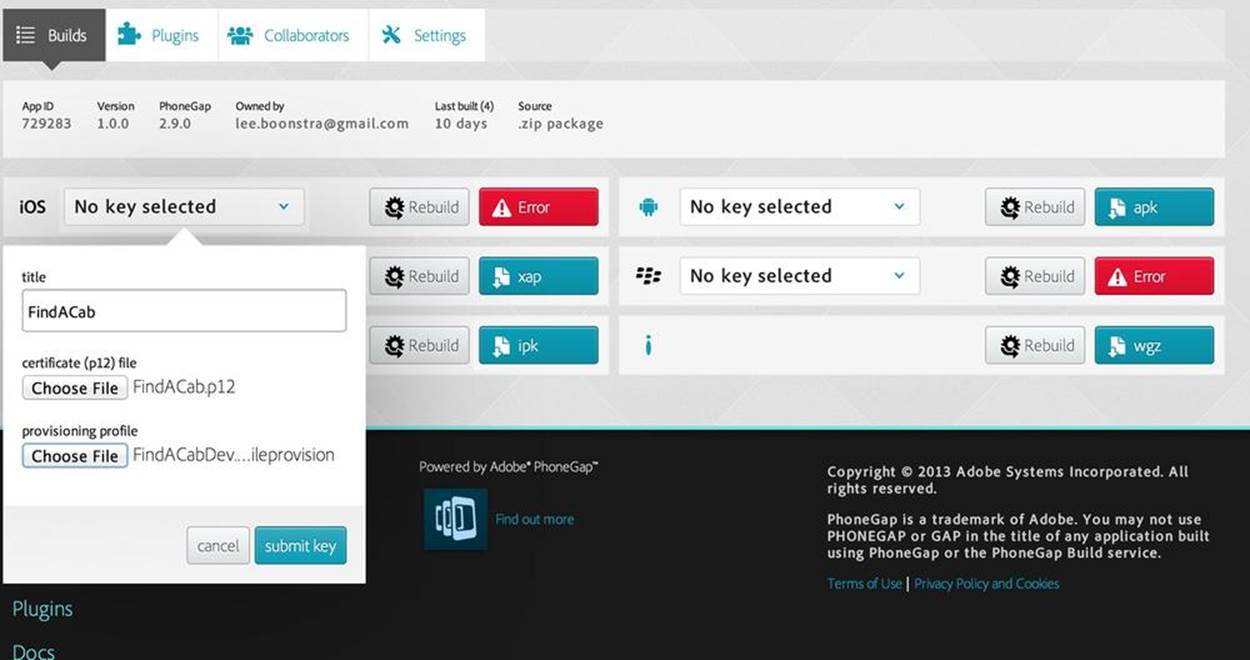
Figure A-6. Upload your certificate and your provisioning profile to the PhoneGap Build site
After uploading, you should be prompted to enter the password you used for the KeyChain Access tool. (If you’re not, click on the yellow lock icon.) When the key is successfully submitted, you can finally build for iOS.
All materials on the site are licensed Creative Commons Attribution-Sharealike 3.0 Unported CC BY-SA 3.0 & GNU Free Documentation License (GFDL)
If you are the copyright holder of any material contained on our site and intend to remove it, please contact our site administrator for approval.
© 2016-2026 All site design rights belong to S.Y.A.