Linux Web Server Development (2015)
Appendix: The Fedora Linux Implementation
The following sections describe the Fedora implementation of the Cherokee Web server. We chose Fedora because this distribution has some significant differences with Ubuntu, the version we have used throughout the book. Studying another Linux distribution in addition to Ubuntu could possibly increase your confidence in using the Cherokee Web server on any Linux distribution.
The main differences you may notice when moving from Ubuntu to Fedora are the following:
● the availability of a root user
● the presence of a firewall
● the yum package manager
● the IP address configuration
The root user
Fedora, by default, creates a root user during the installation process. To run commands for the installation packages or start cherokee-admin, you can use the root account or the sudo command. In the first case, sudo is not required. The root prompt (#) appears at the command line:
# cherokee-admin -b
The Firewall
Modern Operating systems like Windows, Linux and Macintosh have a built-in mechanism to allow and prohibit connections on certain ports, IP addresses, and services. In order to prevent external attacks that target specific services, only necessary ports and services are not filtered by the firewall.
Fedora Linux’s firewall is an application named (appropriately enough) Firewall. A firewall allows or prohibits ports, IP addresses, protocols (e.g. UDP or TCP) or a combination of these (e.g., allow only 192.168.1.25 on port 4000). If you want to use a port in Fedora, you must configure the Firewall application to open this port.
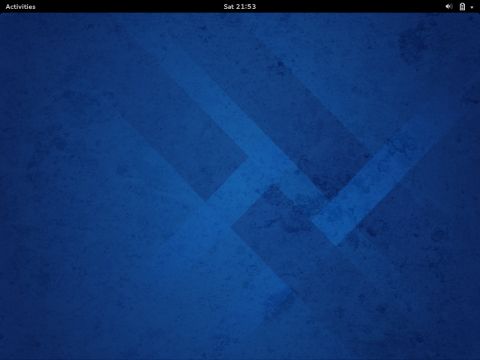
To open the Firewall application, click on the Activities menu. This will expand the options in the left area of the desktop.
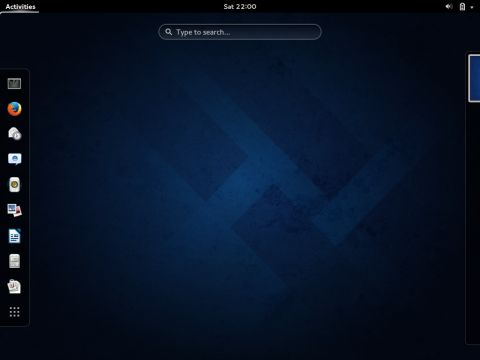
Click on the Show Applications option, the last icon in the expanded menu in the previous image. Locate the Firewall application either in Frequent or All. We can also use the Type to search textbox to search for Firewall.
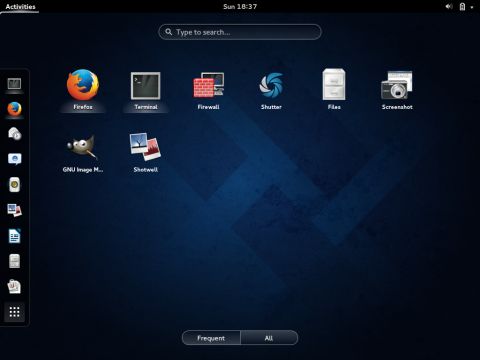
Click on the Firewall icon and the application starts.
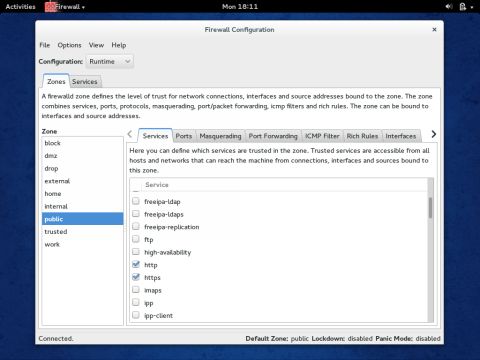
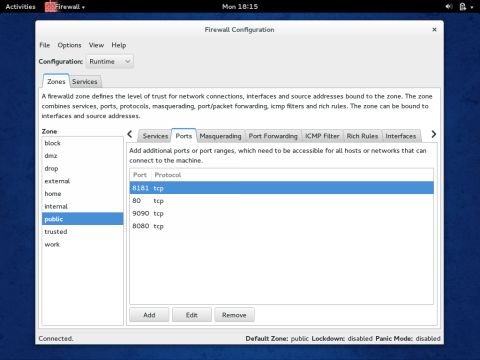
Apply the following configuration for both Runtime and Permanent options in the configuration menu. In the Zones tab for both the public and external zone, click on the Services tab to select the well-known Internet services you want to allow. Click on http. Click on the Ports tab and use the Add button open ports in the server. In the following image, the opened ports are port 80, 8080, 8181 and 9090. Port 80, the default port for HTTP, port 8080, the alternative http port, and port 8181, a port number occasionally used in this scenario, will be used in examples in this book. You can use ports 8080 and 8181 in the case your ISP blocks incoming packets to port 80. You must also open port 9090, the default cherokee-admin port.
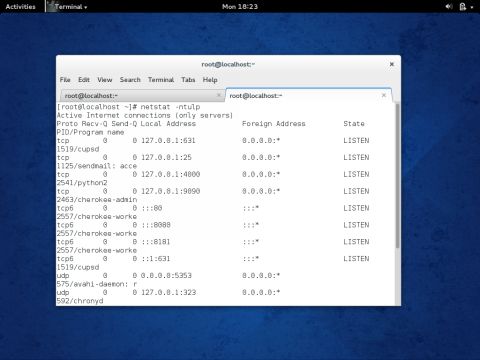
You can see which ports are open with Firewall with the netstat Linux command. Start cherokee-admin and Cherokee and then enter the following command in a Linux terminal:
# netstat -ntulp
The command’s output includes the port numbers 80, 8080 and 8181 that are used by Cherokee as well as port number 9090, used by cherokee-admin.
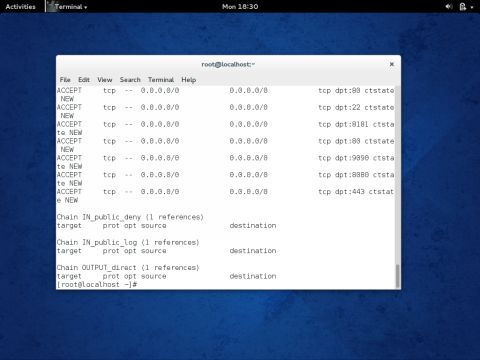
The Fedora Firewall is a graphical interface to the Linux iptables firewall command line tool. You can use iptables from Ubuntu and all other Linux distributions to configure port numbers and IP addresses for your firewall. To list the open ports from iptables, use the –n (numeric output) and the –L (list) arguments:
# iptables –nL
The following image displays the terminal with the command’s output:
The yum Package Manager
By default, Fedora uses the yum package manager instead of apt-get. For example, you can use:
# yum install cherokee
# yum install rrdtool
# yum install ddclient
# yum install php
# yum install mysql mysql-server php-mysql
# yum install wireshark
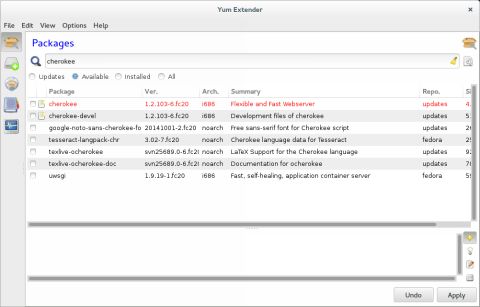
As with Ubuntu and Lubuntu, a graphical package manager is available. It is called yumex (yum extension). To download yumex, run:
# yum install yumex
Start yumex with the next command:
# yumex --root
In the following image, the keyword cherokee was entered in the search textbox of yumex.
The IP Address Configuration
Assigning a static IP address for Fedora is similar with the Ubuntu configuration. You must enter the same information: the static IP address, the network mask, the gateway, and the DNS server.
Click on the Activities menu to expand the options in the left area of the desktop:
Select the Show Applications option, which is the last icon on the expanded menu in the previous image. Some application icons appear on the desktop.
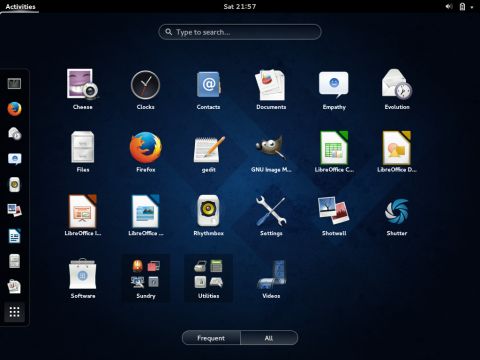
Click the button All in the bottom of the desktop and locate the Settings icon. Click on the icon to move to the All Settings window:
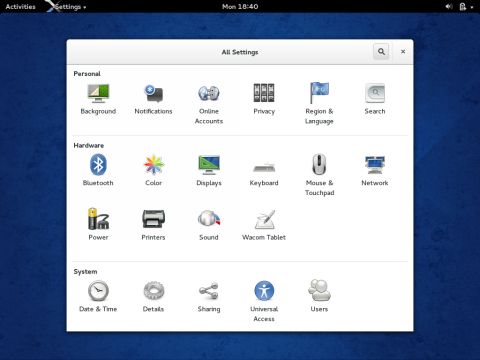
Click the Network icon to move to the Network window.
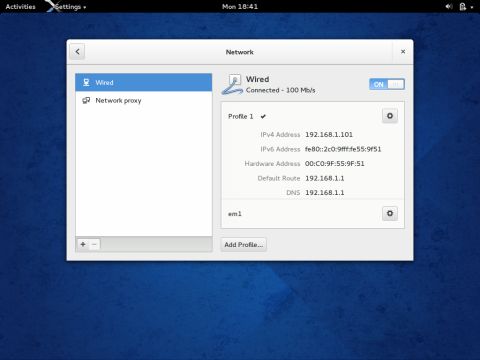
In the Wired section, the DHCP configuration profile (em1) is already set. Click the Add Profile button to add a new network configuration with a static IP. In the dialogue window that appears, select IPv4. In the Address drop-down menu, select Manual instead of DHCP (the default option).
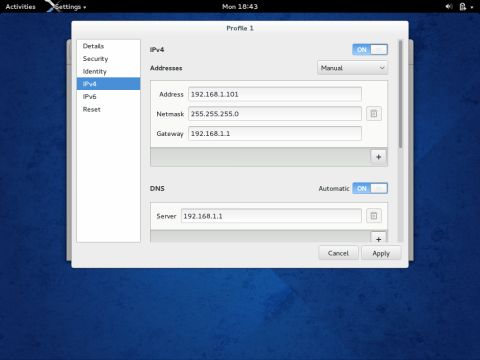
Enter the following values at the corresponding text boxes:
IP: 192.168.1.101
this is the IP address we wish to assign to the Web server.
Netmask: 255.255.255.0
The Netmask indicates how the IP address is divided to a network part and a host part.
Gateway: 192.168.1.1
DNS: 192.168.1.1
In the Gateway textbox, enter the private IP address of the router. Also enter the router’s IP in the DNS text box. Click the Apply button to confirm the configuration settings.