Learning PHP, MySQL, JavaScript, CSS & HTML5 (2014)
Chapter 11. Using the mysqli Extension
Now that you understand how to access a MySQL database using PHP and the procedural mysql extensions, it’s time to learn how to do this with the improved mysqli extension. This is an object-oriented system, but there is a procedural version available if you prefer, and I’ll show you how to use both.
Querying a MySQL Database with mysqli
In this chapter, I replicate a number of the previous one’s examples, but rewrite them to use mysqli. This should serve as an excellent example of how you can bring any legacy code you encounter up-to-date.
Creating a Login File
Creating a login file is no different with mysqli than before, so it will look something like Example 11-1.
Example 11-1. The login.php file
<?php // login.php
$db_hostname = 'localhost';
$db_database = 'publications';
$db_username = 'username';
$db_password = 'password';
?>
As in the previous chapter, the database we’ll be using is the one called publications, and the variables $db_username and $db_password should be set to the username and password that you have been using with MySQL.
Connecting to MySQL
With the login.php file saved, you access the database with the require_once statement, and connect to the server in the manner shown in Example 11-2.
Example 11-2. Connecting to a MySQL server with mysqli
<?php
require_once 'login.php';
$connection = new mysqli($db_hostname, $db_username, $db_password, $db_database);
if ($connection->connect_error) die($connection->connect_error)
?>
This example creates a new object called $connection by calling the mysqli method with all the values retrieved from login.php. Note the improved error checking, which we achieve by referencing the $connection->connect_error property. If it is TRUE, we call the die function and display details explaining the error. The connect_error property of $connection contains a string detailing the connection error.
The $connection object will be used in the following examples to access the MySQL database.
Building and executing a query
Sending a query to MySQL from PHP with mysqli is as simple as issuing it using the query method. Example 11-3 shows you how to use it.
Example 11-3. Querying a database with mysqli
<?php
$query = "SELECT * FROM classics";
$result = $connection->query($query);
if (!$result) die($connection->error);
?>
As in Chapter 10, the variable $query is set to the query to be made, but here this value is passed to the query method of the $connection object, which returns a result that we place in the object $result. We’ve done everything we need with $connection and turn to $result to enjoy what has been returned from the connection. The $result will be FALSE if there was an error; otherwise, it will be an object that can be accessed. The error property of $connection contains a string detailing any error.
Fetching a result
Once you have an object returned in $result, you can use it to retrieve the data you want, one item at a time, using the fetch_assoc method of the object. Example 11-4 combines and extends the previous examples into a program that you can type and run yourself to retrieve these results (as depicted in Figure 11-1). I suggest that you save this script using the filename query-mysqli.php.
Example 11-4. Fetching results with mysqli, one cell at a time
<?php // query-mysqli.php
require_once 'login.php';
$connection =
new mysqli($db_hostname, $db_username, $db_password, $db_database);
if ($connection->connect_error) die($connection->connect_error)
$query = "SELECT * FROM classics";
$result = $connection->query($query);
if (!$result) die($connection->error);
$rows = $result->num_rows;
for ($j = 0 ; $j < $rows ; ++$j)
{
$result->data_seek($j);
echo 'Author: ' . $result->fetch_assoc()['author'] . '<br>';
$result->data_seek($j);
echo 'Title: ' . $result->fetch_assoc()['title'] . '<br>';
$result->data_seek($j);
echo 'Category: ' . $result->fetch_assoc()['category'] . '<br>';
$result->data_seek($j);
echo 'Year: ' . $result->fetch_assoc()['year'] . '<br>';
$result->data_seek($j);
echo 'ISBN: ' . $result->fetch_assoc()['isbn'] . '<br><br>';
}
$result->close();
$connection->close();
?>
Here, to seek to the correct row each time around the loop, we call the data_seek method of $result before fetching each item of data. Then we call the fetch_assoc method to retrieve the value stored in each cell, and output the result using echo commands.
You will probably agree that all this data seeking is rather cumbersome and that there ought to be a more efficient method of achieving the same result. And, indeed, there is a better method, which is to extract a row at a time.
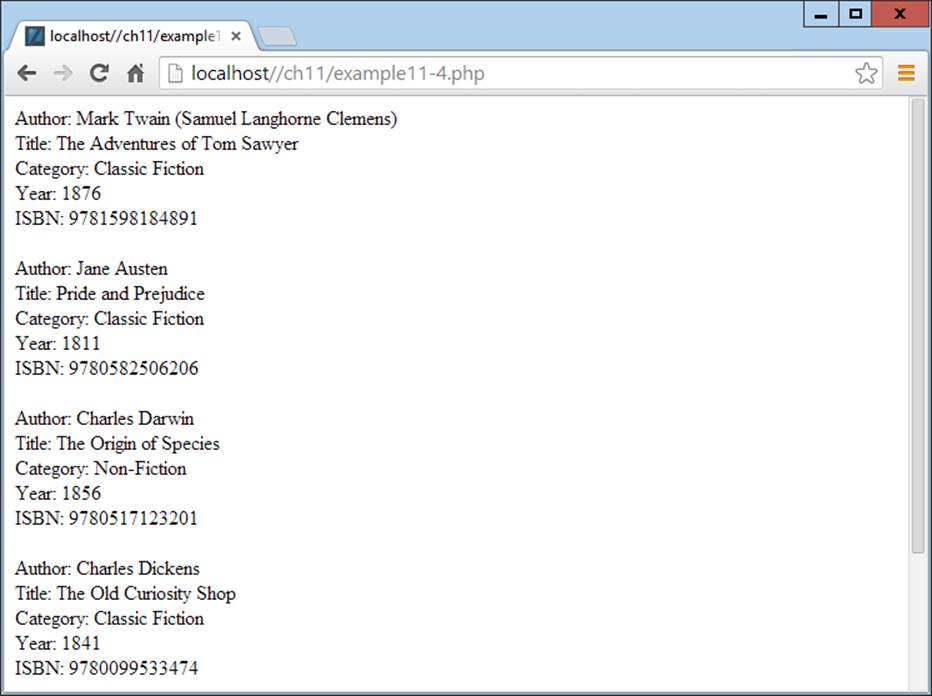
Figure 11-1. The result of running Example 11-4
Fetching a row
To fetch one row at a time, replace the for loop from Example 11-4 with the one highlighted in bold in Example 11-5, and you will find that you get exactly the same result that was displayed in Figure 11-1. You may wish to save this revised file as fetchrow-mysqli.php.
Example 11-5. Fetching results with mysqli, one row at a time
<?php //fetchrow-mysqli.php
require_once 'login.php';
$connection =
new mysqli($db_hostname, $db_username, $db_password, $db_database);
if ($connection->connect_error) die($connection->connect_error);
$query = "SELECT * FROM classics";
$result = $connection->query($query);
if (!$result) die($connection->error);
$rows = $result->num_rows;
for ($j = 0 ; $j < $rows ; ++$j)
{
$result->data_seek($j);
$row = $result->fetch_array(MYSQLI_ASSOC);
echo 'Author: ' . $row['author'] . '<br>';
echo 'Title: ' . $row['title'] . '<br>';
echo 'Category: ' . $row['category'] . '<br>';
echo 'Year: ' . $row['year'] . '<br>';
echo 'ISBN: ' . $row['isbn'] . '<br><br>';
}
$result->close();
$connection->close();
?>
In this modified code, only one-fifth of the interrogations of the $result object are made, and only one seek into the object is made in each iteration of the loop, because each row is fetched in its entirety via the fetch_array method. This returns a single row of data as an array, which is then assigned to the array $row.
The fetch_array method can return three types of array according to the value passed to it:
MYSQLI_NUM
Numeric array. Each column appears in the array in the order in which you defined it when you created (or altered) the table. In our case, the zeroth element of the array contains the Author column, element 1 contains the Title, and so on.
MYSQLI_ASSOC
Associative array. Each key is the name of a column. Because items of data are referenced by column name (rather than index number), use this option where possible in your code to make debugging easier and help other programmers better manage your code.
MYSQLI_BOTH
Associative and numeric array.
Associative arrays are usually more useful than numeric ones because you can refer to each column by name, such as $row['author'], instead of trying to remember where it is in the column order. So this script uses an associative array, leading us to pass MYSQLI_ASSOC.
Closing a connection
PHP will eventually return the memory it has allocated for objects after you have finished with the script, so in small scripts, you don’t usually need to worry about releasing memory yourself. However, if you’re allocating a lot of result objects or fetching large amounts of data, it can be a good idea to free the memory you have been using to prevent problems later in your script.
This becomes particularly important on higher traffic pages, because the amount of memory consumed in a session can rapidly grow. Therefore, note the calls to the close methods of the objects $result and $connection in the preceding scripts, as soon as each object is no longer needed.
Ideally, you should close each result object when you have finished using it, and then close the connection object when your script will not be accessing MySQL anymore. This best practice ensures that resources are returned to the system as quickly as possible to keep MySQL running optimally, and alleviates doubt over whether PHP will return unused memory in time for when you next need it.
A Practical Example
Now let’s rewrite the procedural sqltest.php program from the previous chapter using mysqli. The conversion is pretty straightforward, as you can see in Example 11-6 (which you should save as mysqlitest.php if you intend to test it, because it continuously calls itself).
Example 11-6. Inserting and deleting using mysqlitest.php
<?php // mysqlitest.php
require_once 'login.php';
$connection =
new mysqli($db_hostname, $db_username, $db_password, $db_database);
if ($connection->connect_error) die($connection->connect_error);
if (isset($_POST['delete']) && isset($_POST['isbn']))
{
$isbn = get_post($connection, 'isbn');
$query = "DELETE FROM classics WHERE isbn='$isbn'";
$result = $connection->query($query);
if (!$result) echo "DELETE failed: $query<br>" .
$connection->error . "<br><br>";
}
if (isset($_POST['author']) &&
isset($_POST['title']) &&
isset($_POST['category']) &&
isset($_POST['year']) &&
isset($_POST['isbn']))
{
$author = get_post($connection, 'author');
$title = get_post($connection, 'title');
$category = get_post($connection, 'category');
$year = get_post($connection, 'year');
$isbn = get_post($connection, 'isbn');
$query = "INSERT INTO classics VALUES" .
"('$author', '$title', '$category', '$year', '$isbn')";
$result = $connection->query($query);
if (!$result) echo "INSERT failed: $query<br>" .
$connection->error . "<br><br>";
}
echo <<<_END
<form action="mysqlitest.php" method="post"><pre>
Author <input type="text" name="author">
Title <input type="text" name="title">
Category <input type="text" name="category">
Year <input type="text" name="year">
ISBN <input type="text" name="isbn">
<input type="submit" value="ADD RECORD">
</pre></form>
_END;
$query = "SELECT * FROM classics";
$result = $connection->query($query);
if (!$result) die ("Database access failed: " . $connection->error);
$rows = $result->num_rows;
for ($j = 0 ; $j < $rows ; ++$j)
{
$result->data_seek($j);
$row = $result->fetch_array(MYSQLI_NUM);
echo <<<_END
<pre>
Author $row[0]
Title $row[1]
Category $row[2]
Year $row[3]
ISBN $row[4]
</pre>
<form action="mysqlitest.php" method="post">
<input type="hidden" name="delete" value="yes">
<input type="hidden" name="isbn" value="$row[4]">
<input type="submit" value="DELETE RECORD"></form>
_END;
}
$result->close();
$connection->close();
function get_post($connection, $var)
{
return $connection->real_escape_string($_POST[$var]);
}
?>
How this code works is explained in Chapter 10, so all we need to examine here are the differences between Examples 10-8 and 11-6. Let’s work through them in order.
The first couple of lines pull in the code from login.php and create a $connection object to gain access to the database. Then there’s the code for deleting an entry, which simply issues a DELETE command to the $connection object using the query method, and returns an error message if there’s a problem.
Then, if new data has been posted to the program, it issues an INSERT command, again on the $connection object using the query method. In both instances, the $result object is given the result of this operation, which should be either TRUE or FALSE.
The final main part of the program deals with extracting data from the database and displaying it using the data_seek and fetch_array methods of the $result object. Unlike Example 11-5, however, in which an associative array was returned, here the fetch_array method is given the value MYSQLI_NUM so that a numeric array is returned; accordingly, the cells are referenced numerically (e.g., $row[0] for the author). The results are then displayed in each iteration of the loop, and finally the result object and connection are closed.
The function get_post has also been modified here to use the new real_escape_string method of a connection object, so now two values are passed to it (the connection and the string value).
Using mysqli Procedurally
If you prefer, there is an alternative set of functions you can use to access mysqli in a procedural (rather than object-oriented) manner.
So, instead of creating a $connection object like this:
$connection = new mysqli($db_hostname, $db_username, $db_password, $db_database);
You can use the following:
$link = mysqli_connect($db_hostname, $db_username, $db_password, $db_database);
To check that the connection has been made and handle it, you could use code such as this:
if (mysqli_connect_errno()) die(mysqli_connect_error());
And to make a MySQL query, you would use code such as the following:
$result = mysqli_query($link, "SELECT * FROM classics");
Upon return, $result will contain the data. You can find out the number of rows returned as follows:
$rows = mysqli_num_rows($result));
An integer is returned in $rows. You can fetch the actual data one row at a time in the following way, which returns a numeric array:
$row = mysqli_fetch_array($result, MYSQLI_NUM);
In this instance, $row[0] will contain the first column of data, $row[1] the second, and so on. As described in Example 11-5, rows can also be returned as associative arrays or as both types, depending on the value passed in the second argument.
Escaping strings procedurally with mysqli is as easy as using the following:
$escaped = mysqli_real_escape_string($link, $val);
For full details on using mysqli procedurally (and all other aspects of mysqli), visit http://tinyurl.com/usingmysqli.
Now that you have learned how to integrate PHP with MySQL in several different ways, the next chapter moves on to creating user-friendly forms and dealing with the data submitted from them.
Questions
1. How do you connect to a MySQL database using mysqli?
2. How do you submit a query to MySQL using mysqli?
3. How can you retrieve a string containing an error message when a mysqli error occurs?
4. How can you determine the number of rows returned by a mysqli query?
5. How can you retrieve a particular row of data from a set of mysqli results?
6. Which mysqli method can be used to properly escape user input to prevent code injection?
7. What negative effects can happen if you do not close the objects created by mysqli methods?
See Chapter 11 Answers in Appendix A for the answers to these questions.
All materials on the site are licensed Creative Commons Attribution-Sharealike 3.0 Unported CC BY-SA 3.0 & GNU Free Documentation License (GFDL)
If you are the copyright holder of any material contained on our site and intend to remove it, please contact our site administrator for approval.
© 2016-2026 All site design rights belong to S.Y.A.