Arduino Programming using MATLAB, 1st Edition (2015)
5. Working with I2C
In this chapter we learn how to work with I2C on Arduino board using MATLAB.
5.1 Getting Started
The I2C (Inter-Integrated Circuit) bus was designed by Philips in the early '80s to allow easy communication between components which reside on the same circuit board. TWI stands for Two Wire Interface and for most marts this bus is identical to I²C. The name TWI was introduced by Atmel and other companies to avoid conflicts with trademark issues related to I²C.
I2C bus consists of two wires, SDA (Serial Data Line) and SCL (Serial Clock Line). You can see I2C pins on Arduino board as follows:
· Arduino Uno: A4 pin as SDA and A5 as SCL pin
· Arduino Mega 2560: Digital pin 20 as SDA and Digital pin 21 as SCL
MATLAB for Arduino support provides several functions to access I2C protocol. You can read it on http://www.mathworks.com/help/supportpkg/arduinoio/i2c-sensors.html .
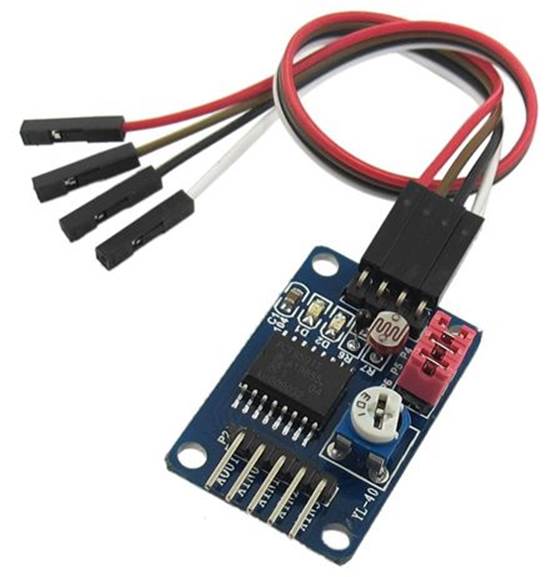
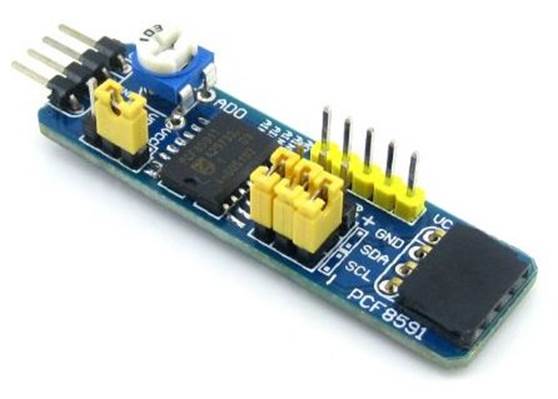
For testing, I used PCF8591 AD/DA Converter module with sensor and actuator devices. You can find it on the following online store:
· Amazon, http://www.amazon.com/PCF8591-Converter-Module-Digital-Conversion/dp/B00BXX4UWC/
· eBay, http://www.ebay.com
· Dealextreme, http://www.dx.com/p/pcf8591-ad-da-analog-to-digital-digital-to-analog-converter-module-w-dupont-cable-deep-blue-336384
· Aliexpress, http://www.aliexpress.com/
In addition, you can find this device on your local electronics store/online store.
This module has mini form model too, for instance, you can find it on Amazon, http://www.amazon.com/WaveShare-PCF8591T-Converter-Evaluation-Development/dp/B00KM6X2OI/ .
This module use PCF8591 IC and you can read the datasheet on the following URLs.
· http://www.electrodragon.com/w/images/e/ed/PCF8591.pdf
· http://www.nxp.com/documents/data_sheet/PCF8591.pdf
In this chapter, we build a program to access sensor via I2C using Arduino software on Arduino board.
5.2 Writing Program
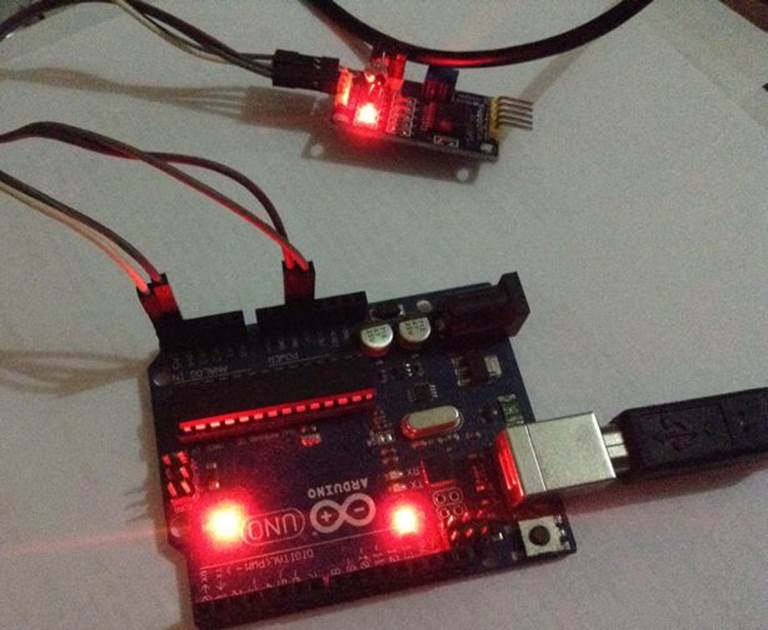
We use PCF8591 AD/DA Converter as I2C source. You can connect PCF8591 AD/DA Converter to Arduino board directly. In this demo, I use Arduino Uno.
The following is our wiring lab
· PCF8591 AD/DA Converter SDA --> Arduino SDA (A4)
· PCF8591 AD/DA Converter SCL --> Arduino CLK (A5)
· PCF8591 AD/DA Converter VCC --> Arduino VCC +5V
· PCF8591 AD/DA Converter GND --> Arduino GND
Hardware implementation can be shown in Figure below.
5.3 Demo 1: Scanning I2C
After attached our sensor to Arduino, we can scan our I2C address using scanI2CBus() function. On Arduino Uno, we use 0 for I2C.
Write these scripts.
board = arduino();
address = scanI2CBus(board,0); % uno = 0
disp(['i2c address: ', address]);
clear board;
Save the program into a file, called i2c_scan.m.
Run the program.
>> i2c_scan
On Command Window, you should see I2C address of sensor device. For instance, my sensor was detected on 0x48.
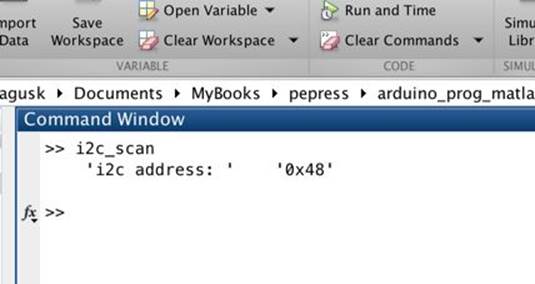
I2C address will be used on the next demo.
5.4 Demo 2: Reading Data from Sensor Based I2C
We use I2C on Arduino board using i2c object, see http://www.mathworks.com/help/supportpkg/arduinoio/i2c-sensors.html . PCF8591 AD/DA Converter module has three sensor devices: Thermistor, Photo-voltaic cell and Potentiometer. This module runs on I2C bus with address 0x48. In this case, we read all sensor data.
Write these scripts.
function [] = i2c_sensor()
board = arduino();
finishup = onCleanup(@() exitprogram(board));
disp('press Ctr-C to exit');
PCF8591 = '0x48';
PCF8591_ADC_CH0 = '40'; % thermistor
PCF8591_ADC_CH1 = '41'; % photo-voltaic
PCF8591_ADC_CH3 = '43'; % potentiometer
i2c = i2cdev(board,PCF8591);
disp(['thermistor ', 'photo ', 'potentiometer']);
while1
thermistor = read_adc(i2c,hex2dec(PCF8591_ADC_CH0));
pause(0.5);
photo = read_adc(i2c,hex2dec(PCF8591_ADC_CH1));
pause(0.5);
potentiometer = read_adc(i2c,hex2dec(PCF8591_ADC_CH3));
pause(0.5);
disp([thermistor, photo, potentiometer]);
end
end
function adc = read_adc(dev,config)
write(dev,config);
read(dev, 1);
out = read(dev, 1);
adc = out;
end
functionexitprogram(b)
clear b;
disp('program has exit');
end
Save these scripts into a file, called i2c_sensor.m.
Run the program.
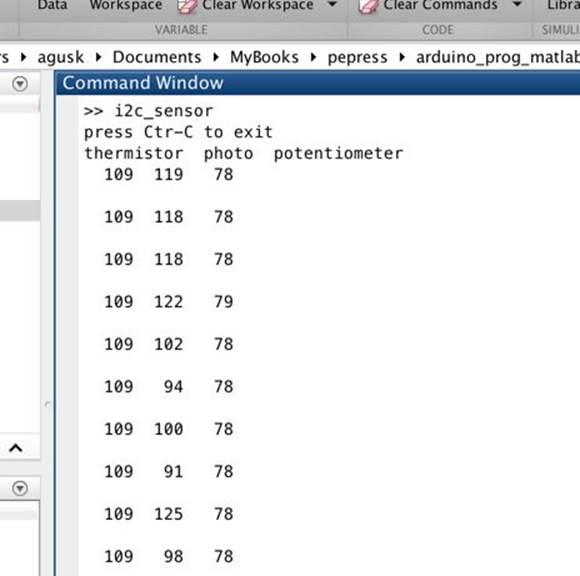
>> i2c_sensor
If success, you should see values for Thermistor, Photo-voltaic, and potentiometer.
All materials on the site are licensed Creative Commons Attribution-Sharealike 3.0 Unported CC BY-SA 3.0 & GNU Free Documentation License (GFDL)
If you are the copyright holder of any material contained on our site and intend to remove it, please contact our site administrator for approval.
© 2016-2026 All site design rights belong to S.Y.A.