Programming the Raspberry Pi: Getting Started with Python (2013)
8. Games Programming
Clearly a single chapter is not going to make you an expert in game programming. A number of good books are devoted specifically to game programming in Python, such as Beginning Game Development with Python and Pygame, by Will McGugan. This chapter introduces you to a very handy library called pygame and gets you started using it to build a simple game.
![]()
What Is Pygame?
Pygame is a library that makes it easier to write games for the Raspberry Pi—or more generally for any computer running Python. The reason why a library is useful is that most games have certain elements in common, and you’ll encounter some of the same difficulties when writing them. A library such as pygame takes away some of this pain because someone really good at Python and game programming has created a nice little package to make it easier for us to write games. In particular, pygame helps us in the following ways:
• We can draw graphics that don’t flicker.
• We can control the animation so that it runs at the same speed regardless of whether we run it on a Raspberry Pi or a top-of-the-range gaming PC.
• We can catch keyboard and mouse events to control the game play.
The Raspbian Wheezy distribution comes with two versions of Python: Python 2 and Python 3. That is why two shortcuts to IDLE appear on the desktop. So far in this book, we have been using IDLE 3 and thus Python 3. In Raspbian Wheezy, the Python 3 installation does not include pygame, whereas the Python 2 installation has it preinstalled.
Rather than install pygame into Python 3 (which is a bit involved), we will use Python 2 in this chapter. Don’t worry, all the code that we write should still work on Python 3 should you prefer (or find that in a later distribution pygame is there waiting for you). You just have to remember to start IDLE instead of IDLE 3.
![]()
Hello Pygame
You may also have a shortcut on your desktop called Python Games. This shortcut runs a launcher program that allows you to run some Python games. However, if you use the File Explorer, you will also find a directory in your root directory called python_games. If you look in here, you will see the .py files for the games, and you can open these files in IDLE to have a look at how others have written their games.
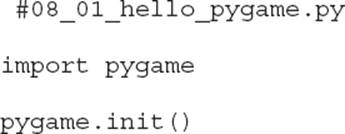
Figure 8-1 shows what a Hello World–type application looks like in pygame, and here is the code listing for it:

Figure 8-1 Hello Pygame
This is a very crude example, and it doesn’t have any way of exiting gracefully. Closing the Python console from which this program was launched should kill it after a few seconds.
Looking at the code for this example, you can see that the first thing we do is import pygame. The method init (short for initialize) is then run to get pygame set up and ready to use. We then assign a variable called screen using the line
![]()
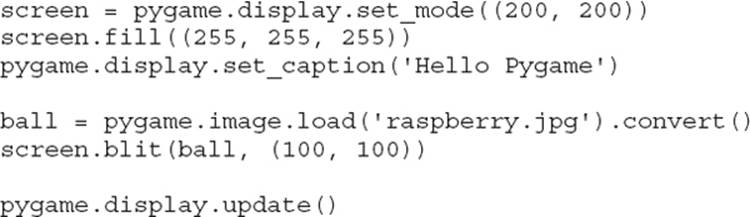
which creates a new window that’s 200 by 200 pixels. We then fill it with white (the color 255, 255, 255) on the next line before setting a caption for the window of “Hello Pygame.”
Games use graphics, which usually means using images. In this example, we read an image file into pygame:
![]()
In this case, the image is a file called raspberry.jpg, which is included along with all the other programs in this book in the programs download section on the book’s website. The call to convert( ) at the end of the line is important because it converts the image into an efficient internal representation that enables it to be drawn very quickly, which is vital when we start to make the image move around the window.
Next, we draw the raspberry image on the screen at coordinates 100, 100 using the blit command. As with the Tkinter canvas you met in the previous chapter, the coordinates start with 0, 0 in the top-left corner of the screen.
Finally, the last command tells pygame to update the display so that we get to see the image.
![]()
A Raspberry Game
To show how pygame can be used to make a simple game, we are going to gradually build up a game where we catch falling raspberries with a spoon. The raspberries fall at different speeds and must be caught on the eating end of the spoon before they hit the ground. Figure 8-2 shows the finished game in action. It’s crude but functional. Hopefully, you will take this game and improve upon it.
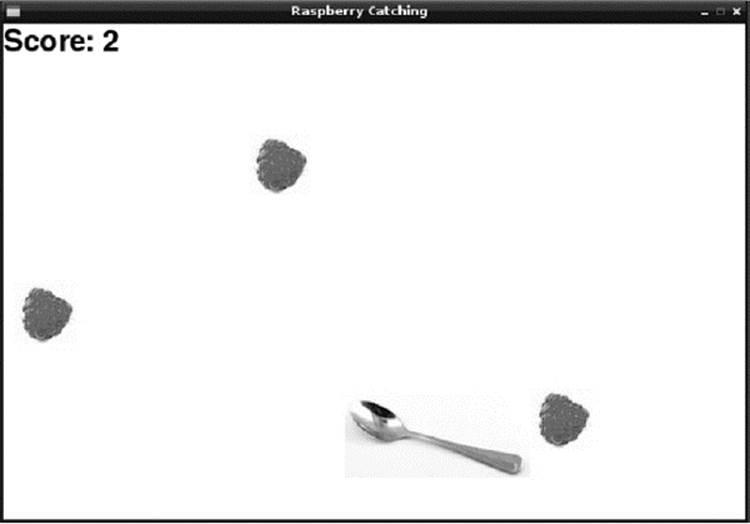
Figure 8-2 The raspberry game
Following the Mouse
Let’s start developing the game by creating the main screen with a spoon on it that tracks the movements of the mouse left to right. Load the following program into IDLE:

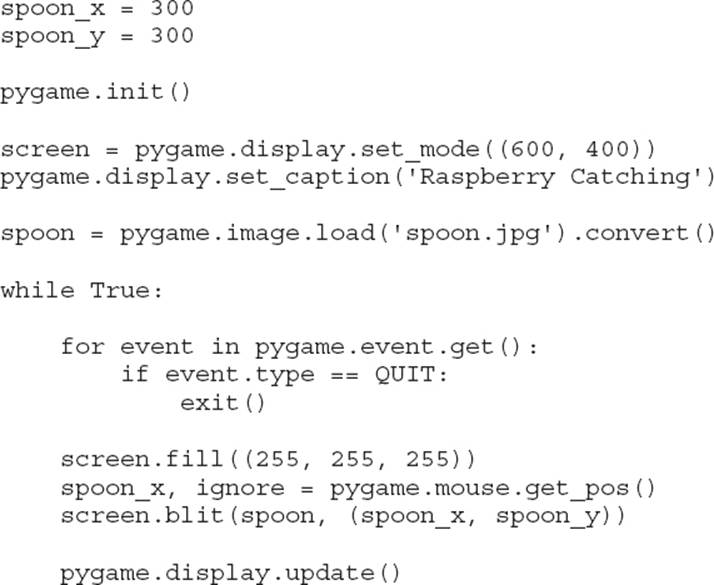
The basic structure of our Hello World program is still there, but you have some new things to examine. First of all, there are some more imports. The import for pygame.locals provides us access to useful constants such as QUIT, which we will use to detect when the game is about to exit.The import of exit from sys allows us to quit the program gracefully.
We have added two variables (spoon_x and spoon_y) to hold the position of the spoon. Because the spoon is only going to move left to right, spoon_y will never change.
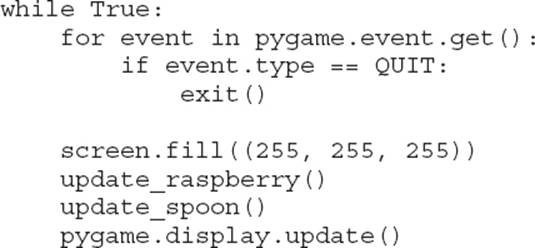
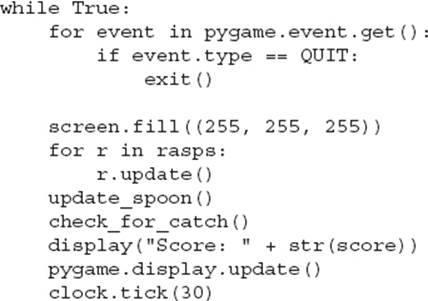
At the end of the program is a while loop. Each time around the loop, we first check for a QUIT event coming from the pygame system. Events occur every time the player moves the mouse or presses or releases a key. In this case, we are only interested in a QUIT event, which is caused by someone clicking the window close icon in the top-right corner of the game window. We could chose not to exit immediately here, but rather prompt the player to see whether they indeed want to exit. The next line clears the screen by filling it with the color white.
Next comes an assignment in which we set spoon_x to the value of the x position of the mouse. Note that although this is a double assignment, we do not care about the y position of the mouse, so we ignore the second return value by assigning it to a variable called ignore that we then ignore. We then draw the spoon on the screen and update the display.
Run the program. You should see the spoon following the mouse.
One Raspberry
The next step in building the game is to add a raspberry. Later on we will expand this so that there are three raspberries falling at a time, but starting with one is easier. The code listing for this can be found in the file 08_03_rasp_game_one.py.
Here are the changes from the previous version:
• Add global variables for the position of the raspberry (raspberry_x and raspberry_y).
• Load and convert the image raspberry.jpg.
• Separate updating the spoon into its own function.
• Add a new function called update_raspberry.
• Update the main loop to use the new functions.
You should already be familiar with the first two items in this list, so let’s start with the new functions:
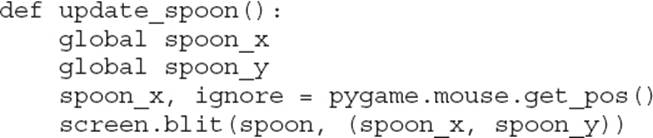
The function update_spoon just takes the code we had in the main loop in 08_02_rasp_game_mouse and puts it in a function of its own. This helps to keep the size of the main loop down so that it is easier to tell what’s going on.
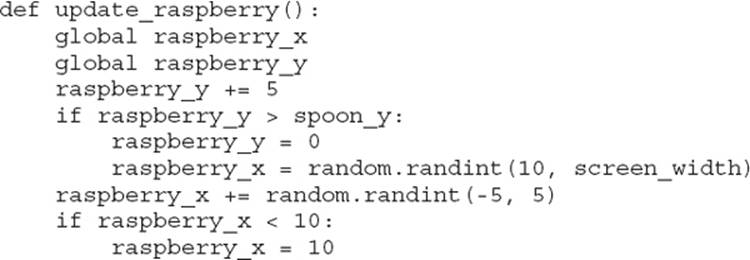

The function update_raspberry changes the values of raspberry_x and raspberry_y. It adds 5 to the y position to move the raspberry down the screen and moves the x position by a random amount between –5 and +5. This makes the raspberries wobble unpredictably during their descent.However, the raspberries will eventually fall off the bottom of the screen, so once the y position is greater than the position of the spoon, the function moves them back up to the top and to a new random x position.
There is also a danger that the raspberries may disappear off the left or right side of the screen. Therefore, two further tests check that the raspberries aren’t too near the edge of the screen, and if they are then they aren’t allowed to go any further left or right.
Here’s the new main loop that calls these new functions:
Try out 08_03_rasp_game_one. You will see a basically functional program that looks like the game is being played. However, nothing happens when you catch a raspberry.
Catch Detection and Scoring
We are now going to add a message area to display the score (that is, the number of raspberries caught). To do this, we must be able to detect that we have caught a raspberry. The extended program that does this is in the file 08_04_rasp_py_game_scoring.py.
The main changes for this version are two new functions, check_for_catch and display:
![]()

Note that because the condition for the if is so long, we use the line-continuation command (\) to break it into two lines.
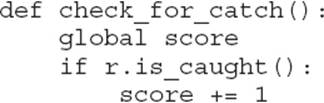
The function check_for_catch adds 1 to the score if the raspberry has fallen as far as the spoon (raspberry_y >= spoon_y) and the x position of the raspberry is between the x (left) position of the spoon and the x position of the spoon plus 50 (roughly the width of the business end of the spoon).
Regardless of whether the raspberry is caught, the score is displayed using the display function. The check_for_catch function is also added into the main loop as one more thing we must do each time around the loop.
The ‘display’ function is responsible for displaying a message on the screen.

You write text on the screen in pygame by creating a font, in this case, of no specific font family but of a 36-point size and then create a text object by rendering the contents of the string message onto the font. The value (10, 10, 10) is the text color. The end result contained in the variabletext can then be blitted onto the screen in the usual way.
Timing
You may have noticed that nothing in this program controls how fast the raspberries fall from the sky. We are lucky in that they fall at the right sort of speed on a Raspberry Pi. However, if we were to run this game on a faster computer, they would probably fly past far too fast to catch.
To manage the speed, pygame has a built-in clock that allows us to slow down our main loop by just the right amount to perform a certain number of refreshes per second. Unfortunately, it can’t do anything to speed up our main loop. This clock is very easy to use; you simply put the following line somewhere before the main loop:
![]()
This creates an instance of the clock. To achieve the necessary slowing of the main loop, put the following line somewhere in it (usually at the end):
![]()
In this case, we use a value of 30, meaning a frame rate of 30 frames per second. You can put a different value in here, but the human eye (and brain) do not register any improvement in quality above about 30 frames per second.
Lots of Raspberries
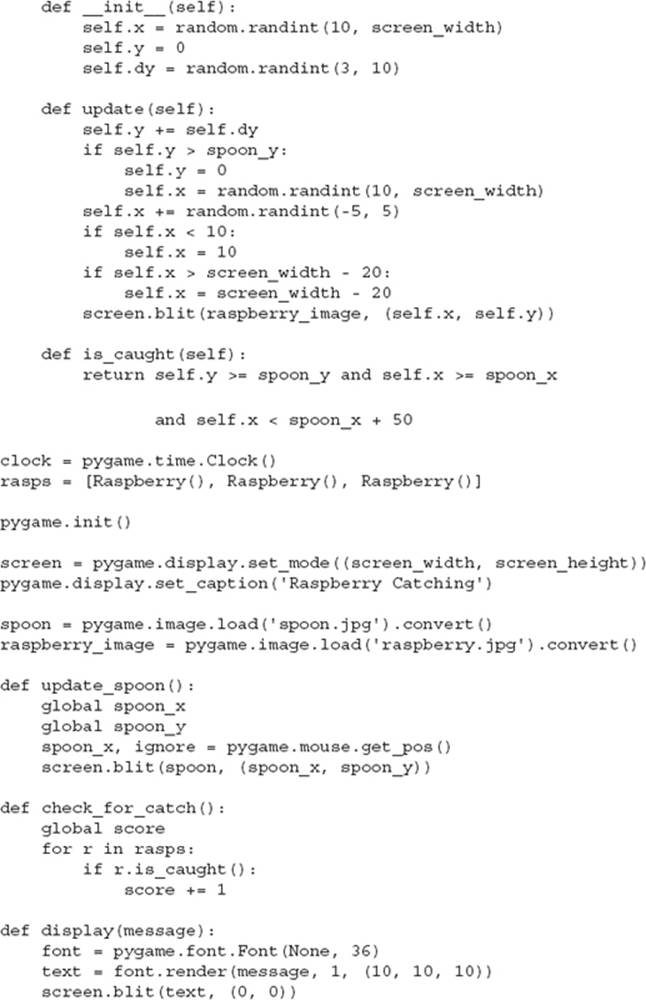
Our program is starting to look a little complex. If we were to add the facility for more than one raspberry at this stage, it would become even more difficult to see what is going on. We are therefore going to perform refactoring, which means changing a perfectly good program and altering its structure without changing what it actually does or without adding any features. We are going to do this by creating a class called Raspberry to do all the things we need a raspberry to do. This still works with just one raspberry, but will make working with more raspberries easier later. The code listing for this stage can be found in the file 08_05_rasp_game_refactored.py. Here’s the class definition:
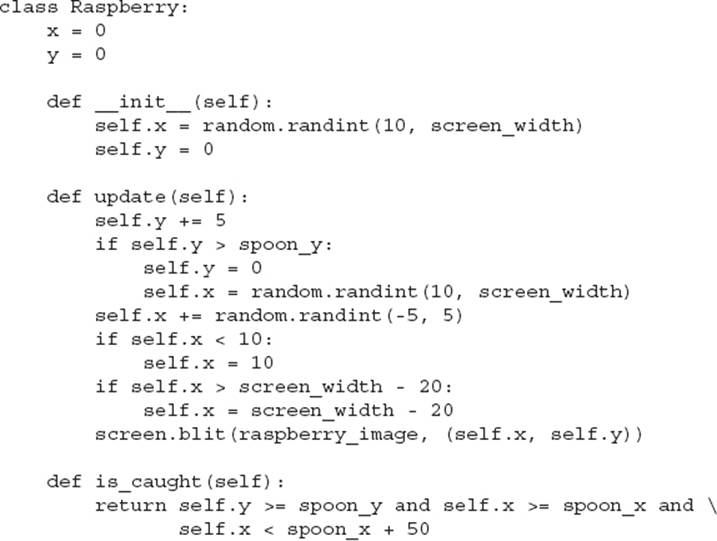
The raspberry_x and raspberry_y variables just become variables of the new Raspberry class. Also, when an instance of a raspberry is created, its x position will be set randomly. The old update_raspberry function has now become a method on Raspberry called just update. Similarly, thecheck_for_catch function now asks the raspberry if it has been caught.
Having defined a raspberry class, we create an instance of it like this:
![]()
Thus, when we want to check for a catch, the check_for_catch just asks the raspberry like this:
The call to display the score has also been moved out of the check_for_catch function and into the main loop. With everything now working just as it did before, it is time to add more raspberries. The final version of the game can be found in the file 08_06_rasp_game_final.py. It is listed here in full:
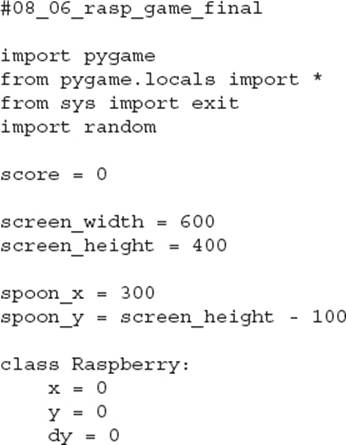
To create multiple raspberries, the single variable r has been replaced by a collection called rasps:
![]()
This creates three raspberries; we could change it dynamically while the program is running by adding new raspberries to the list (or for that matter removing some).
We now need to make just a couple other changes to deal with more than one raspberry. First of all, in the check_for_catch function, we now need to loop over all the raspberries and ask each one whether it has been caught (rather than just the single raspberry). Second, in the main loop, we need to display all the raspberries by looping through them and asking each to update.
![]()
Summary
You can learn plenty more about pygame. The official website at www.pygame.org has many resources and sample games that you can play with or modify.