Python Programming by Example (2015)
13. Hashing and Cryptography
This chapter explains how to work with hashing and cryptography in Python.
13.1 Getting Started
Hashing is generating a value or values from a string of text using a mathematical function. Cryptography is the practice and study of techniques for secure communication in the presence of third parties (called adversaries), http://en.wikipedia.org/wiki/Cryptography . In this chapter, I don't explain mathematical hashing and Cryptography. You can read those materials on textbooks.
In this chapter, we explore how to work with hashing implementation using Python. The following is hashing algorithms which we use in this book:
· MD5
· SHA1 and SHA256
· Hashing with Key (HMAC)
The next topic is to implement Cryptography using Python. We explore symmetric and asymmetric Cryptography.
13.2 Hashing
Basically, you can explore how to implement hashing or hash function using Python via https://docs.python.org/3/library/hashlib.html. We also use open source library, called pycrypto, https://pypi.python.org/pypi/pycrypto . We implement both in our case.
In this section, we explore several hashing algorithms, for instance, MD5, SHA1, SHA256 and HMAC.
13.2.1 Hashing with MD5
We can use MD5 using md5 package, https://docs.python.org/3/library/hashlib.html. To calculate a hash value from a text , we can call digest() function.
For illustration, we do hashing a plaintext.
import hashlib
import binascii
plaintext = 'hello world from python'
# md5
md5 = hashlib.md5()
md5.update(plaintext.encode())
hash_md5 = md5.digest()
hex_hash_md5 = md5.hexdigest()
print('hash md5:', hash_md5)
print('hex hash md5:', hex_hash_md5)
digest() is used to calculate a hash value. hexdigest() is to calculate hex hash.
13.2.2 Hashing with SHA1 and SHA256
The second demo is to implement hash function using sha1 and sha256.
For illustration, write these script for hashing SHA1 and SHA256.
import hashlib
import binascii
plaintext = 'hello world from python'
# sha1
sha1 = hashlib.sha1()
sha1.update(plaintext.encode())
hash_sha1 = sha1.digest()
hex_hash_sha1 = sha1.hexdigest()
print('hash sha1:', hash_sha1)
print('hex hash sha1:', hex_hash_sha1)
# sha256
sha256 = hashlib.sha256()
sha256.update(plaintext.encode())
hash_sha256 = sha256.digest()
hex_hash_sha256 = sha256.hexdigest()
print('hash sha256:', hash_sha256)
print('hex hash sha256:', hex_hash_sha256)
13.2.3 Hashing with Key Using HMAC
A keyed-hash message authentication code (HMAC) is a specific construction for calculating a message authentication code (MAC) involving a cryptographic hash function in combination with a secret cryptographic key, http://en.wikipedia.org/wiki/Hash-based_message_authentication_code . In Python, we use pbkdf2_hmac() object.
For illustration, we do hashing a plaintext with key.
import hashlib
import binascii
plaintext = 'hello world from python'
# hash with key
# hmac
key = 'p4ssw0rd'
hmac = hashlib.pbkdf2_hmac('sha256', key.encode(), plaintext.encode(), 100000)
hex_hash_hmac = binascii.hexlify(hmac)
print('hex hash hmac:', hex_hash_hmac)
13.2.4 Write them All
Save all code for our demo on this section. Write this code and save into a file, called ch13_01.py.
import hashlib
import binascii
plaintext = 'hello world from python'
# md5
md5 = hashlib.md5()
md5.update(plaintext.encode())
hash_md5 = md5.digest()
hex_hash_md5 = md5.hexdigest()
print('hash md5:', hash_md5)
print('hex hash md5:', hex_hash_md5)
# sha1
sha1 = hashlib.sha1()
sha1.update(plaintext.encode())
hash_sha1 = sha1.digest()
hex_hash_sha1 = sha1.hexdigest()
print('hash sha1:', hash_sha1)
print('hex hash sha1:', hex_hash_sha1)
# sha256
sha256 = hashlib.sha256()
sha256.update(plaintext.encode())
hash_sha256 = sha256.digest()
hex_hash_sha256 = sha256.hexdigest()
print('hash sha256:', hash_sha256)
print('hex hash sha256:', hex_hash_sha256)
# hash with key
# hmac
key = 'p4ssw0rd'
hmac = hashlib.pbkdf2_hmac('sha256', key.encode(), plaintext.encode(), 100000)
hex_hash_hmac = binascii.hexlify(hmac)
print('hex hash hmac:', hex_hash_hmac)
Save all.
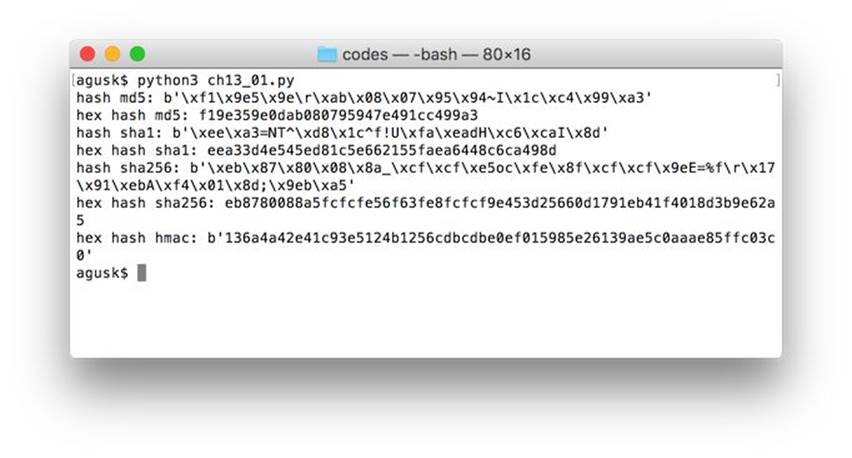
Now you can test to build and run the program.
$ python3 ch13_01.py
A sample output can be seen in Figure below.
13.3 Cryptography
In this section, we focus Symmetric and Asymmetric Cryptography. In Symmetric Cryptography, we use the same key to encrypt and decrypt. Otherwise, Asymmetric Cryptography uses different key to encrypt and decrypt.
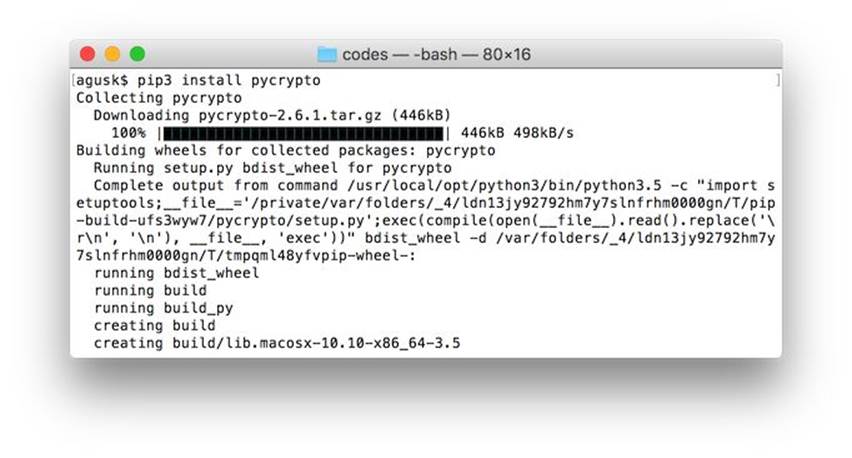
We use pycrypto, https://github.com/dlitz/pycrypto . You can install it via pip. A sample of command to install pycrypto for Python 3.x.
$ pip3 install pycrypto
For illustration, we hash a plaintext using SHA256. Write these scripts and save into a file, called ch13_02.py.
from Crypto.Hash import SHA256
plaintext = 'hello world from python'
sha256 = SHA256.new()
sha256.update(plaintext.encode())
hash_sha256 = sha256.digest()
hex_hash_sha256 = sha256.hexdigest()
print('hash sha256:', hash_sha256)
print('hex hash sha256:', hex_hash_sha256)
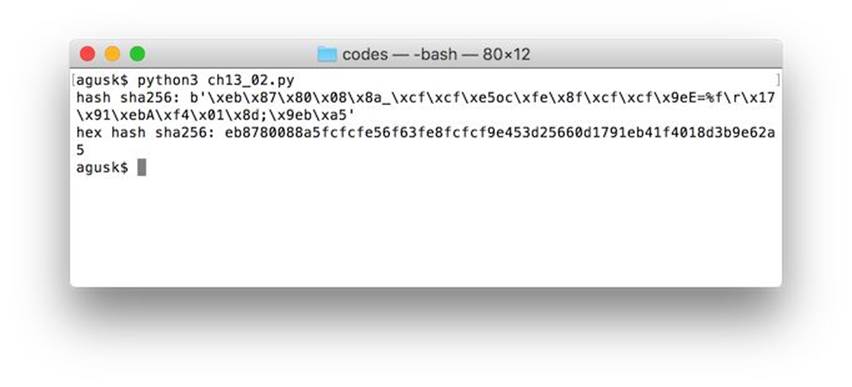
Save and run the program.
$ python3 ch13_02.py
Program output:
13.3.1 Symmetric Cryptography
There are many algorithms to implement Symmetric Cryptography. In this section, we use AES algorithm. The Advanced Encryption Standard (AES) is a specification for the encryption of electronic data established by the U.S. National Institute of Standards and Technology (NIST) in 2001, http://en.wikipedia.org/wiki/Advanced_Encryption_Standard.
We can do symmetric Cryptography using pycrypto by writing these scripts into a file, called ch13_03.py
from Crypto import Random
from Crypto.Cipher import AES
message = 'hello world from python'
# AES key must be either 16, 24, or 32 bytes long
key = 'p4ssw0rdp4ssw0rd'
print('message:', message)
# encrypt
iv_aes = Random.new().read(AES.block_size)
cipher_aes = AES.new(key.encode(), AES.MODE_CFB, iv_aes)
encrypted_aes = cipher_aes.encrypt(message.encode())
print('encrypted AES:', encrypted_aes)
# decrypted
dec_iv_aes = Random.new().read(AES.block_size)
dec_cipher_aes = AES.new(key.encode(), AES.MODE_CFB, iv_aes)
decrypted_aes = dec_cipher_aes.decrypt(encrypted_aes)
print('decrypted AES:', decrypted_aes)
Explanation:
The following is the steps for encryption
· Define a key. It should be 16, 24, or 32 key length
· Calculate IV value for AES using Random.read() with AES.block_size parameter
· Instantiate AES using AES.new() with passing key and IV value
· Encrypt message by calling encrypt()
· The result is array of byte
The following is the steps for encryption
· Define a key. It should be 16, 24, or 32 key length
· Calculate IV value for AES using Random.read() with AES.block_size parameter
· Instantiate AES using AES.new() with passing key and IV value
· Decrypt cipher by calling decrypt()
· The result is be string in array of byte
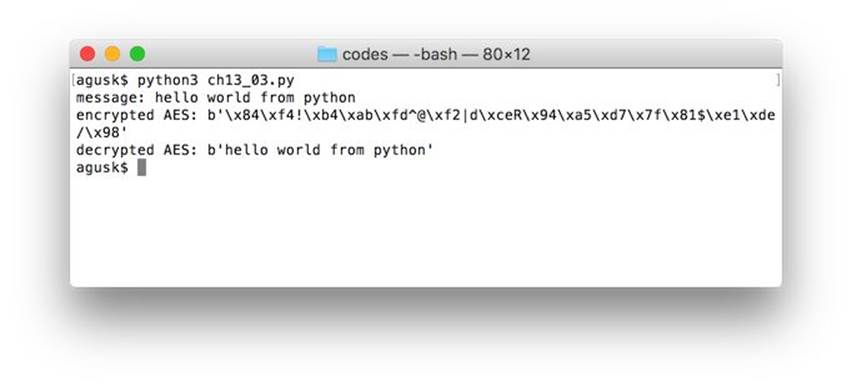
Save and run the program.
$ python3 ch13_03.py
Program output:
13.3.2 Asymmetric Cryptography
The common algorithm to implement Asymmetric Cryptography is RSA which is widely used for secure data transmission. You read a brief description in Wikipedia, http://en.wikipedia.org/wiki/RSA_(cryptosystem) .
pycrypto library has library for RSA implementation. In this section, we try to implement RSA using pycrypto . The following is our scenario:
· Generate RSA keys (public and private keys)
· Save these keys to two files (public and private key files)
· For encryption, we use public key file
· For decryption, we use private key file
We store public and private keys into a file in PEM data encoding.
To generate public and private keys for RSA, we use RSA.generate(). We extract private and public key values. Then, save them into file. encrypt() and decrypt() from RSAKey are used to encrypt and decrypt.
The following is implementation for our RSA scenario.
from Crypto.PublicKey import RSA
from Crypto import Random
# generate private and public keys
# Then, save them into files
print('generating private and public keys...')
key = RSA.generate(2048)
f = open('my_rsa_private_key.pem', 'wb')
f.write(key.exportKey('PEM'))
f.close()
f = open('my_rsa_public_key.pem', 'wb')
f.write(key.publickey().exportKey('PEM'))
f.close()
print('done')
message = 'hello world from python'
print('plaintext:', message)
# encrypt data using public key
f = open('my_rsa_public_key.pem','r')
RSAkey = RSA.importKey(f.read())
f.close()
k = Random.new().read(8)
encrypted_msg = RSAkey.encrypt(message.encode(), k)
ciphertext = encrypted_msg[0]
print('encrypted:', ciphertext)
# decrypt data using private key
f = open('my_rsa_private_key.pem','r')
RSAkey = RSA.importKey(f.read())
f.close()
decrypted_msg = RSAkey.decrypt(ciphertext)
print('decrypted:', decrypted_msg.decode("utf-8"))
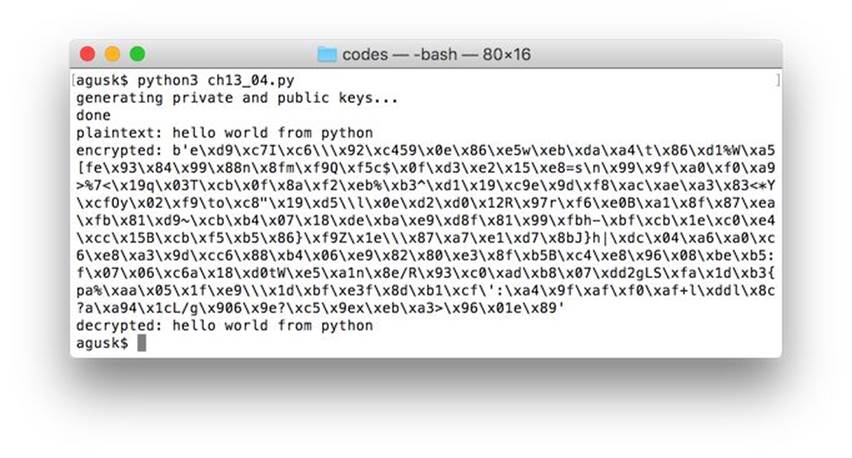
Save these scripts into a file, called ch13_04.py.
Now you can build and run it. A sample output can be seen in Figure below.
$ python3 ch13_04.py
Program output:
All materials on the site are licensed Creative Commons Attribution-Sharealike 3.0 Unported CC BY-SA 3.0 & GNU Free Documentation License (GFDL)
If you are the copyright holder of any material contained on our site and intend to remove it, please contact our site administrator for approval.
© 2016-2026 All site design rights belong to S.Y.A.