Teach Your Kids to Code: A Parent-Friendly Guide to Python Programming (2015)
Appendix A. Python Setup for Windows, Mac, and Linux
This appendix will walk you through each step of installing Python on Windows, Mac, or Linux. Depending on your operating system version, what you see here might be slightly different from what’s on your screen, but these steps should get you up and running.
If you’re installing Python on a computer at school or work, you may need help or permission from the IT department to perform the installation. If you run into issues installing Python at school, ask for IT help and let them know you’re studying programming.
Python for Windows
For Windows, we’ll use Python version 3.2.5 so that our Pygame installation (in Appendix B) for the programs in Chapter 8 to Chapter 10 will be easier.
Download the Installer
1. Go to http://python.org/, and hover your mouse over the Downloads link. You’ll see a drop-down list of options, as shown in Figure A-1.
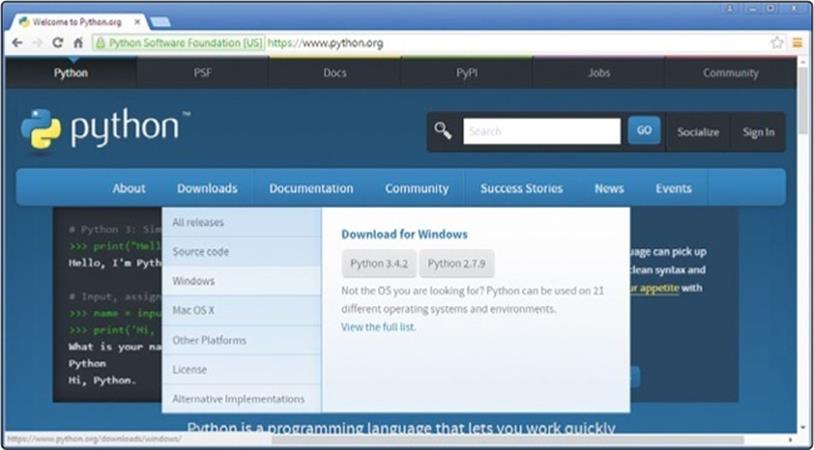
Figure A-1. Hover your mouse over Downloads to display a list of options.
2. In the drop-down list, click the Windows link. This will take you to a Python Releases For Windows page, as shown in Figure A-2.
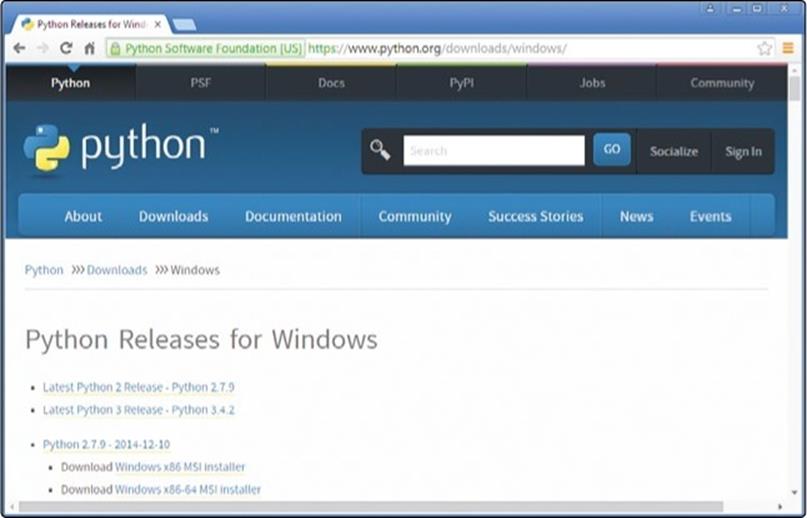
Figure A-2. The Python downloads page for Windows
3. Scroll down until you see the link that begins with Python 3.2.5. Under that link, you’ll see several items, as shown in Figure A-3.
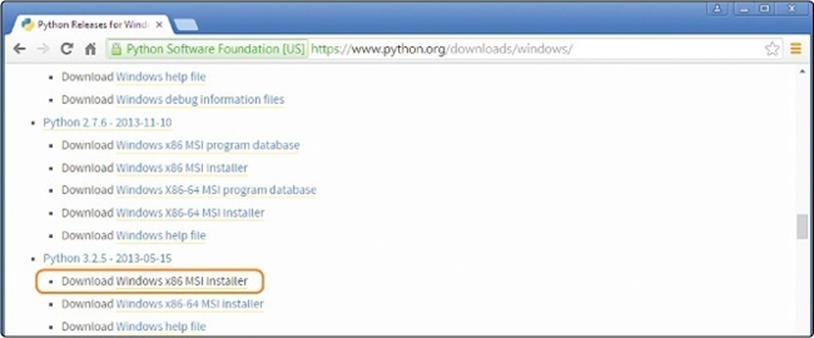
Figure A-3. Under Python Releases For Windows, find the Python 3.2.5 installer.
4. Under Python 3.2.5, click Windows x86 MSI installer. This will download the installer program.
Run the Installer
1. Wait until the download finishes, then open your Downloads folder. You should see the python-3.2.5 Windows Installer program file, as shown in Figure A-4.
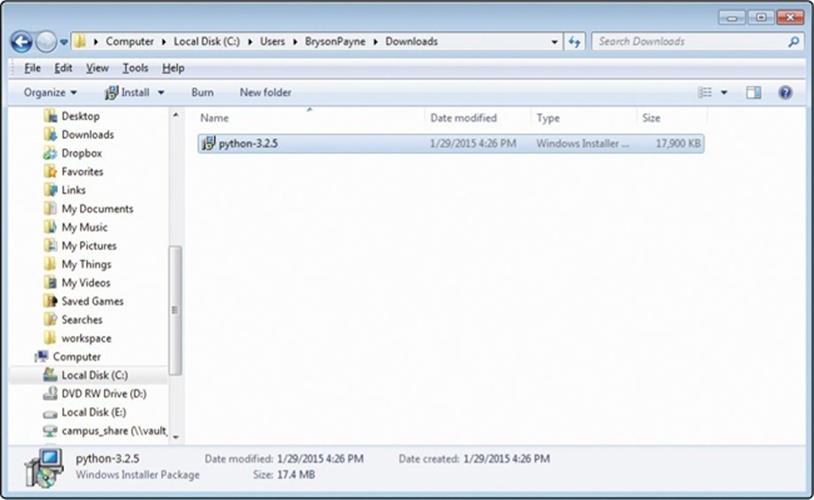
Figure A-4. Double-click the installer in your Downloads folder.
2. Double-click the python-3.2.5 Windows Installer program file to begin installation.
3. A Security Warning dialog might come up, as shown in Figure A-5. If you see a Security Warning window, click Run; Windows is just letting you know the software is trying to install something on your computer.
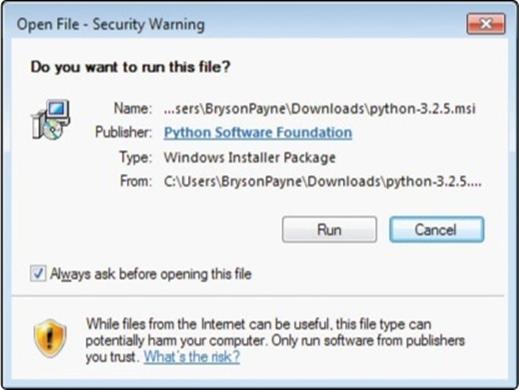
Figure A-5. Click Run to allow the installation.
4. The installer may ask if you would like to install Python for all users or just yourself, as shown in Figure A-6. It’s usually best to choose Install for all users, but if that isn’t allowed at your school or office, or if you can’t get it to work, try Install just for me. Then click Next >.
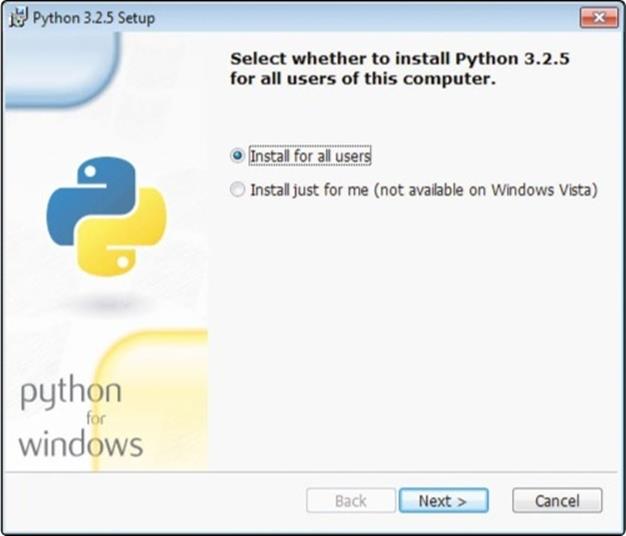
Figure A-6. Install for all users.
5. Next you’ll see a Select Destination Directory window like the one shown in Figure A-7. This is where you can choose which folder to install Python in. The program will try to install on your C:\ drive under a folder called Python32, and this should work for your laptop or home PC. Click Next > to keep installing. (If you’re installing at school or work and run into trouble, your IT staff might tell you to install in a different folder, like User or Desktop.)
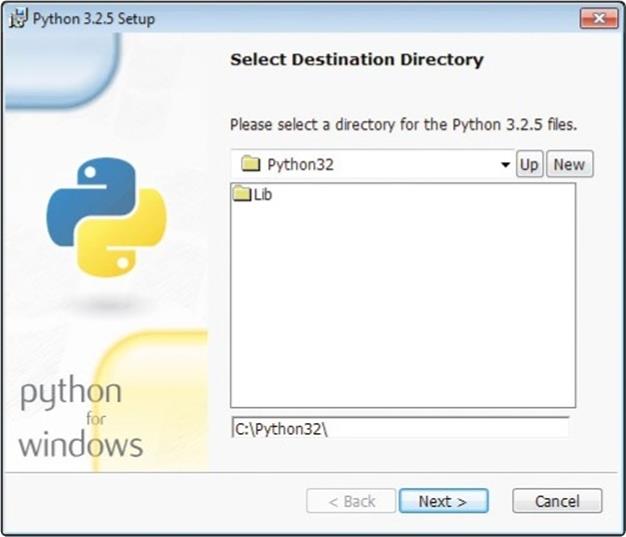
Figure A-7. Choose a folder to install Python in.
6. Now you’ll see a window like the one shown in Figure A-8 asking you to customize Python. You don’t need to change anything here. Just click Next >.
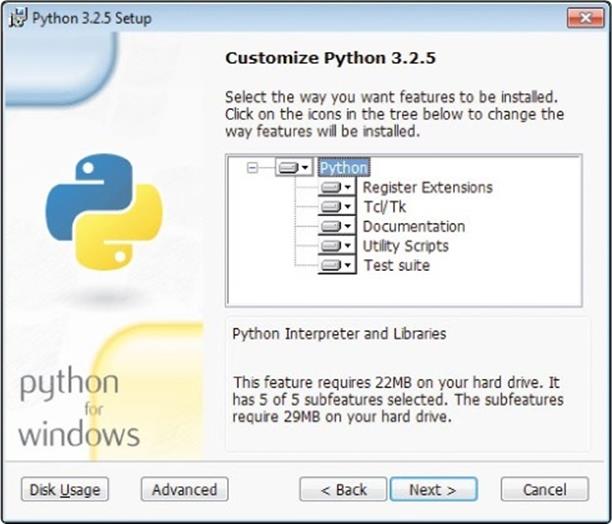
Figure A-8. Don’t change anything; just click Next >.
7. You’re now finished with the installer, and you should see a window like the one shown in Figure A-9. Click Finish.
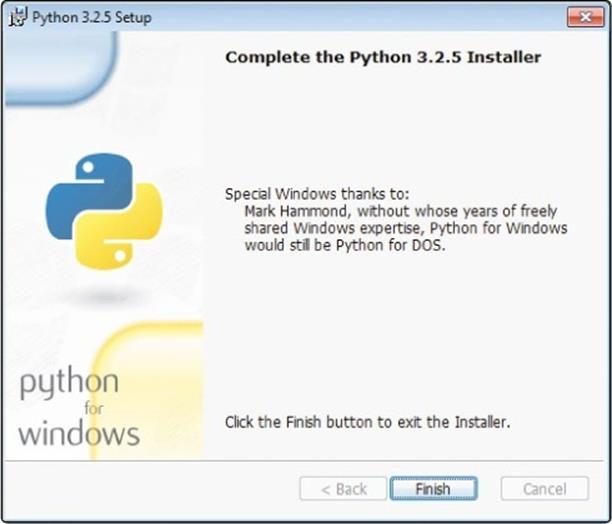
Figure A-9. Click Finish to exit the installer.
You’ve installed Python! Next, you can try it out to make sure it works properly.
Try Out Python
1. Go to Start▸Programs▸Python 3.2▸IDLE (Python GUI), as shown in Figure A-10. (On Windows 8 and later, you can click the Windows/Start button, go to the Search tool, and type IDLE).

Figure A-10. Open IDLE from the Start menu.
2. The Python shell editor screen should appear. This Python shell program is where you can enter code and see results right away. If you’re curious, you can start trying out some code. Type print("Hello, Python!") and press ENTER. The Python shell should respond with Hello, Python!, as shown in Figure A-11. Try an addition statement, like 2 + 3. Press ENTER, and Python will respond with the answer!
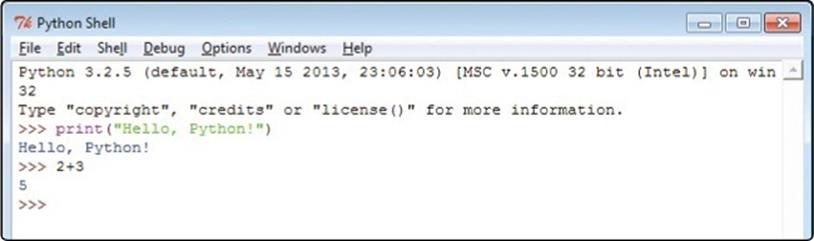
Figure A-11. Trying some commands in the Python shell
3. Finally, you may want to change the size of the text in IDLE to make it easier to read. Go to Options▸Configure IDLE.... Under Fonts/Tabs, as shown in Figure A-12, change the Size option to 18 or whatever size is easiest for you to read. You can also check the Bold checkbox to make the text thicker. Customize the font so it’s comfortable for your eyes.
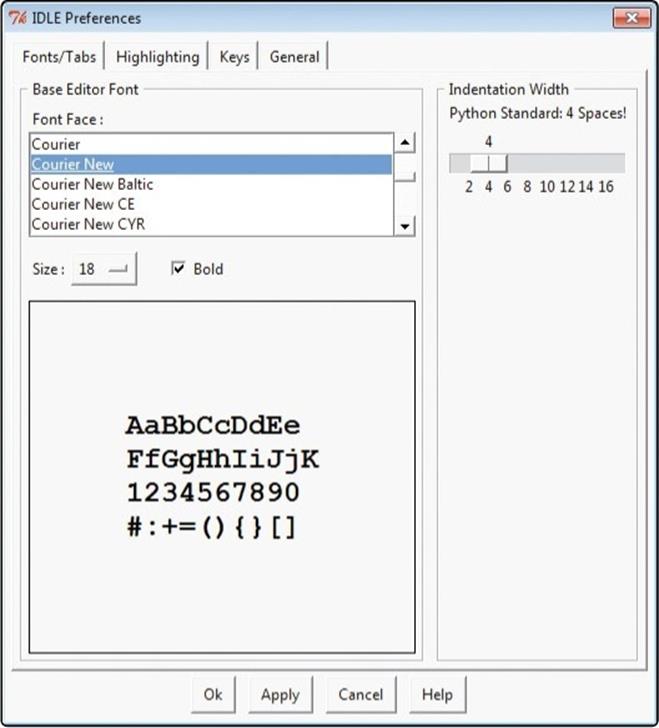
Figure A-12. Configuring preferences in IDLE
4. Once you’ve chosen font and size options to make your IDLE input easy to read, click Apply, and then click Ok to return to the IDLE Python shell screen. Now when you type, you should see text appear in the font and size you chose.
Now you’re ready to tackle Chapter 1 through Chapter 7. To use the programs from Chapter 8 through Chapter 10, go to Appendix B and follow the steps to install Pygame. Happy coding!
Python for Mac
Most Apple computers come with an earlier version of Python already installed, but we want to install version 3.4.2 to use the new features of Python 3 to run the sample code from the book.
Download the Installer
1. Go to http://python.org/, and hover your mouse over the Downloads link to see a drop-down list of options. You’ll see Mac OS X on this list, as shown in Figure A-13.

Figure A-13. Hover your mouse over the Downloads link. You should see a Mac OS X link in the drop-down list.
2. Click the Mac OS X link in the drop-down list. This will take you to a Python Releases For Mac OS X page.
3. On the Python Releases For Mac OS X page, find the link that starts with Python 3.4.2 and click it. This will download the installer program.
Run the Installer
1. Wait for the download to finish. Then open your Downloads folder to find the python-3.4.2 Mac Installer program file, as shown in Figure A-14. Double-click the file to begin installation.
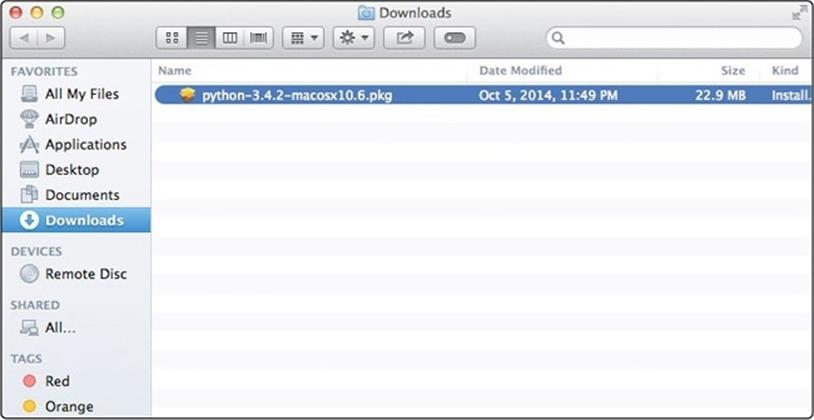
Figure A-14. Double-click the installer in your Downloads folder.
2. Double-clicking the installer file will open an Install Python window. You’ll see a welcome screen like the one shown in Figure A-15. Click Continue.
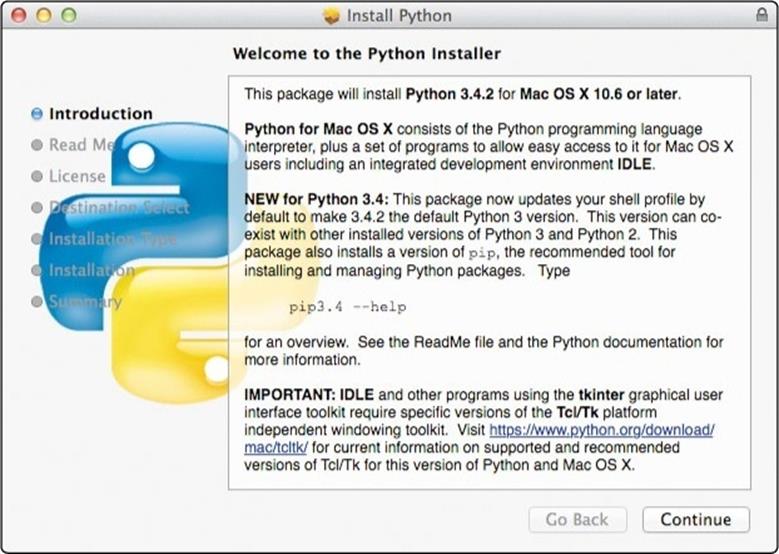
Figure A-15. Click Continue on the welcome screen.
3. Read and click Agree on the software license pop-up dialog, as shown in Figure A-16.
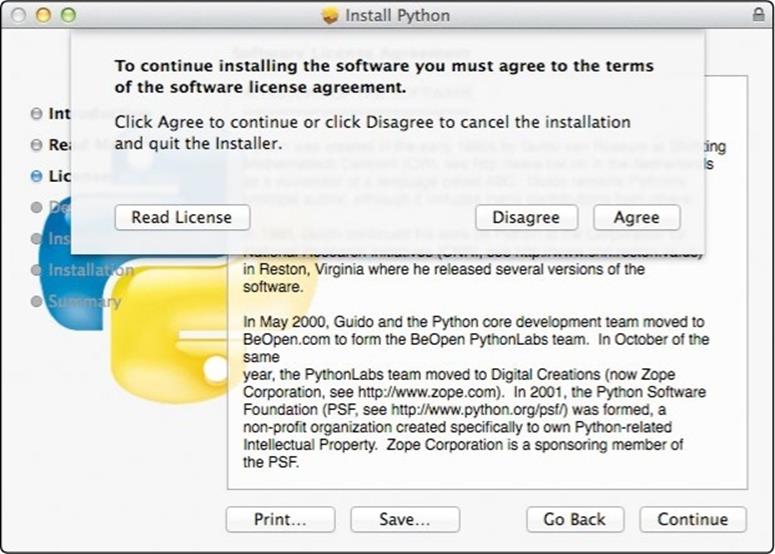
Figure A-16. Read and click Agree on the software license dialog.
4. You’ll be taken to a Select a Destination screen, as shown in Figure A-17, where you’ll choose which disk to install Python on. The program will usually be installed on your Mac HD hard drive, and this should work for your MacBook or home Mac. Click Continue to keep installing. (If you’re installing at school or work and run into trouble, your IT staff may tell you to install in a different folder; ask them for help if needed.)
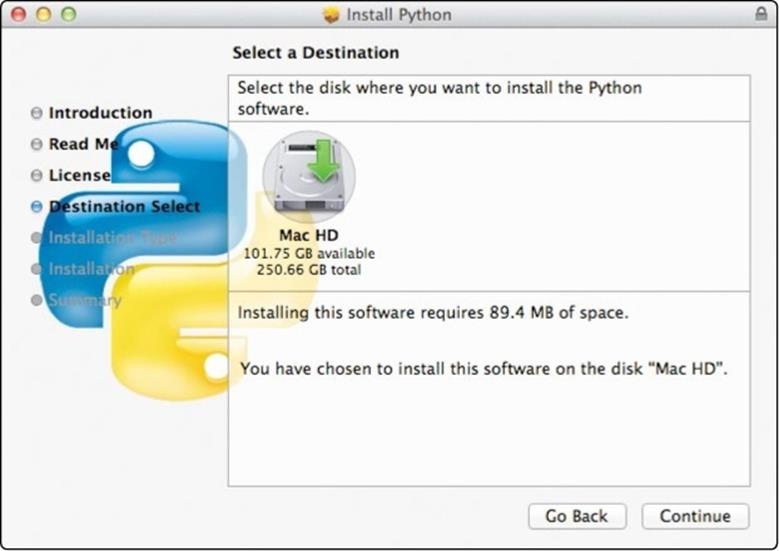
Figure A-17. Click Continue to keep installing.
5. Click Install on the next screen, as shown in Figure A-18.
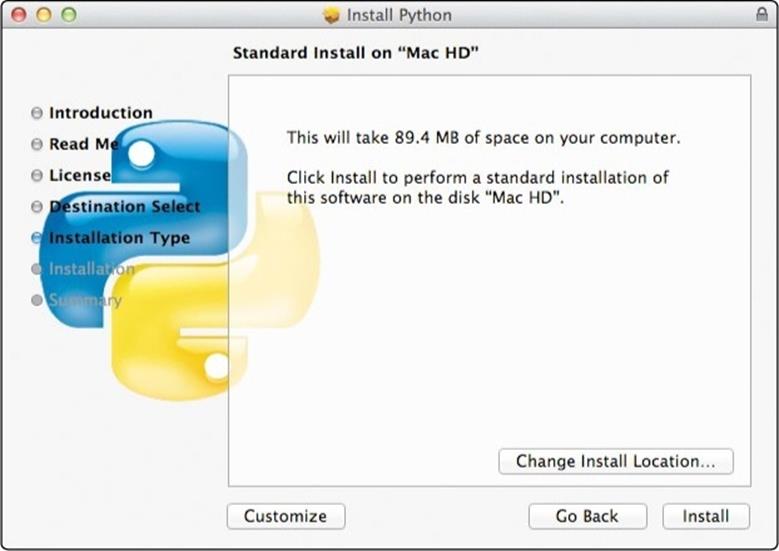
Figure A-18. Click Install.
6. You should see a screen confirming that the installation is complete, like the one shown in Figure A-19. Click Close to exit the installer.
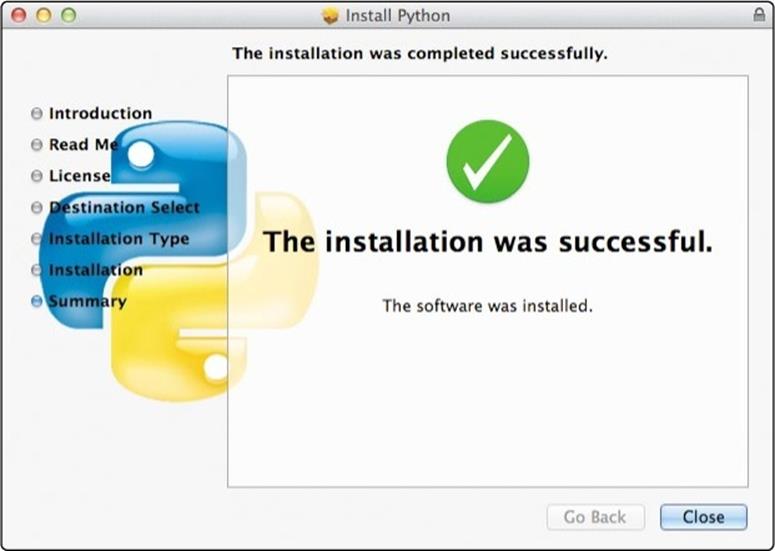
Figure A-19. To exit the installer, click Close.
You’ve installed Python! Next, you can try it out to see if it works.
Try Out Python
1. Go to your Launchpad and click IDLE, or go to Finder▸ Applications, double-click the Python 3.4 folder, and double-click IDLE to open the Python shell, as shown in Figure A-20.
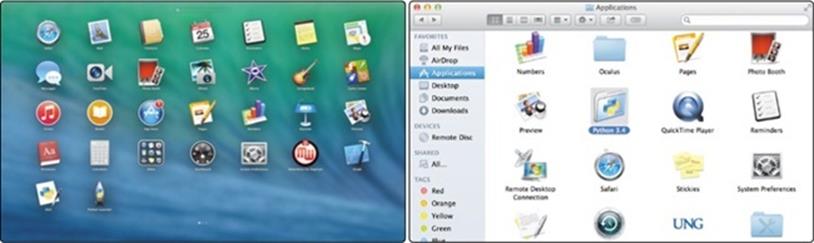
Figure A-20. Open IDLE from Launchpad (left) or the Applications folder (right).
2. The Python shell editor screen should appear. You’re ready to try coding in the shell. Type print("Hello, Python!") and press RETURN; the Python shell should respond with Hello, Python!, as shown in Figure A-21. Try an addition statement, like 2 + 3. Press RETURN, and Python will respond with the answer.
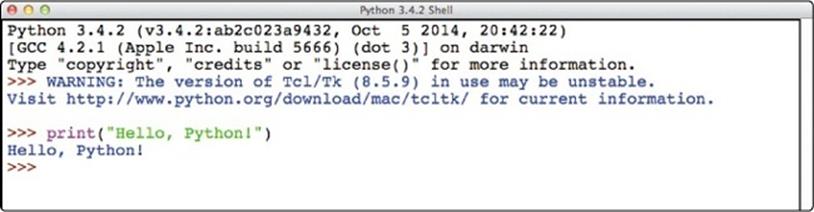
Figure A-21. Trying some commands in the Python shell
3. You may want to change the size of the text in the IDLE window to make it easier to read on your computer. Go to IDLE▸Preferences.... Under Fonts/Tabs, change the Size option to 20, as shown in Figure A-22, or adjust it larger or smaller until it’s easy to read. You can check the Bold checkbox to make the text thicker if it helps. Customize the font to anything that’s comfortable for your eyes.
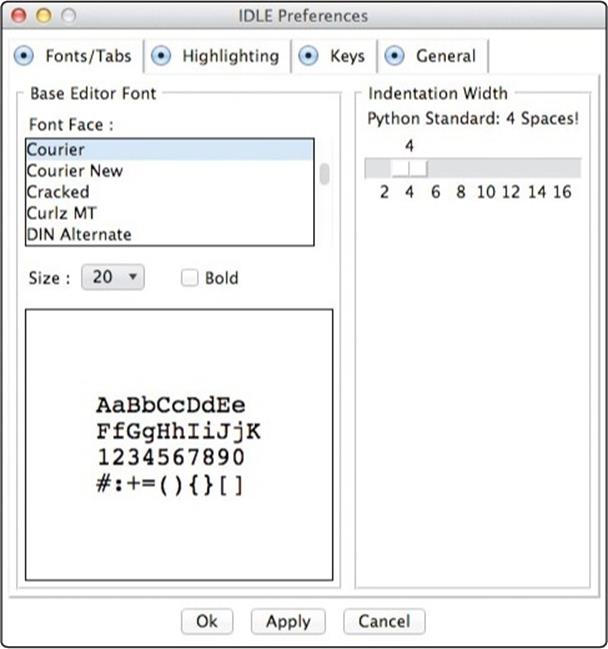
Figure A-22. Configuring preferences in IDLE
Now you’re ready to tackle Chapter 1 through Chapter 7. To use the programs from Chapter 8 through Chapter 10, go to Appendix B and follow the steps to install Pygame. Happy coding!
Python for Linux
Most Linux distributions, including Ubuntu and even the Linux OS that comes installed on the Raspberry Pi, come with an earlier version of Python already installed. However, most of the apps in this book require Python 3. To install Python 3 on Linux, follow these steps:
1. In the Dash menu, go to System Tools and run the Ubuntu Software Center or similar application for your version of Linux. Figure A-23 shows the Software Center running on Lubuntu.
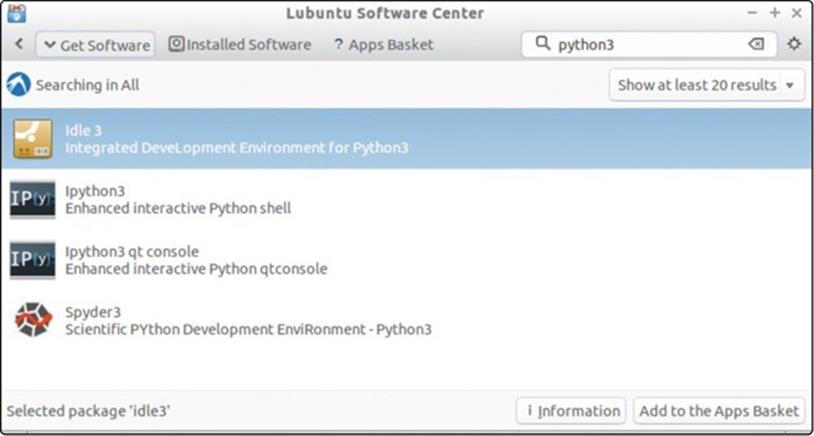
Figure A-23. Installing Python 3 on a computer running Lubuntu Linux
2. Search for python3 and find Idle 3. Click Add to the Apps Basket.
3. Open the Apps Basket tab and click Install Packages, as shown in Figure A-24.
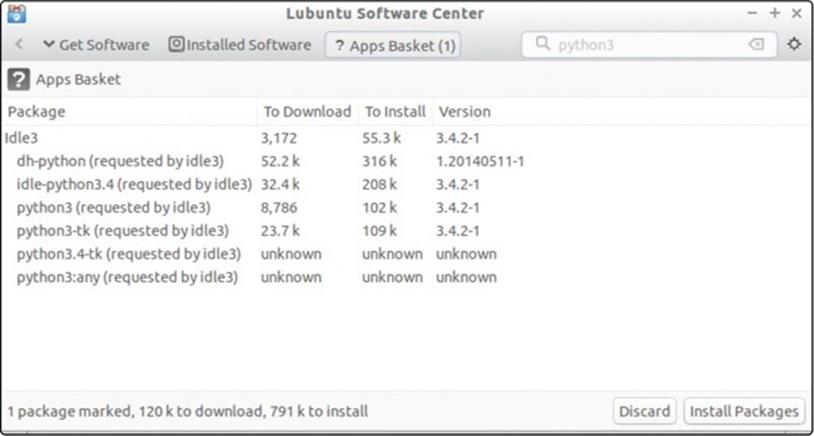
Figure A-24. Install the Idle 3 package, which includes Python 3.
4. After the installation completes, open a file window, select Applications, then Programming, and you should see IDLE (using Python-3.4), as shown in Figure A-25.
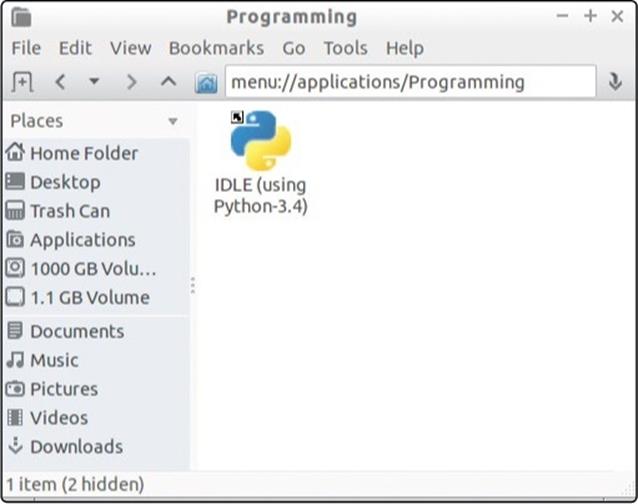
Figure A-25. IDLE, the Python shell program
5. Test IDLE by running it and typing 2 + 3 and pressing ENTER. Type print("Hello, world.") and press ENTER. IDLE should respond as shown in Figure A-26.
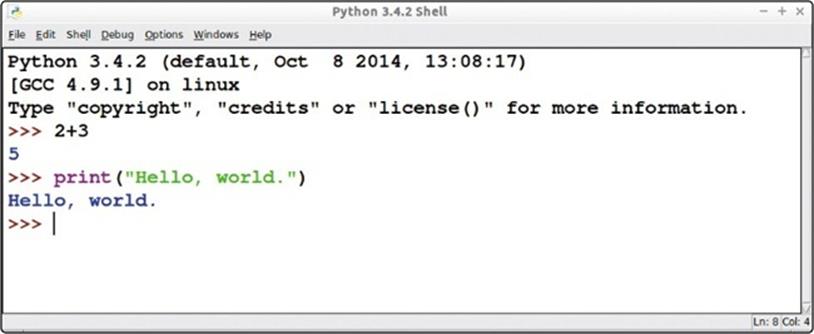
Figure A-26. Test Python by running IDLE. You’re ready to code!
You’re ready to try all the programs from Chapter 1 through Chapter 7. To use the programs from Chapter 8 through Chapter 10, see Appendix B on how to install Pygame for Linux. Happy coding!