DOING MATH WITH PYTHON Use Programming to Explore Algebra, Statistics, Calculus, and More! (2015)
A
Software Installation

The programs and solutions in this book have been tested to run on Python 3.4, matplotlib 1.4.2, matplotlib-venn 0.11, and SymPy 0.7.6. These versions are only the minimum requirements, and the programs should also work with later versions of the software. Changes and updates will be noted on the book’s website, http://www.nostarch.com/doingmathwithpython/.
While there are many ways to get your hands on Python and the libraries you need, one of the easiest is to use the Anaconda Python 3 software distribution, which is available freely for Microsoft Windows, Linux, and Mac OS X. At the time of this writing, the latest release of Anaconda is 2.1.0 with Python 3.4. Anaconda (https://store.continuum.io/cshop/anaconda/) is a quick and easy way to install Python 3 and many of the mathematical and data analysis packages, all in one easy installer. If you want to add new mathematical Python libraries, Anaconda also lets you add them quickly using the conda and pip commands. Anaconda has a number of other features that make it useful for Python development. It comes with the conda package manager built in, which allows the easy installation of third-party packages, as we’ll soon see. It supports creating isolated Python environments, which means you can have multiple Python installations—for example, Python 2, Python 3.3, and Python 3.4—using the same Anaconda installation. You can learn more from the Anaconda website and the conda documentation (http://conda.pydata.org/docs/intro.html).
The next sections will briefly describe the installation of Anaconda on Microsoft Windows, Linux, and Mac OS X, so skip ahead to the section that applies to you. You’ll need an Internet connection to follow along, but that’s pretty much it.
If you run into any problems, there’s also troubleshooting information available at http://continuum.io/.
Microsoft Windows
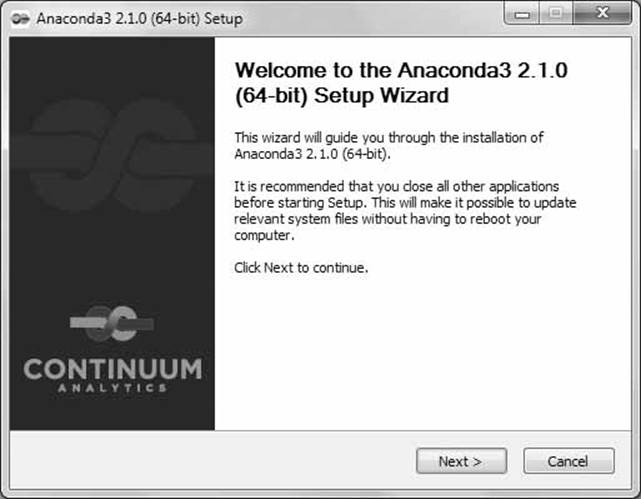
Download the Anaconda GUI installer for Python 3 from http://continuum.io/downloads. Double-click the installer and then follow these steps:
1. Click Next and accept the License Agreement:
2. You can choose to install the distribution either for your username only or for all users using this computer.
3. Choose the folder where you want Anaconda to install the programs. The defaults should work fine.
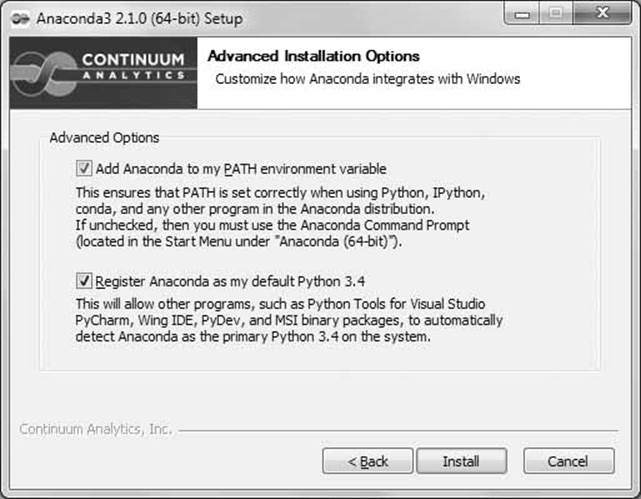
4. Make sure to check the two boxes in the Advanced Options dialog so that you can invoke the Python shell and other programs, such as conda, pip, and idle, from anywhere on the command prompt. In addition, any other Python programs looking for a Python 3.4 installation will be pointed to the one installed by Anaconda:
5. Click Install to start the installation. When the installation has finished, click Next and then click Finish to complete the installation. You should be able to find Python in your Start Menu.
6. Open a Windows command prompt and carry out the following steps.
Updating SymPy
The installation may come with SymPy already installed, but we want to make sure that we have at least 0.7.6, so we’ll install it using this command:
$ conda install sympy=0.7.6
This will install or upgrade to SymPy 0.7.6.
Installing matplotlib-venn
To install matplotlib-venn, use this command:
$ pip install matplotlib-venn
Your computer is now set up to run all the programs.
Starting the Python Shell
Open a Windows command prompt and enter idle to start the IDLE shell or python to start the Python 3 default shell.
Linux
The Linux installer is distributed as a shell script installer, so you’ll want to download the Anaconda Python installer from http://continuum.io/downloads. Then start the installer by executing the following:
$ bash Anaconda3-2.1.0-Linux-x86_64.sh
Welcome to Anaconda3 2.1.0 (by Continuum Analytics, Inc.)
In order to continue the installation process, please review the license
agreement.
Please, press ENTER to continue
>>>
The “Anaconda END USER LICENSE AGREEMENT” will be displayed. Once you’ve read through it, enter yes to continue the installation:
Do you approve the license terms? [yes|no]
[no] >>> yes
Anaconda3 will now be installed into this location:
/home/testuser/anaconda3
- Press ENTER to confirm the location
- Press CTRL-C to abort the installation
- Or specify a different location below
Press ENTER at the prompt, and the installation will start:
[/home/testuser/anaconda3] >>>
PREFIX=/home/testuser/anaconda3
installing: python-3.4.1-4 ...
installing: conda-3.7.0-py34_0
..
creating default environment...
installation finished.
Do you wish the installer to prepend the Anaconda3 install location
to PATH in your /home/testuser/.bashrc ? [yes|no]
When asked to confirm the install location, enter yes so that the Python 3.4 interpreter installed by Anaconda is always invoked when you invoke the Python program from your terminal:
[no] >>> yes
Prepending PATH=/home/testuser/anaconda3/bin to PATH in /home/testuser/.bashrc
A backup will be made to: /home/testuser/.bashrc-anaconda3.bak
For this change to become active, you have to open a new terminal.
Thank you for installing Anaconda3!
Open a new terminal for the next steps.
Updating SymPy
First, make sure that SymPy 0.7.6 is installed:
$ conda install sympy=0.7.6
Installing matplotlib-venn
Use the following command to install matplotlib-venn:
$ pip install matplotlib-venn
Starting the Python Shell
You’re all set. Open a new terminal and enter idle3 to start the IDLE editor or python to start the Python 3.4 shell. You should now be able to run all the programs and try out new ones.
Mac OS X
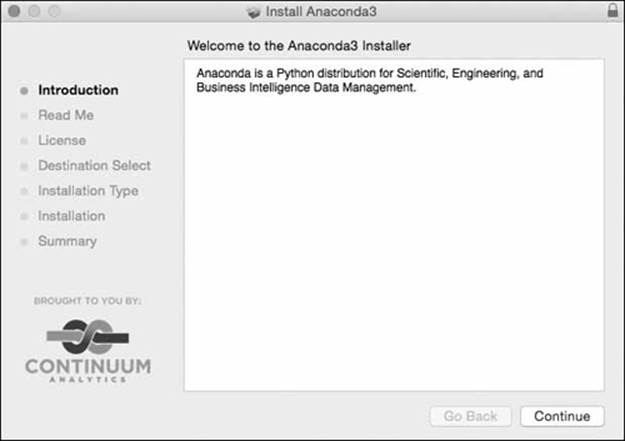
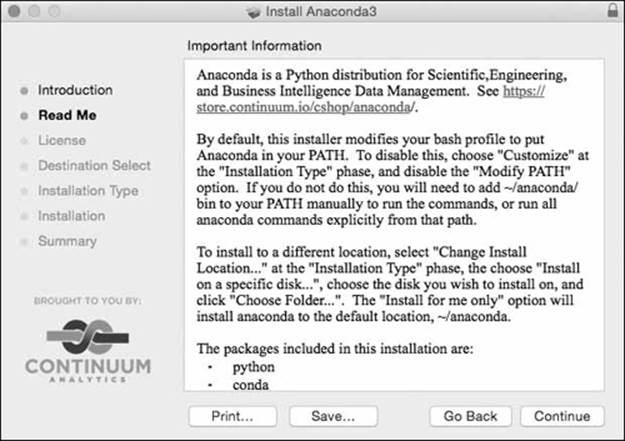
Download the graphical installer from http://continuum.io/downloads. Then double-click the .pkg file and follow the instructions:
1. Click Continue on each informational window:
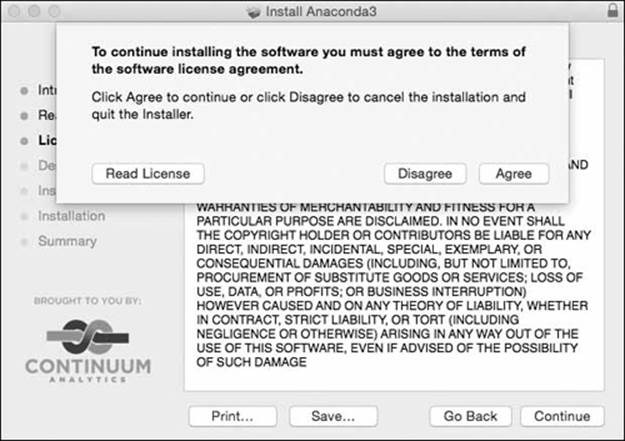
2. Click Agree to accept the “Anaconda END USER LICENSE AGREEMENT”:
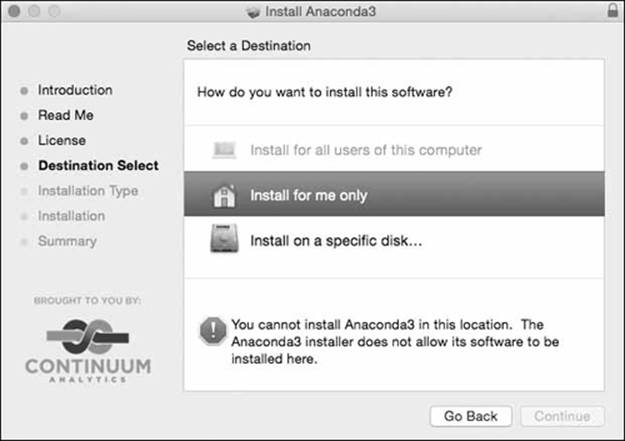
3. In the following dialog, choose the “Install for me only” option. The error message you see is a bug in the installer software. Just click it, and it will disappear. Click Continue to proceed.
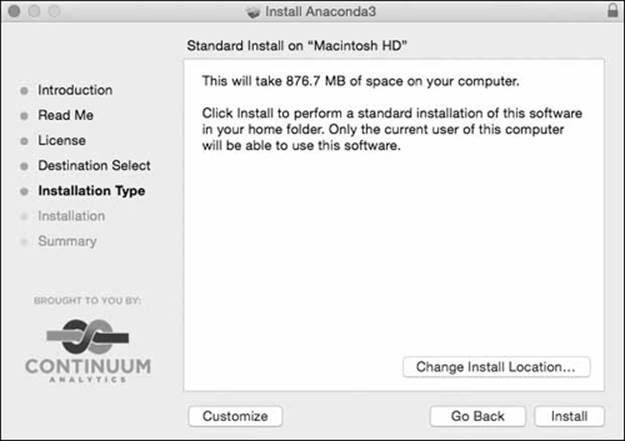
4. Select Install:
5. Once the installation is finished, open the Terminal app and follow the next steps to update SymPy and install matplotlib-venn.
Updating SymPy
First, make sure that SymPy 0.7.6 is installed:
$ conda install sympy=0.7.6
Installing matplotlib-venn
Use the following command to install matplotlib-venn:
$ pip install matplotlib-venn
Starting the Python Shell
You’re all set. Close the Terminal window, open a new one, and enter idle3 to start the IDLE editor or python to start the Python 3.4 shell. You should now be able to run all the programs and try out new ones.