Swift Development with Cocoa (2015)
Chapter 8. SceneKit
The SceneKit framework is a collection of classes that let you compose and present a 3D scene in your app. It works on both iOS and OS X, and is an incredibly simple way of drawing 3D graphics.
SceneKit is great for both games and apps that need to show some kind of 3D content. It also interacts seamlessly with Core Animation and SpriteKit, which means that you can use SceneKit in a variety of different contexts.
For example:
§ You can make your entire app centered around SceneKit, and have all of your user interactions take place using a 3D view. Most games are likely to do this, to some extent.
§ You can embed a 3D view as part of a larger document. The 3D graphs in Numbers, Apple’s spreadsheet app, are an example of this kind of usage.
§ You can render a SpriteKit scene on top of 3D graphics in a SceneKit scene, as an overlay.
§ You can render SpriteKit scenes as textures inside a SceneKit scene. This means you can do things like render a 2D GUI in SpriteKit, and display them on a computer monitor in a 3D game.
SceneKit is also capable of loading 3D content from COLLADA, an industry-standard format for exchanging 3D graphics information. If you have any kind of 3D modeling program, it probably supports exporting 3D content in the COLLADA format, which you can import into your SceneKit scenes. If you don’t have any 3D models to use, you can also use SceneKit to generate basic 3D objects, like cubes, spheres, and capsules.
SceneKit Structure
SceneKit presents everything through an SCNView, which is a subclass of either UIView or NSView, depending on your platform. Inside your SCNView, you create and prepare a scene, which is represented by the SCNScene class. Scenes contain nodes, which are composed into a scene graph: a node has zero or more children, and has a single parent.
On their own, nodes are invisible—all they do is exist in a scene. To make things visible to the user, you attach items to nodes. The items you can attach include:
Geometry
These are 3D objects, such as cubes, text, or models loaded from disk.
Cameras
These determine the position and the angle from which the user can view the scene.
Lights
These cast light into the scene, and illuminate objects.
Physics bodies
These cause physical effects to be applied to the objects in your scene, such as collisions and gravity.
A scene, therefore, is composed of a collection of these nodes, with multiple different items attached to them.
In addition to these attached items, geometry objects have materials attached to them. Materials define how the geometry is rendered—what color to use, what textures to apply, and how the surface should react to light. You define these materials either through code or by loading them from a COLLADA file; SceneKit then takes your settings, and turns them into the appropriate GLSL shader.
NOTE
This chapter discusses using SceneKit inside an SCNView, but this isn’t the only way you can use SceneKit in your apps. If you have a Core Animation layer hierarchy, you can create and use an SCNLayer; additionally, if you’ve written your own OpenGL renderer, you can take advantage of SceneKit’s functionality through the SCNRenderer class, which emits OpenGL commands at a time that you control. This is a bit outside of the scope of this chapter, but it’s worth knowing that it’s there; check the class documentation for SCNLayer and SCNRenderer in the Xcode documentation for more details.
Working with SceneKit
To demonstrate how SceneKit works, this chapter will walk through a simple tutorial app that shows how the different parts of SceneKit fit together.
To get started, we’ll create a simple iOS app, and configure a SceneKit view. We’ll then start adding more and more stuff to it.
NOTE
SceneKit works on OS X as well as iOS. If you’d prefer to do this on the Mac, just make a Cocoa application, add a SceneKit view to your window, connect it to your App Delegate, and continue from there.
Adding a SceneKit View
The first thing to do will be to create the app and make it use an SCNView:
1. Create a new, single view iOS application, and call it SceneKit.
2. Next, add the SceneKit framework. Select the project at the top of the project navigator, and the project settings will appear. Scroll down to the Linked Frameworks and Libraries section, and click the + button below the list.
Select “SceneKit.framework” from the list that appears.
3. The next step is to make the application create a SceneKit scene when the app starts up.
We want to make the storyboard use an SCNView. Open the application’s storyboard file, and select the view inside the main view controller.
Open the Identity Inspector, and change the view’s class from UIView to SCNView.
The storyboard will now use a SceneKit view as its main view.
Once you’ve got a SceneKit view, you can begin configuring it. The first thing we’ll do in this example is set its background color; later, we’ll add 3D graphics to it. To set the background color of the scene view, open ViewController.swift and add the following code to the viewDidLoadmethod:
let sceneView = self.view as SCNView
sceneView.backgroundColor = UIColor.grayColor()
The first step in working with the SceneKit view is to cast it to the apporiate type, using the as operator. Once you’ve done that, changing the background ensures that you’ve got a visible result. You can see the result in Figure 8-1.
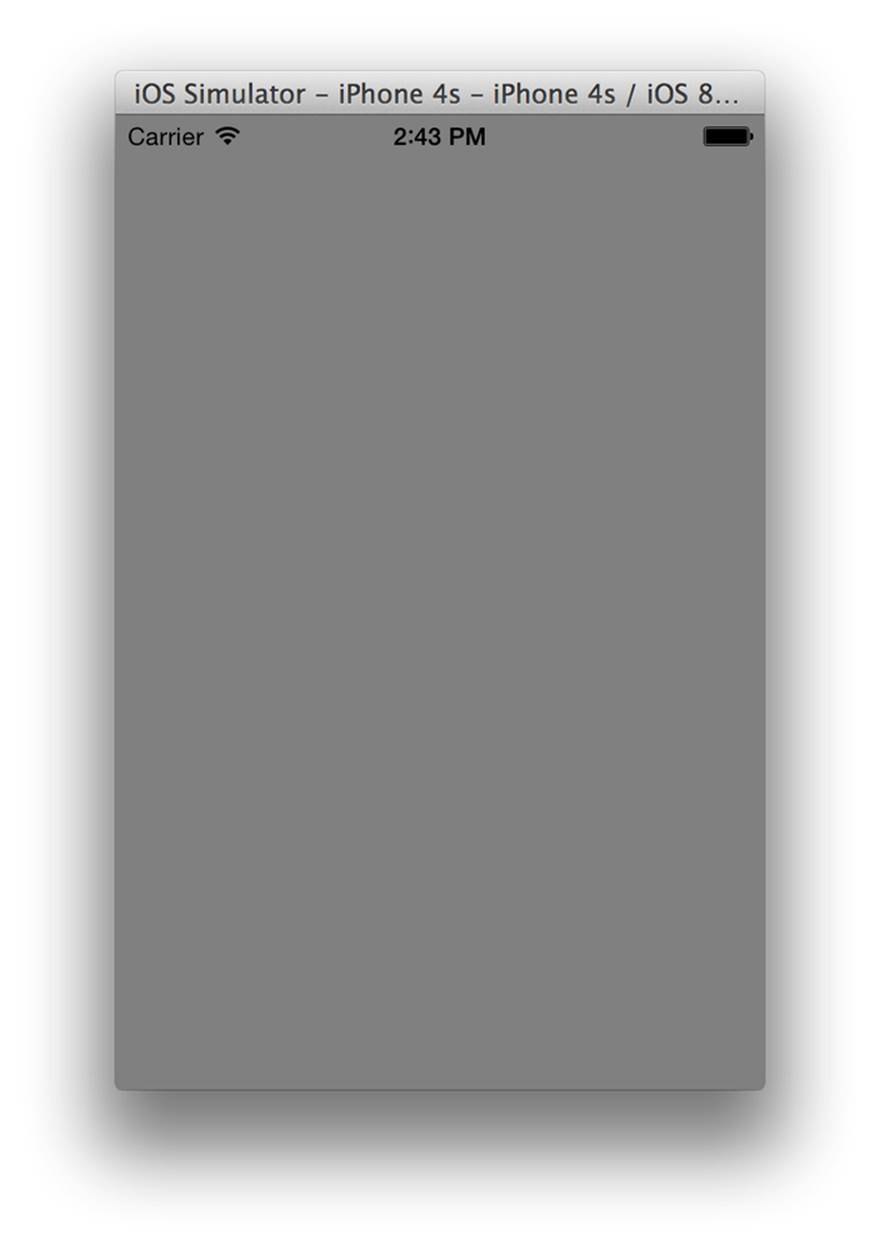
Figure 8-1. An empty SceneKit view
Adding a Scene
The next step is to add a scene to the SceneKit view. To create the scene, add the following code to the end of viewDidLoad:
let scene = SCNScene()
sceneView.scene = scene
An SCNScene object is the container for all of your SceneKit objects. Anything that you want to show to the user will be placed inside the scene. Note that while you can have multiple scenes, only one is visible in the view at a time.
On its own, an empty scene is kind of boring. To improve this, we’re going to add two things: a 3D capsule shape, and a camera to view it with.
Adding a Camera
Cameras in SceneKit are your portals into the 3D scene. They’re your virtual eyes into the 3D world; what you see depends on their position, their angle, and a few other parameters that you’ve configured, such as their field of view or whether they’re a perspective or orthographic camera.
We’ll start by adding a camera first, and then add the capsule shape. To add the camera, include the following code at the end of the viewDidLoad method:
let camera = SCNCamera()
camera.xFov = 45
camera.yFov = 45
This code creates an SCNCamera object, and indicates to it that its field of view is 45 degrees both horizontally and vertically.
NOTE
The human eye has a field of vision that’s roughly 180 degrees horizontally and 90 degrees vertically. However, because an iPhone or iPad takes up only a part of the user’s field of vision, your 3D scene won’t look correct if you use too wide an angle. Play around with different numbers and see what works best for your app or game.
On its own, however, an SCNCamera does nothing—it isn’t in the scene, and it has no position from which the player can see the 3D scene. It needs to be added to an SCNNode first, because nodes are the objects that have positions and attachments to the scene.
To that end, the next step is to attach the camera to a node. To do that, add the following code to the end of the viewDidLoad method:
let cameraNode = SCNNode()
cameraNode.camera = camera
cameraNode.position = SCNVector3(x: 0, y: 0, z: 20)
scene.rootNode.addChildNode(cameraNode)
An SCNNode is empty on its own. You need to add items to it, such as the camera, in order to make it do useful work.
Once you create the node, it’s given a position in 3D space. In this example, we’re setting it to the location (0, 0, 20), which means that it’s centered on the x- and y-axes, but moved back by about 20 meters.
The final step with any node is to add it to the scene. You do this by adding it as a child node of any other node that’s also in the scene. If there aren’t any nodes in the scene yet, you can add it to the scene’s root node, which is the top level of the scene.
If you run the application, you’ll see no difference from before, because the camera has nothing to look at—there’s just the featureless gray void. To address this stark nihilistic horror, we’ll add an object.
Adding a 3D Object
The object that we’re adding to the scene will be a capsule. There are two stages to this: first, we create the capsule’s geometry, which defines the shape. Next, we attach that geometry to an SCNNode, so that it’s located somewhere in the scene:
1. To create the capsule’s geometry, add the following code to the end of viewDidLoad:
let capsule = SCNCapsule(capRadius: 2.5, height: 10)
The SCNCapsule class is a subclass of the more generic . There are a wide variety of other types of geometries you can use, including boxes (`SCNBox), pyramids (SCNPyramid), toruses (SCNTorus), as well as text (SCNText), which we’ll be spending some more time talking about later in this chapter.
Once you’ve created some geometry, you attach it to a node and place that node in the scene somewhere.
2. Then add the geometry to a node. To do so, include the following code at the end of the viewDidLoad method:
3. let capsuleNode = SCNNode(geometry: capsule)
4. capsuleNode.position = SCNVector3(x: 0, y: 0, z: 0)
scene.rootNode.addChildNode(capsuleNode)
NOTE
Setting the node’s position to (0,0,0) doesn’t actually change anything, as that’s the default position of all nodes. It’s included here just for clarity.
Now, when you run the application, you’ll see a capsule shape, as seen in Figure 8-2. However, the first thing you’ll notice about it is that it’s entirely white—there’s no lights in the scene, so SceneKit is simply displaying every part of the object as full-brightness white.
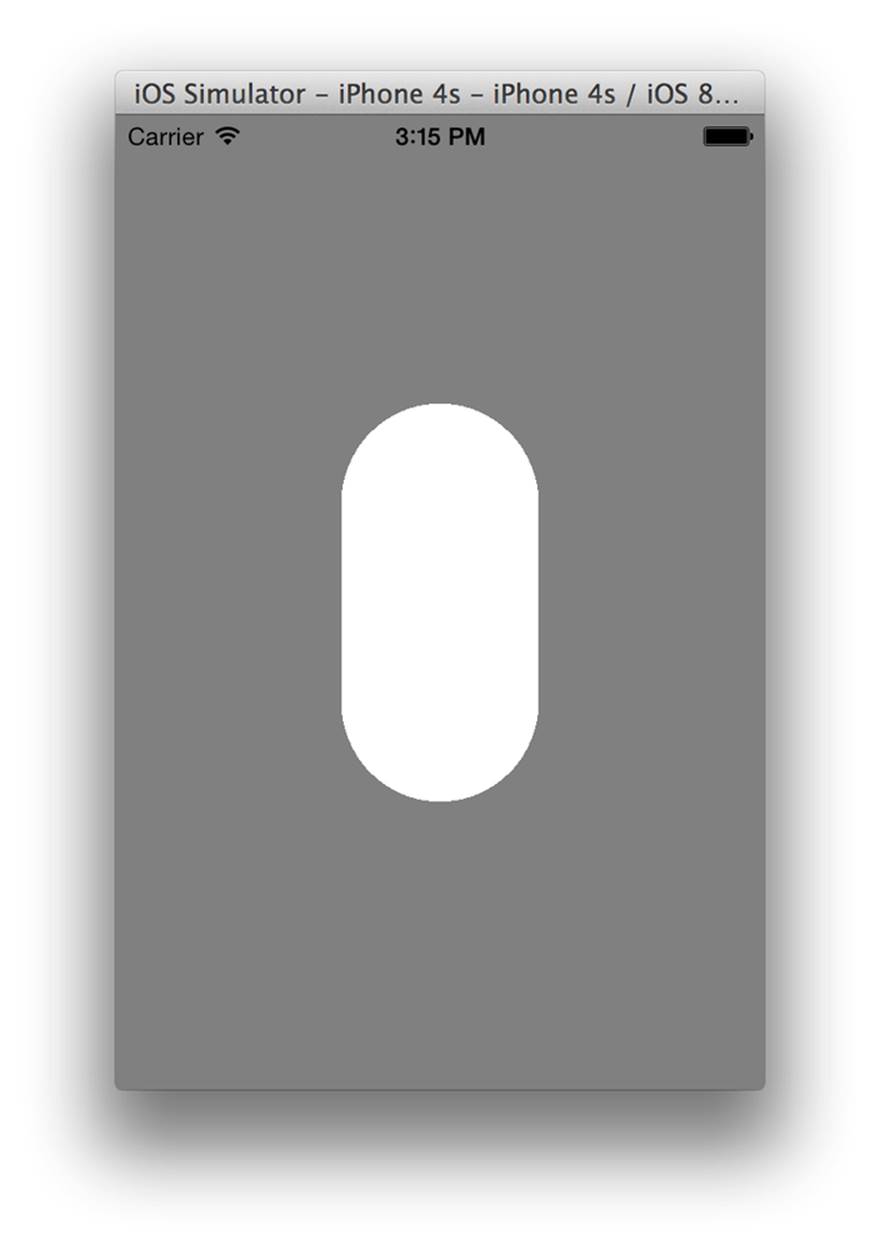
Figure 8-2. The capsule shape
Adding Lights
To improve the picture, we’re going to add some lights. In 3D graphics, there are a number of different types of lights that can be used:
§ Ambient lights, which cast an even light across the entire scene
§ Omni lights, also known as point lights, which radiate light in all directions from a single point
§ Directional lights, which cast light in a single direction
§ Spotlights, which cast light from a single position in a given direction
We’re going to add two lights to the scene: an omni light, which will provide the main light of the scene, as well as an ambient light, which will fill in the rest of the scene:
Lights in SceneKit are represented by the SCNLight class. Just like SCNCamera objects, lights need to be attached to an SCNNode before they’re part of the scene.
1. To create the ambient light, add the following code to the end of viewDidLoad:
2. let ambientLight = SCNLight()
3. ambientLight.type = SCNLightTypeAmbient
4. ambientLight.color = UIColor(white: 0.25, alpha: 1.0)
5.
6. let ambientLightNode = SCNNode()
7. ambientLightNode.light = ambientLight
8.
scene.rootNode.addChildNode(ambientLightNode)
The light is configured with two main properties. The first is its type, which we’re setting to SCNLightTypeAmbient to make it an ambient light. The next is its color; we’re setting that to be a 25% brightness white light.
When you attach an SCNLight to an SCNNode’s light property, that node begins emitting light.
9. The next step is to add the omni light, which is a very similar process to that of adding the omni light.
To create the omni light, add the following code to the end of viewDidLoad:
let omniLight = SCNLight()
omniLight.type = SCNLightTypeOmni
omniLight.color = UIColor(white: 1.0, alpha: 1.0)
let omniLightNode = SCNNode()
omniLightNode.light = omniLight
omniLightNode.position = SCNVector3(x: -5, y: 8, z: 5)
scene.rootNode.addChildNode(omniLightNode)
This creates an omni light, attaches it to a node, and positions it up and to the left a little. The result is shown in Figure 8-3.
Animating Content in the Scene
Content in an SCNScene can be animated: you can move it around, fade colors up and down, rotate, and more. Importantly, you can also combine animations, and take advantage of node parenting: if you apply a movement animation to a node, it will move all of its child nodes along with it.
In SceneKit, animations are represented using the CAAnimation class. This means that if you’re familiar with using Core Animation to animate content in your apps, you already know how to animate your 3D scenes.
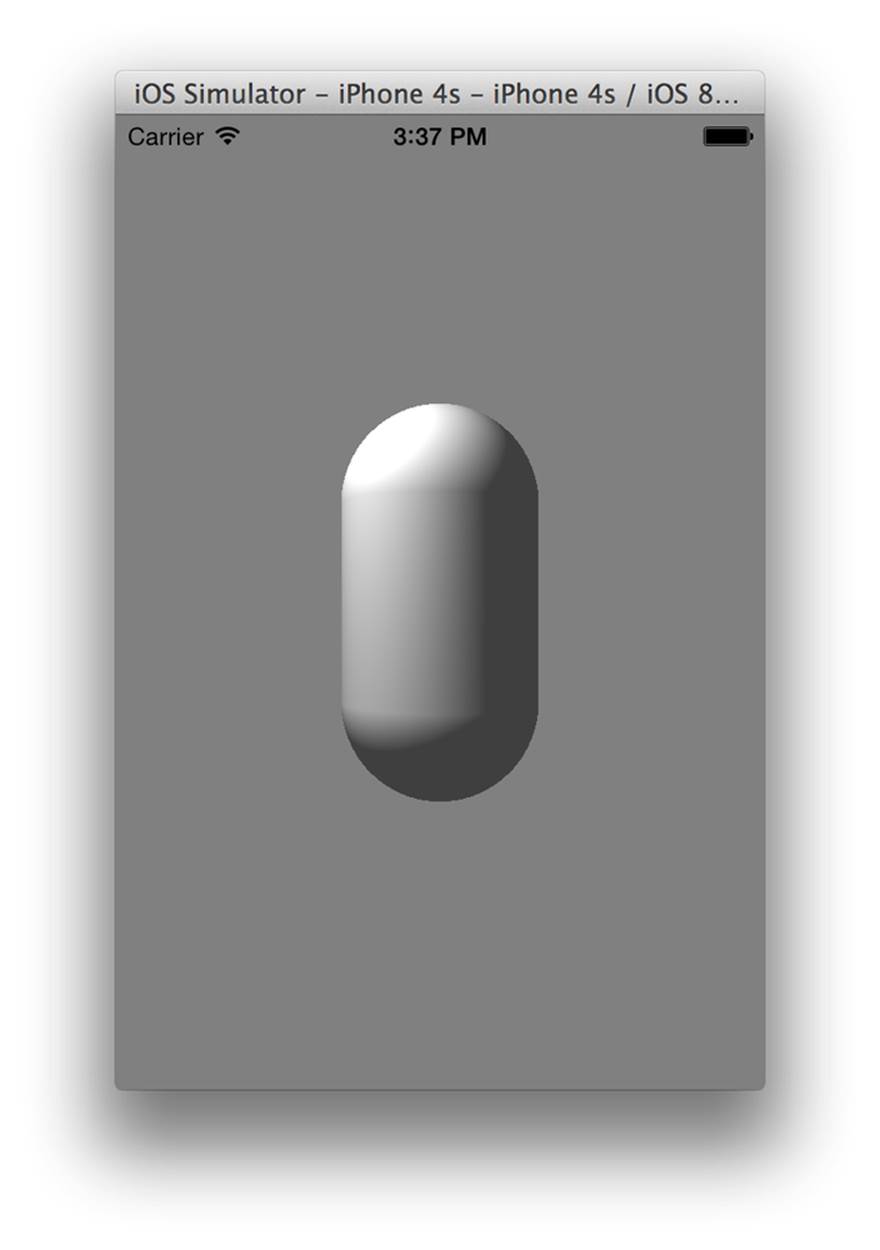
Figure 8-3. The lit capsule
NOTE
Each thing in your scene has different properties that can be animated. Most of the obviously animatable properties can be animated, such as position and orientation; to see if a specific property can be animated, check out the class documentation for the item you want to animate. Anything that can be animated in SceneKit is marked with a little “Animatable” comment.
We’re going to add an animation that makes the capsule smoothly move up and down:
1. To create the animation object, add the following code to the end of viewDidLoad:
2. // This animation changes the 'position' property
3. let moveUpDownAnimation = CABasicAnimation(keyPath: "position")
4.
5. // Move 5 units on the y-axis (i.e., up)
6. moveUpDownAnimation.byValue =
7. NSValue(SCNVector3: SCNVector3(x: 0, y: 5, z: 0))
8. // Accelerate and decelerate at the ends, instead of
9. // mechanically bouncing
10. moveUpDownAnimation.timingFunction =
11. CAMediaTimingFunction(name: kCAMediaTimingFunctionEaseInEaseOut)
12.
13. // Animation automatically moves back at the end
14. moveUpDownAnimation.autoreverses = true
15.
16. // Animation repeats an infinite number of times (i.e., loops forever)
17. moveUpDownAnimation.repeatCount = Float.infinity
18.
19. // The animation takes 2 seconds to run
moveUpDownAnimation.duration = 2.0
20.Once an animation object has been created, you add it to a node, using the addAnimation(_, forKey:) method. Add the following code to the end of viewDidLoad:
capsuleNode.addAnimation(moveUpDownAnimation, forKey: "updown")
When you run the application, the capsule will be slowly moving up and down.
Creating Text Geometry
When we created the capsule, we created an instance of the SCNCapsule class, which represents the geometry of a capsule. There are many other types of geometry classes available, and one of them in particular is especially interesting to graphics programmers: SCNText.
The SCNText class is a subclass of the SCNGeometry class that generates geometry that represents text. All you need to do is to give it your text and a font to use, and it creates geometry that you can attach to a node. Once you’ve done that, you’ve got 3D text.
NOTE
When configuring your SCNText object on iOS, you provide a UIFont. On OS X, you provide an NSFont.
We’ll now add some text to the scene. This will be added as a child node of the capsule, which means that it will move with the capsule without us having to add any new logic to support it. To create the text geometry, add the following code to the end of viewDidLoad:
let text = SCNText(string: "SceneKit!", extrusionDepth: 0.2)
// text will be 2 units (meters) high
text.font = UIFont.systemFontOfSize(2)
let textNode = SCNNode(geometry: text)
// Positioned slightly to the left, and above the
// capsule (which is 10 units high)
textNode.position = SCNVector3(x: -2, y: 6, z: 0)
// Add the text node to the capsule node (not the scene's root node!)
capsuleNode.addChildNode(textNode)
When you run the app, you’ll see text hovering above the capsule, and moving with it (see Figure 8-4).
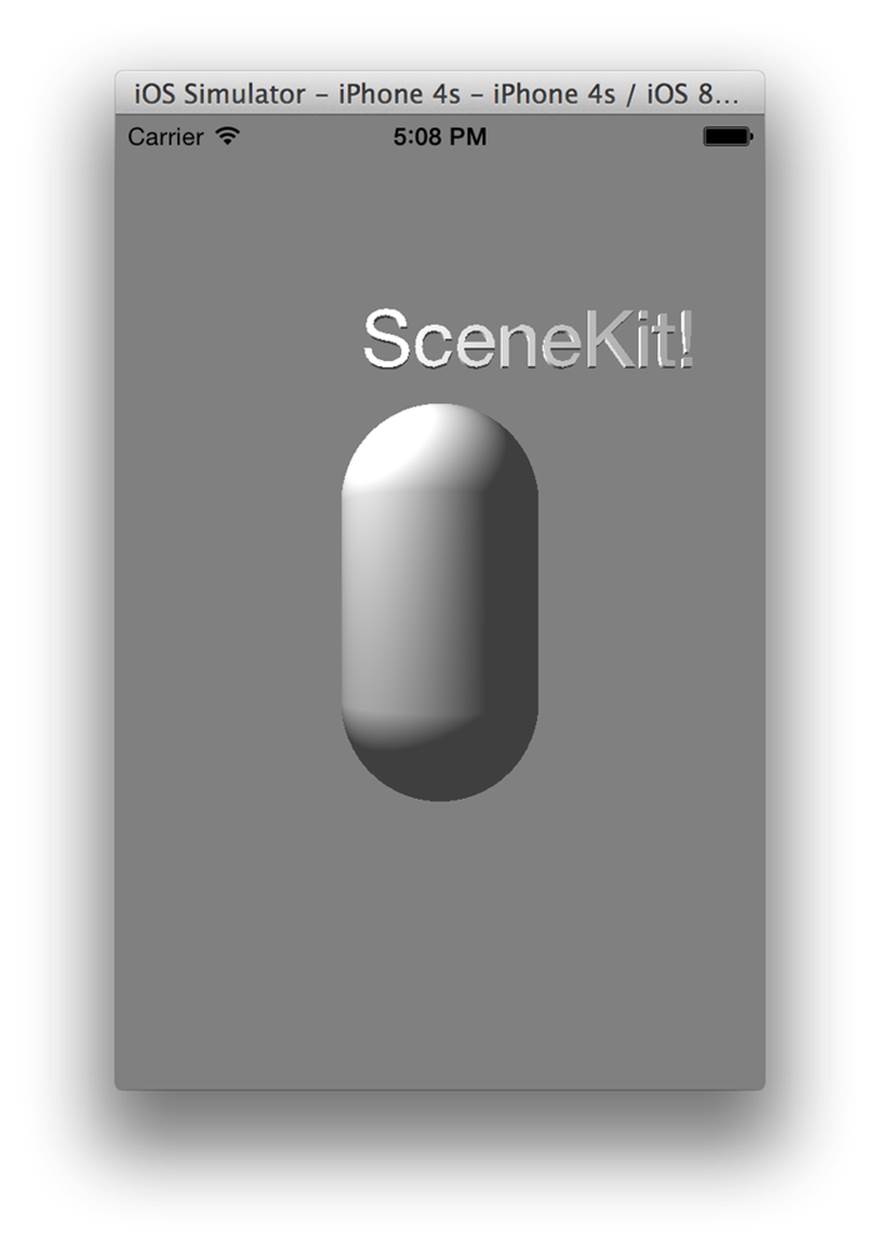
Figure 8-4. The text hovers above the capsule
Combining Animations
When a node is a child of another node, it inherits all animations of the parent. This is why the text moves with the capsule—the animation is changing the position of the capsule, and the text’s position is defined relative to the capsule’s position.
You can add animations to child nodes, and they won’t affect the parent node. Instead, the animations will be combined together. For example, if you add a rotation animation to the text node (which is, as you’ll remember, a child of the capsule), the text node will rotate and move up and down.
You can see this in action by creating an animation of your own. To add the rotation animation, include the following code at the end of viewDidLoad:
// Rotate one full circle (2π) around the Y (up) axis
let rotate = CABasicAnimation(keyPath: "eulerAngles")
rotate.byValue =
NSValue(SCNVector3: SCNVector3(x: Float(0.0),
y: Float(M_PI * 2.0),
z: Float(0.0)))
// Do it forever
rotate.repeatCount = Float.infinity
// Take 4 seconds doing it
rotate.duration = 4.0
textNode.addAnimation(rotate, forKey: "rotation")
When you run the animation, you’ll see the text spinning and moving at the same time.
Working with Materials
A material defines how an object is rendered. By default, all objects are made of a plain, white, nonshiny material. However, you can change pretty much every aspect of this. Among other things, you can change:
The diffuse component
The material’s base color, its texture, and so on
The specular component
How shiny the material is, and how light should reflect off it
The emissive component
Whether the material should appear to be emitting light[5]
The normal component
Whether the surface of the material should have additional detail for light to bounce off
A material in SceneKit is represented by the SCNMaterial class. Each material object has a variety of material properties, which map to the items in the preceding list.
Material properties are represented by the SCNMaterialProperty class, which each have a contents property. You can assign a variety of different things to this property:
§ Colors
§ Images (either NSImage, UIImage, or CGImageRef objects)
§ SpriteKit textures (SKTexture)
§ SpriteKit scenes (SKScene)
To demonstrate, we’re going to apply a texture to the text node, and a shiny metallic surface to the capsule. To create the capsule’s red surface, add the following code to the end of viewDidLoad:
let redMetallicMaterial = SCNMaterial()
redMetallicMaterial.diffuse.contents = UIColor.redColor()
redMetallicMaterial.specular.contents = UIColor.whiteColor()
redMetallicMaterial.shininess = 1.0
capsule.materials = [redMetallicMaterial]
When you want to apply a material to an object, you apply it to its geometry. Geometries can have multiple materials—for example, a car might be composed of its main chassis, which should be opaque and metallic, and its windows, which should be semi-transparent. For this reason, when you apply materials to geometry, you actually provide an array of materials.
In the preceding example, the contents property of both the diffuse and specular material properties were set to a UIColor. This has the effect of using a uniform color over the entire surface. However, if you provide an image to the contents property, the color that’s used on the surface will be taken from the image.
You can provide any image you like. However, one useful thing in SceneKit is the ability to use SpriteKit textures (i.e., SKTexture objects) as contents for material properties. This means that you can use SpriteKit’s SKTexture(noiseWithSmoothness:, size:, grayscale:)method to generate a texture filled with random noise, and then use that in your scene. In this next example, we’ll do just that:
1. To generate the texture, add the following code to the viewDidLoad method:
2. let noiseTexture = SKTexture(noiseWithSmoothness: 0.25,
size: CGSize(width: 512, height: 512), grayscale: true)
Once the texture is generated, it can then be used in a material.
3. Then create a material for the text node. You’ll need to add the following code to the end of the viewDidLoadMethod:
4. let noiseMaterial = SCNMaterial()
5. noiseMaterial.diffuse.contents = noiseTexture
6.
text.materials = [noiseMaterial]
When you run the application, the capsule should be bright red, and the text should have a noise pattern applied over it, as seen in Figure 8-5.
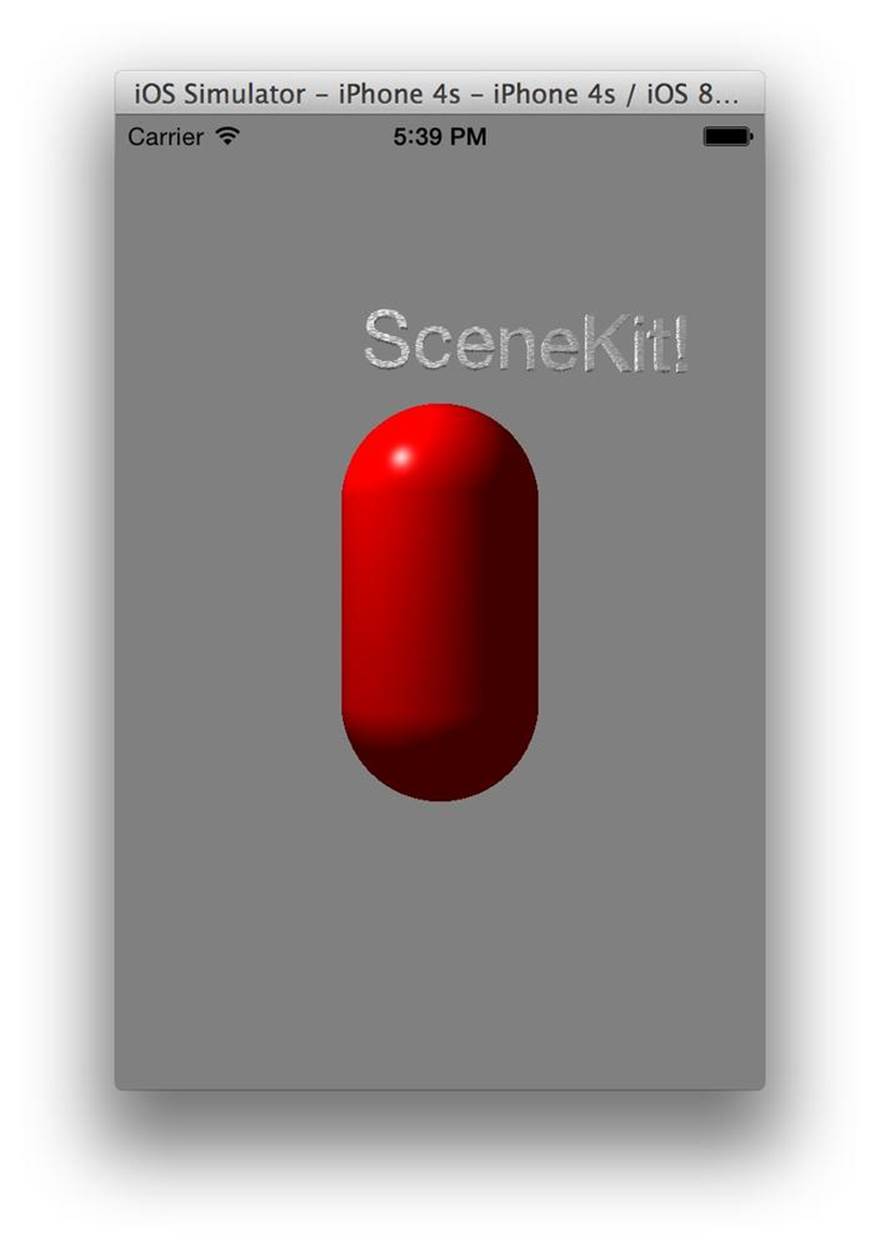
Figure 8-5. The materials, applied to the objects in the scene
Normal Mapping
When a light hits a surface, the light waves bounce off the surface and and enter the camera. The amount of light that’s reflected back at the camera depends on the angle at which the light hit the surface. This is described by Lambert’s cosine law, which states that the apparent brightness of a surface depends on the cosine of the angle between the light’s direction and the normal of the surface.
The normal of a surface is the direction that’s perpendicular to the surface. For example, if you closed this book and put it down on the table, the normal of the book’s front cover would point straight up.
For each polygon that you want to light in a SceneKit scene, the normal of that polygon needs to be calculated. SceneKit does this behind the scenes for you, and it does a decent job of it. However, if you want more detail in your lighting, you’d need to have more polygons. This can lead to performance problems, as it’s more effort for a graphics chip to process a large number of polygons.
Instead, 3D graphics use a technique called normal mapping. Normal mapping involves taking a texture, and using it to work out how light should bounce off the surface at any given point.
Normal mapping means that you get to fake having a higher detail model than you actually do. It’s also very easy to implement: all you need to do is to get a normal map, which is just an image, and apply that to the normal property of your material.
NOTE
Normal maps are usually generated by other software, such as 3D modeling tools. However, SpriteKit has support for generating an approximate normal map from any given texture.
To implement a rough normal map that makes the capsule look very slightly beaten up, we’re going to first create a normal map from the noise texture, and then apply that to the capsule’s material:
1. To create the normal map texture, the noise texture needs to generate a normal-mapped version of itself. Add the following code to the end of the viewDidLoad method:
2. let noiseNormalMapTexture =
3. noiseTexture.textureByGeneratingNormalMapWithSmoothness(0.1,
contrast: 1.0)
4. Apply the normal map to the capsule’s material:
redMetallicMaterial.normal.contents = noiseNormalMapTexture
When you run the app, the capsule will appear very slightly deformed. You can see the result in Figure 8-6.
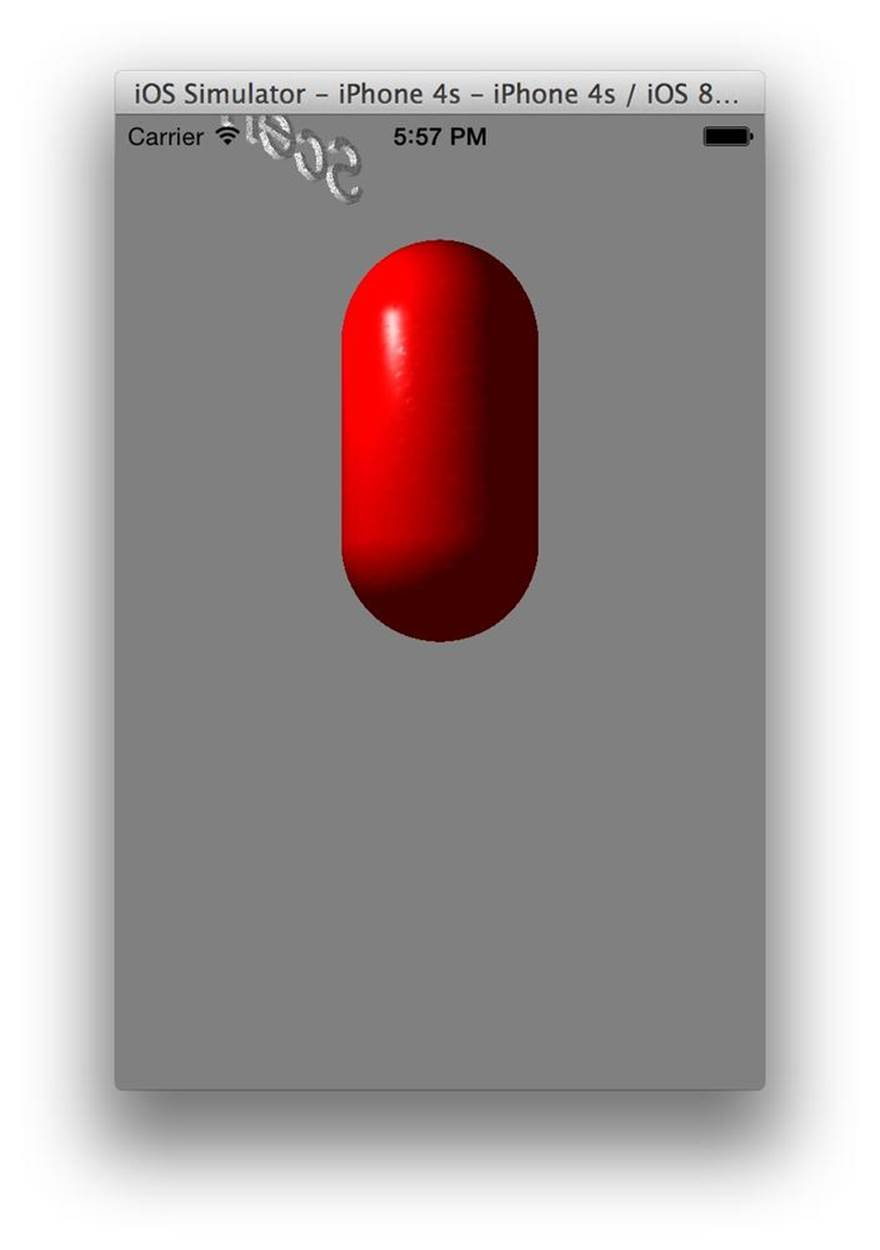
Figure 8-6. The normal-mapped capsule
Hit Testing
Hit testing is the process of taking a position in the view and working out which objects in the 3D are underneath that point in the view. In practical terms, it’s an answer to the question, “What objects am I clicking on or touching?”
When you hit test a SceneKit view, you get back an array of SCNHitTestResult objects, which describe the objects that were found, as well as information like the exact point in 3D space at which the touch or click was, relative to the object.
Hit testing is one of the primary ways in which you interact with a 3D scene, and it allows you to implement things like buttons, object selection, and more. To demonstrate this, we’re going to extend the application to make any object that’s tapped on briefly glow.
The glow effect will be achieved by animating the emission property of the object from black (invisible) to yellow. To detect the taps themselves, we’re going to use a UITapGestureRecognizer:
1. To create and add the tap gesture recognizer, add the following code to the viewDidLoad method:
2. let tapRecognizer
3. = UITapGestureRecognizer(target: self, action: "tapped:")
4. sceneView.addGestureRecognizer(tapRecognizer)
sceneView.userInteractionEnabled = true
NOTE
By default, SceneKit views don’t have user interaction enabled. You need to manually turn on the userInteractionEnabled property for gesture recognizers to work.
2. Next, you need to add the method that responds to the user tapping the view. To implement the tap handler method, add the following method to the ViewController class:
func tapped(tapRecognizer: UITapGestureRecognizer) {
// If a tap has happened:
if tapRecognizer.state == UIGestureRecognizerState.Ended {
// Find the object that was tapped
let sceneView = self.view as SCNView
let hits = sceneView.hitTest(tapRecognizer.locationInView(
tapRecognizer.view),
options: nil) as [SCNHitTestResult]
// Make all selected items highlight
for hit in hits {
// Get the first material, if one exists
if let theMaterial =
hit.node.geometry?.materials?[0] as? SCNMaterial {
// Animate from black to yellow
let highlightAnimation =
CABasicAnimation(keyPath: "contents")
highlightAnimation.fromValue = UIColor.blackColor()
highlightAnimation.toValue = UIColor.yellowColor()
highlightAnimation.autoreverses = true
highlightAnimation.repeatCount = 0
highlightAnimation.duration = 0.3
// Apply this animation to the material's
// emission property
theMaterial.emission.addAnimation(
highlightAnimation, forKey: "highlight")
}
}
}
}
Run the application. Tap on the capsule, and marvel at the wonder of it briefly highlighting, as seen in Figure 8-7.
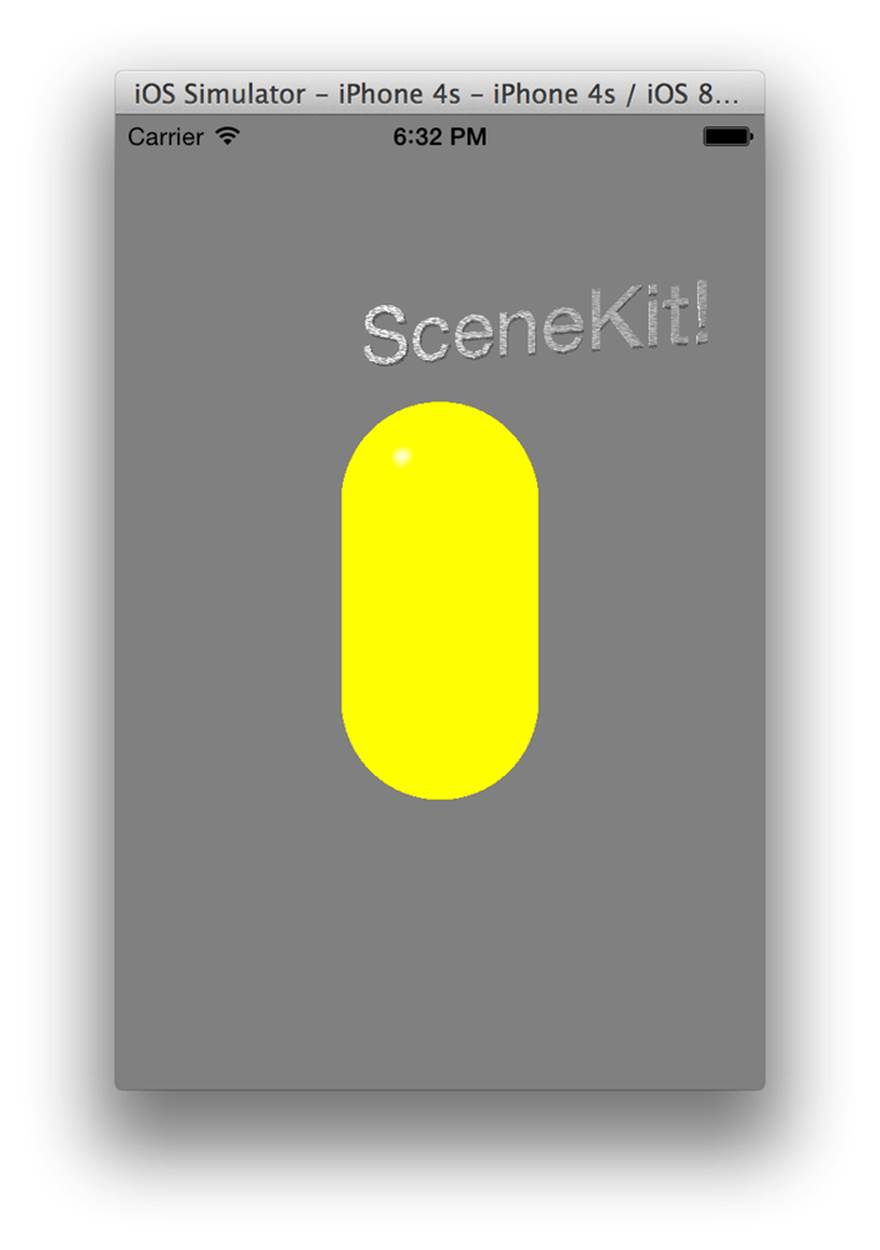
Figure 8-7. The capsule, highlighting yellow
Constraints
You can add constraints to nodes. Constraints are rules that affect a node’s position and orientation; for example, you can add a rule that says, in effect, “your orientation should always be pointing toward another node.” Constraints, in conjunction with animations, physics, or user input, allow you to quickly set up complex scenes and relationships between nodes. Constraints are implemented using the SCNConstraint class, and there are a variety of different subclasses available for you to use.
To demonstrate constraints, we’re going to add a little pyramid, and make it rotate to watch the capsule going up and down:
1. Adding the pyramid is simple: it involves creating some pyramid geometry, attaching it to a node, and then attaching the node to the scene. Add the following code to the end of the viewDidLoad method:
2. let pointer = SCNPyramid(width: 0.5, height: 0.9, length: 4.0)
3. let pointerNode = SCNNode(geometry: pointer)
4. pointerNode.position = SCNVector3(x: -5, y: 0, z: 0)
5.
scene.rootNode.addChildNode(pointerNode)
6. To implement the constraint, add the following code:
7. let lookAtConstraint = SCNLookAtConstraint(target: capsuleNode)
8.
9. // When enabled, the constraint will try to rotate
10. // around only a single axis
11. lookAtConstraint.gimbalLockEnabled = true
pointerNode.constraints = [lookAtConstraint]
Run the application. You’ll see something similar to Figure 8-8—a pyramid will be visible to the left of the capsule, and rotates to look at the capsule as it moves.
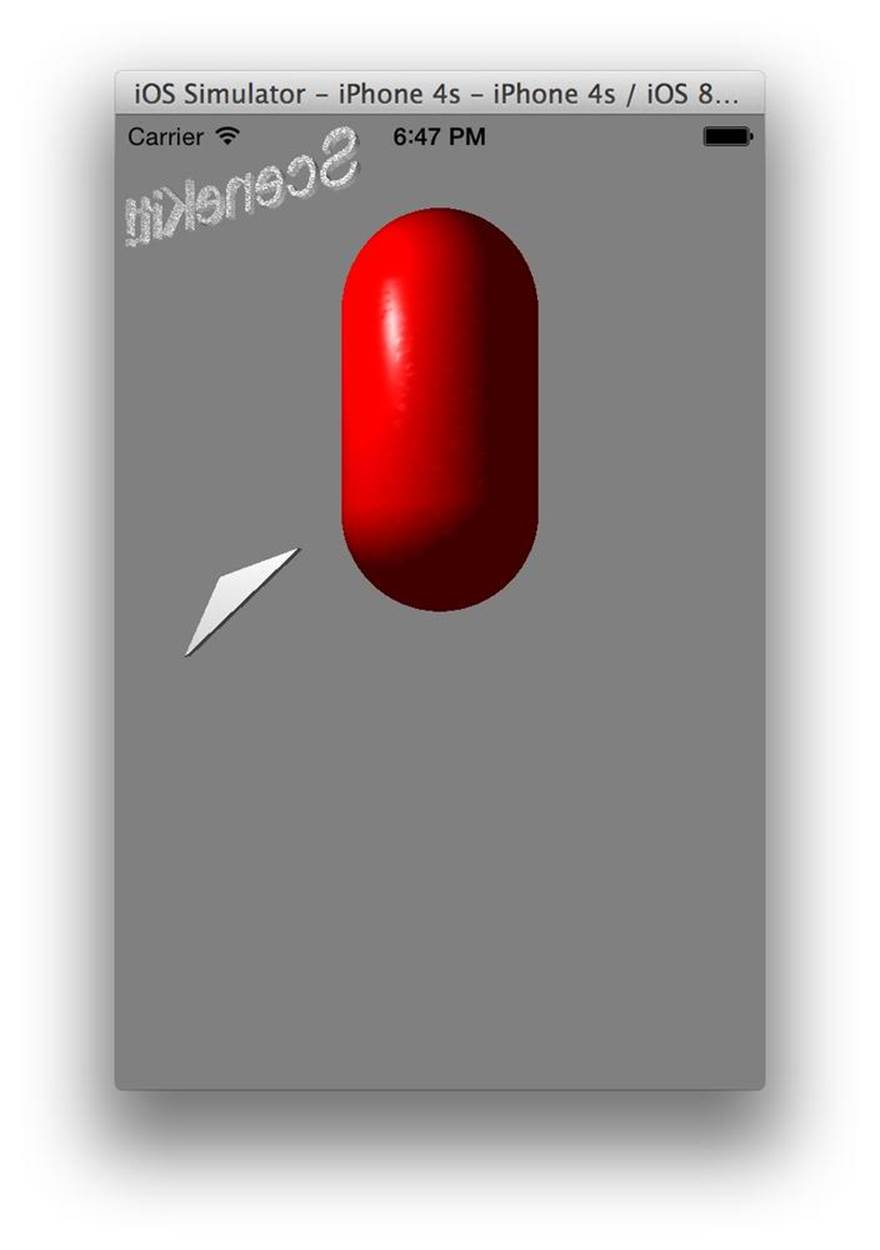
Figure 8-8. The pyramid, constrained to look toward the capsule
Loading Data from COLLADA Files
The COLLADA file format is an industry-standard XML format for exchanging 3D graphics information. COLLADA files can contain a wide variety of useful things, including geometry info (i.e., meshes), materials, textures, and even complete scenes with a node hierarchy.
It’s not fun having to build your scenes entirely in code, and SceneKit is able to make use of COLLADA files to simplify the process.
NOTE
Pretty much any modern 3D modeling tool out there can export to the COLLADA file format. If you don’t have one, or don’t want to get one, you’ll find a simple COLLADA file that contains a squid… thing that Jon made in the sample code provided with this book. Jon is very proud of his squid thing.
COLLADA files are similar to libraries—you can reach into them and pull out only the items that you want, such as materials, or specific models. Alternatively, you can treat them as entire scenes, and give them to SceneKit to render. In this example, we’re going to take the example CritterCOLLADA file and pull a node out of it, and then display it in the scene.
The first step when working with any file in your project is adding it. Find your COLLADA file (it has the extension .dae) and drag and drop it into the project navigator. In the pop-up box that appears, ensure that the “Copy items if needed” checkbox is selected.
Xcode has built-in support for viewing and modifying COLLADA files. If you select the file Critter.dae in the project navigator, the COLLADA editor will open, and you can view the contents of the file, as shown in Figure 8-9.
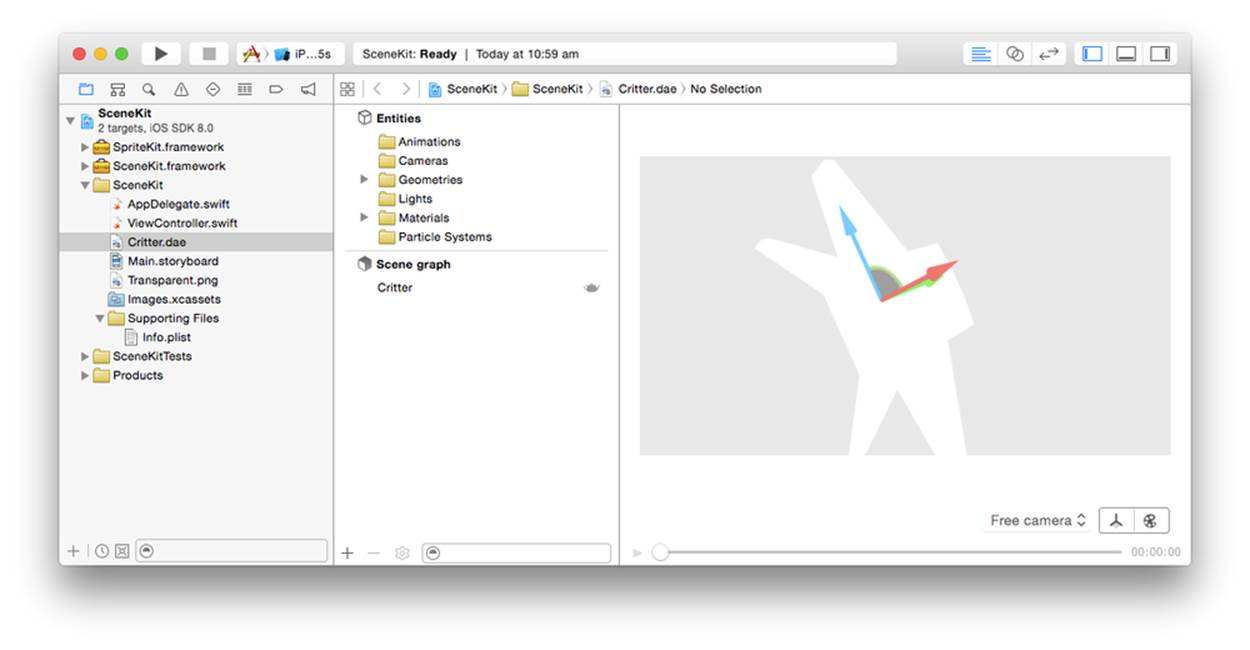
Figure 8-9. The SceneKit COLLADA editor
COLLADA files are arranged in a tree-like structure, much like your SceneKit scenes. If you look at the Outline view at the left of the editor, you’ll notice that the scene graph contains a single node, called Critter (see Figure 8-10). This node can be loaded by your code and inserted into your scene.
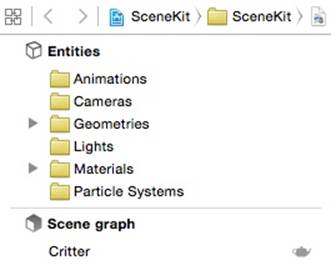
Figure 8-10. The scene graph
You can ask Cocoa to give you an NSURL that refers to the location of this file. Once you have that, you can construct a COLLADA file loader.
The file loader is represented by the SCNSceneSource class; all you need to do is to give it a URL to load from:
1. First, load the data into an SCNSceneSource object. Add the following code to the end of the viewDidLoad method.
2. let critterDataURL =
3. NSBundle.mainBundle().URLForResource("Critter",
4. withExtension: "dae")
let critterData = SCNSceneSource(URL: critterDataURL!, options: nil)
5. COLLADA files contain named objects. As we saw earlier, there’s a node called Critter in the scene graph; this can be accessed and inserted into the SKScene. To include the Critter node in the scene, add the following code to the end of the viewDidLoad method:
6. // Find the node called 'Critter'; if it exists, add it
7. let critterNode = critterData?.entryWithIdentifier("Critter",
8. withClass: SCNNode.self) as? SCNNode
9. if critterNode != nil {
10. critterNode?.position = SCNVector3(x: 5, y: 0, z: 0)
11. scene.rootNode.addChildNode(critterNode!)
}
Run the game. The critter will be visible to the right of the capsule, as seen in Figure 8-11.
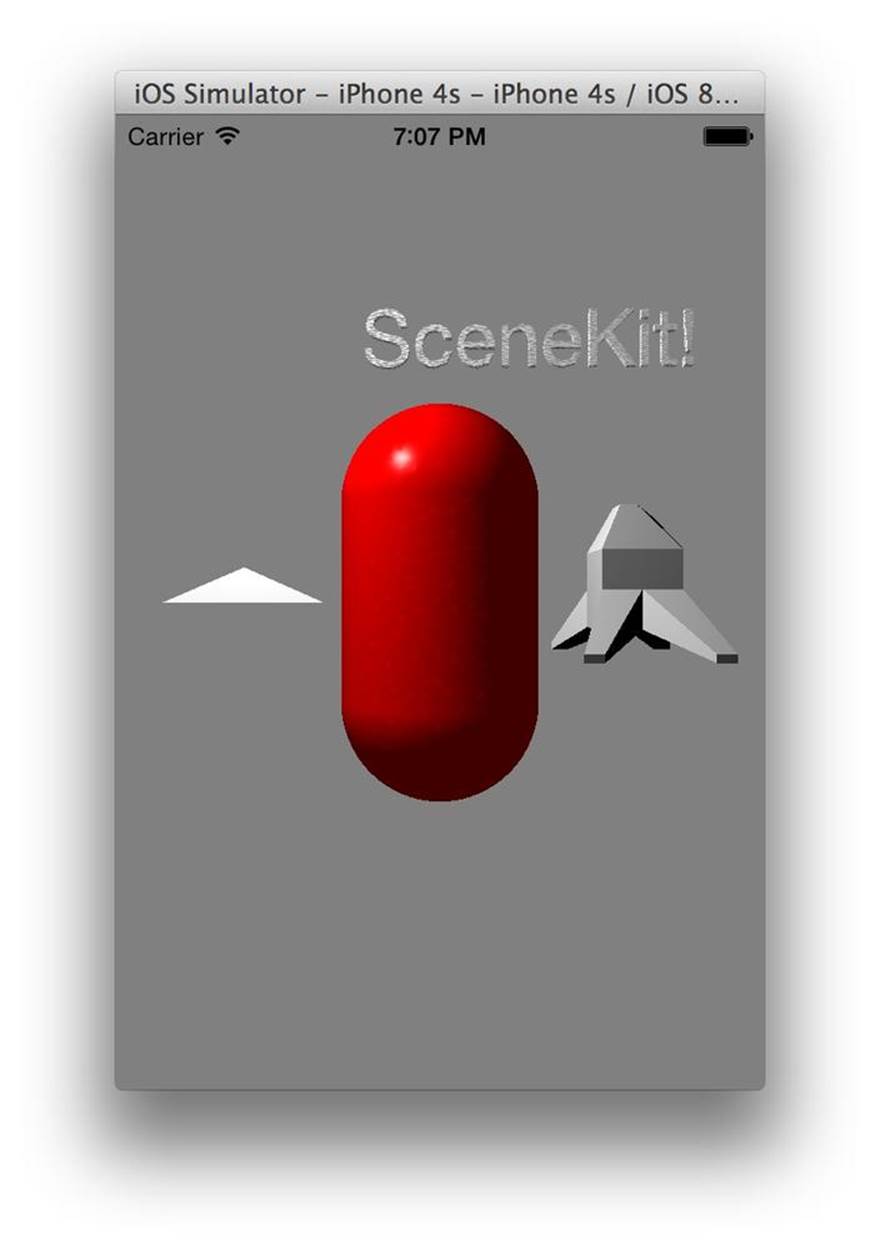
Figure 8-11. The critter, visible in the scene
Adding Physics to the Scene
SceneKit comes equipped with a 3D physics engine. Physics engines add physical simulation to your scene (i.e., they apply gravitational forces, detect and handle collisions, and generally add realism to the scene).
To add physics to a node in SceneKit, you create an instance of SCNPhysicsBody, and attach it to the node. Once the object has a physics body, it begins being affected by physics.
Physics bodies have their own requirements. In order to know how objects should collide with each other, the physics system needs to know about the object’s physical shape. This is kept deliberately separate from the node’s visible geometry, as you’ll often have cases where you have a very high-detail object (like a super-sci-fi crate), but only need to represent that as a simple six-sided box. If you need to, though, you can create a physics shape with arbitrary geometry.
We’ll start by creating the shape, and then use that to create the physics body. We can then add that to the critter mesh, which will make it start falling due to gravity. Here are the steps you’ll need to follow:
1. To create the physics shape, add the following code to the end of viewDidLoad:
2. var critterPhysicsShape : SCNPhysicsShape?
3. if let geometry = critterNode?.geometry {
4. critterPhysicsShape =
5. SCNPhysicsShape(geometry: geometry,
6. options: nil)
}
7. Then, once the physics shape is ready, you can construct the physics body, and give it to the node. Add the following code:
8. let critterPhysicsBody =
9. SCNPhysicsBody(type: SCNPhysicsBodyType.Dynamic,
10. shape: critterPhysicsShape)
critterNode?.physicsBody = critterPhysicsBody
11.At this point, you can run the application. The critter object will begin falling, and will move off-screen.
NOTE
When you create a physics body, you provide a type. There are three different possible types:
§ Static bodies never move. They’re not affected by gravity, but objects collide with them. They’re perfect for terrain and other fixed items in your scene.
§ Kinematic bodies aren’t affected by physical forces, but if an animation is running on them, they’ll push other physics bodies out of the way. This means that they can be used, for example, as elevators.
§ Dynamic bodies are affected by gravity and by other objects. If another object collides, they’ll move.
There’s one last thing to add: a floor for things to land on. The SCNFloor class, which defines the geometry of a floor, is perfect for this. We’ll also create a physics body for this floor, and make it static, so that it stays locked in place and lets the critter land on it. To include a floor, add the following code to the end of the viewDidLoad method:
let floor = SCNFloor()
let floorNode = SCNNode(geometry: floor)
floorNode.position = SCNVector3(x: 0, y: -5, z: 0)
scene.rootNode.addChildNode(floorNode)
let floorPhysicsBody =
SCNPhysicsBody(type: SCNPhysicsBodyType.Static,
shape: SCNPhysicsShape(geometry: floor, options: nil))
floorNode.physicsBody = floorPhysicsBody
Run the application. You’ll see a nice, shiny, reflective floor, like the one you see in Figure 8-12.
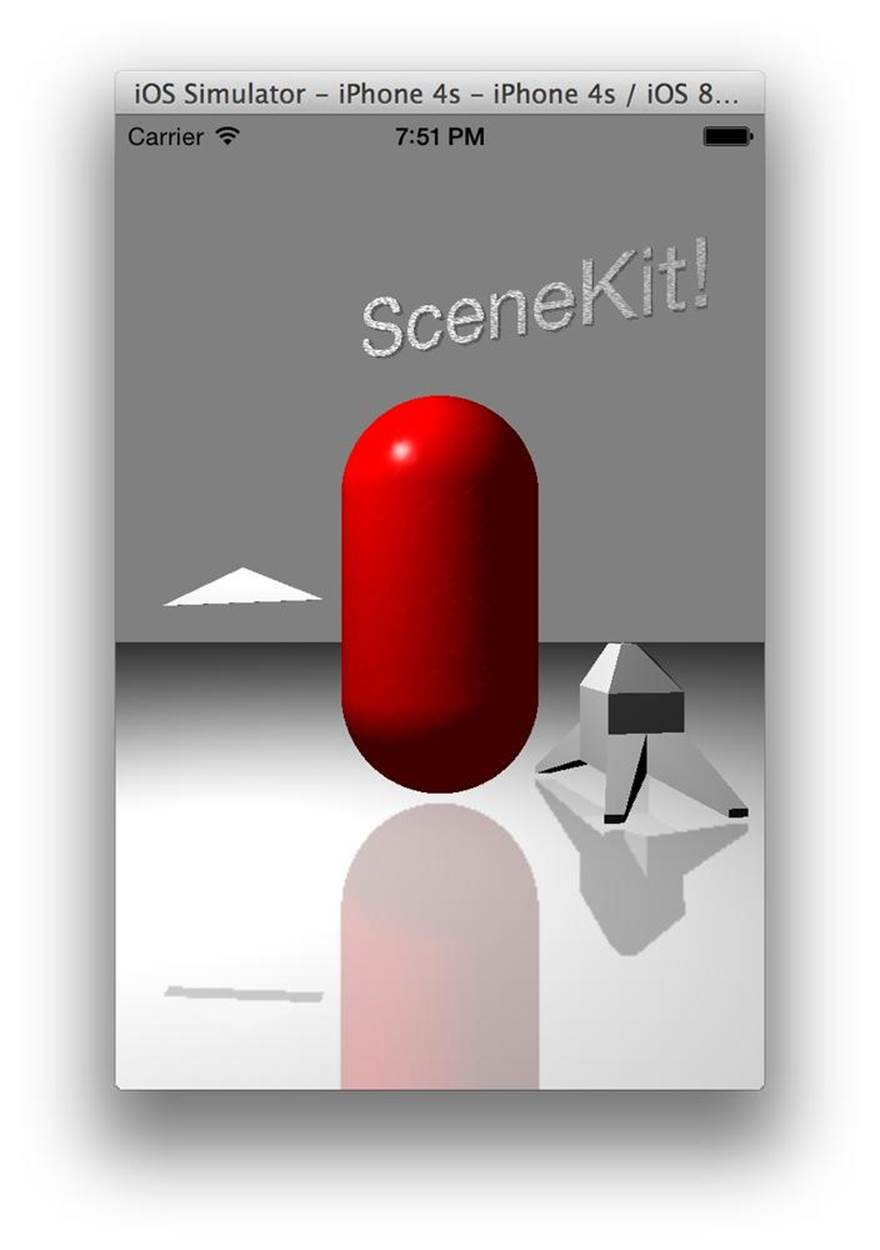
Figure 8-12. The final SceneKit scene
[5] This is a different concept from SCNLight objects. When an object has an emissive material, it doesn’t cast light onto other nearby objects, but rather it looks to the camera like the surface is glowing.