FREE Guru Level Training For Beginners (2014)
Chapter 3: Developing Your Very Own App
“If debugging is the process of removing software bugs, then programming must be the process of putting them in.” – Edsger Dijkstra
Here’s a step-by-step guide on how to make your first app.
1. 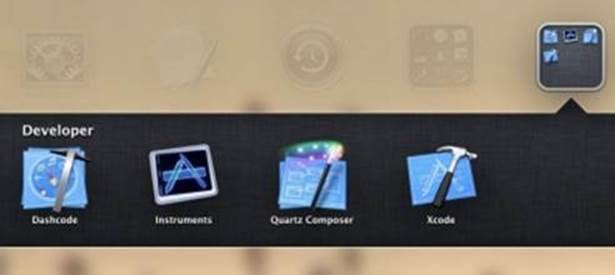 Launch Xcode from the Launchpad.
2. Click on Create a New Xcode Project.
3. Choose Empty Application and then, hit Next. As a beginner you need to start from the basics with this Application.
4. You will see another screen. Fill out the areas as follows:
Product Name: Hello World. This is merely the name of your app.
Organization name: John Doe. You can use your own name here or if you have a company, type in its name.
Company Identifier: com.JohnDoe. This is nothing more than the domain name. There are several other apps out there with names similar to your app. The Company Identifier helps differentiate your app from those that already exist.
Class Prefix- JD: Once you learn how to make your own app you can leave it blank too. For now, we will stick with the initials of your name.
Device Family: iPhone. App developers have to deploy the app so that it can be used on an app. Since you’re learning to make an app for your mobile phone, select iPhone.
Use Coredata- Leave this unchecked. You don’t need to use this yet.
5. Hit Next. Save the file on the desktop of your Mac for your own ease. This way you won’t have to spend time looking for it.
6. Deselect the version control option and click Create.
7. You will be presented with an empty version of the app. This is because you haven’t created the App yet. Now, go into the Window option, click on Scale and hit 50%. You will see that the size of the screen has been decreased. Since you are not using the Retina Display, you need to adjust the scale for your iPhone.
8. If you remember, we spoke about how IDEs can be used to debug, create and run apps in previous chapters. Before you go on, familiarize yourself with how this is done. The left side of the IDE is the Project Navigator. This is what you use when you want to make a new project. The Debugger Area which can be seen in the center of the screen is used to get rid of any glitches and bugs so that the app can run smoothly. This is usually seen under the View which is merely an empty space. The Utility Area, at the extreme right, is used to build the interface, configure various attributes and you would also see various file templates that can be used to make the project.
The Toolbar is what allows you to run the app you have just created. Here’s a picture of the Toolbar:

9. Hit Run and the IDE would run your app in the Simulator. You would see nothing more than a white screen. You just learned how to run your very first project.

The white screen
10. Click on the stop button so you can fill in the white screen. To the left you will find the Main.Storyboard file. When you click on this you will come across see the Interface Builder.
11. Return to the Project Navigator. Once you have done so, you need to right-click on the HelloWorld app. Then, click on New File.
12. This would bring you to the “Choose a template for your new file” section. Click on Objective-C class and then, hit Next.
13. Type HelloWorldViewController in the Class namespace and UIViewController in the namespace entitled Class of space. Check with XIB for user interface.
14. When you click Next you would see another screen with a file dialogue box. All you need to do is to click Create and this would automatically create a class and XIB. The IDE will then, create 3 files: HelloWorldViewController.h, HelloWorldViewController.m and HelloWorldViewController.xib.
15. Click the last file and you would see the HelloWorld Interface Builder.
16. Now we would learn to add a button to the app. The screenshot below would illustrate how to do so.
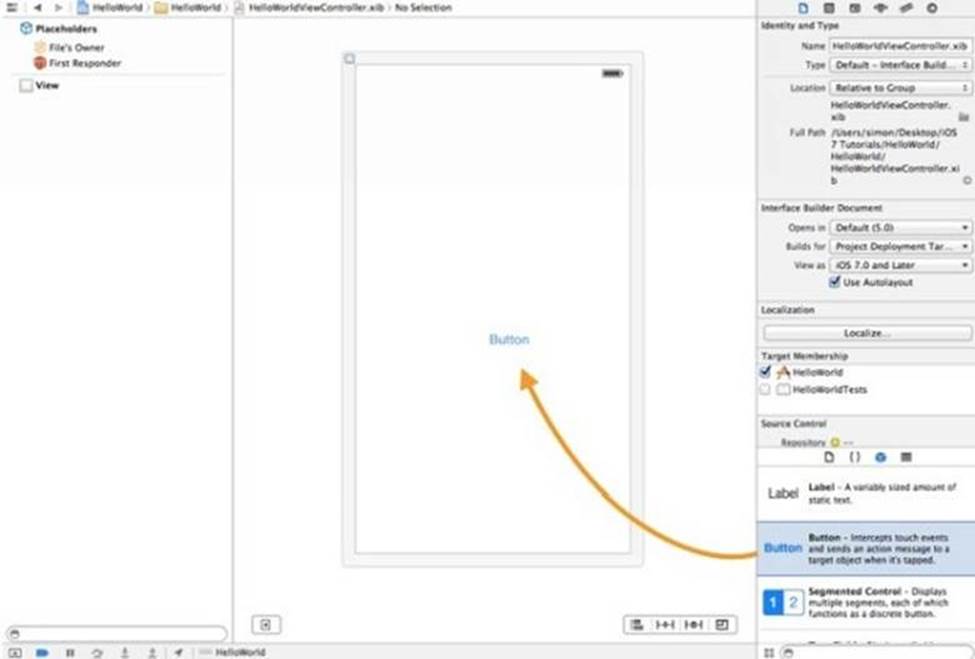
17. Double-click on the label (Button) and type in HelloWorld.
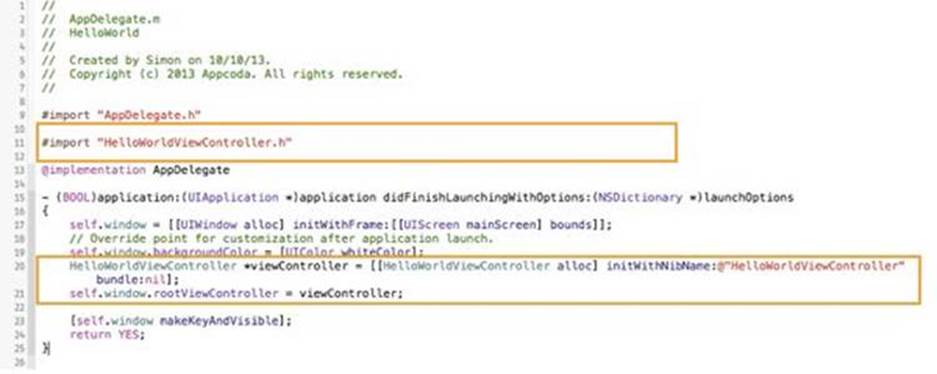
18. Go to Project Navigator and select AppDelegate.m. Add this statement at the beginning of the file:1 #import "HelloWorldViewController.h".
19. Add this code in the didFinishLaunchingWithOptions: method immediately afterself.window.backgroundColor = [UIColor whiteColor].
|
1. HelloWorldViewController *viewController = [[HelloWorldViewController alloc] initWithNibName:@"HelloWorldViewController" bundle:nil]; |
|
2. self.window.rootViewController = viewController; |
For clarification purposes, look at the image attached below to get an idea of what the code should look like once you are done:
20. Go back to the Project Navigator. Once here select HelloWorldViewController.h. Type in IBAction)showMessage; so that your code looks like this:
|
1. #import <UIKit/UIKit.h> |
|
2. @interface HelloWorldViewController : UIViewController |
|
3. // |
|
4. -(IBAction)showMessage; |
|
5. // |
|
6. @end |
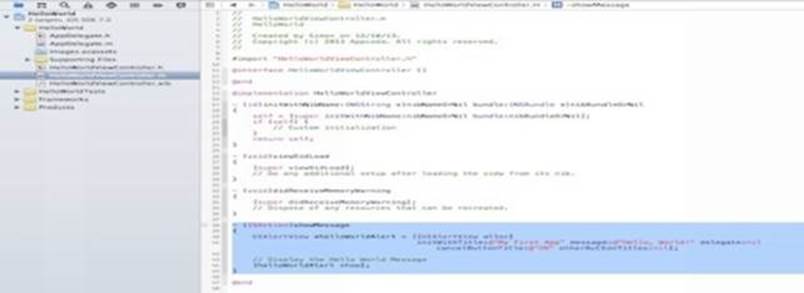
21. Immediately after this, click on HelloWorldViewController.m and add the following code before the @end line and after the –(IBAction)showMessage; code (displayed above):
|
{ |
|
UIAlertView *helloWorldAlert = [[UIAlertView alloc] |
|
initWithTitle:@"My First App" message:@"Hello, World!" delegate:nil cancelButtonTitle:@"OK" otherButtonTitles:nil]; |
|
// Display the Hello World Message |
|
[helloWorldAlert show]; |
|
} |
22. Below is a screenshot of how you want the codes to appear. The area highlighted in blue would shows you where you need to add in the aforementioned codes:
23. Select the file entitled HelloWorldViewController.xib and return to the Interface Builder.
24. Press and then, hold “Control” and click on the HelloWorld button.
25. Drag this to the File’s Owner.
26. Let go of the buttons and you would see a pop-up. The pop-up shows the “showMessage” action. Click on this. Doing so would enable you to connect the button with the showMessage action.
27. Click run and the HelloWorld App should appear on your screen.
See, that wasn’t so difficult.
The next chapter will show you how to use the same steps to make the Space Shooter app on your iPhone!