iOS 9 Swift Programming Cookbook (2015)
Chapter 3. The User Interface
3.3 Creating Anchored Constraints in Code
Problem
You want your code to use the same layout anchors that IB uses.
Solution
Start using the new anchor properties on UIView, such as leadingAnchor and trailingAnchor.
Discussion
Layout anchors are very useful for arranging your components on the screen. Let’s say that you have two buttons on your view, arranged horizontally, and you want the second button to be placed 10 points to the right of the first button.
First create two buttons on your view using IB and then place them next to each other, horizontally. The horizontal space between them does not matter so much right now. Then select both of them and in the Resolve Auto Layout issues button (rightmost button in Figure 3-3), under the Selected Views, choose the Add Missing Constraints option (see Figure 3-10).
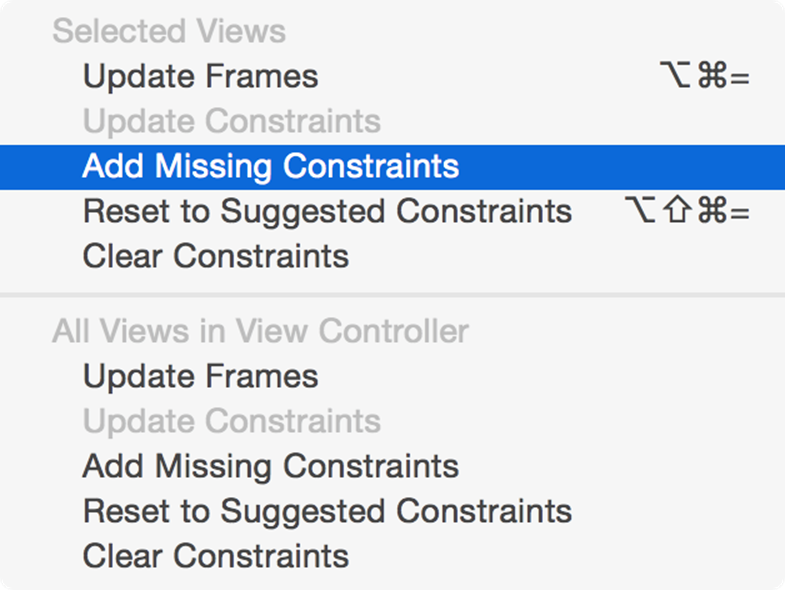
Figure 3-10. Adding the missing constraints to our buttons
Then select the second button (on the right). Under the Size Inspector, find the “Leading Space to” constraint, double click on it, and choose the “Remove at build time” option (see Figure 3-11). This will make sure that the leading constraint, which we are going to create in code, will be present in IB while checking things out, but that during the project run the constraint will be removed, giving us the ability to replace it.
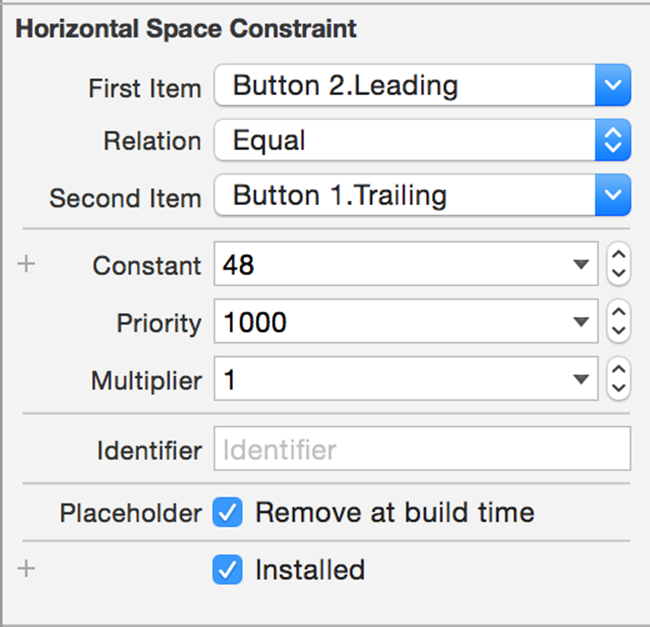
Figure 3-11. Removing the leading constraint at build time will give us a window to replace it at runtime
Now link your buttons into your code with names such as btn1 and btn2. In the viewDidLoad method of your view controller, write the following code:
override func viewDidLoad() {
super.viewDidLoad()
btn2.leadingAnchor.constraintEqualToAnchor(btn1.trailingAnchor,
constant: 10).active = true
}
Now run your app and see how your second button is trailing your first button horizontally with a 10-point space between them. You can use the following anchors in your views:
§ bottomAnchor
§ centerXAnchor
§ centerYAnchor
§ firstBaselineAnchor
§ heightAnchor
§ lastBaselineAnchor
§ leadingAnchor
§ leftAnchor
§ rightAnchor
§ topAnchor
§ trailingAnchor
§ widthAnchor
NOTE
All of these anchors are direct or indirect subclasses of the NSLayoutAnchor class. The horizontal anchors specifically are subclasses of the NSLayoutXAxisAnchor class and the vertical ones are sublcasses of NSLayoutYAxisAnchor.
Now, just to play with some more anchors, let’s create a view hierarchy like the one in Figure 3-12. We are going to place a red view under the first button and set the width of this view to the width of the button in our code.
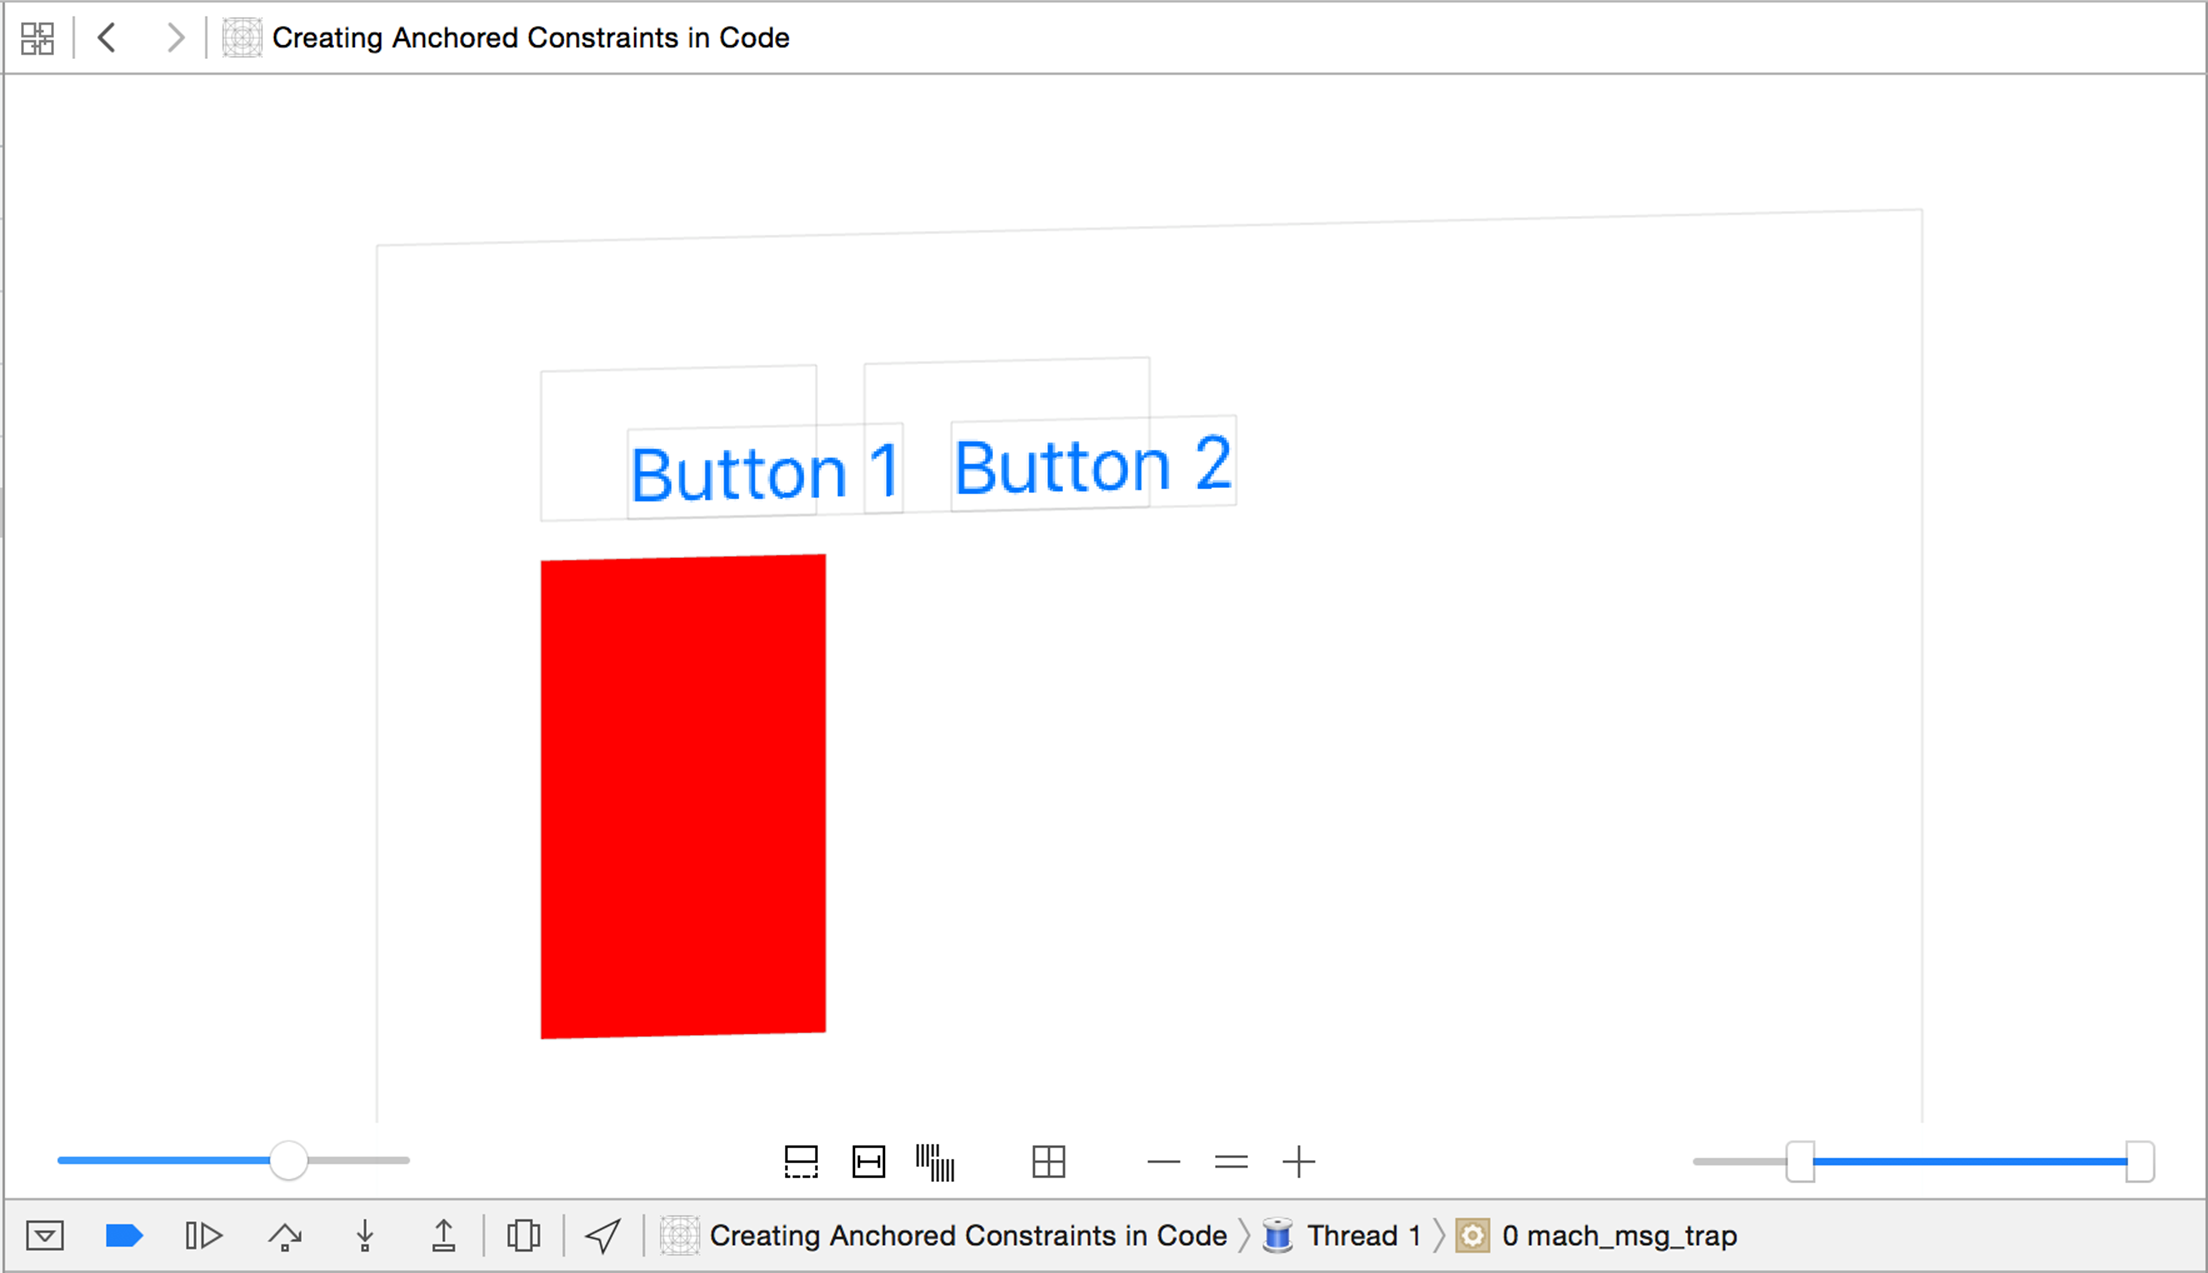
Figure 3-12. Two buttons and a view
In IB, drag and drop a view onto your main view and set the background color of it to red so that you can see it better. Drag and drop it so that it is aligned under the two buttons with a proper left and top margins (see Figure 3-13).
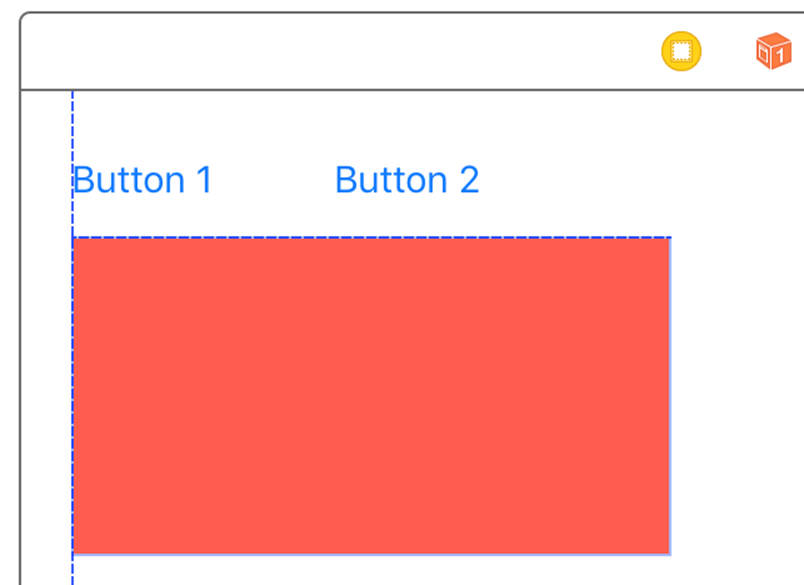
Figure 3-13. Align the red view like so
Anchor the vies as follows:
1. Select the red view.
2. In IB, choose the Resolve Auto Layout issues button.
3. Under the Selected View section, choose Add Missing Constraints.
4. Go to the size inspector. For the red view, find the “Trailing Space to” constraint and delete it by selecting it and pressing the delete button.
5. Select the red button in the view hierarchy, hold down the Control button on your keyboard, and drag and drop the button into itself.
6. A menu will appear. In the menu, choose Width to create a width constraint. Then find the new width constraint in the size inspector, double click on it, and choose the “Remove at build time” option (see Figure 3-14).
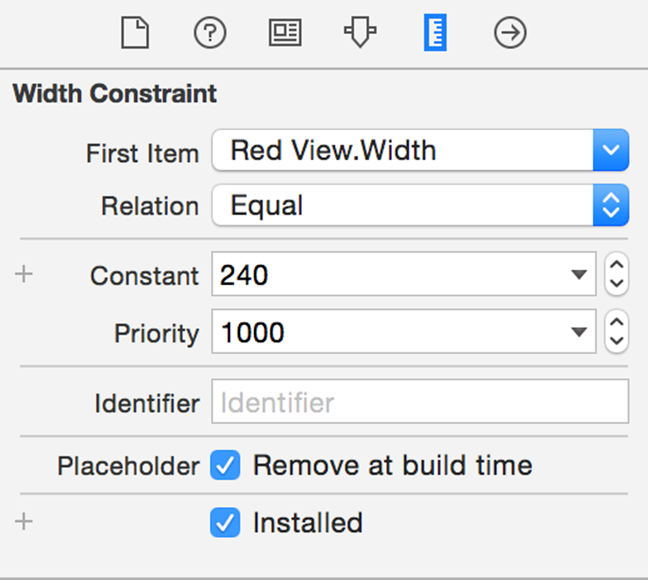
Figure 3-14. Remove the automatically built width constraint at build time so that we can replace it in code
Now create an outlet for this red view in your code (I’ve named mine “v”) and add the following code to your viewDidLoad:
v.widthAnchor.constraintEqualToAnchor(btn2.widthAnchor,
constant:0).active = true
See Also
All materials on the site are licensed Creative Commons Attribution-Sharealike 3.0 Unported CC BY-SA 3.0 & GNU Free Documentation License (GFDL)
If you are the copyright holder of any material contained on our site and intend to remove it, please contact our site administrator for approval.
© 2016-2026 All site design rights belong to S.Y.A.