iOS 9 Swift Programming Cookbook (2015)
Chapter 3. The User Interface
3.11 Recording the Screen and Sharing the Video
Problem
You want your user to be able to record their screen while in your app and then edit and save the results. This is really important for games providing replay functionality to gamers.
Solution
Follow these steps:
1. Import ReplayKit.
2. Get a recorder of type RPScreenRecorder using RPScreenRecorder.sharedRecorder().
3. Call the available property of the recorder to see whether recording is available.
4. Set the delegate property of the recorder to your code and conform to the RPScreenRecorderDelegate protocol.
5. Call the startRecordingWithMicrophoneEnabled(_:handler:) method of the recorder.
6. Wait until your handler method is called and then check for errors.
7. If no error occurred, once you are done with recording, call the stopRecordingWithHandler(_:) on the same recorder object.
8. Wait for your handler to be called. In your handler, you’ll get an instance of the RPPreviewViewController class.
9. Set the previewControllerDelegate property of the preview controller to your code and conform to the RPPreviewViewControllerDelegate protocol.
10.Preset your preview controller.
Discussion
When playing games, you might be given the option to record your screen for later playback or sharing with others. So let’s define our view controller:
import UIKit
import ReplayKit
class ViewController: UIViewController, RPScreenRecorderDelegate,
RPPreviewViewControllerDelegate {
...
Set up your UI as shown in Figure 3-27. The start and stop buttons are self explanatory. The segmented control is there just so you can play with it while recording and then see the results after you’ve stopped the playback.
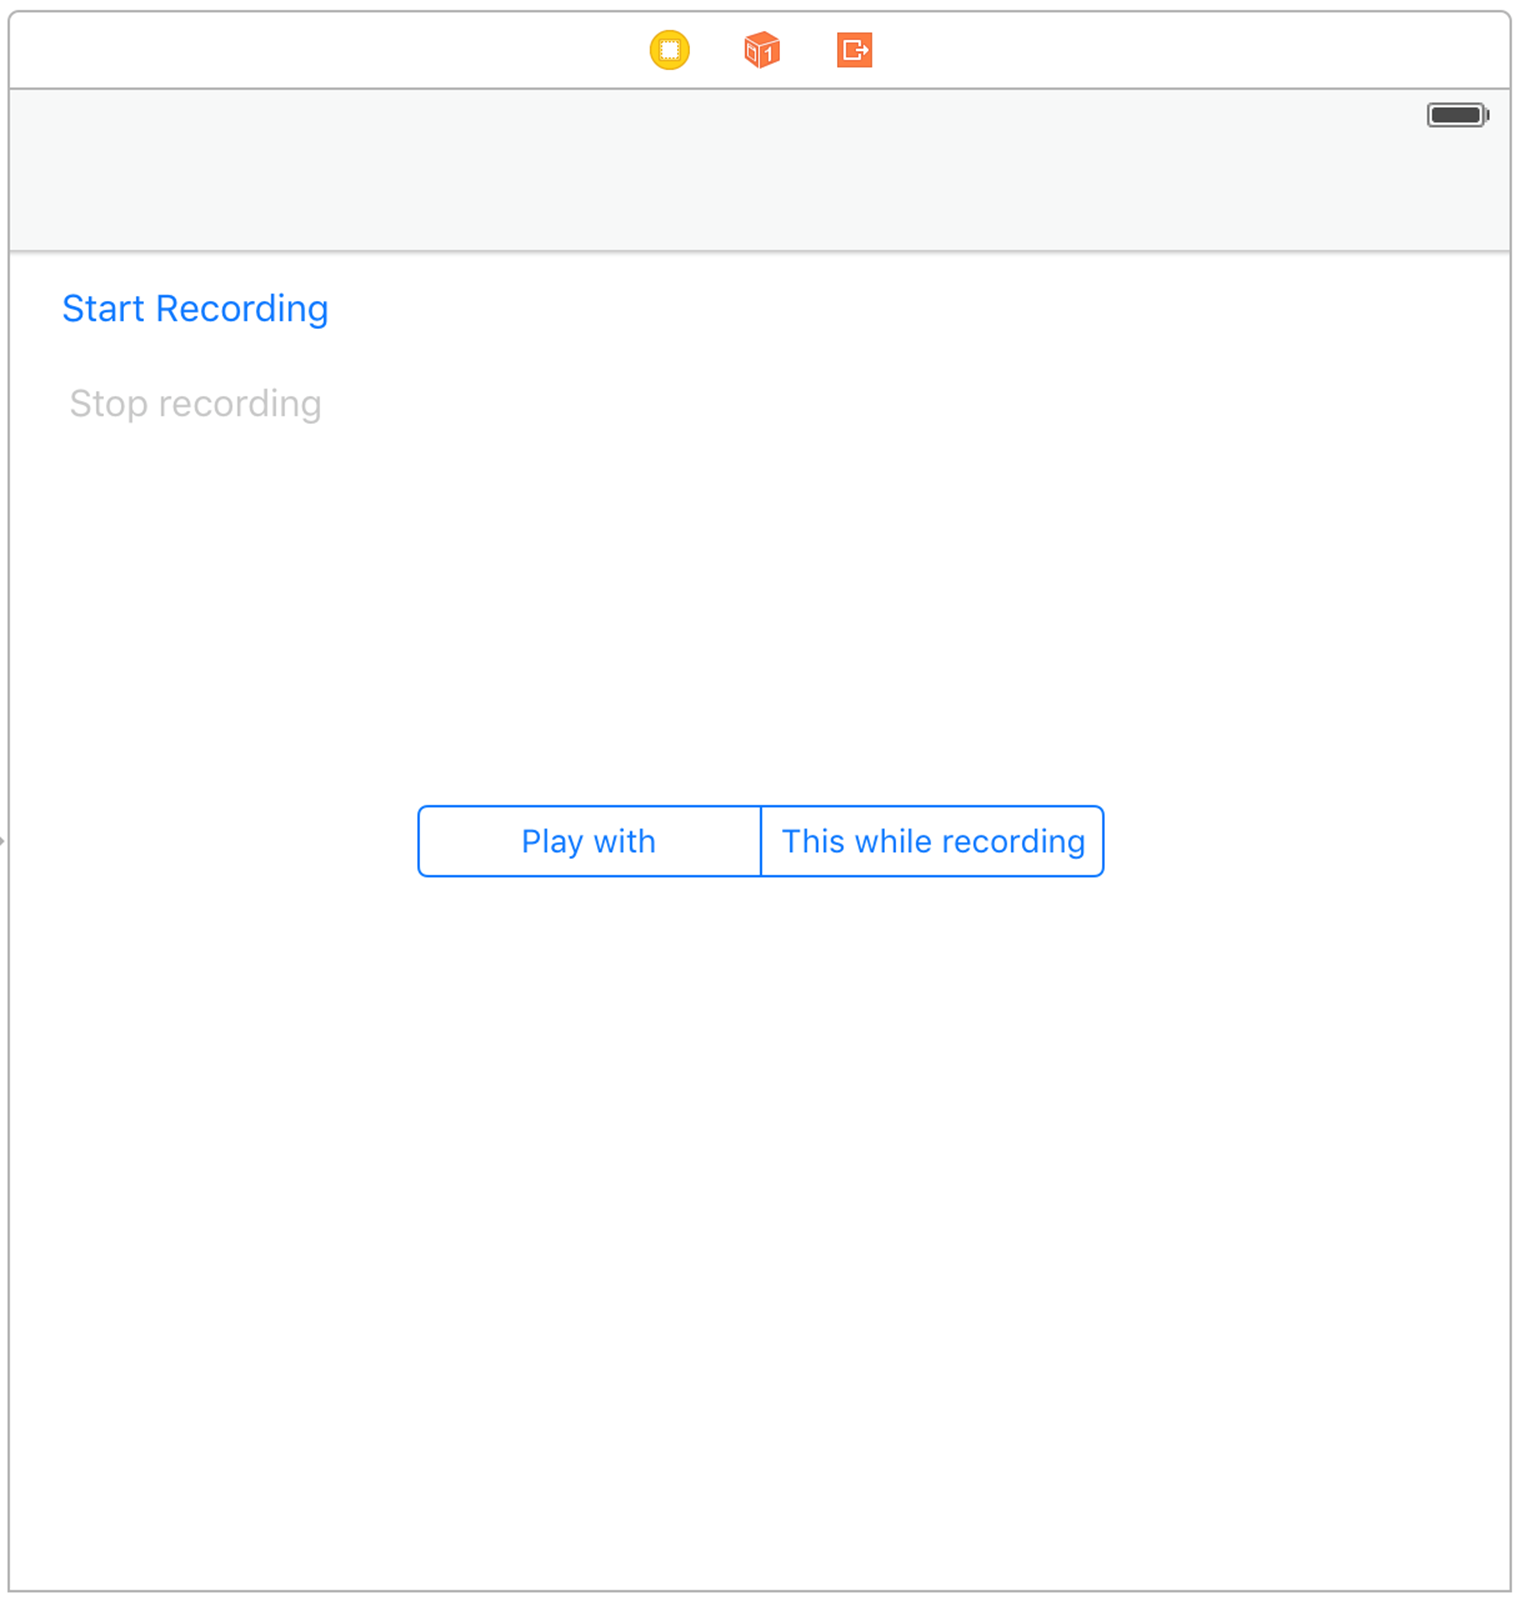
Figure 3-27. Initial layout
I hook up the buttons to my code:
@IBOutlet var startBtn: UIButton!
@IBOutlet var stopBtn: UIButton!
And here I’ll define my delegate methods:
func previewControllerDidFinish(previewController: RPPreviewViewController) {
print("Finished the preview")
dismissViewControllerAnimated(true, completion: nil)
startBtn.enabled = true
stopBtn.enabled = false
}
func previewController(previewController: RPPreviewViewController,
didFinishWithActivityTypes activityTypes: Set<String>) {
print("Preview finished activities \(activityTypes)")
}
func screenRecorderDidChangeAvailability(screenRecorder: RPScreenRecorder) {
print("Screen recording availability changed")
}
func screenRecorder(screenRecorder: RPScreenRecorder,
didStopRecordingWithError error: NSError,
previewViewController: RPPreviewViewController?) {
print("Screen recording finished")
}
The previewControllerDidFinish(_:) method is important, because it gets called when the user is finished with the preview controller. Here you’ll need to dismiss the preview controller.
Then I’ll define my recorder object:
let recorder = RPScreenRecorder.sharedRecorder()
When the record button is pressed, I’ll see whether recording is possible:
startBtn.enabled = true
stopBtn.enabled = false
guard recorder.available else{
print("Cannot record the screen")
return
}
If it is, I’ll start recording:
recorder.delegate = self
recorder.startRecordingWithMicrophoneEnabled(true){err in
guard err == nil else {
if err!.code == RPRecordingErrorCode.UserDeclined.rawValue{
print("User declined app recording")
}
else if err!.code == RPRecordingErrorCode.InsufficientStorage.rawValue{
print("Not enough storage to start recording")
}
else {
print("Error happened = \(err!)")
}
return
}
print("Successfully started recording")
self.startBtn.enabled = false
self.stopBtn.enabled = true
}
NOTE
I am checking the error codes for specific ReplayKit errors such as RPRecordingErrorCode.UserDeclined and RPRecordingErrorCode.InsufficientStorage.
The first time you attempt to record the user screen in any app, the user will be prompted to allow or disallow this with a dialog that looks similar to that shown in Figure 3-28.
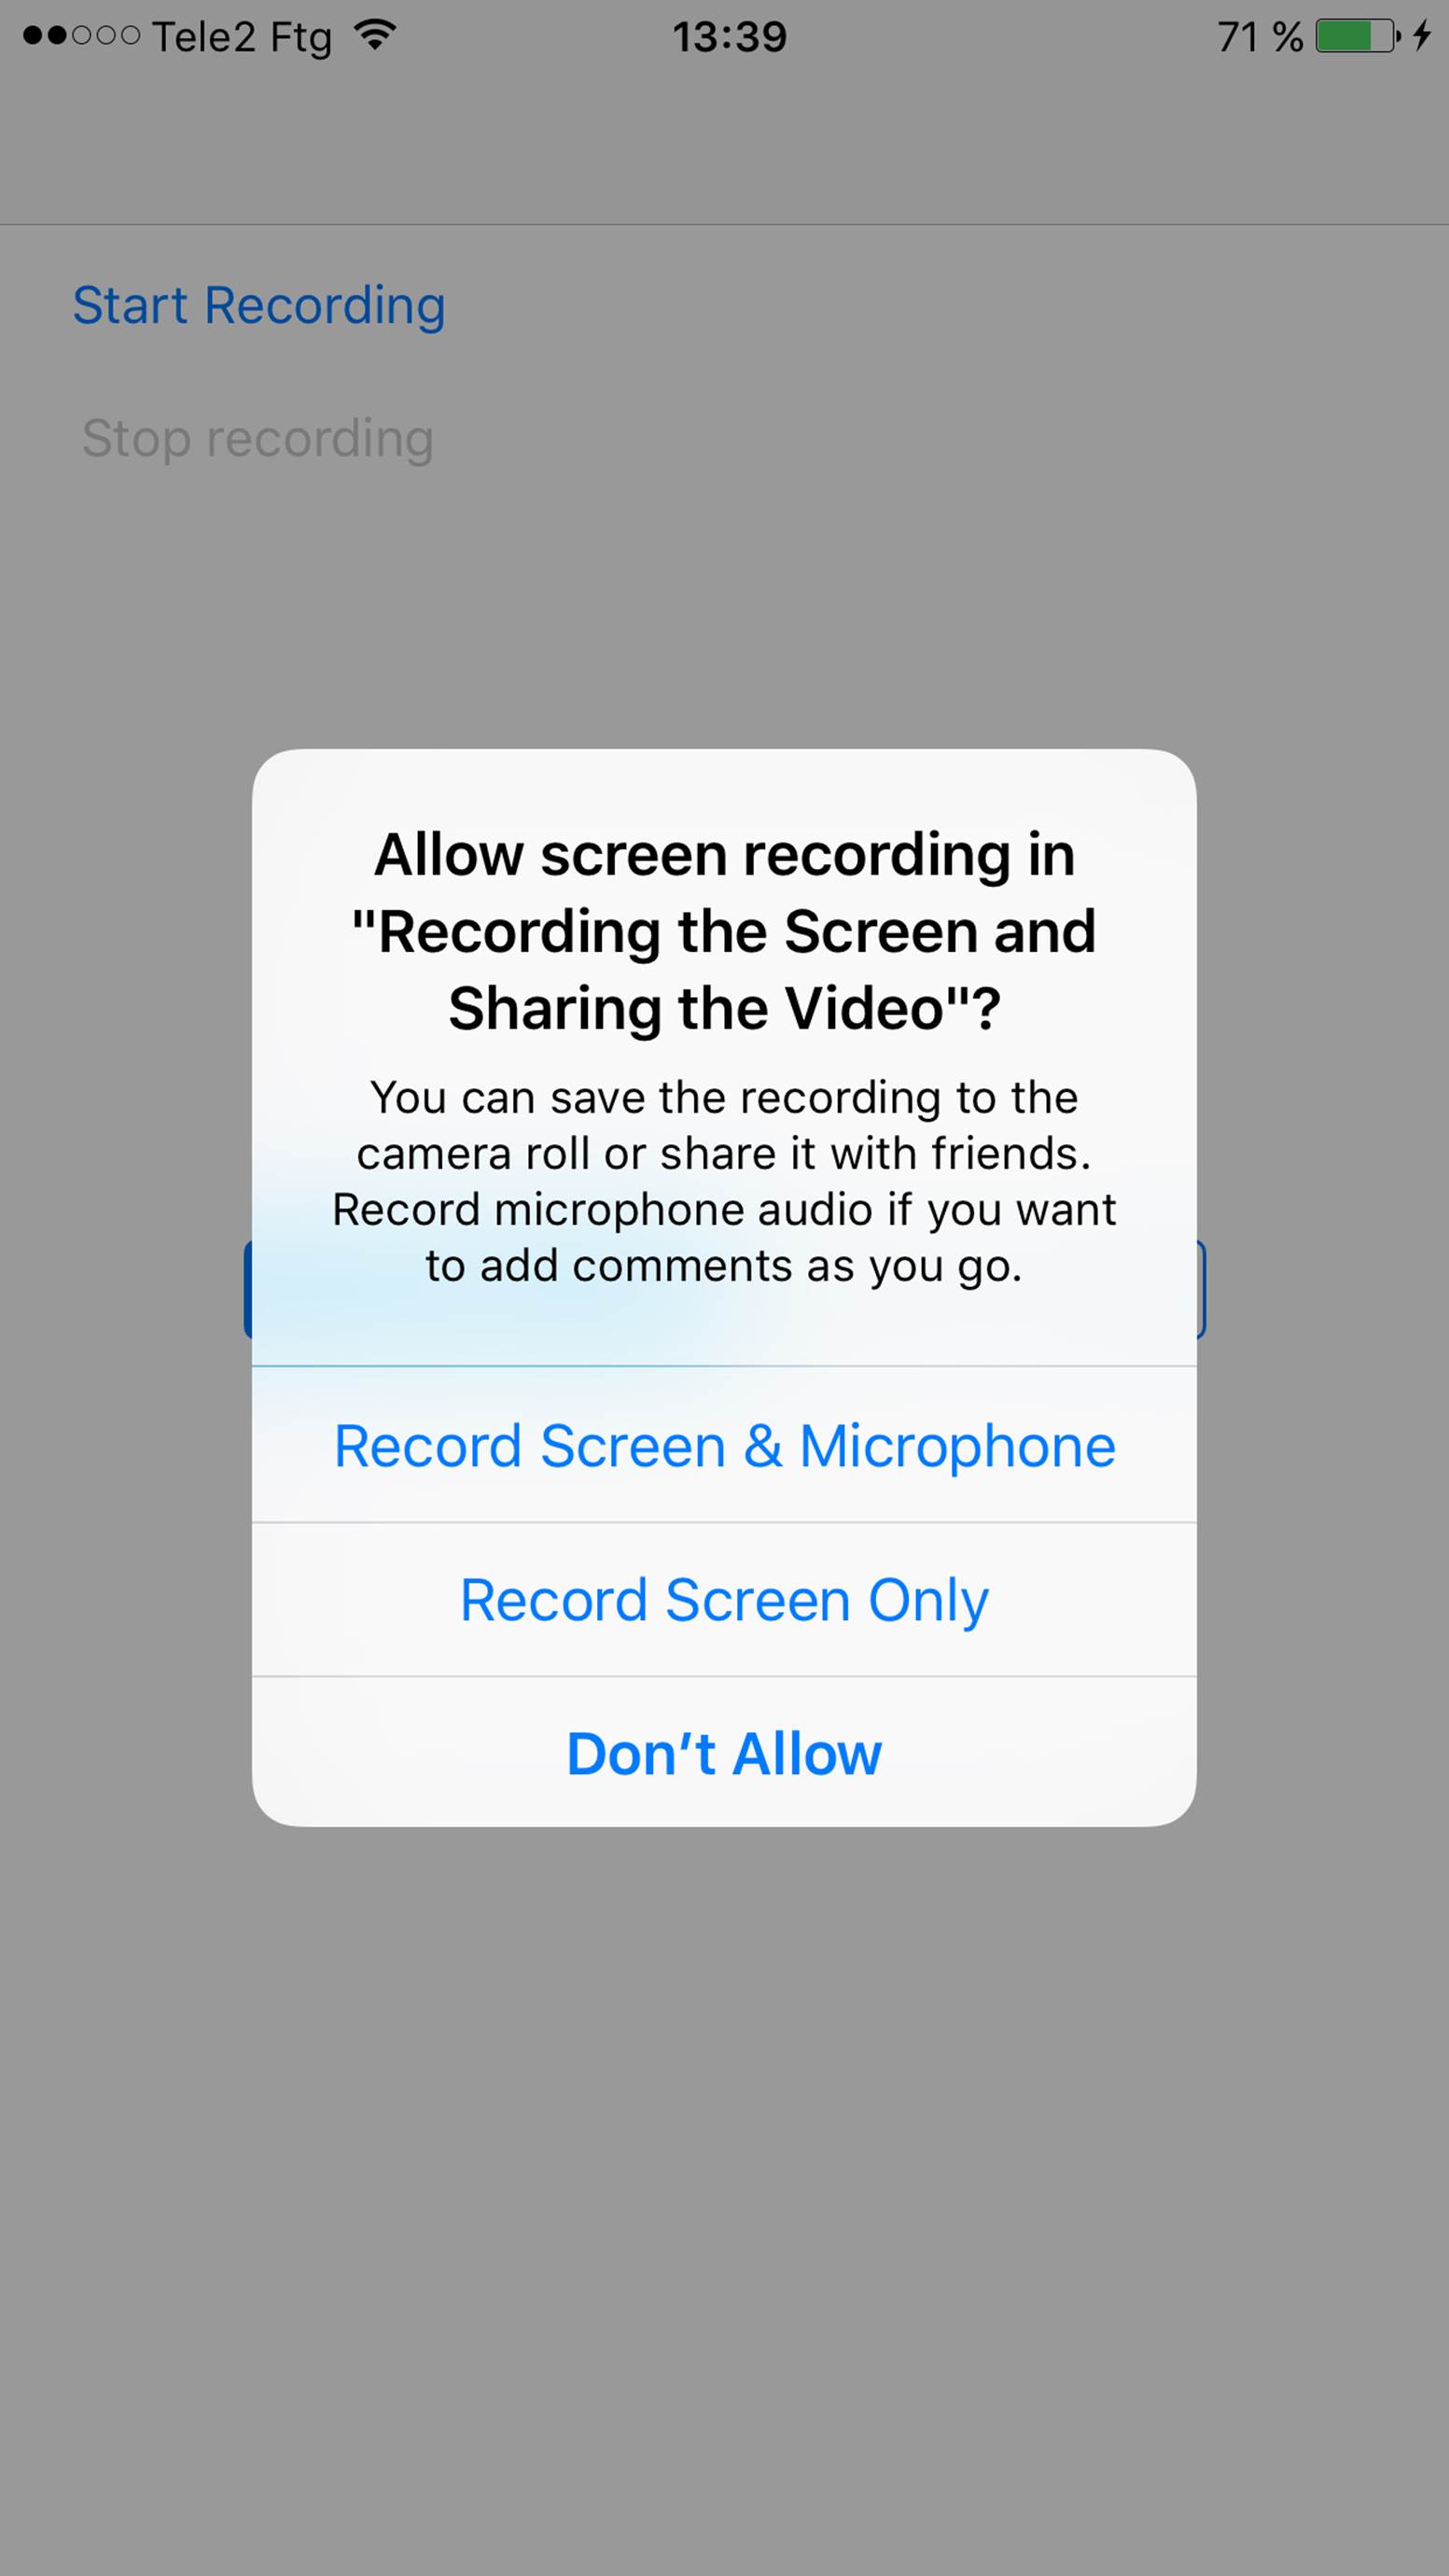
Figure 3-28. Permission to record the screen is requested from the user
Now when the user is finished recording and presses the stop button, I’ll stop the recording and present the preview controller:
recorder.stopRecordingWithHandler{controller, err in
guard let previewController = controller where err == nil else {
self.startBtn.enabled = true
self.stopBtn.enabled = false
print("Failed to stop recording")
return
}
previewController.previewControllerDelegate = self
self.presentViewController(previewController, animated: true,
completion: nil)
}
The preview controller looks like this Figure 3-29.
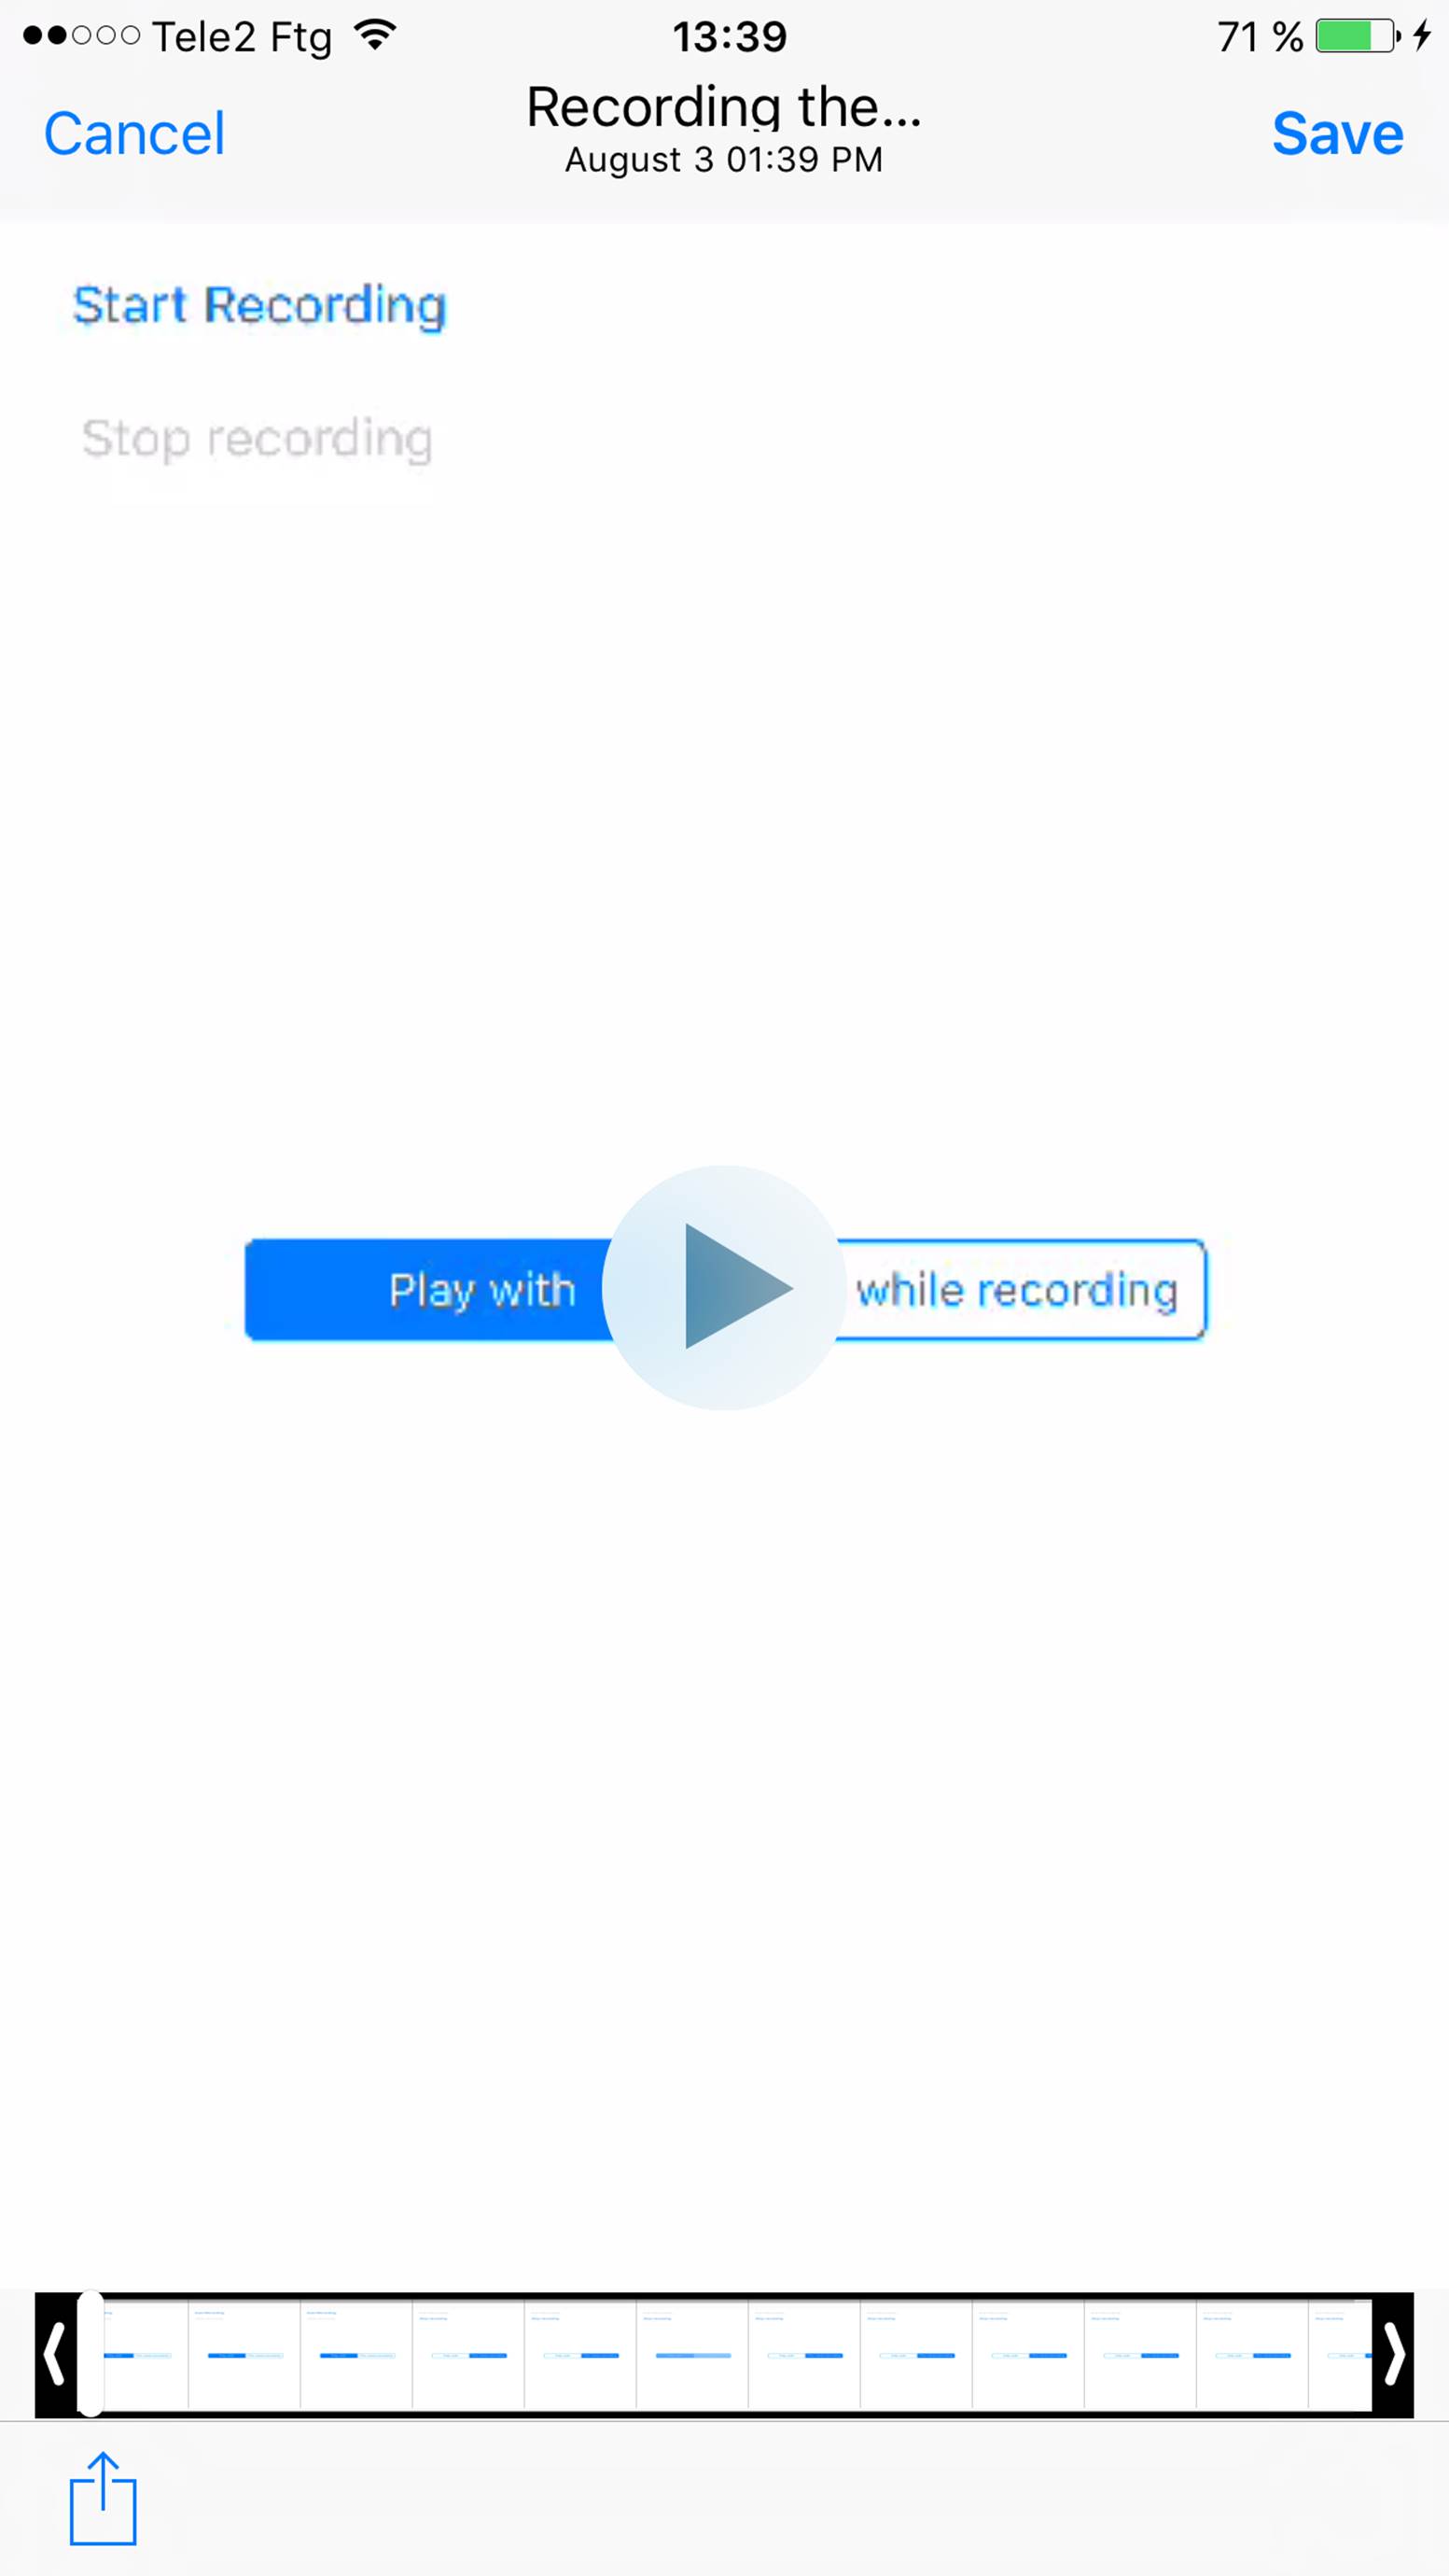
Figure 3-29. The user is previewing what she recorded on the screen earlier and can save and share the results
NOTE
Throughout this whole process, your app doesn’t get direct access to the recorded content. This protects the user’s privacy.
See Also