iOS 9 Swift Programming Cookbook (2015)
Chapter 4. Contacts
The contacts framework is for those who want to import, show, select, modify and save contacts on a user’s iOS device. This framework is fully compatible with Swift’s lingo and is very easy to work with. At the heart of the contacts framework we have the CNContact object that represents a contact. You get access to the contacts’ database using the CNContactStore class.
Every time you want to access the address book, whether you are trying to create a new contact or fetch an existing one, you need to ensure that you have sufficient access to the address book. You can check your access priviledges using the authorizationStatusForEntityType(_:)class method of your contact store. This method takes in one parameter of type CNEntityType. You can pass the value of Contacts to this method, for instance, to ask for access to the user’s contacts. If you do not have access, you can use therequestAccessForEntityType(_:completionHandler:) method of your contact store to request access.
The concept of a partial contact is important enough to cover now as well. A partial contact is a contact whose properties have not all been fetched from the store yet. For instance, perhaps you can fetch only a contact’s first and last name, not her profile photo or email addresses. This is a partial contact. A partial contact’s other information--such as email addresses-- that have not been fetched, yet can later be fetched from the store using her identifier (part of the CNContact object).
Some of the classes that are part of the Contacts framework have immutable and mutable flavors. An example is the CNContact and the CNMutableContact classes. The former is a contact that you have fetched from the store and just use in your app, while the latter is a contact that you have created in your app and want to save into the store.
Contact objects on iOS are thread-safe. I suggest that you do all your fetch operations on a background thread. Fetch the contacts in the background and safely display your contacts on your UI by accessing the same contact object on the main thread.
NOTE
In this chapter, it’s best to always reset the contents of your address book on the simulator by resetting the simulator before testing the code in each recipe, unless I’ve explicitly specified not to. This is just to make sure that every recipe is working with a clear state of the address book database. You can find the Contacts app on your simulator. It should look like Figure 4-1) in a clear state.
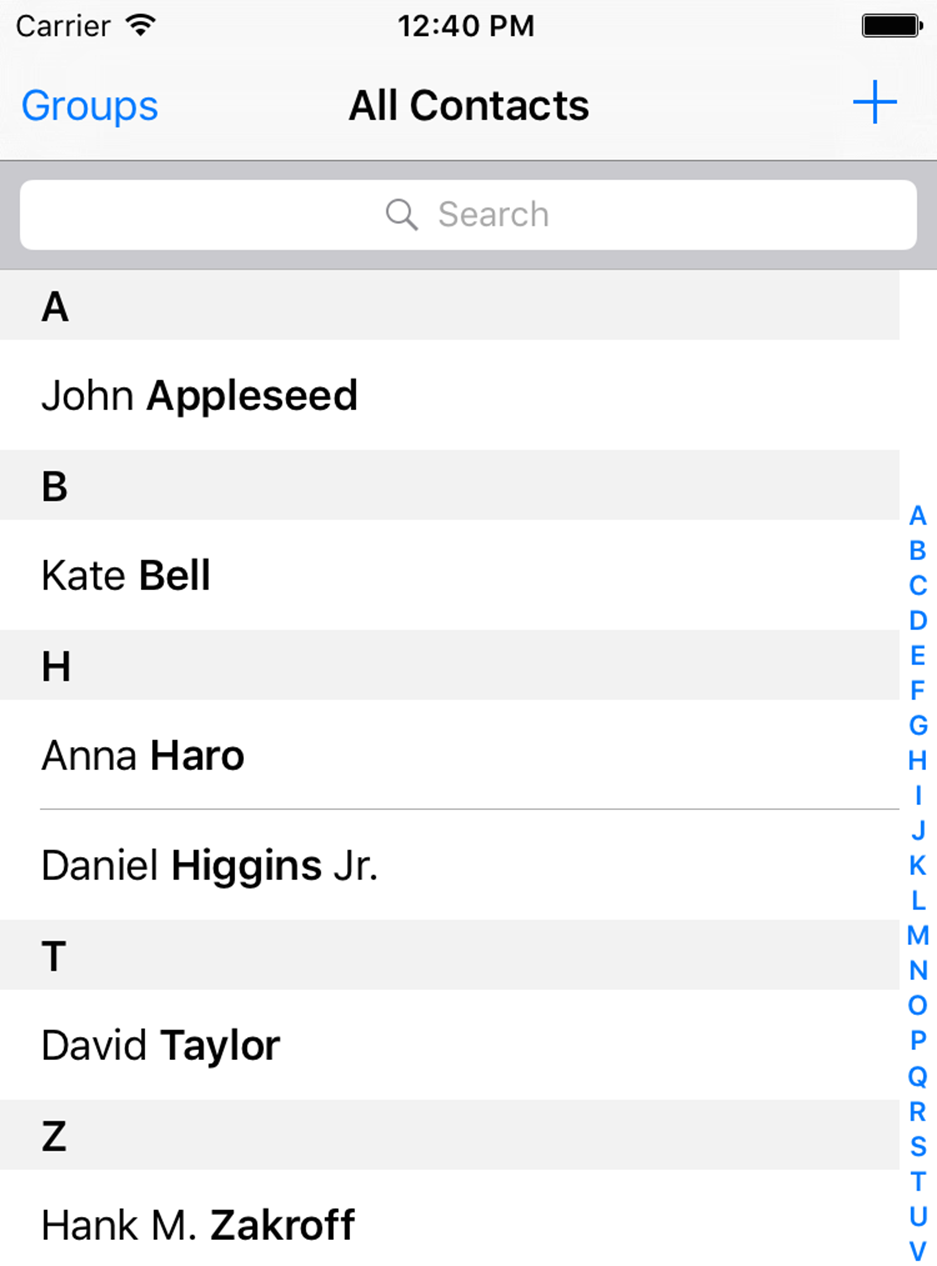
Figure 4-1. Clean state of the Contacts app on the simulator
4.1 Creating Contacts
Problem
You want to insert a new contact into the contacts database.
Solution
Follow these steps:
1. Request access to the database if you don’t already have.
2. Create an instance of the CNMutableContact class.
3. Set its various properties, such as givenName, middleName, and familyName.
4. Instantiate CNSaveRequest, call the addContact(_:toContainerWithIdentifier:) method on it, and pass your contact to it. Set the container ID to nil.
5. Once you have the request, execute it on your store instance using executeSaveRequest(_:).
Discussion
Create a single view app and first ask for permission to access contacts on the user’s device:
switch CNContactStore.authorizationStatusForEntityType(.Contacts){
case .Authorized:
createContact()
case .NotDetermined:
store.requestAccessForEntityType(.Contacts){succeeded, err in
guard err == nil && succeeded else{
return
}
self.createContact()
}
default:
print("Not handled")
}
After I get the permission here, I am calling the createContact() method that we are just about to code. Also, I am using a property on my class that is my instance of the contact store:
var store = CNContactStore()
In the createContact() method, first let’s create the basics of the contact object with the basic name and such:
let fooBar = CNMutableContact()
fooBar.givenName = "Foo"
fooBar.middleName = "A."
fooBar.familyName = "Bar"
fooBar.nickname = "Fooboo"
Then we set the profile photo:
//profile photo
if let img = UIImage(named: "apple"),
let data = UIImagePNGRepresentation(img){
fooBar.imageData = data
}
NOTE
I’ve included a profile photo that I can use in the app. You don’t have to do that if you don’t want to. This code will work even if you don’t have a profile photo by jumping over this section if the image cannot be found.
Now I am going to set the user’s phone numbers. This can be done by setting an array of CNLabeledValue on the phoneNumbers property of the contact object. Labeled values are instances of the aforementioned class and can have a label and a value. The label is a string such asCNLabelHome or CNLabelWork and the value, in case of a phone number, is an instance of the CNPhoneNumber class.
//set the phone numbers
let homePhone = CNLabeledValue(label: CNLabelHome,
value: CNPhoneNumber(stringValue: "123"))
let workPhone = CNLabeledValue(label: CNLabelWork,
value: CNPhoneNumber(stringValue: "567"))
fooBar.phoneNumbers = [homePhone, workPhone]
I am then going to set the email addresses for this person by manipulating the emailAddresses property of the contact. This property also accepts an array of CNLabeledValue and the values of this labeled object are the email addresses, as string objects.
//set the email addresses
let homeEmail = CNLabeledValue(label: CNLabelHome,
value: "foo@home")
let workEmail = CNLabeledValue(label: CNLabelWork,
value: "bar@home")
fooBar.emailAddresses = [homeEmail, workEmail]
Next up, I am going to write some information in this contact about her job using the jobTitle, organizationName, and departmentName properties:
//job info
fooBar.jobTitle = "Chief Awesomeness Manager (CAM)"
fooBar.organizationName = "Pixolity"
fooBar.departmentName = "IT"
After that, I want to set the FaceBook and Twitter profiles of this user. I do that by setting the value of the socialProfiles array on the contact. This array takes items of type CNLabeledValue and the value of each one of these labeled objects should be of type CNSocialProfile. You can set the service for each of the profiles using constants such as the followings:
§ CNSocialProfileServiceFacebook
§ CNSocialProfileServiceTwitter
§ CNSocialProfileServiceLinkedIn
§ CNSocialProfileServiceFlickr
//social media
let facebookProfile = CNLabeledValue(label: "FaceBook", value:
CNSocialProfile(urlString: nil, username: "foobar",
userIdentifier: nil, service: CNSocialProfileServiceFacebook))
let twitterProfile = CNLabeledValue(label: "Twitter", value:
CNSocialProfile(urlString: nil, username: "foobar",
userIdentifier: nil, service: CNSocialProfileServiceTwitter))
fooBar.socialProfiles = [facebookProfile, twitterProfile]
I am also going to set some instant messaging information for my contacts, such as her Skype and AIM information. I can do that by setting the value of the instantMessageAddresses property that takes in an array of, you guessed it, CNLabeledValue. Each of these values should be of type CNInstantMessageAddress and service inside each message address object can be a string such as:
§ CNInstantMessageServiceSkype
§ CNInstantMessageServiceAIM
§ CNInstantMessageServiceMSN
§ CNInstantMessageServiceYahoo
//instant messaging
let skypeAddress = CNLabeledValue(label: "Skype", value:
CNInstantMessageAddress(username: "foobar",
service: CNInstantMessageServiceSkype))
let aimAddress = CNLabeledValue(label: "AIM", value:
CNInstantMessageAddress(username: "foobar",
service: CNInstantMessageServiceAIM))
fooBar.instantMessageAddresses = [skypeAddress, aimAddress]
I can also set some note on my contact using the note property that is just a string:
//some additional notes
fooBar.note = "Some additional notes"
Next stop is to set the birthday property. This is a property of type NSDateComponents.
//birthday
let birthday = NSDateComponents()
birthday.year = 1980
birthday.month = 9
birthday.day = 27
fooBar.birthday = birthday
Every contact also has a property named dates that can contain dates such as the user’s anniversary. This is an array of CNLabeledValue objects. Here I am going to set the anniversary for this user:
//anniversary
let anniversaryDate = NSDateComponents()
anniversaryDate.month = 6
anniversaryDate.day = 13
let anniversary = CNLabeledValue(label: "Anniversary",
value: anniversaryDate)
fooBar.dates = [anniversary]
NOTE
I did not set the year for the anniversary as an anniversary is a repeating event.
I am finally done with my contact and will save her into the contact store:
//finally save
let request = CNSaveRequest()
request.addContact(fooBar, toContainerWithIdentifier: nil)
do{
try storeo.executeSaveRequest(request)
print("Successfully stored the contact")
} catch let err{
print("Failed to save the contact. \(err)")
}
NOTE
If you run this code n times on the same device, you will get n of the same contacts. The Contacts database does not prevent multiple saves on the same contact. They become different contacts eventually. It is our responsibility to avoid this.
And now my contact appears in the list (Figure 4-2).
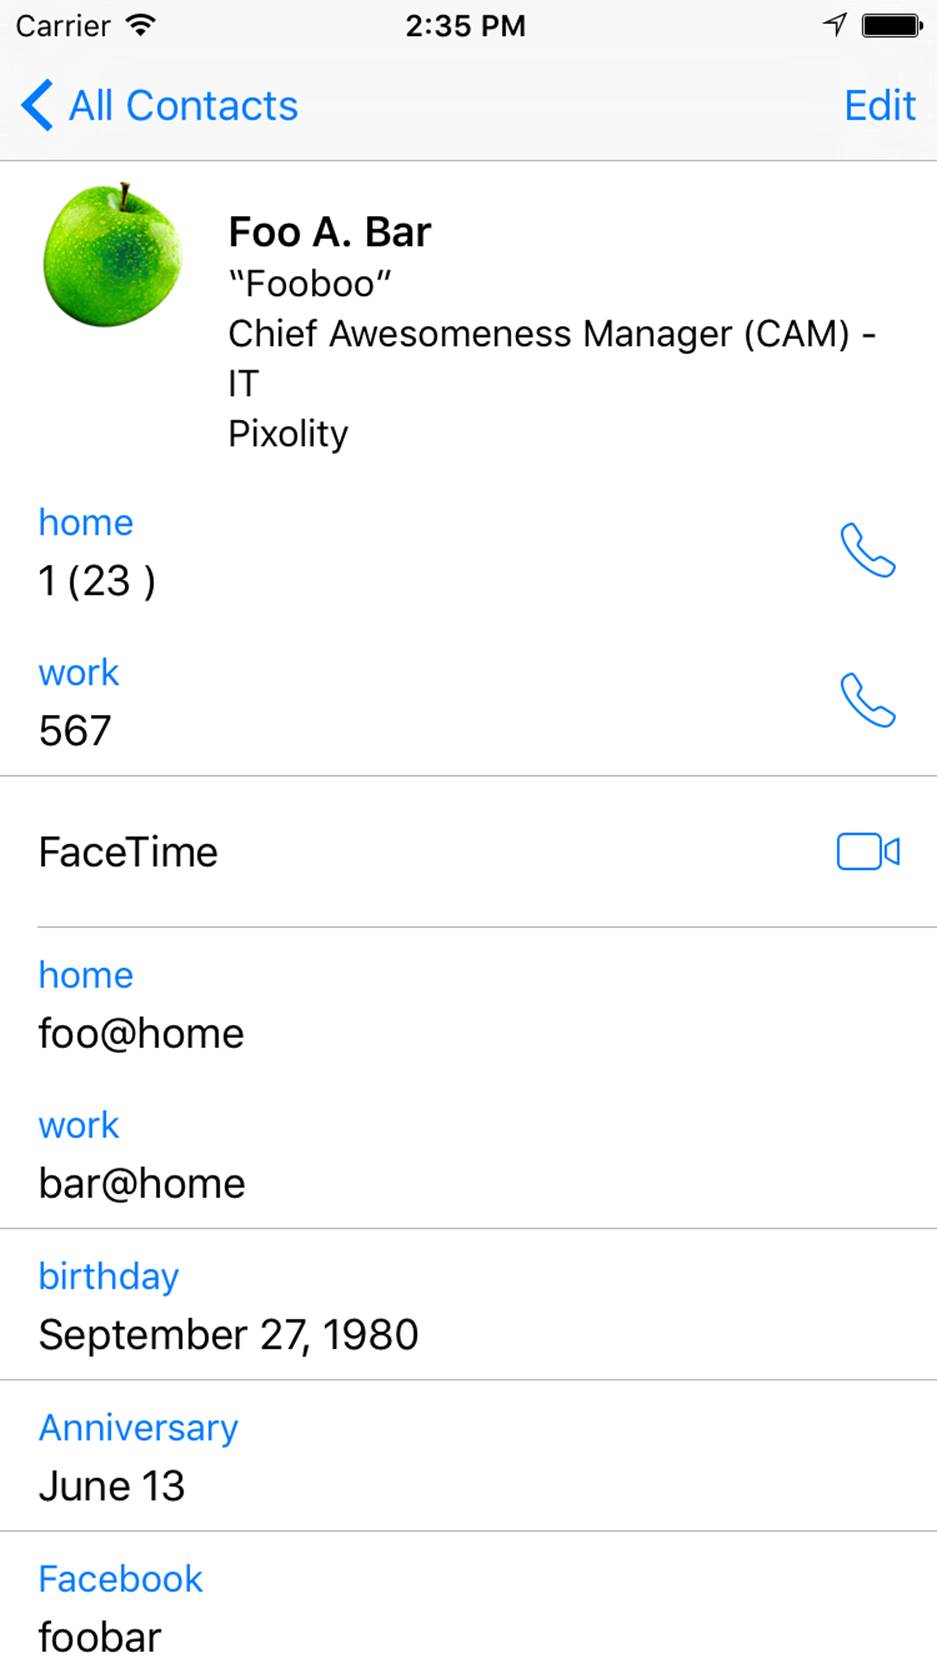
Figure 4-2. The new contact in all its glory
See Also