Practical Auto Layout: Beginning Auto Layout Techniques for iOS8 (2015)
Chapter 10. Calculator - Style Buttons in Autolayout
It would be nice to have buttons in an orderly calculator style for an order entry app. In this chapter, we'll put together a set of buttons to make a layout for an order entry system.
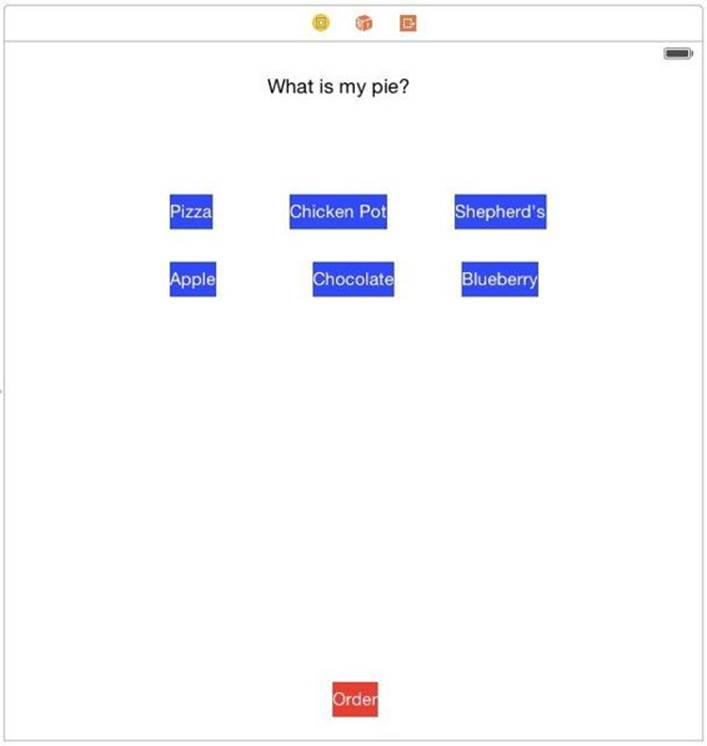
Start by making a new project in Xcode. Make a single view project and name it PieOrderEntry, make the device Universal. Choose Swift for the language. Once loaded, switch to the Storyboard. Add one label and seven buttons. In the properties inspector, make the label text read What is my pie? and center align the text. Position it towards the top of the view. On one button, label it Order with a red background and white text. Drag the Order button towards the bottom. Make the rest of the buttons a blue color with white lettering. Title the buttons Pizza, Chicken Pot ,Shepherd's , Apple, Chocolate, and Blueberry. Arrange the buttons roughly like this:
Pinning the Buttons
We will use auto layout pins to do most of the work. We need to get the bottom and top constrained first to always be the nearest neighbor. Select the label. In the properties inspector,change the background to White. Pin the label 50 points from the top and 0 points from left and right. Update the frame. Change the view's background to black. It will help us see everything moving around.

For the button titled Order, Pin it 20 points from the bottom and 0 points from the left and right. Update the frame.

We now can start working on the buttons. Like Chapter 3, we will start with one button, and pin everything around it together. Because everything will get messy, we will not update frames until we are done with this process. Close the left hand navigator frame and open the assistant editor to the preview mode. The default iPhone 4 inch will do fine for checking our work as we go. Your workspace should look like this:

We will use a 20 point gutter between buttons. Select the Pizza button in the upper left. Pin the button 20 up, 0 left, 20 down, and 20 right.
Select the Apple button. Since we already have a relationship to the Pizza button, we don't need a top pin. Pin the Apple button 0 left, 20 right, and 20 down.
Select the Chocolate button. Pin the button down 20 and right 20.
Select the Blueberry button. Pin the button down 20 and right 0.
Select the Shepherd's button. Pin the button up 20, left 20, right 0, and down 20.
Select the Chicken Pot button. Pin up 20 and down 20.
You now have all the buttons pinned in all four directions. Clicking on each button and make sure you see four constraints, which most likely will be misplaced like this.

If you have a constraint missing, add it from the pin menu. The Preview has the buttons in the right place but sized incorrectly:

Setting Sizes
We have not set any size information. Make everything the same size. Select the Pizza button. Control-Drag from the Pizza button to the Label. Select Equal Heights. Control drag from the Pizza Button to the Order button. Select Equal Heights. Control-Drag from the Pizza button to theApple Button. Shift-Select Equal Width and Equal Heights and press return. Repeat for the other four blue buttons, always dragging from Pizza to the Chocolate, Blueberry,Meat and Chicken Pot. In the resolver, for All Views in View, select Update Frames.

The label and Order button is a bit too big. Select the label. Go to the Size inspector and select Edit for the Equal Height to Pizza. Change the multiplier to 2:3.

Select the Order Button and change the multiplier to 1:2

Again for all views in view, select Update Frames. We have a completed layout that looks pretty good.

In the preview, add another iPhone 4-inch to have a landscape phone. Both Landscape and Portrait work:

Resolving Six Warnings
In some cases, you might get six warnings. Reading the error we note that each button is off by one. Annoyingly you can resolve all but the pizza. If your resolve the pizza misplacement, all the errors come back. All of the errors are height errors. This is a rounding error, and its cause is the multiplier for the label which is 2:3. As a repeating decimal, it is causing rounding errors between all the views. The easiest answer is to change the multiplier from 2:3 to 1:2. The error goes away.
All materials on the site are licensed Creative Commons Attribution-Sharealike 3.0 Unported CC BY-SA 3.0 & GNU Free Documentation License (GFDL)
If you are the copyright holder of any material contained on our site and intend to remove it, please contact our site administrator for approval.
© 2016-2026 All site design rights belong to S.Y.A.