MacBook in easy steps: Covers OS X Yosemite (10.10) (2015)
10
Sharing OS X
This chapter looks at how to set up different user accounts and how to keep everyone safe on your MacBook using parental controls.
Adding Users
Deleting Users
Fast User Switching
OS X for the Family
Parental Controls
OS X for Windows Users
Adding Users
OS X enables multiple users to access individual accounts on the same computer. If there are multiple users, i.e. two or more, for a single machine, each person can sign on individually and access their own files and folders. This means that each person can log in to their own settings and preferences. All user accounts can be password protected, to ensure that each user’s environment is secure. To set up multiple user accounts:
![]() Click on the System Preferences icon on the Dock
Click on the System Preferences icon on the Dock

![]() Click on the Users & Groups icon
Click on the Users & Groups icon
![]() The information about the current account is displayed. This is your own account and the information is based on details you provided when you first set up your MacBook
The information about the current account is displayed. This is your own account and the information is based on details you provided when you first set up your MacBook
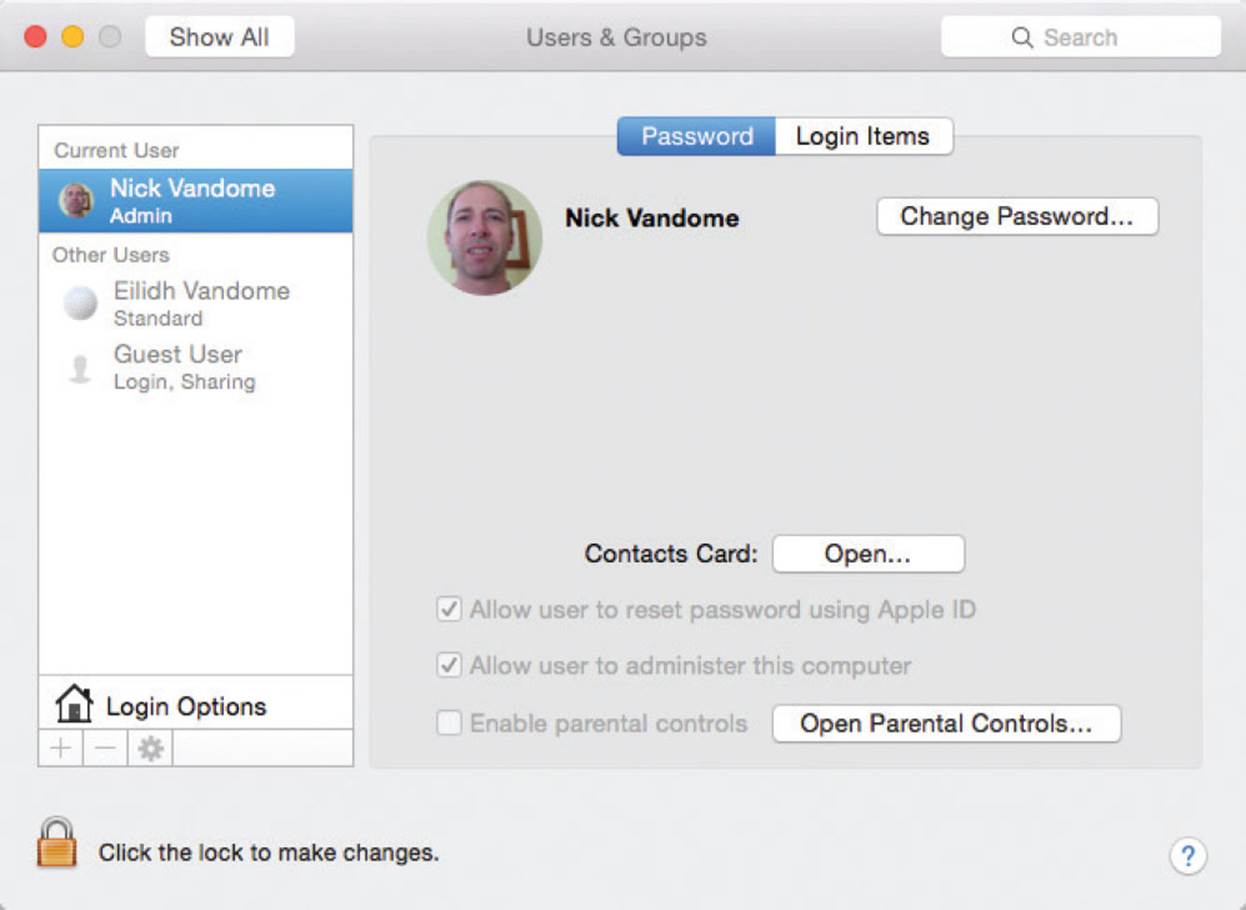

Every computer with multiple users has at least one main user, also known as an administrator. This means that they have greater control over the number of items that they can edit and alter. If there is only one user on a computer, they automatically take on the role of the administrator. Administrators have a particularly important role to play when computers are networked together. Each computer can potentially have several administrators.
![]() Click on this icon to enable new accounts to be added (the padlock needs to be open)
Click on this icon to enable new accounts to be added (the padlock needs to be open)

Each user can select their own icon or photo of themselves.
![]() Click on the plus sign icon to add a new account
Click on the plus sign icon to add a new account
![]()
![]() Enter the details for the new account holder
Enter the details for the new account holder

![]() Click on the Create User button
Click on the Create User button
![]()
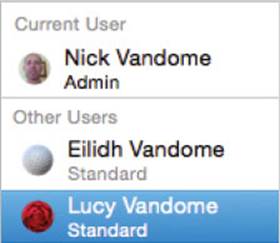
![]() The new account is added to the list in the Accounts window, under Other Users
The new account is added to the list in the Accounts window, under Other Users
By default, you are the administrator of your own MacBook. This means that you can administer other user accounts.
Deleting Users
Once a user has been added, their name appears on the list in the Other Users panel. It is then possible to edit the details of a particular user or delete them altogether. To do this:
![]() Within Users & Groups, select a user from the list
Within Users & Groups, select a user from the list
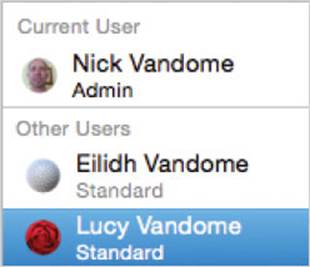
![]() Click here to remove the selected person’s user account
Click here to remove the selected person’s user account
![]()
![]() A warning box appears to check if you really do want to delete the selected user. If you do, select the required option and click on Delete User
A warning box appears to check if you really do want to delete the selected user. If you do, select the required option and click on Delete User
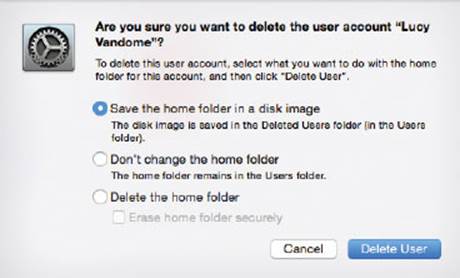

Always tell other users if you are planning to delete them from the system. Don’t just remove them and then let them find out the next time they try to log in. If you delete a user, their personal files are left untouched and can still be accessed.
Fast User Switching
If there are multiple users using OS X it is useful to be able to switch between them as quickly as possible. When this is done, the first user’s session is retained so that they can return to it if required. To switch between users:
![]() In the Users & Groups window, click on the Login Options button
In the Users & Groups window, click on the Login Options button
![]()
![]() Check On the Show fast user switching menu as box
Check On the Show fast user switching menu as box
![]()
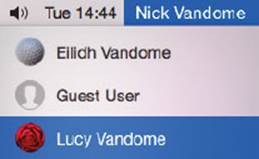
![]() At the top-right of the screen, click on the current user’s name
At the top-right of the screen, click on the current user’s name
![]()
![]() Click on the name of another user
Click on the name of another user
![]() Enter the relevant password (if required)
Enter the relevant password (if required)
![]() Click on this button to log in
Click on this button to log in

When you switch between users, the first user remains logged in and their current session is retained intact.
OS X for the Family
Many families share their computers between multiple users and, with the ability to create different accounts in OS X, each user can have their own customized workspace. If desired, you can also set up an Apple ID so that other users can access a wider range of products, such as the Apple App Store. To do this:
![]() Access Users & Groups
Access Users & Groups

![]() Click on the Apple ID: Set… button
Click on the Apple ID: Set… button
![]()
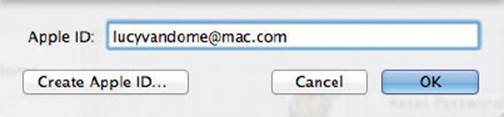
![]() If the user already has an Apple ID, enter it in the appropriate box. If not click on the Create Apple ID button to create an account
If the user already has an Apple ID, enter it in the appropriate box. If not click on the Create Apple ID button to create an account
![]() A page on the Apple website is accessed. This contains general information about an Apple ID and also a facility for obtaining one
A page on the Apple website is accessed. This contains general information about an Apple ID and also a facility for obtaining one
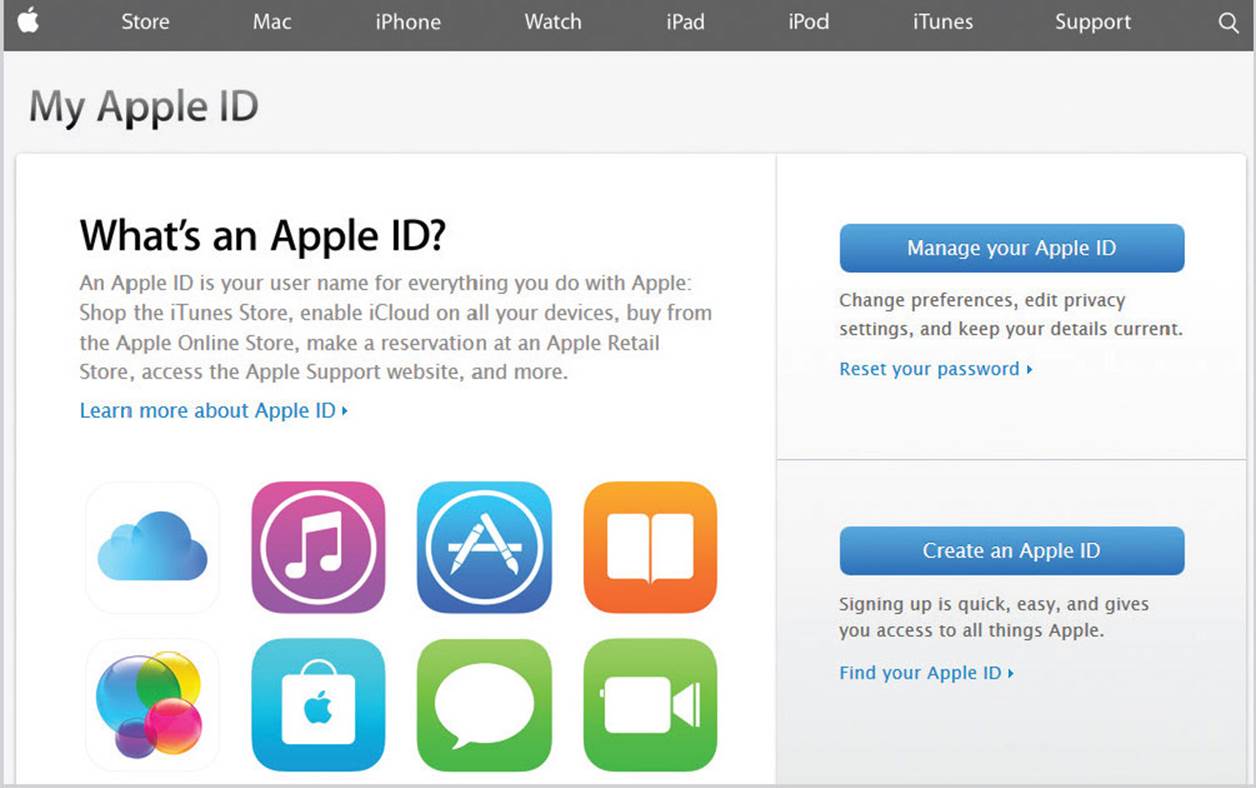
If you give someone an Apple ID, credit card information will have to be given. Therefore, the user will be able to access services such as the iTunes Store and the App Store, where they will be able to purchase a range of items.
Parental Controls
If children are using the computer, parents may want to restrict access to certain types of information that can be viewed, using Parental Controls. To do this:
![]() Access Users & Groups, click on a username and check on the Enable parental controls box. Click on the Open Parental Controls... button
Access Users & Groups, click on a username and check on the Enable parental controls box. Click on the Open Parental Controls... button
![]()
![]() Click on the Apps tab
Click on the Apps tab
![]()
![]() Check On the Use Simple Finder box to show a simplified version of the Finder
Check On the Use Simple Finder box to show a simplified version of the Finder

![]() Check On this box if you want to limit the types of app that a user can access
Check On this box if you want to limit the types of app that a user can access
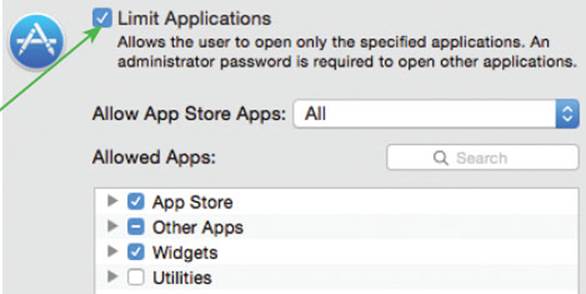
![]() Check Off the boxes next to the apps that you do not want to be used
Check Off the boxes next to the apps that you do not want to be used
![]() Click here to select options for age limits in terms of accessing items in the App Store
Click here to select options for age limits in terms of accessing items in the App Store
![]()
Web controls
![]() Click on the Web tab
Click on the Web tab
![]()
![]() Check On this button to try to prevent access to websites with adult content
Check On this button to try to prevent access to websites with adult content
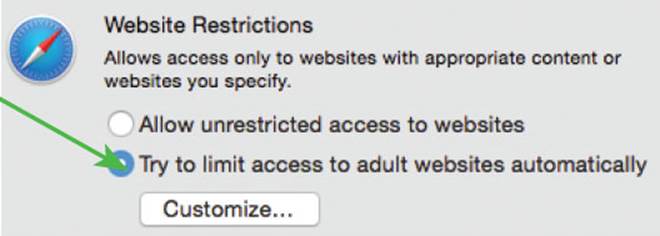
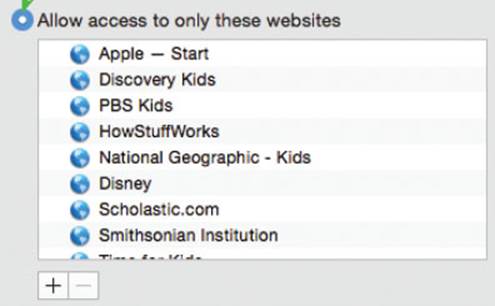
![]() Check On this button to specify specific websites that are suitable to be viewed
Check On this button to specify specific websites that are suitable to be viewed

To check which sites have been viewed on a Web browser, check the History menu, which is located on the main Menu bar.
People controls
![]() Click on the People tab
Click on the People tab
![]()
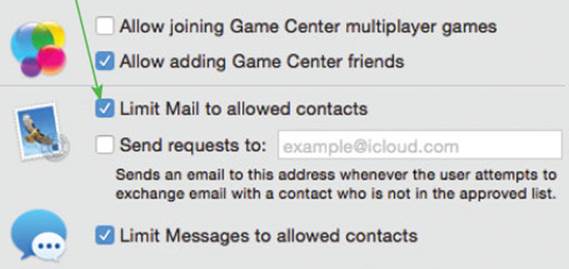
![]() Check On the Limit boxes to limit the type of content in email messages, games and text messages
Check On the Limit boxes to limit the type of content in email messages, games and text messages
Time Limits controls
![]() Click on the Time Limits tab
Click on the Time Limits tab
![]()
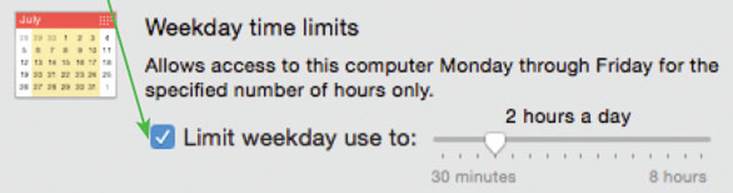
![]() Check On this box to limit the amount of time the user can use the Mac during weekdays
Check On this box to limit the amount of time the user can use the Mac during weekdays
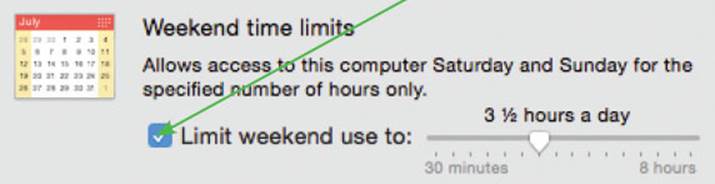
![]() Check On this box to limit the amount of time the user can use the Mac during weekends
Check On this box to limit the amount of time the user can use the Mac during weekends
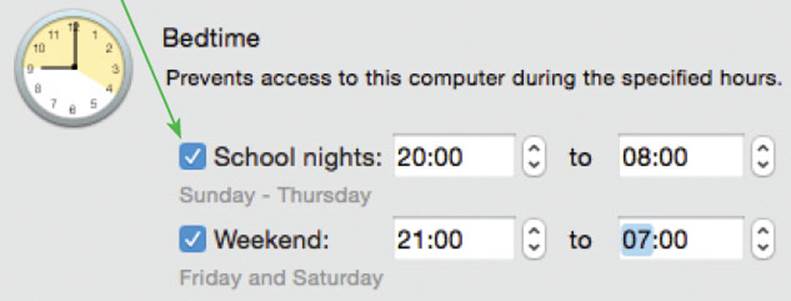
![]() Check On these boxes to determine the times at which the user cannot access their account
Check On these boxes to determine the times at which the user cannot access their account
OS X for Windows Users
General sharing
One of the historical complaints about Macs is that it is difficult to share files between them and Microsoft Windows computers. While this may have been true with some file types in years gone by, this is an issue that is becoming less and less important, particularly with OS X. Some of the reasons for this are:
•A number of popular file formats, such as PDFs (Portable Document Format) for documents and JPEGs (Joint Photographic Experts Group) for photos and images, are designed so that they can be used on both Mac and Windows platforms.
•A lot of software apps on the Mac have options for saving files into different formats, including ones that are specifically for Windows machines.
•Other popular apps, such as Microsoft Office, now have Mac versions and the resulting files can be shared on both formats.
Many file formats can be opened on both Macs and Windows PCs. Even Word, Excel and PowerPoint files can be exchanged, as long as each user has the relevant version of Office.
Sharing with Boot Camp
For people who find it hard to live without Microsoft Windows, help is at hand even on a Mac. Macs have a app called Boot Camp that can be used to run a version of Windows on a Mac. This is only available with Yosemite. Once it has been accessed, a copy of Windows can then be installed and run. This means that if you have a non-Mac app that you want to use on your Mac, you can do so with Boot Camp.
Boot Camp is set up with the Boot Camp Assistant which is located within the Utilities folder within the Applications folder. Once this is run you can then install either Windows XP, Vista, Windows 7, Windows 8 or 8.1 which will run at its native speed.

All materials on the site are licensed Creative Commons Attribution-Sharealike 3.0 Unported CC BY-SA 3.0 & GNU Free Documentation License (GFDL)
If you are the copyright holder of any material contained on our site and intend to remove it, please contact our site administrator for approval.
© 2016-2026 All site design rights belong to S.Y.A.