MacBook in easy steps: Covers OS X Yosemite (10.10) (2015)
6
Navigating in Yosemite
OS X Yosemite uses multi-touch gestures for navigating your apps and documents. This chapter looks at how to use these to get around your MacBook.
Navigating with MacBooks
Pointing and Clicking
No More Scroll Bars
Scrolling and Zooming
Mission Control
Multi-Touch Preferences
Navigating with MacBooks
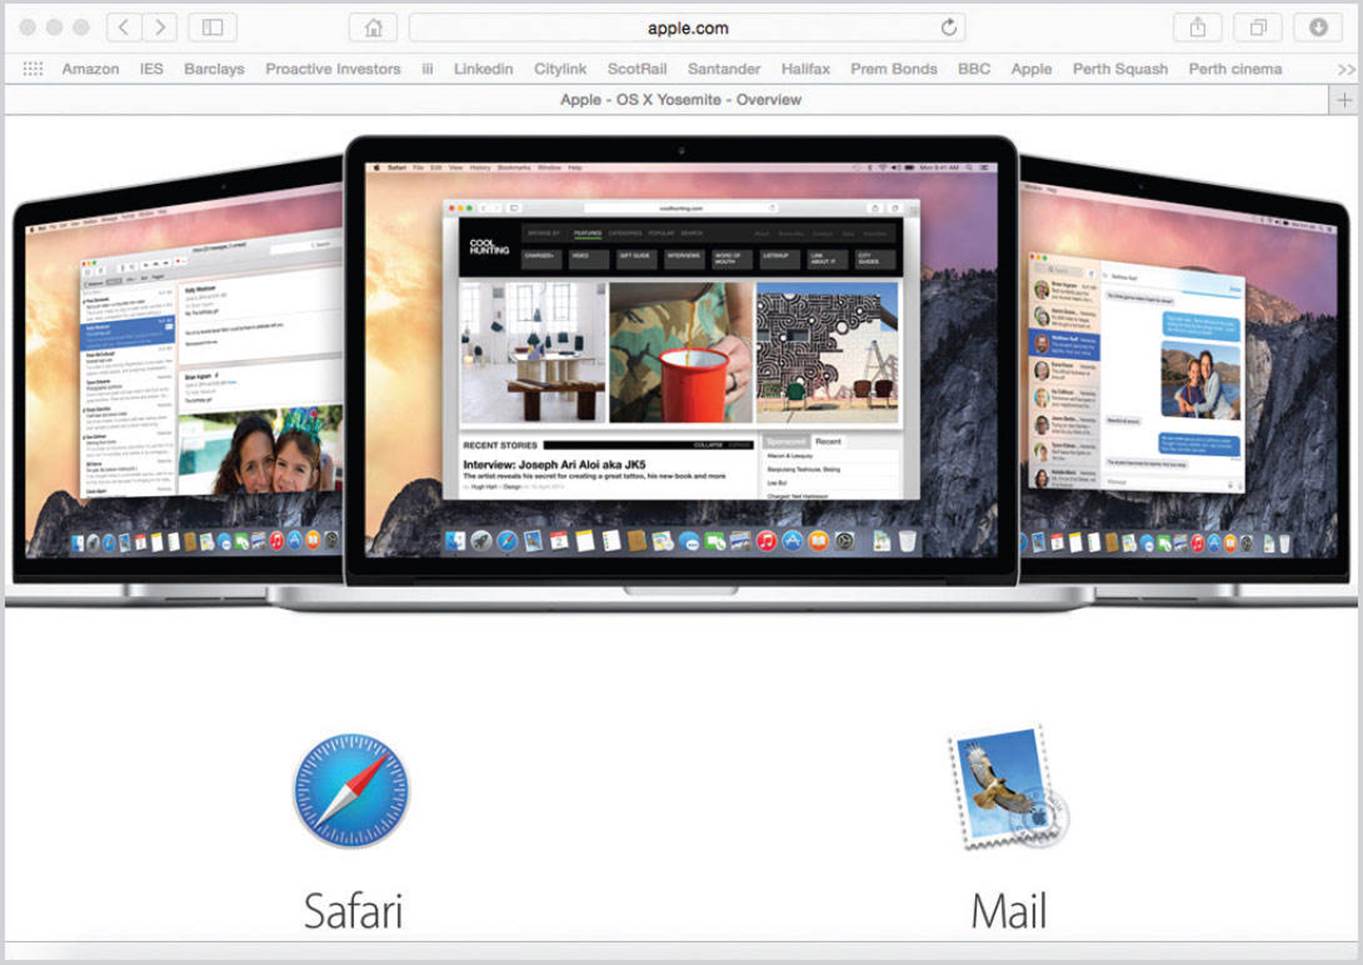
One of the most revolutionary features of OS X is the way in which you can navigate around your applications, web pages and documents. This involves a much greater reliance on swiping on a trackpad or adapted mouse; techniques that have been imported from the iPhone and the iPad. These are known as multi-touch gestures and work most effectively with the trackpad on MacBooks. Other devices can also be used to perform multi-touch gestures:
•A Magic Trackpad. This is an external trackpad that works wirelessly via Bluetooth, but there should not really be any need for one with a MacBook.
•A Magic Mouse. This is an external mouse that works wirelessly via Bluetooth.
These devices, and the trackpad, work using a swiping technique with fingers moving over their surface. This should be done with a light touch; it is a gentle swipe, rather than any pressure being applied to the device.


The new MacBook and MacBook Pro Retina display 13-inch both have Force Touch technology on the trackpad. This still allows for the usual range of multi-touch gestures but can also be used for other functions, depending on the amount of pressure that is applied to the trackpad. Settings for this can be applied in the Trackpad section within System Preferences.
The trackpads and Magic Mouse do not have any buttons in the same way as traditional devices. Instead, specific areas are clickable so that you can still perform left-and right-click operations:
![]() Click on the bottom left corner for traditional left-click operations
Click on the bottom left corner for traditional left-click operations

![]() Ctrl+click on the bottom right corner for traditional right-click operations
Ctrl+click on the bottom right corner for traditional right-click operations
Pointing and Clicking
A trackpad or Magic Mouse can be used to perform a variety of pointing and clicking tasks.
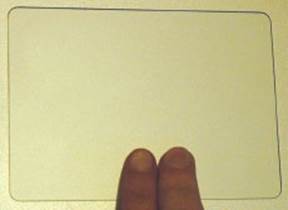
![]() Tap with one finger in the middle of the trackpad or Magic Mouse to perform a single click operation, e.g. to click on a button or click on an open window
Tap with one finger in the middle of the trackpad or Magic Mouse to perform a single click operation, e.g. to click on a button or click on an open window

![]() Tap with two fingers in the middle of the trackpad or Magic Mouse to access any contextual menus associated with an item (this is the equivalent of the traditional right-click with a mouse)
Tap with two fingers in the middle of the trackpad or Magic Mouse to access any contextual menus associated with an item (this is the equivalent of the traditional right-click with a mouse)
![]() Highlight a word or phrase and double-tap with three fingers to see look-up information for the selected item. This is frequently a dictionary definition but it can also be a Wikipedia entry
Highlight a word or phrase and double-tap with three fingers to see look-up information for the selected item. This is frequently a dictionary definition but it can also be a Wikipedia entry
![]() Move over an item and drag with three fingers to move the item around the screen
Move over an item and drag with three fingers to move the item around the screen

If you have too many functions set using the same number of fingers, some of them many not work. See here for details about setting preferences for multi-touch gestures.
No More Scroll Bars
Another innovation in OS X is the removal of scroll bars that are constantly visible on a web page or document. Instead, there are scroll bars that only appear when you are moving around a page or document. When you stop, the scroll bars melt away. Scrolling is done by multi-touch gestures on a trackpad or Magic Mouse and these gestures are looked at on the following pages. To perform scrolling with OS X Yosemite:
![]() Scroll around a web page or document using the two finger multi-touch technique (see here). As you move up or down a page the scroll bar appears
Scroll around a web page or document using the two finger multi-touch technique (see here). As you move up or down a page the scroll bar appears
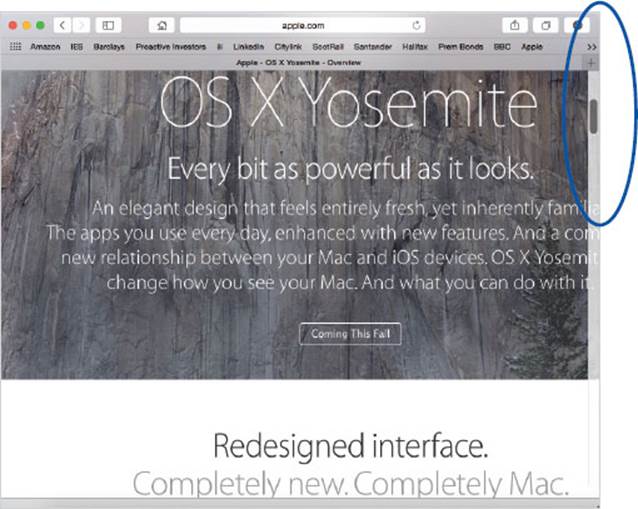
![]() When you stop scrolling the bar disappears, to allow optimum viewing area for your web page or document
When you stop scrolling the bar disappears, to allow optimum viewing area for your web page or document
Web pages and document windows can also be navigated around by dragging on the scroll bars using a mouse or a trackpad.
Scrolling and Zooming
One of the common operations on a computer is scrolling on a page, whether it is a web page or a document. Traditionally this has been done with a mouse and a cursor. However, using a trackpad or Magic Mouse you can now do all of your scrolling with your fingers. There are a number of options for doing this:
Scrolling up and down
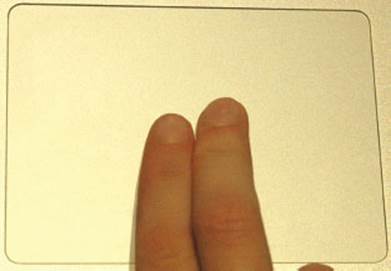
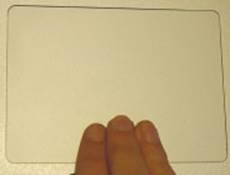
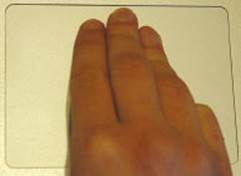
To move up and down web pages or documents, use two fingers on the trackpad and swipe up or down. The page moves in the opposite direction to the one in which you are swiping, i.e. if you swipe up, the page moves down and vice versa:
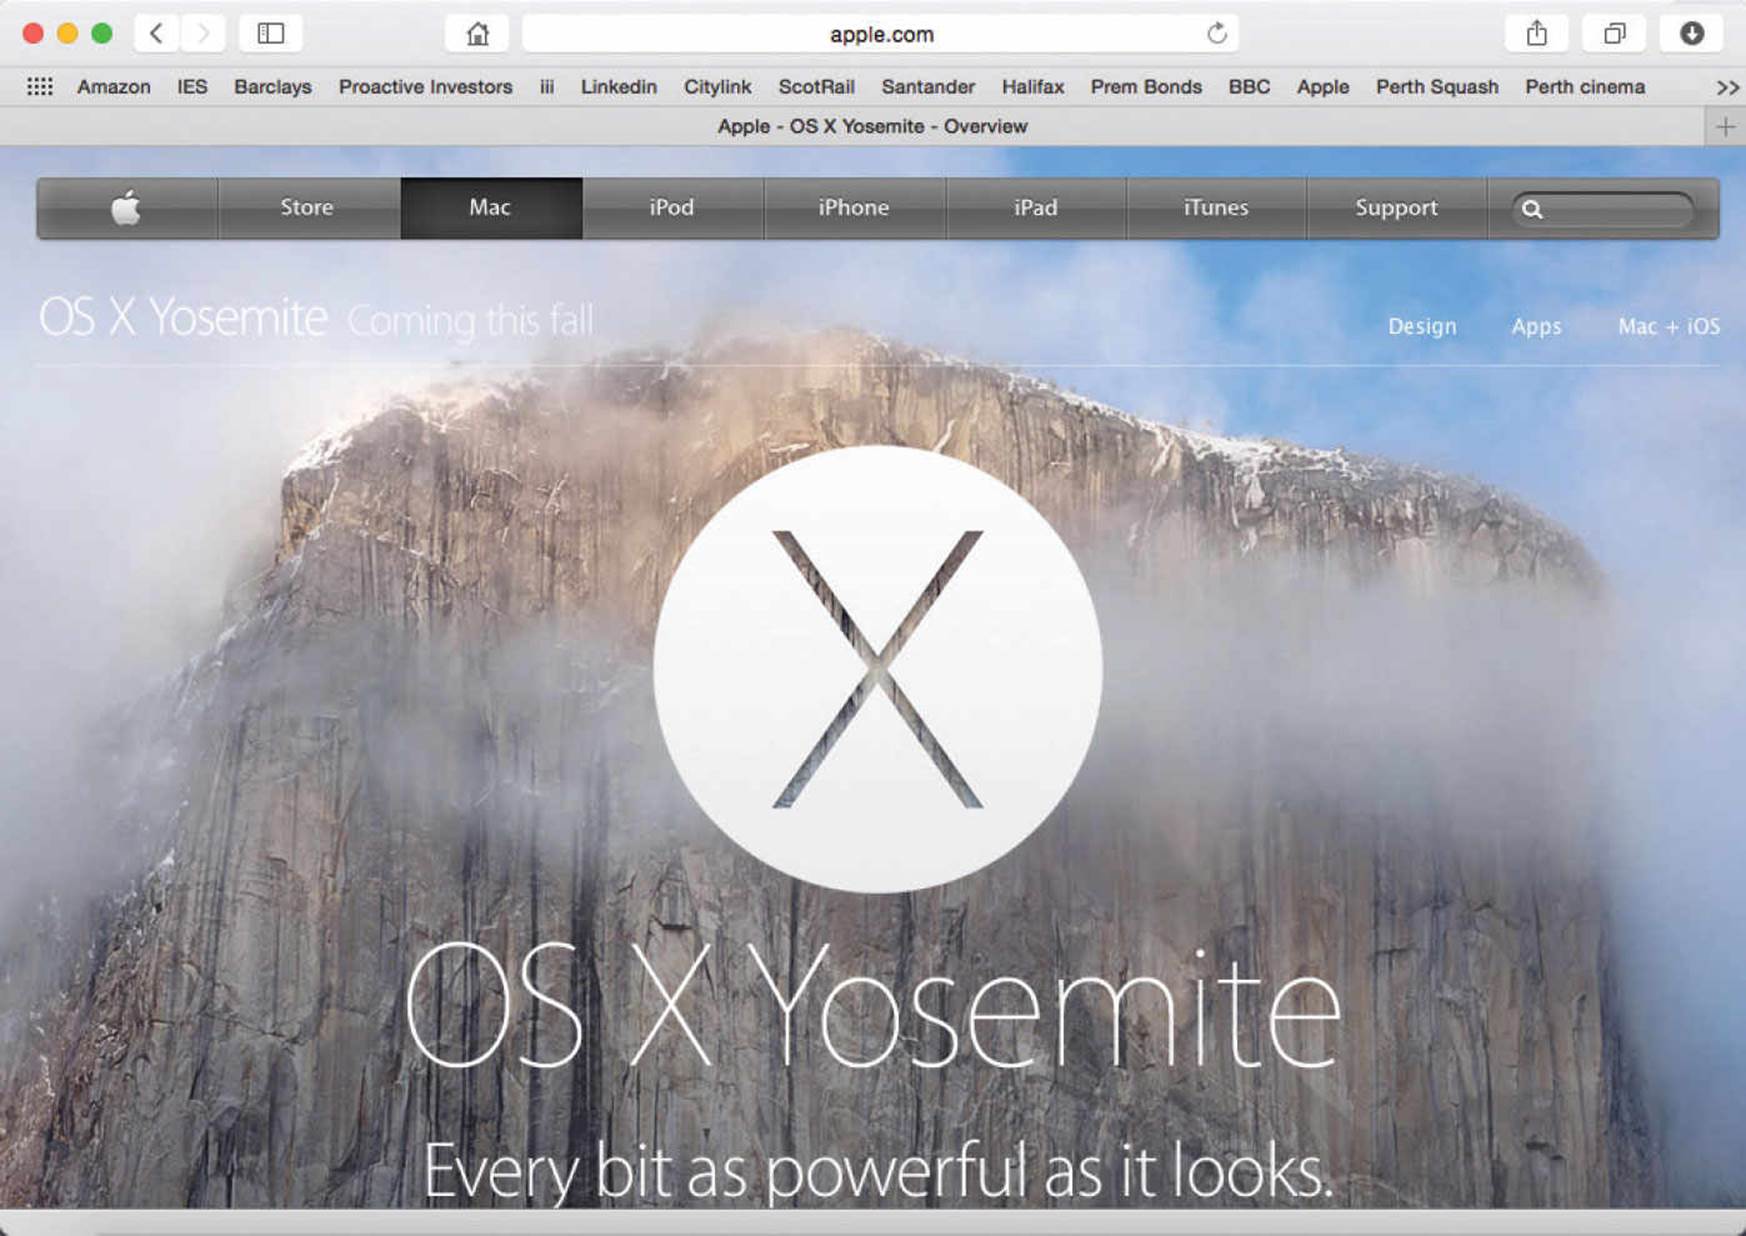
![]() Open a web page
Open a web page
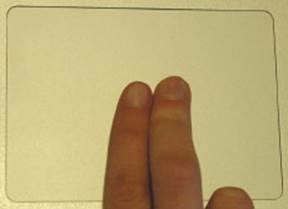
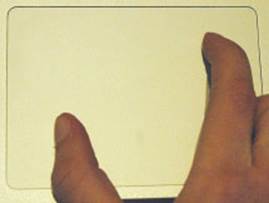
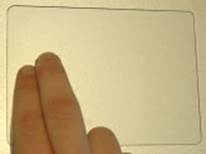
![]() Position two fingers in the middle of the trackpad
Position two fingers in the middle of the trackpad
Don’t worry if you cannot immediately get the hang of multi-touch gestures. It takes a bit of practice to get the correct touch and pressure on the trackpad or Magic Mouse.
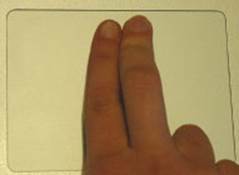
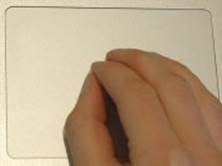
![]() Swipe them up to move down the page
Swipe them up to move down the page
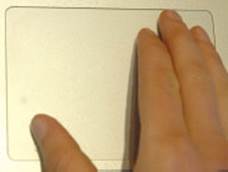
![]() Swipe them down to move up a page
Swipe them down to move up a page
When scrolling up and down pages, the gesture moves the page the opposite way, i.e. swipe down to move up the page and vice versa.
Zooming in and out
To zoom in or out on web pages or documents:
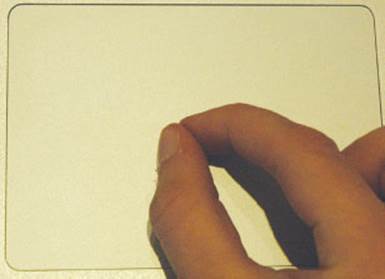
![]() To zoom in, position your thumb and forefinger in the middle of the trackpad
To zoom in, position your thumb and forefinger in the middle of the trackpad


![]() Spread them outwards to zoom in on a web page or document
Spread them outwards to zoom in on a web page or document
Pages can also be zoomed in on by double-clicking with two fingers.
![]() To zoom out, position your thumb and forefinger at opposite corners of the trackpad
To zoom out, position your thumb and forefinger at opposite corners of the trackpad


![]() Swipe them into the center of the trackpad to zoom out
Swipe them into the center of the trackpad to zoom out
There is a limit on how far you can zoom in or out on a web page or document, to ensure that it does not distort the content too much.
Moving between pages
With multi-touch gestures it is possible to swipe between pages within a document. To do this:
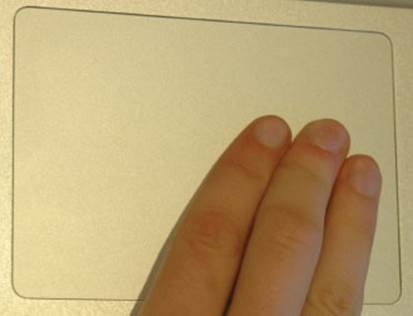
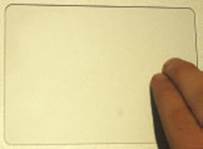
![]() Position two fingers to the left or right of the trackpad
Position two fingers to the left or right of the trackpad
![]() Swipe to the opposite side of the trackpad to move through the document
Swipe to the opposite side of the trackpad to move through the document
See Chapter Seven for details about using full-screen apps.
Moving between full-screen apps
In addition to moving between pages by swiping, it is also possible to move between different apps, when they are in full-screen mode. To do this:
![]() Position three fingers to the left or right of the trackpad
Position three fingers to the left or right of the trackpad

![]() Swipe to the opposite side of the trackpad to move through the available full-screen apps
Swipe to the opposite side of the trackpad to move through the available full-screen apps

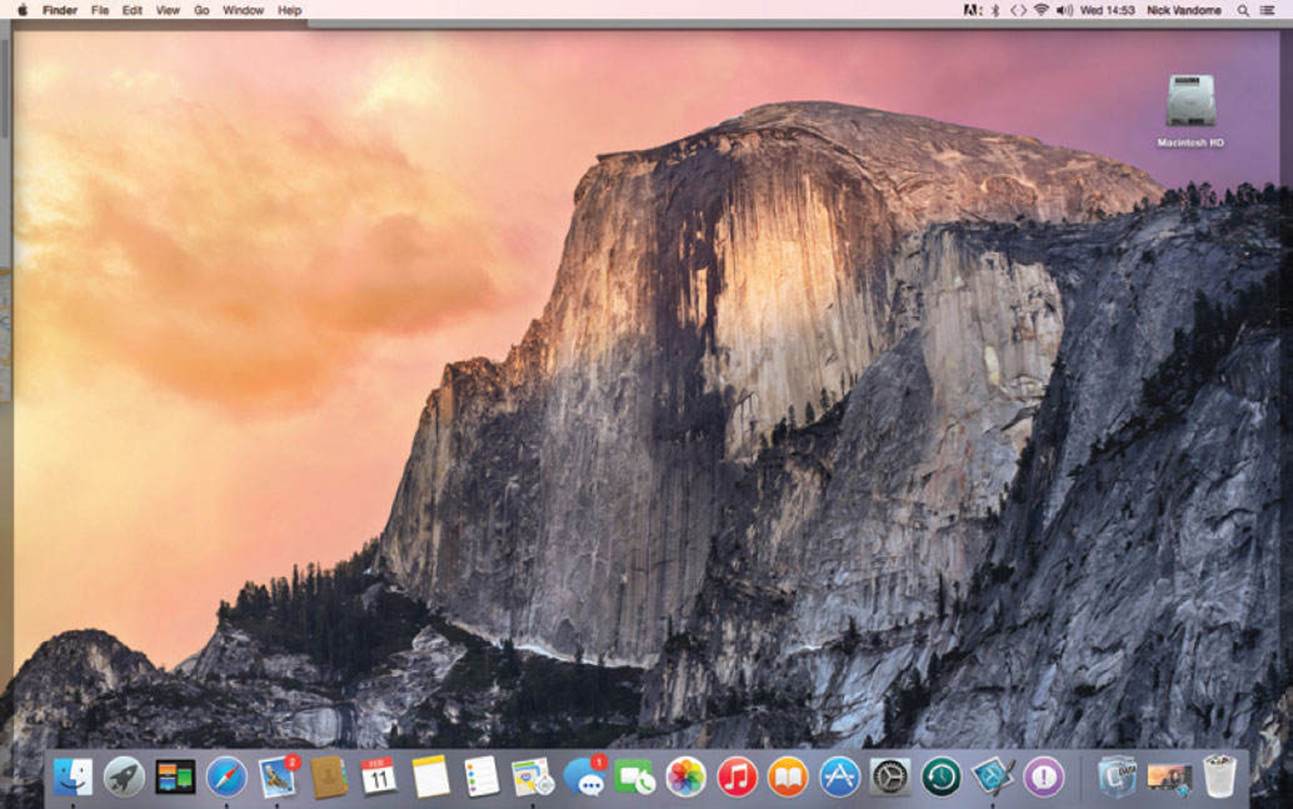
Showing the Desktop
To show the whole Desktop, regardless of how many files or apps are open:
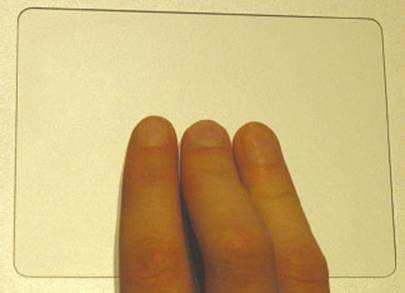
![]() Position your thumb and three fingers in the middle of the trackpad
Position your thumb and three fingers in the middle of the trackpad
![]() Swipe to the opposite corners of the trackpad to display the Desktop
Swipe to the opposite corners of the trackpad to display the Desktop
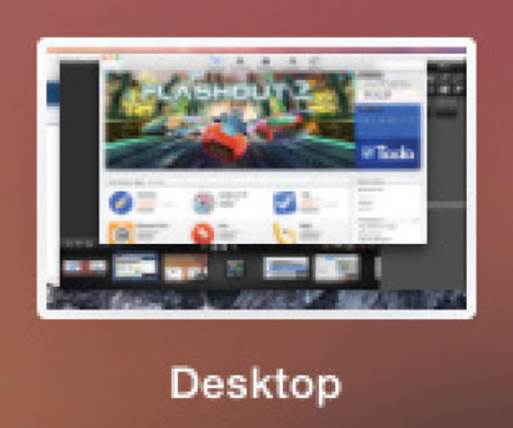
![]() The Desktop is displayed, with all items minimized around the side of the screen
The Desktop is displayed, with all items minimized around the side of the screen
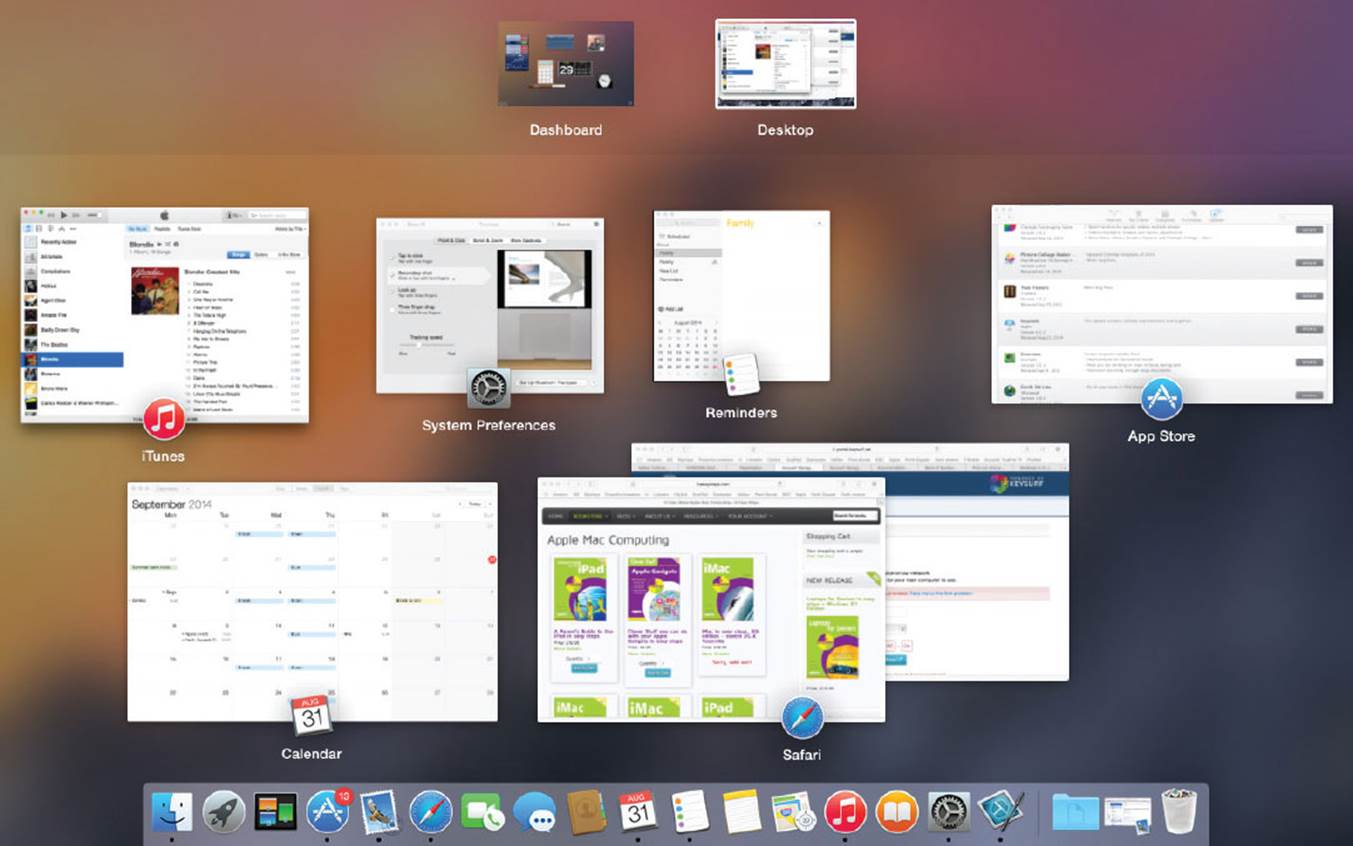
Mission Control
Mission Control is a function in OS X Yosemite that helps you organize all of your open apps, full-screen apps and documents. It also enables you to quickly view the Dashboard and Desktop. Within Mission Control there are also Spaces, where you can group together similar types of documents. To use Mission Control:
![]() Click on this button on the Dock, or
Click on this button on the Dock, or
![]() Swipe upwards with three fingers on the trackpad or Magic Mouse (or press Fn+F9 on the keyboard)
Swipe upwards with three fingers on the trackpad or Magic Mouse (or press Fn+F9 on the keyboard)
![]() All open files and apps are visible via Mission Control
All open files and apps are visible via Mission Control
Click on a window in Mission Control to access it and exit the Mission Control window.
The top row of Mission Control contains the Dashboard, the Desktop and any full-screen apps.
![]() If there is more than one window open for an app they will be grouped together by Mission Control
If there is more than one window open for an app they will be grouped together by Mission Control
![]() If an app is made full-screen it automatically appears along the top row
If an app is made full-screen it automatically appears along the top row
![]() Desktop items are grouped together on the top row within Mission Control within an area called a Space
Desktop items are grouped together on the top row within Mission Control within an area called a Space
Any apps or files that have been minimized or closed do not appear within the main Mission Control window. Instead they are located to the right of the dividing line on the Dock.
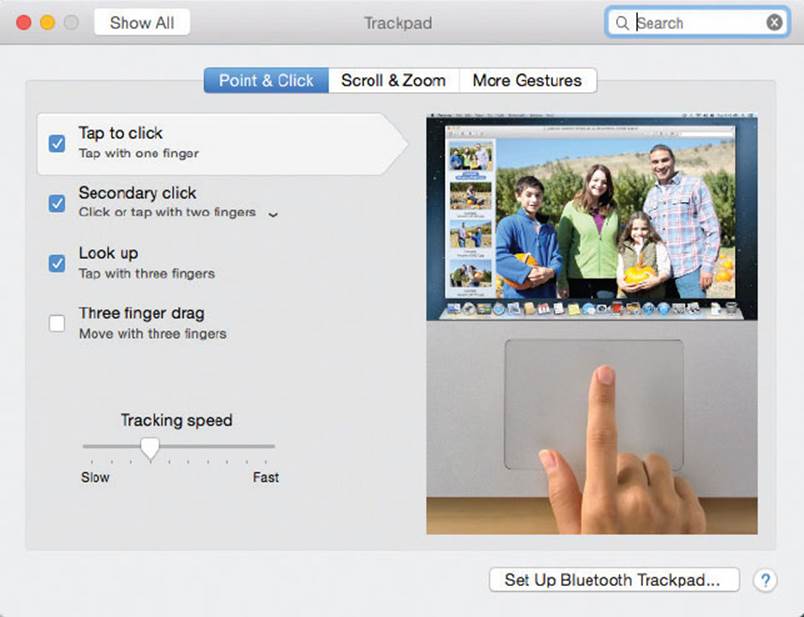
Multi-Touch Preferences
Some multi-touch gestures only have a single action, which cannot be changed. However, others have options for changing the action for a specific gesture. This is done within the Trackpad preferences, where a full list of multi-touch gestures is shown:
Point & Click Preferences
![]() Access the System Preferences and click on the Trackpad button
Access the System Preferences and click on the Trackpad button

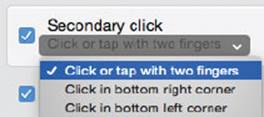
![]() Click on the Point & Click tab
Click on the Point & Click tab
![]()
![]() The actions are described on the left, with a graphic explanation on the right
The actions are described on the left, with a graphic explanation on the right
![]() If there is a down arrow next to an option, click on it to change the way an action is activated
If there is a down arrow next to an option, click on it to change the way an action is activated

When setting multi-touch preferences try to avoid having too many gestures using the same number of fingers, in case some of them over-ride the others.
Scroll & Zoom Preferences
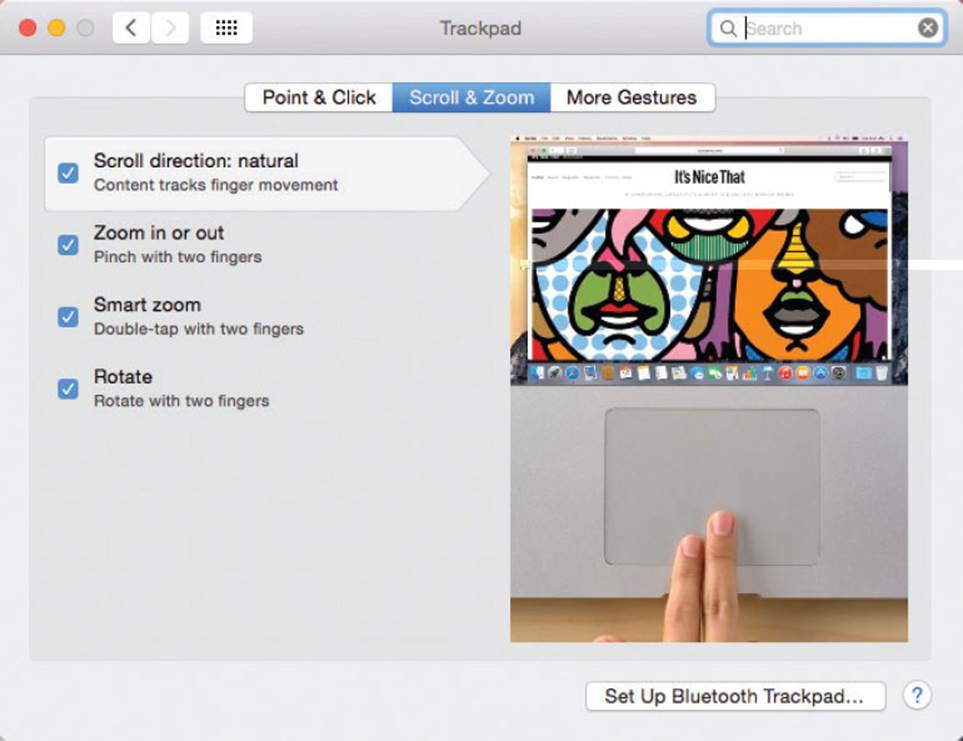
![]() Click on the Scroll & Zoom tab
Click on the Scroll & Zoom tab
![]()
![]() The actions are described on the left, with a graphic explanation on the right
The actions are described on the left, with a graphic explanation on the right
More Gestures Preferences
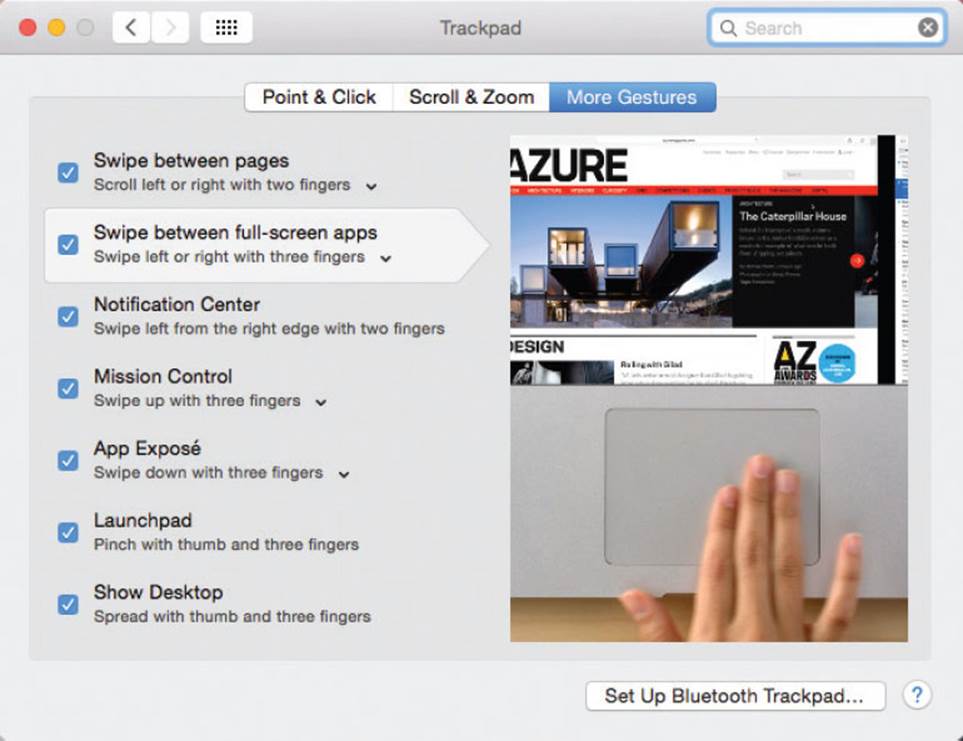
![]() Click on the More Gestures tab
Click on the More Gestures tab
![]()
![]() The actions are described on the left, with a graphic explanation on the right
The actions are described on the left, with a graphic explanation on the right
Multi-Touch Gestures
The full list of multi-touch gestures, with their default actions are:
Point & Click
•Tap to click - tap with one finger
•Secondary click - click or tap with two fingers
•Look up - double-tap with three fingers
•Three finger drag - move with three fingers
Scroll & Zoom
•Scroll direction: natural - content tracks finger movement
•Zoom in or out - spread or pinch with two fingers
•Smart zoom - double-tap with two fingers
•Rotate - rotate with two fingers
More Gestures
•Swipe between pages - scroll left or right with two fingers
•Swipe between full-screen apps - swipe left or right with three fingers
•Access Mission Control - swipe up with three fingers
•Access the Notification Center - swipe left from the right-hand edge of the trackpad or Magic Trackpad
•App Exposé - swipe down with three fingers. This displays the open windows for a specific app
•Access Launchpad - pinch with thumb and three fingers
•Show Desktop - spread with thumb and three fingers
All materials on the site are licensed Creative Commons Attribution-Sharealike 3.0 Unported CC BY-SA 3.0 & GNU Free Documentation License (GFDL)
If you are the copyright holder of any material contained on our site and intend to remove it, please contact our site administrator for approval.
© 2016-2026 All site design rights belong to S.Y.A.