MacBook in easy steps: Covers OS X Yosemite (10.10) (2015)
8
Internet and Email
This chapter shows how to get the most out of the Internet and email. It covers connecting to the Internet and how to use the OS X web browser, Safari, and its email app, Mail. It also covers Messages for text messaging and FaceTime for video chatting.
Getting Connected
Safari
Safari Tabbed Browsing
Safari Top Sites
Safari Reader
Adding Bookmarks
Using Email
Adding Mailboxes
Messaging
FaceTime
Getting Connected
Access to the Internet is an accepted part of the computing world and it is unusual for users not to want to do this. Not only does this provide a gateway to the World Wide Web but also email.
Connecting to the Internet with a MacBook is done through the System Preferences. To do this:
![]() Click on the System Preferences icon on the Dock
Click on the System Preferences icon on the Dock

![]() Click on the Network icon
Click on the Network icon

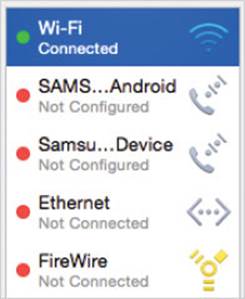
![]() Check that your method of connecting to the Internet is active, i.e. colored green
Check that your method of connecting to the Internet is active, i.e. colored green
![]() Click on the Assist me… button to access wizards for connecting to the Internet with your preferred method of connection
Click on the Assist me… button to access wizards for connecting to the Internet with your preferred method of connection
![]()

Before you connect to the Internet you must have an Internet Service Provider (ISP) who will provide you with the relevant method of connection, i.e. dial-up, cable or broadband. They will provide you with any login details.
![]() Click on the Assistant… button
Click on the Assistant… button
![]()
![]() The Network Setup Assistant is used to configure your system so that you can connect to the Internet
The Network Setup Assistant is used to configure your system so that you can connect to the Internet
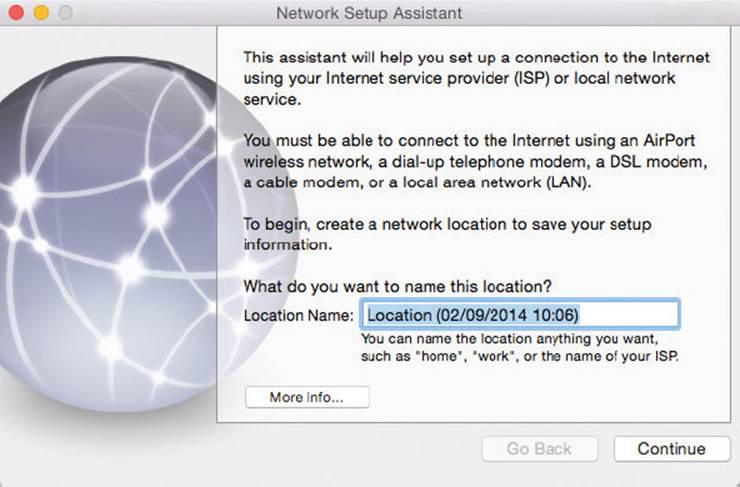
![]() Enter a name for your connection
Enter a name for your connection

![]() Click on the Continue button
Click on the Continue button
![]()
![]() Select an option for how you will connect to the Internet, e.g. wireless, cable or telephone modem
Select an option for how you will connect to the Internet, e.g. wireless, cable or telephone modem
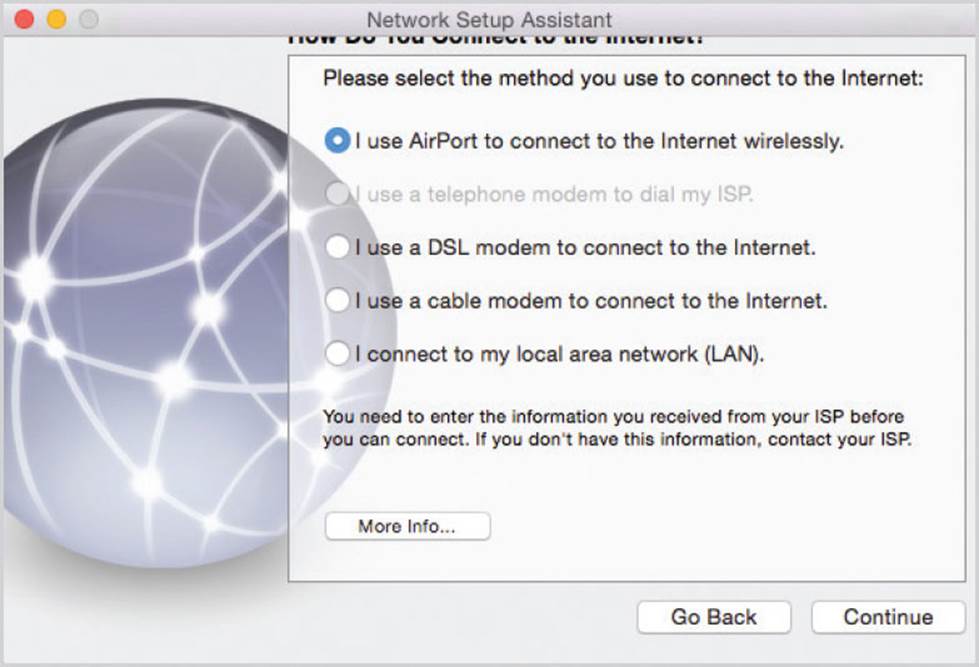
![]() Click on the Continue button
Click on the Continue button
![]()
![]() For a wireless connection, select an available wireless network. This will be the router that is being used to make the connection
For a wireless connection, select an available wireless network. This will be the router that is being used to make the connection
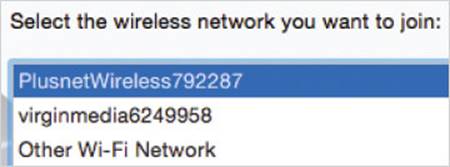
![]() Enter a password for the router (this will have been created when you connected and configured the router)
Enter a password for the router (this will have been created when you connected and configured the router)

![]() Click on the Continue button
Click on the Continue button
![]()

If you are in range of another wireless router, such as a neighbor’s, you will see the router in Step 11. However, you will not be able to use it, unless it is unlocked, i.e. it has not had a password attached to it. Even if it is unlocked you should not use it, unless you get the permission from the owner.
![]() The Ready to Connect window informs you that you are about to attempt to connect to your network
The Ready to Connect window informs you that you are about to attempt to connect to your network
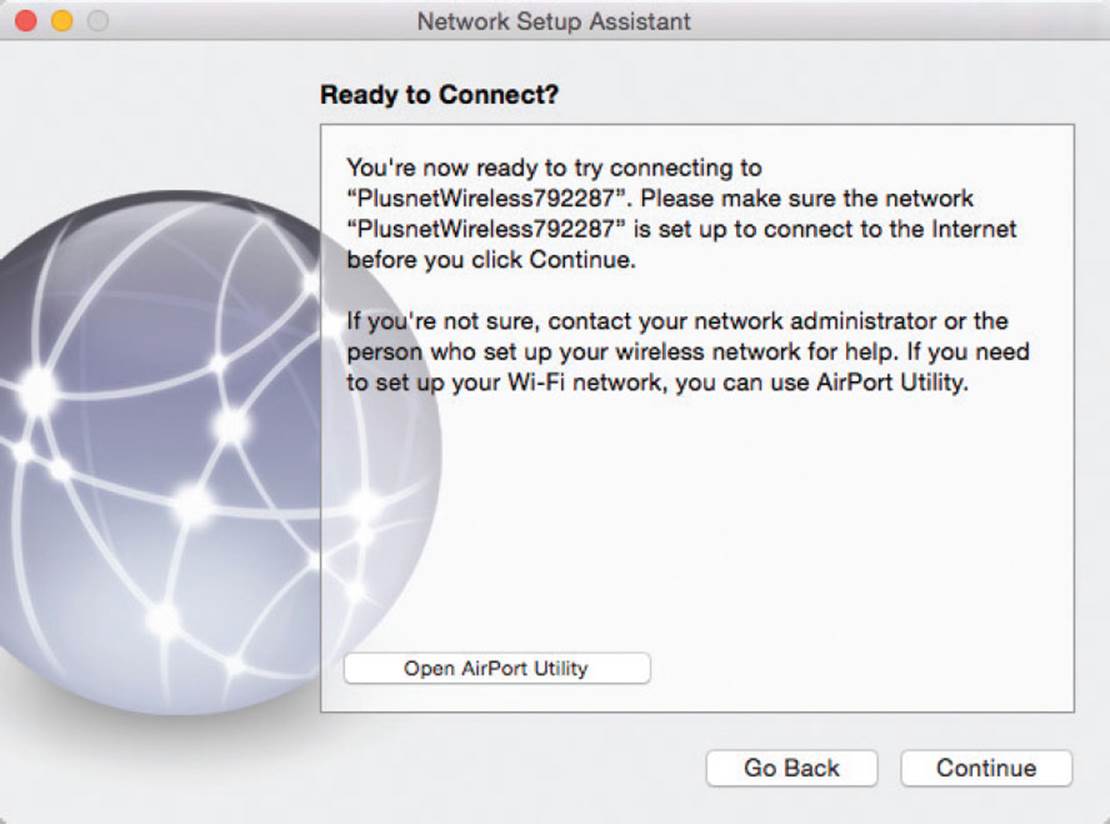
![]() Click on the Continue button
Click on the Continue button
![]()
![]() You are informed if the connection has been successful
You are informed if the connection has been successful
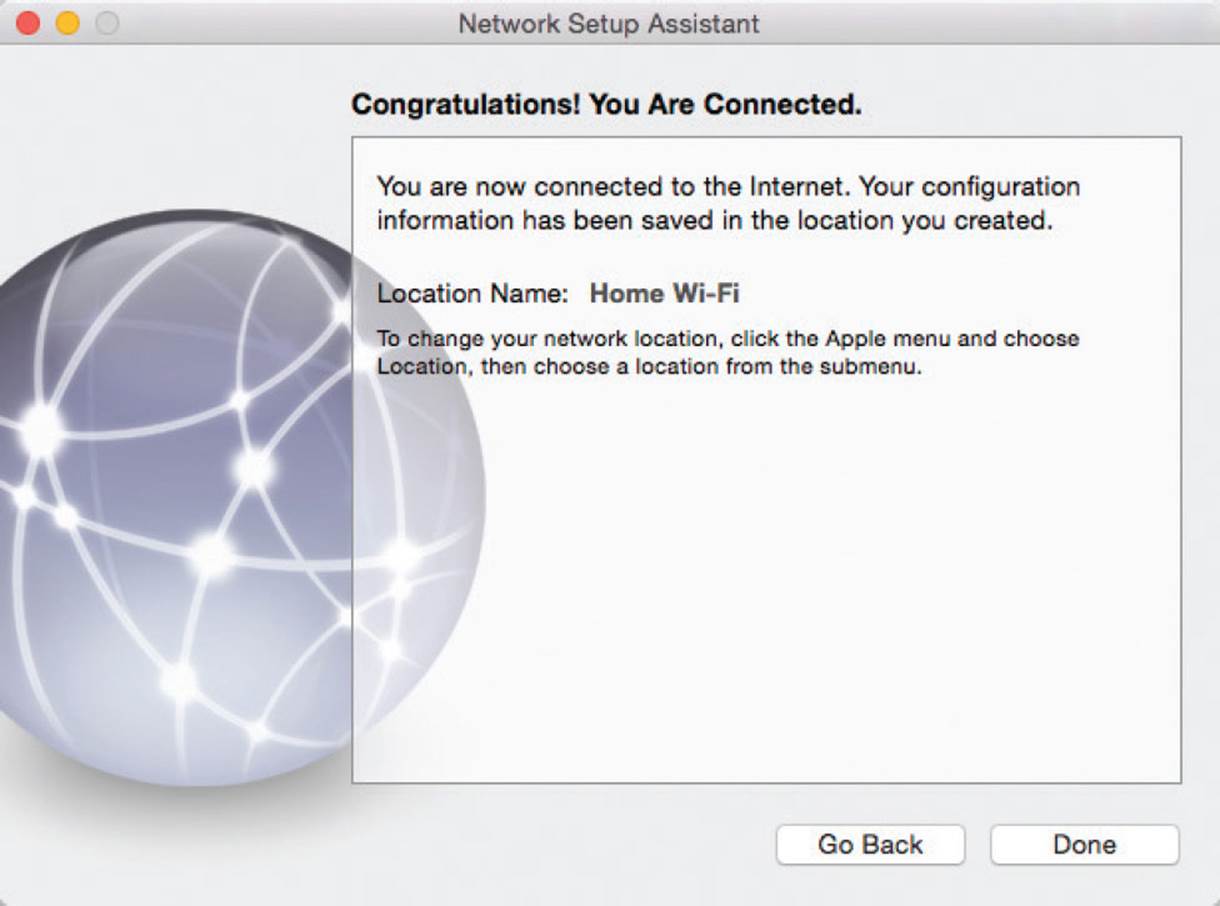
![]() Click on the Done button
Click on the Done button
![]()
Safari
Safari is a web browser that is designed specifically to be used with OS X. It is similar in most respects to other browsers, but it usually functions more quickly and works seamlessly with OS X.
Safari overview
![]() Click here on the Dock to launch Safari
Click here on the Dock to launch Safari

![]() All of the controls are at the top of the browser
All of the controls are at the top of the browser
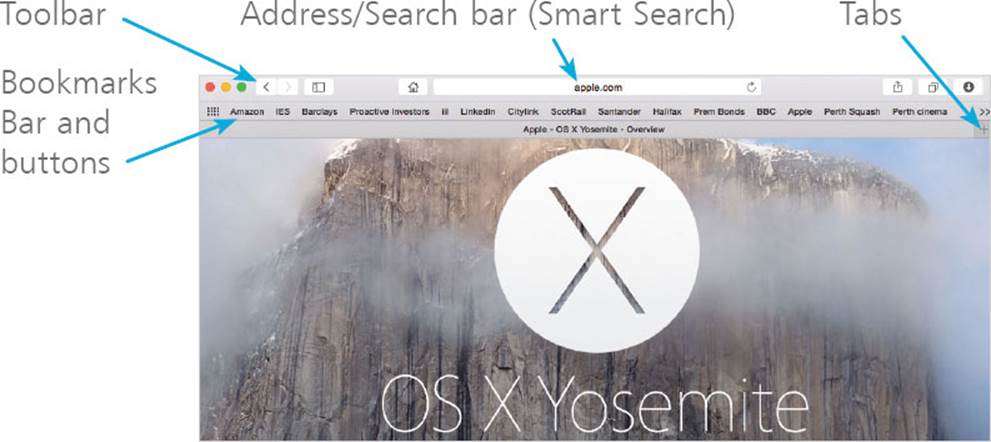

If the Bookmarks Bar is not visible, select View from the Menu bar and check on the Show Bookmarks Bar option. From this menu you can also select or deselect items such as showing All Tabs, the Status Bar and the Reading List.
Smart Search box
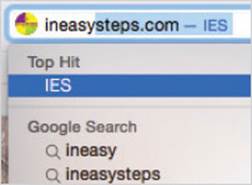
One of the innovations in the latest version of Safari (8) is that the Address bar and the Search box have been incorporated into one item. You can use the same box for searching for an item or enter a web address to go to that page.
![]() Click in the box to enter an item
Click in the box to enter an item
![]()
![]() Results are presented as web pages or search results. Click on the appropriate one to go to that item, i.e. directly to a website or to the search results page
Results are presented as web pages or search results. Click on the appropriate one to go to that item, i.e. directly to a website or to the search results page
Sharing pages
As with many features in Yosemite, web pages can be shared directly from Safari. To do this, first open a web page.
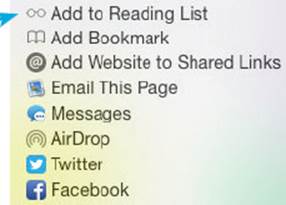
![]() Click on this button and select one of the sharing options
Click on this button and select one of the sharing options
![]()
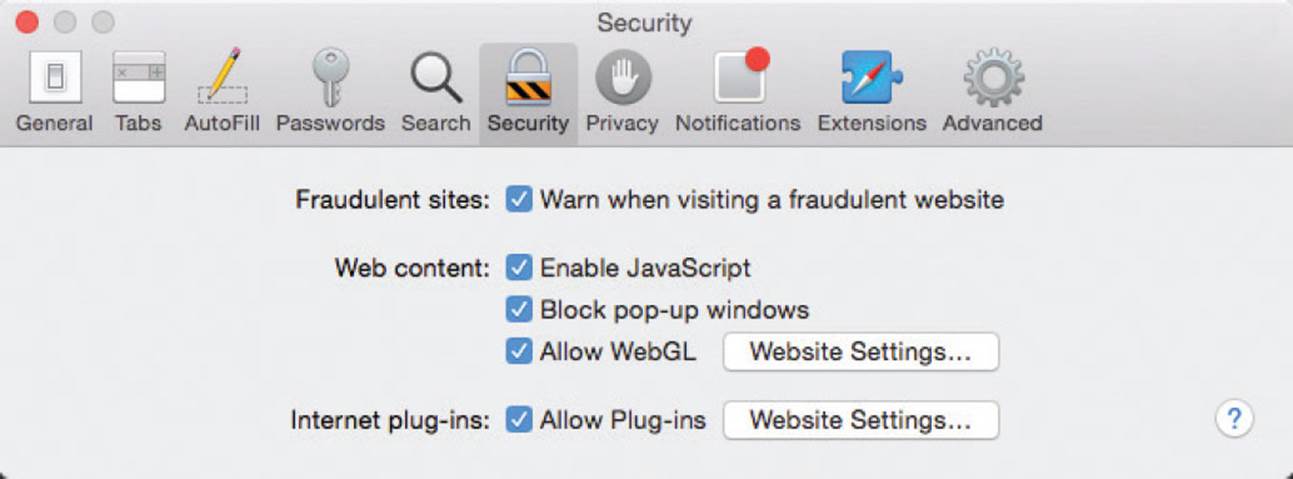
Preferences
Select Safari > Preferences from the Menu bar to specify settings for the way Safari operates and displays web pages. This also includes preferences for Security and Privacy settings.
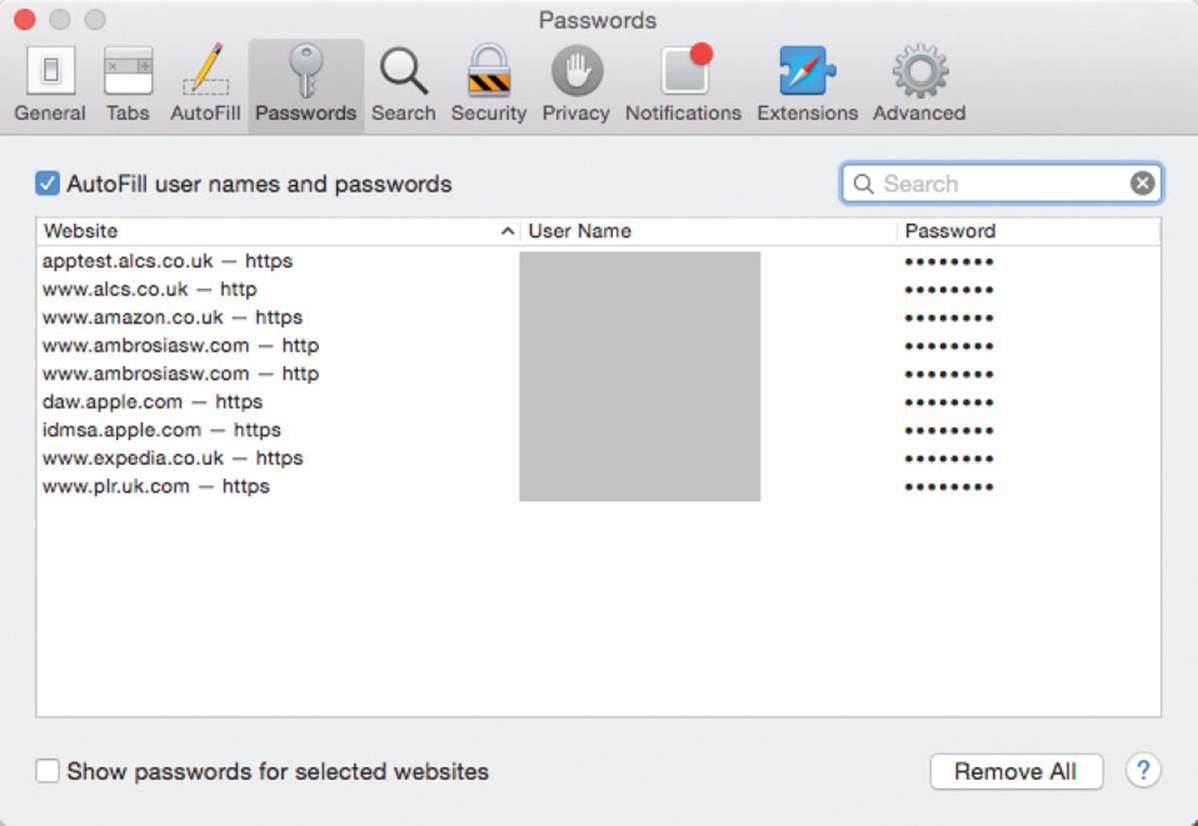
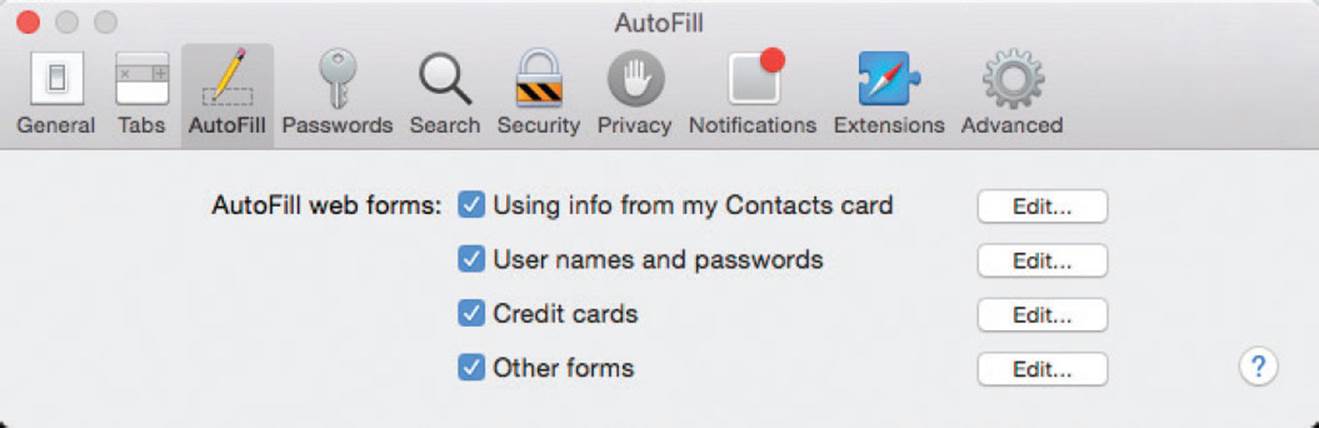
Two useful Safari Preferences are those for Passwords and AutoFill that can be used to manage your passwords on websites, particularly if it is used in conjunction with iCloud Keychain, see here for more details.
Safari Tabbed Browsing
Tabs are now a familiar feature on web browsers, so you can have multiple sites open within the same browser window.
![]() When more than one tab is open, the tabs appear at the top of the web pages
When more than one tab is open, the tabs appear at the top of the web pages
![]()
![]() Click on this button next to the tabs to open a new tab
Click on this button next to the tabs to open a new tab
![]()
![]() Click on one of the Top Sites (see below) or enter a website address in the Address bar
Click on one of the Top Sites (see below) or enter a website address in the Address bar
![]() Click on this button next to the New Tab button to minimize all of the current tabs
Click on this button next to the New Tab button to minimize all of the current tabs
![]()
![]() Move left and right to view all of the open tabs in thumbnail view. Click on one to view it at full size
Move left and right to view all of the open tabs in thumbnail view. Click on one to view it at full size
Safari is a full-screen app and can be expanded by clicking the double arrow in the top right corner. For more information on full-screen apps, see here.
Safari Top Sites
Within Safari there is a facility to view a graphical representation of the websites that you visit most frequently. This can be done from a button on the Safari Menu bar. To do this:
![]() Click on this button to view the Top Sites window
Click on this button to view the Top Sites window
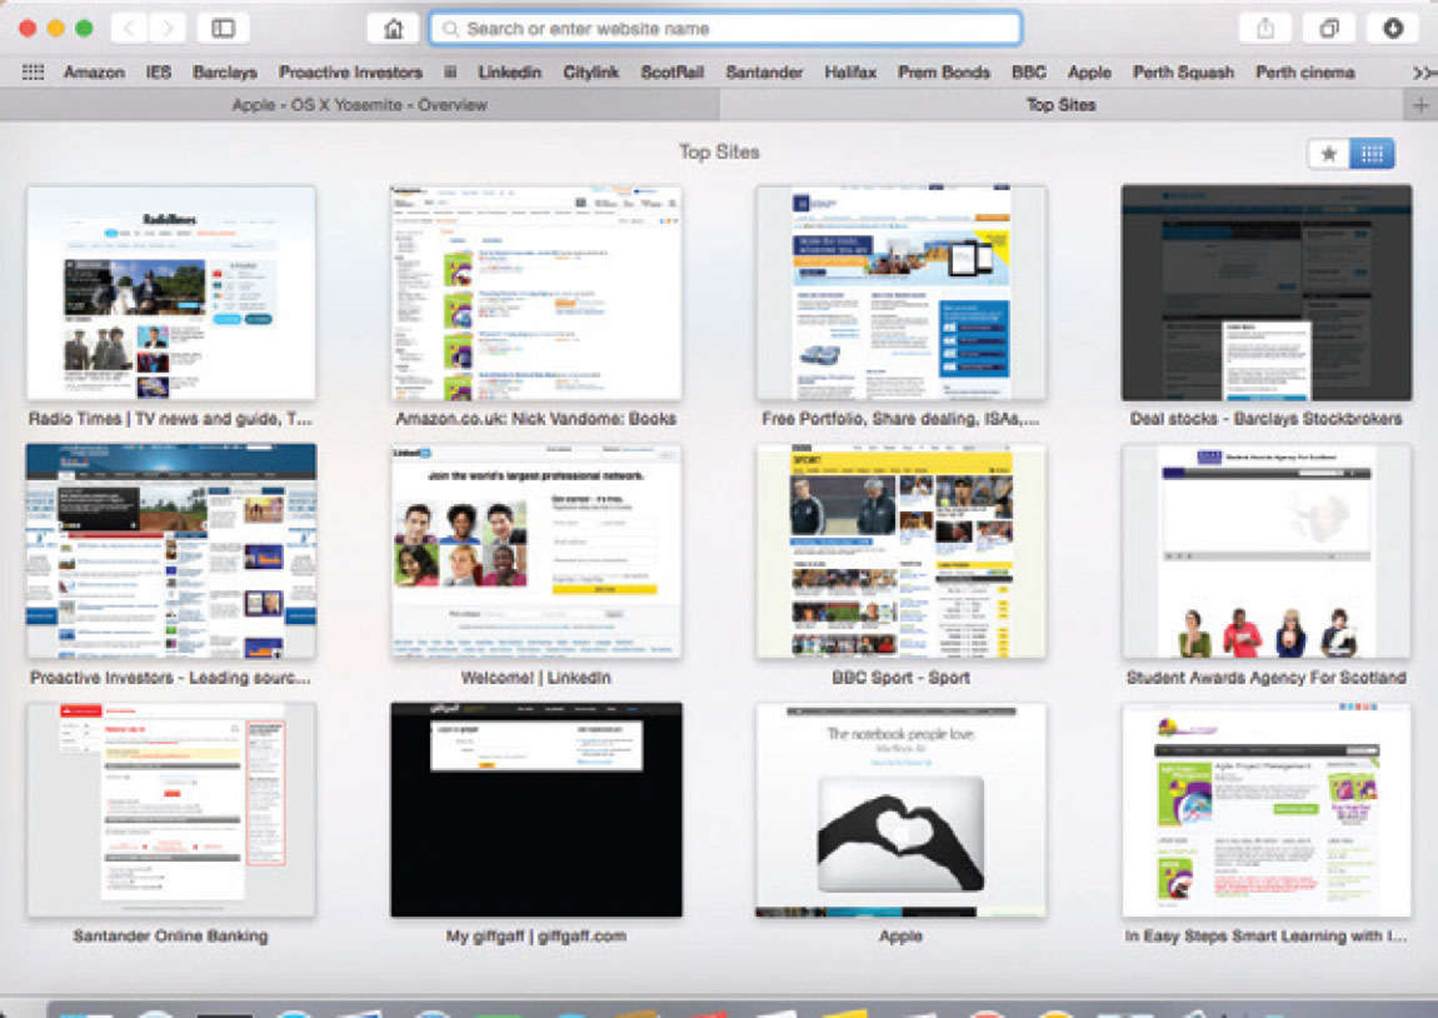
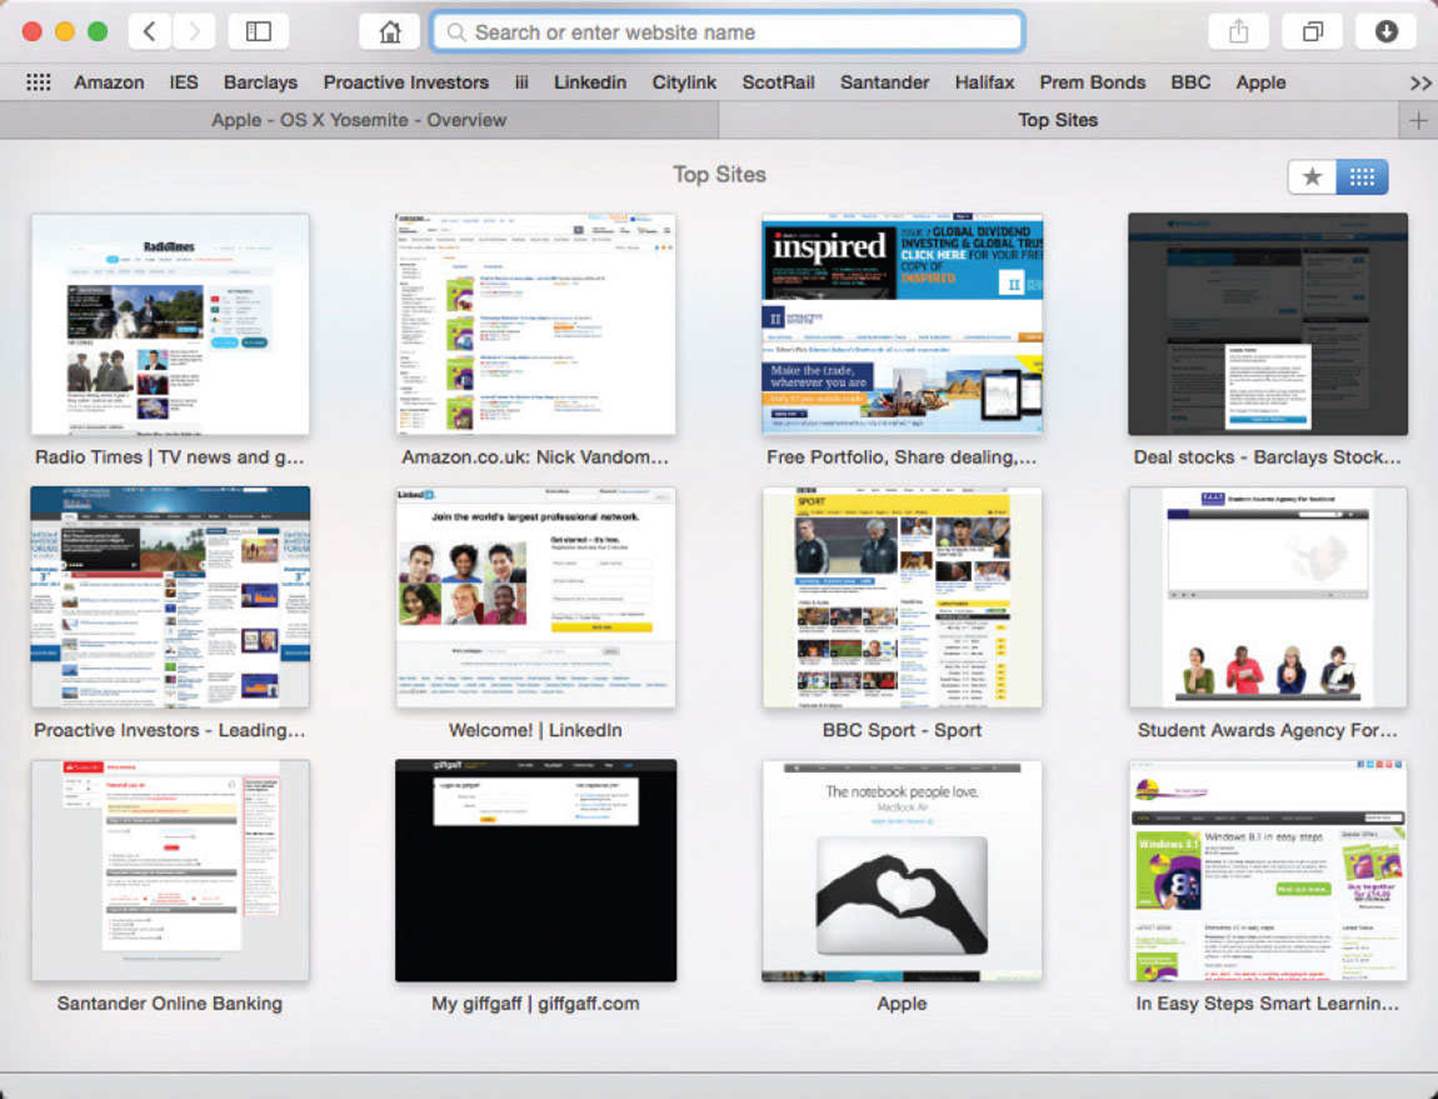
![]() The Top Sites window contains thumbnails of the websites that you have visited most frequently with Safari (this builds up as you visit more sites)
The Top Sites window contains thumbnails of the websites that you have visited most frequently with Safari (this builds up as you visit more sites)
![]() Click on the cross to delete a thumbnail from the Top Sites window. Click on the pin to keep it there permanently
Click on the cross to delete a thumbnail from the Top Sites window. Click on the pin to keep it there permanently
![]() Click on a thumbnail to go to the full site
Click on a thumbnail to go to the full site
![]() To add a new site to the Top Sites, open another window and drag the URL (website address) into the Top Sites
To add a new site to the Top Sites, open another window and drag the URL (website address) into the Top Sites
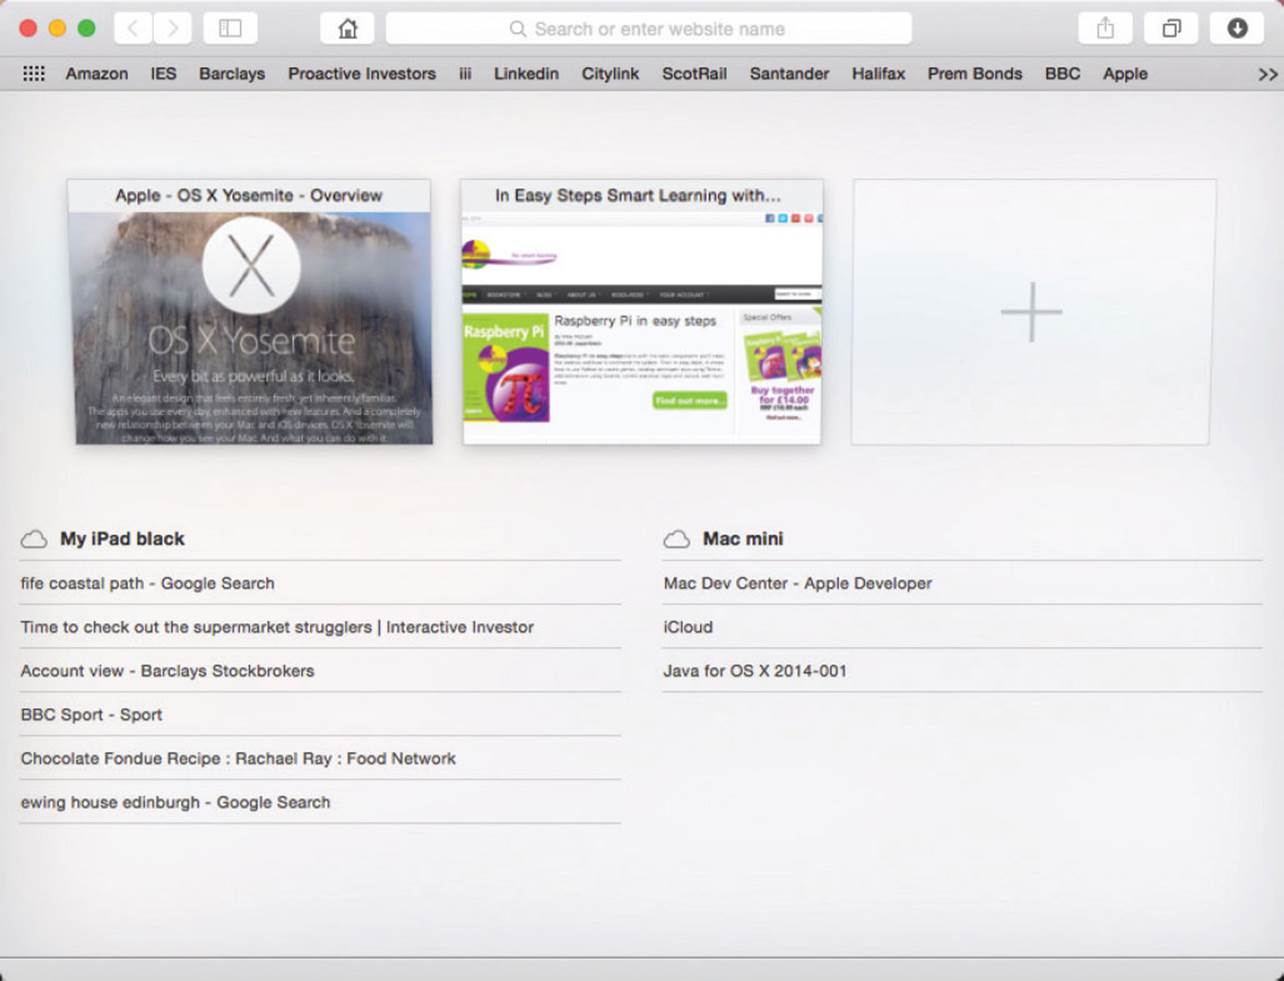
The Top Sites window is also accessed if you open a new tab within Safari.
Safari Reader
Web pages can be complex and cluttered at times. On occasions you may want to just read the content of one story on a web page without all of the extra material in view. In Safari this can be done with the Reader function. To do this:
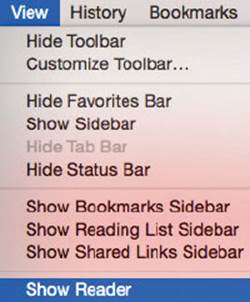
![]() Select View > Show Reader from the Safari menu bar
Select View > Show Reader from the Safari menu bar
![]() Click on the Reader button in the address bar of a web page that supports this functionality
Click on the Reader button in the address bar of a web page that supports this functionality
![]()
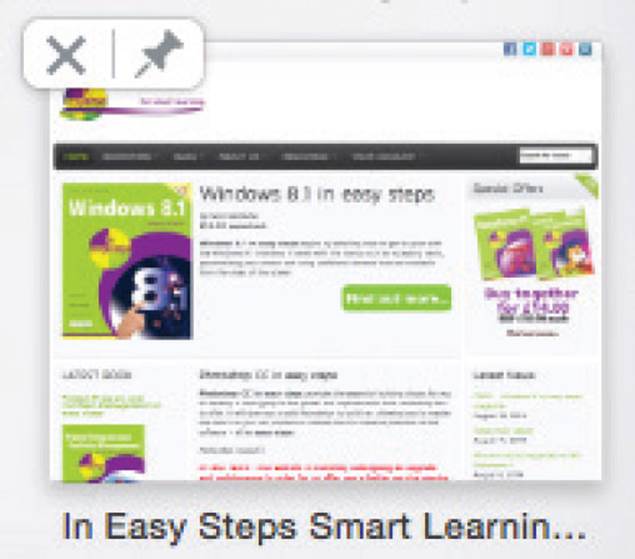
![]() The button turns darker once the Reader is activated
The button turns darker once the Reader is activated

![]() The content is displayed in a text format, with any photos from the original
The content is displayed in a text format, with any photos from the original

![]() Click on this button on the Safari toolbar if you want to save a page to read at a later date
Click on this button on the Safari toolbar if you want to save a page to read at a later date
![]()
![]() Click on the Add to Reading List button to add the page to your Reading List
Click on the Add to Reading List button to add the page to your Reading List

Not all web pages support the Reader functionality in Safari.

Pages that are saved to a Reading List with the button in Step 5 can be read when you are offline, so you do not need to be connected to the Internet.
Adding Bookmarks
Bookmarks is a feature by which you can create quick links to your favorite web pages or the ones you visit most frequently. Bookmarks can be added to a menu or the Bookmarks bar in Safari which makes them even quicker to access. Folders can also be created to store the less frequently used bookmarks. To view and create bookmarks:

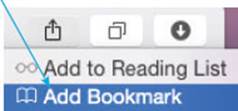
![]() Click on the Share button and click on the Add Bookmark button to create a bookmark for the page currently being viewed
Click on the Share button and click on the Add Bookmark button to create a bookmark for the page currently being viewed
![]()
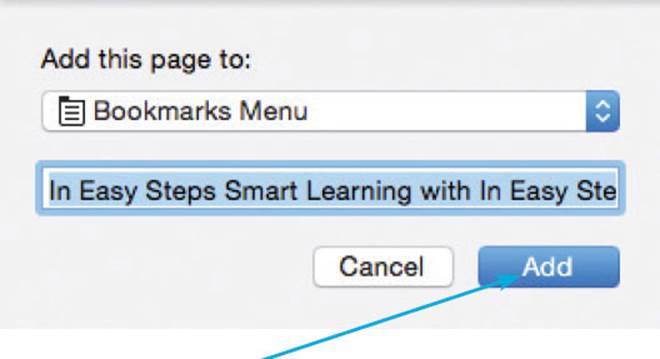
![]() Enter a name for the bookmark and select a location for it
Enter a name for the bookmark and select a location for it
![]() Click on the Add button
Click on the Add button
The Bookmarks Bar appears at the top of the browser window.
Only keep your most frequently used bookmarks in the Bookmarks Bar. Otherwise some of them will cease to be visible, as there will be too many entries for the available space.
Email is an essential element for most computer users and MacBooks come with their own email app called Mail. This covers all of the email functionality that anyone could need.
When first using Mail you have to set up your email account. This information will be available from the company which provides your email service, although in some cases Mail may obtain this information automatically. To view your Mail account details:
![]() Click on this icon on the Dock
Click on this icon on the Dock

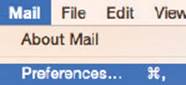
![]() Select Mail > Preferences from the Menu bar
Select Mail > Preferences from the Menu bar
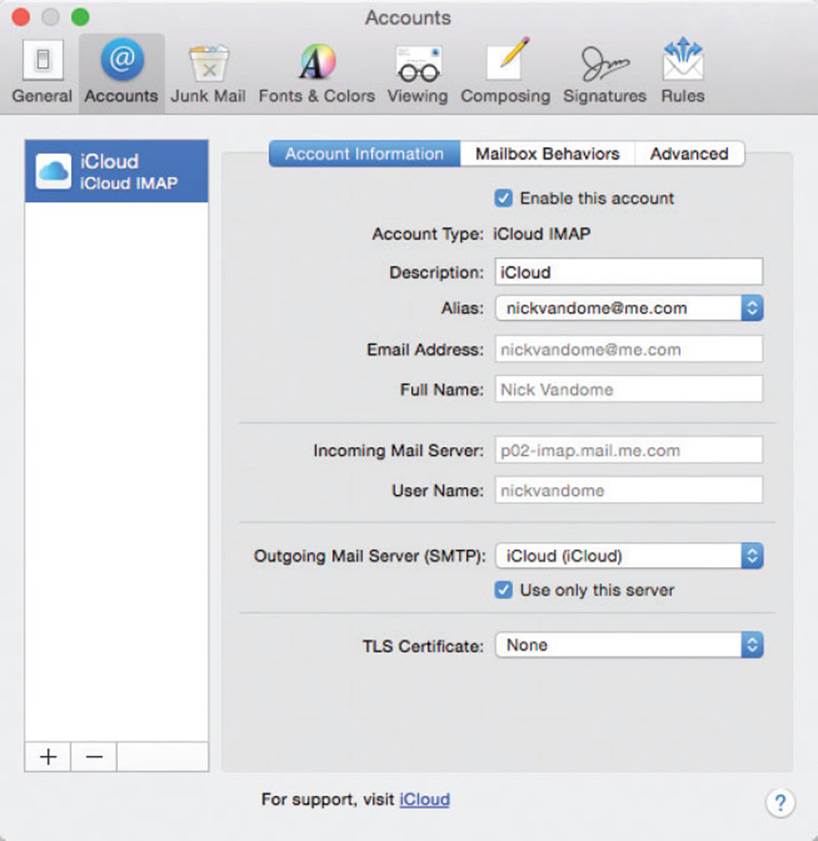
![]() Click on the Accounts tab
Click on the Accounts tab

![]() If it has not already been included, enter the details of your email account in the Account Information section
If it has not already been included, enter the details of your email account in the Account Information section
![]() Click on this button to add a new email account, using the Mail wizard
Click on this button to add a new email account, using the Mail wizard
![]()
Mail can download messages from all of the accounts that you have set up within the Accounts preference.
Using Email
Mail enables you to send and receive emails and also format them to your own style. This can be simply formatting text or adding customized stationery. To use Mail:
![]() Click on the Get Mail button to download available email messages
Click on the Get Mail button to download available email messages
![]()
![]() Click on the New Message button to create a new email
Click on the New Message button to create a new email

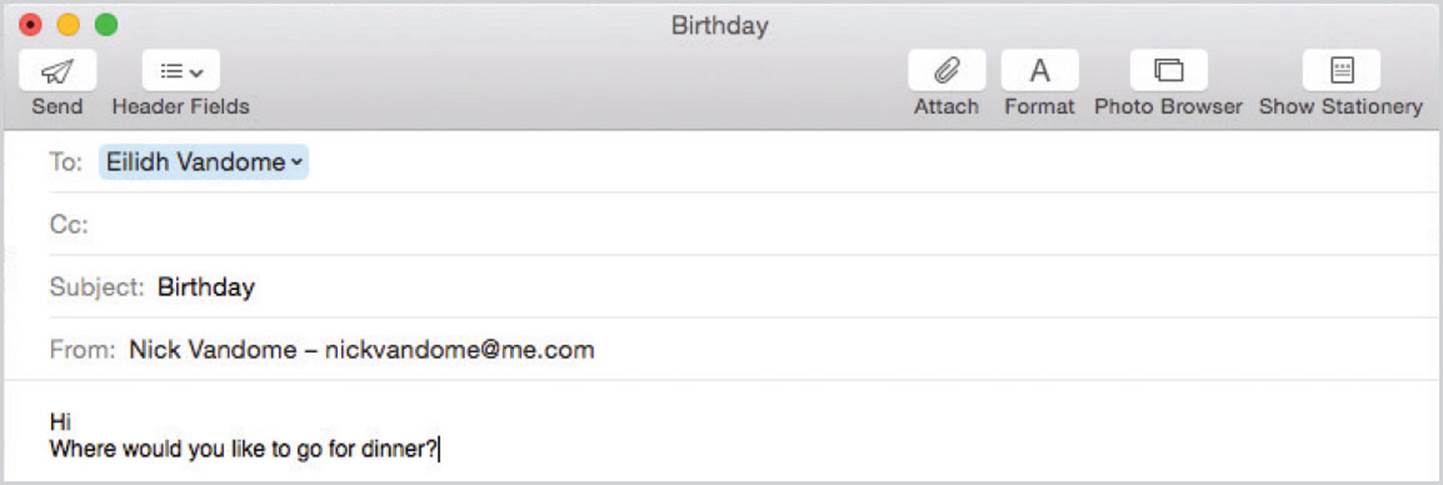
![]() Enter a recipient in the To: box, a title in the Subject box and then text for the email in the main window
Enter a recipient in the To: box, a title in the Subject box and then text for the email in the main window
![]() Click on the Format button to access options for formatting the text in the email
Click on the Format button to access options for formatting the text in the email

![]() Click on these buttons to Reply to, Reply All, or Forward an email you have received
Click on these buttons to Reply to, Reply All, or Forward an email you have received

![]() Select or open an email and click on the Delete button to remove it
Select or open an email and click on the Delete button to remove it
![]()
To show the text underneath an icon in Mail, Ctrl+click next to an icon and select Icon & Text from the menu.
When entering the name of a recipient for a message, Mail will display details of matching names from your Contacts. For instance, if you type DA, all of the entries in your Contacts beginning with this will be displayed and you can select the required one.
If you Forward an email with an attachment then the attachment is included. If you Reply to an email the attachment will not be included.
![]() Click on the Junk button to mark an email as junk or spam. This trains Mail to identify junk mail. After a period of time, these types of messages will automatically be moved straight into the Junk mailbox
Click on the Junk button to mark an email as junk or spam. This trains Mail to identify junk mail. After a period of time, these types of messages will automatically be moved straight into the Junk mailbox
![]()
![]() Click on the Attach button to browse your folders to include a file in your email. This can be items such as photos, word documents or PDF files
Click on the Attach button to browse your folders to include a file in your email. This can be items such as photos, word documents or PDF files
![]()
![]() Click on the Photo Browser button to browse photos to add to an email
Click on the Photo Browser button to browse photos to add to an email
![]()
![]() Click on the Show Stationery button to access a variety of templated designs that can be added to your email
Click on the Show Stationery button to access a variety of templated designs that can be added to your email

![]() Select View > Organize by Conversation from the Mail menu bar
Select View > Organize by Conversation from the Mail menu bar
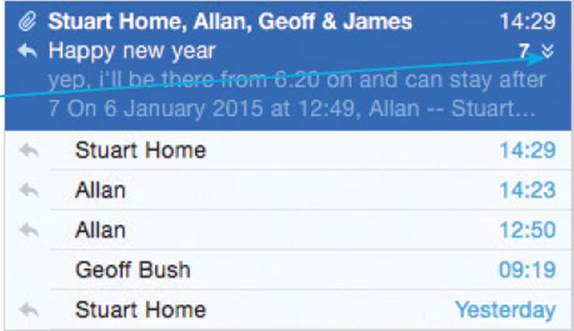
![]() Emails with the same subject are grouped together as a conversation in the left-hand pane. The number of grouped emails is shown at the right-hand side
Emails with the same subject are grouped together as a conversation in the left-hand pane. The number of grouped emails is shown at the right-hand side

![]() Click here to view the full list of emails
Click here to view the full list of emails

It is worth occasionally checking in your Junk Mailbox, in case something you want has been put there.

Do not send files that are too large in terms of file size, otherwise the recipient may find it takes too long to download.
Adding Mailboxes
When you are dealing with email it is a good idea to create a folder structure (mailboxes) for your messages. This will allow you to sort your emails into relevant subjects when you receive them, rather than having all of them sitting in your Inbox. To add a structure of new mailboxes:
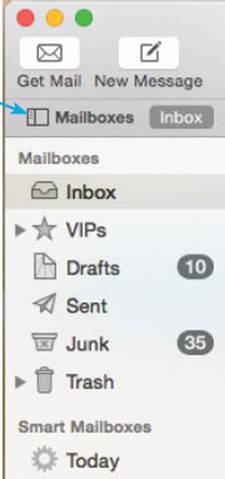
![]() Click on this button to view your current mailboxes
Click on this button to view your current mailboxes
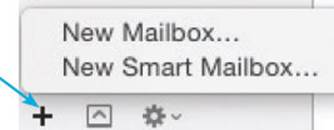
![]() Click on the + button at the bottom left-hand corner of the Mail window and select New Mailbox
Click on the + button at the bottom left-hand corner of the Mail window and select New Mailbox
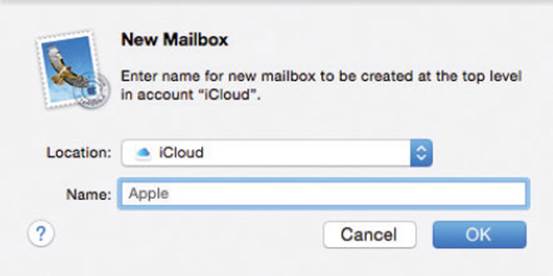
![]() Enter a name for the Mailbox and a location where you would like it to be stored. Click on the OK button
Enter a name for the Mailbox and a location where you would like it to be stored. Click on the OK button
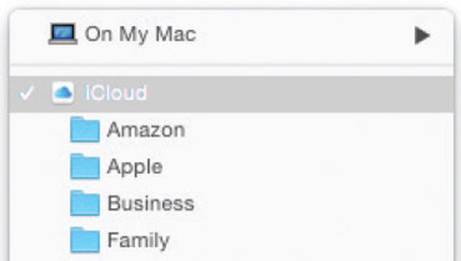
![]() The new mailbox is added to the current list
The new mailbox is added to the current list
Smart Mailboxes can also be created. These are mailboxes with specific criteria, such as a sender’s name or a word in the subject title. Whenever an email arrives which matches this criteria it will be routed into the Smart Mailbox folder.
Messaging
The Messages app enables you to send text messages (iMessages) to other Yosemite users or those with an iPhone, iPad or iPod Touch. It can also be used to send photos, videos and to make FaceTime calls. To use Messages:
![]() Click on this icon on the Dock
Click on this icon on the Dock
![]()
![]() Click on this button to start a new conversation
Click on this button to start a new conversation

![]()
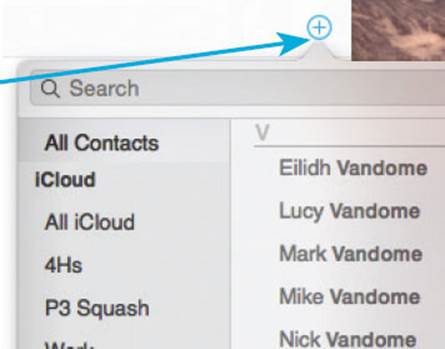
![]() Click on this button and select a contact (these will be from your Contacts app). To send an iMessage the recipient must have an Apple ID
Click on this button and select a contact (these will be from your Contacts app). To send an iMessage the recipient must have an Apple ID
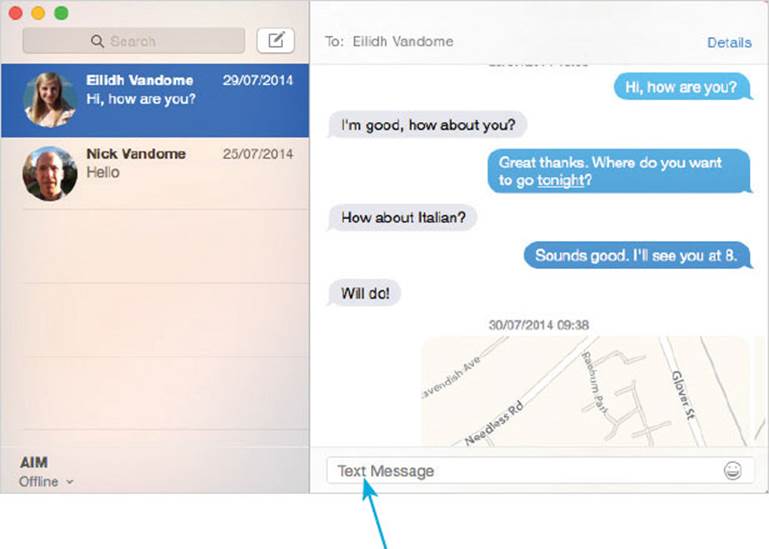
![]() The person with whom you are having a conversation is displayed in the left-hand panel
The person with whom you are having a conversation is displayed in the left-hand panel
![]() The conversation continues down the right-hand panel. Click here to write a message and press Return to send it
The conversation continues down the right-hand panel. Click here to write a message and press Return to send it

You need an Apple ID to use Messages and you will need to enter these details when you first access it. If you do not have an Apple ID you will be able to create one at this point.
To delete a conversation, roll over it in the left-hand panel and click on this cross.

Adding photos and videos

Photos and videos can be added to messages:
![]() Select the photo, or video, in the Finder, next to the Messages app
Select the photo, or video, in the Finder, next to the Messages app
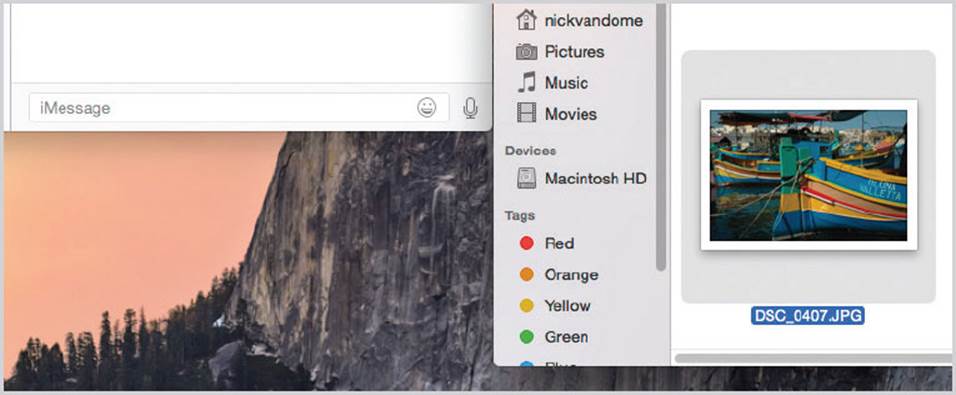
![]() Drag the photo, or video, into the text box to include it in a message
Drag the photo, or video, into the text box to include it in a message

Audio messages can also be included in an iMessage. Click on this icon to the right of the text box and record your message.
![]()
Text forwarding
If you have an iPhone you can now receive and send SMS text messages, using your MacBook with OS X Yosemite. To use your MacBook and OS X Yosemite to send and receive SMS messages:
![]() On your MacBook, from the Messages Menu bar click on Messages > Preferences > Accounts. Click on the iMessages account tab and check On your own phone number and email address
On your MacBook, from the Messages Menu bar click on Messages > Preferences > Accounts. Click on the iMessages account tab and check On your own phone number and email address
![]() On your iPhone, select Settings > Messages > Send & Receive and add your email address
On your iPhone, select Settings > Messages > Send & Receive and add your email address
![]() On your iPhone, select Settings > Messages > Text Message Forwarding > Turn Text Message Forwarding On
On your iPhone, select Settings > Messages > Text Message Forwarding > Turn Text Message Forwarding On
![]() An activation code appears on our MacBook: enter this on your iPhone to enable text forwarding
An activation code appears on our MacBook: enter this on your iPhone to enable text forwarding
To use text forwarding you need to have OS X Yosemite on your MacBook and iOS 8.1 on your iPhone, or iPad with cellular capabilities, i.e. the 3/4G version. Wi-Fi also has to be turned on for each device.
FaceTime
FaceTime is an app that can be used to make video, and audio, calls to other Macs, iPhones, iPads and iPod Touches. To use FaceTime on your MacBook you must have an in-built FaceTime camera or use a compatible external one.
![]() Click on this icon on the Dock
Click on this icon on the Dock

![]() You need an Apple ID to use FaceTime. Enter your details and click on the Sign in button
You need an Apple ID to use FaceTime. Enter your details and click on the Sign in button

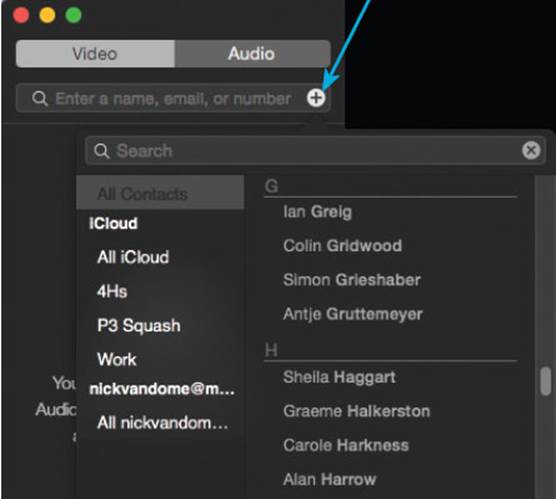
![]() Once you have logged in you can make video calls by selecting people from your address book providing they have an Apple ID and a device that supports FaceTime. Click on this button to access your address book
Once you have logged in you can make video calls by selecting people from your address book providing they have an Apple ID and a device that supports FaceTime. Click on this button to access your address book
If you receive a video call, you are alerted to this even if FaceTime is not open and running.
In a similar way to text forwarding, OS X Yosemite on a Mac can also be used for Phone Call Forwarding with your iPhone. Both devices need to have Wi-Fi turned on and be signed into the same iCloud account. On your MacBook, select FaceTime > Preferences > and turn On iPhone Cellular Calls. Do the same on your iPhone with Settings > FaceTime > iPhone Cellular Calls. When you receive a call, it shows up as a notification on your MacBook and you can Accept or Decline it.