Photos for Mac: A Take Control Crash Course (1.0.1) (2015)
Import Your Files into Photos
While iCloud can add all the photos you take on your iOS devices to Photos automatically, the most traditional way of adding items to a Photos library is by connecting a camera directly ①. If you want to exert ultimate control over your media collection, you can also manually import photos from your drive—an approach that offers a lot more flexibility. (If you’re looking for information about importing an entire library into Photos, see First Time’s the Charm.)
① When you attach a camera or insert a memory card, Photos displays its contents in the Import pane (or the Import section of the sidebar, if it’s visible).
Importing from a Camera
If you’re shooting photos (or capturing video) with a standalone camera, or you’re using iOS devices that aren’t syncing with iCloud, you’ll get your images into Photos by attaching the device or its memory card to your Mac.
The process is automatic. When you attach a device to your Mac that registers as one containing photos and/or videos, the Import pane (or section of the sidebar) appears, ready to gobble your media files.
Using Image Capture
If you want to process your images before adding them to Photos, or organize them yourself on your drive, you might want to use the Image Capture application to import the files to your Mac. Once they’re imported, you can modify and arrange them, and then add them to Photos using the File > Import command (see Importing from Disk).
Photos Eliminates Redundancy
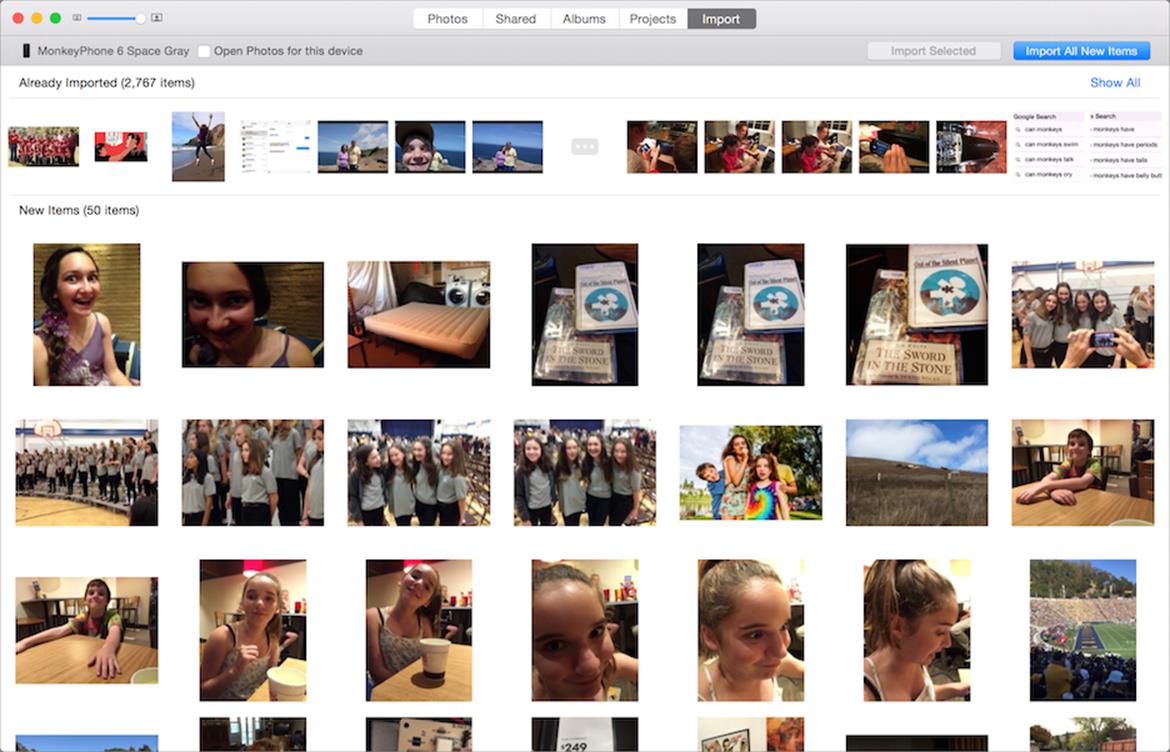
When you attach a device, Photos scans its contents and compares them to its current library. If Photos finds the same images in both places, it collects these items at the very top of the Import screen, marked as Already Imported ②. Below that, it shows photos that aren’t yet in the library, labeled as New Items.
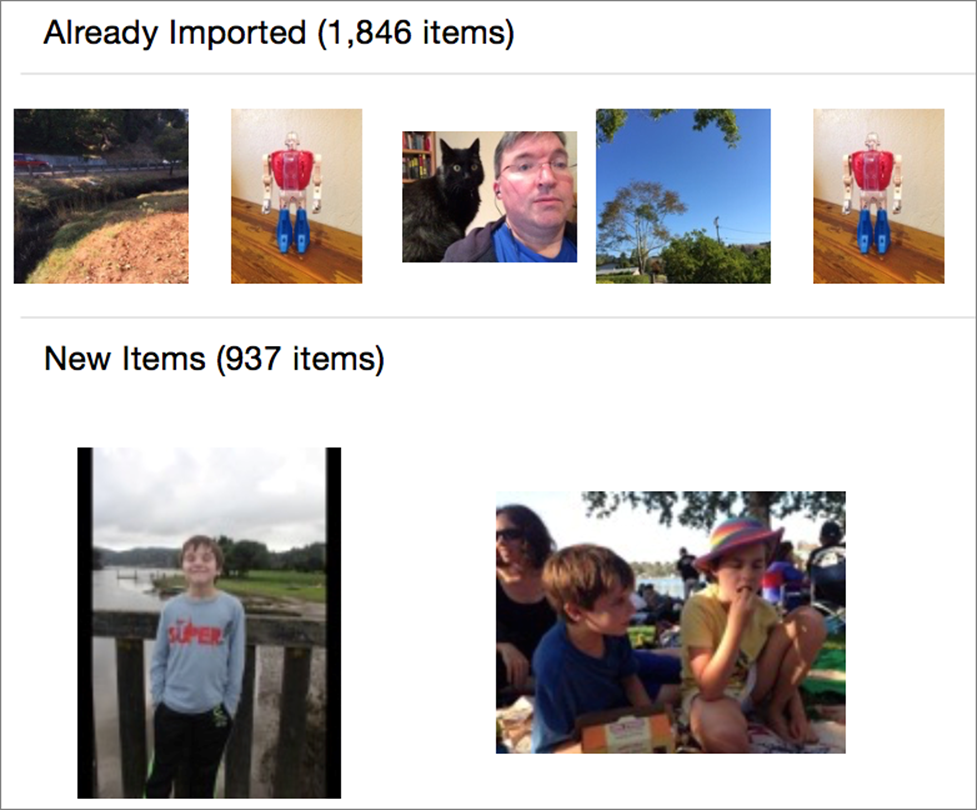
② Photos doesn’t want to waste your time with items you’ve already imported into its library.
Select Photos to Import
In most cases, you’ll just want to click Import All New Items. Photos will import all your new items and ask if you want to delete them.
But to import only certain items, you can click to select those items—your selections are indicated by a dimmed image with a blue checkbox in the lower-right corner ③—and import them by clicking the Import Number Selected button ④.

③ Items selected for import are dimmed and sport blue checkboxes.

④ Click the button on the left to import only selected images.
Tip: Check the “Open Photos for this device” box if you want Photos to open every time you attach that particular device; uncheck it if you’re annoyed by the app launching whenever you plug in the device.
Importing from Disk
To add files to the Photos library that are already on your Mac, drag them directly into the Photos window or choose File > Import.
If you’ve set the sidebar to be visible by choosing View > Show Sidebar, you can see the results of your file import by selecting Last Import in the Albums section of the sidebar.
There are good reasons why you might want to import photos from your devices using Apple’s Image Capture app, then bring those files into Photos via this method: to modify them in some way before Photos ingests them or to manually mange their locations.
Synchronize Watches… Go!
You can batch-adjust the date and time of images you’ve imported into Photos by choosing Image > Adjust Date and Time. If you have images from cameras whose clocks weren’t quite synchronized, this tool can help put the images back in proper order.
Editing before Importing
There are plenty of reasons you might want to edit a photo before importing it into Photos. You might prefer to use a separate tool, such as Photoshop, to edit the image, for example. Plus, this initial version of Photos doesn’t offer batch-editing of images, so if you want to apply a specific effect to a whole bunch of images, you’ll need to use an external tool.
Adding Location Data
One major omission of the initial release of Photos is its lack of support for editing all the assorted EXIF data that rides along with every image you take, detailing the camera settings, and even the location where an image was taken.
If you shoot photos with a digital camera that doesn’t have GPS features, those images won’t have location data attached to them—and while Photos doesn’t mind showing you location data for the photos you take, it won’t let you add it in after the fact.
To bypass this, import your files via Image Capture and use a separate app to add location information. Then import the files into Photos.
Tip: When I’m shooting photos with my Canon DSLR (which has no GPS features), I use the Geotag Photos GPS logging app on my iPhone. When I return home, I use its companion Mac app to add location data to each file, and then I import those files into Photos.
Manage Files Yourself
By default, Photos imports all your files inside the Photos Library, essentially outside of your control.
If you don’t like the idea of submitting to Photos and letting it control everything for you, you can manage your media the old fashioned way—in the Finder.
To do this, choose Photos > Preferences > General, and uncheck the “Copy items to the Photos library” option. If you leave this option turned off, Photos will respect your location preferences.
Photos displays images imported by this means with a small icon—of an arrow coming out of a box—in the bottom left corner ⑤.

⑤ Left: A self-managed image has a white box and an arrow in the bottom-left corner. Right: If Photos can’t find that file, the white box turns into a yellow alert symbol.
All edits you make to the photo will be stored inside the Photos library, but if you delete the original file in the Finder, Photos won’t let you edit that file again. So all the responsibility for managing your files is up to you.
Self-managed files also won’t sync to iCloud. You can copy selected files into the Photos library by choosing File > Consolidate.