Digital Sharing for Apple Users: A Take Control Crash Course (2014)
Share Printers on Your Local Network
Many inexpensive printers connect to a Mac using USB. If you have more than one Mac in your home or small office that needs access to a USB-connected printer, you may be able to use features built into OS X to share it across your local network. Alternatively, third-party software lets iOS devices benefit from shared printers too.
Note: Printers with built-in Wi-Fi, and Ethernet-connected printers compatible with Apple’s AirPrint technology, don’t require these extra steps.
Configure Printer Sharing
Before you can share a printer, it must appear in the Printers & Scanners pane of System Preferences, which means you must configure it in the usual way for the Mac to which it’s directly connected. Once you’ve done that:
1. Go to System Preferences > Printers & Scanners, select the printer in the list on the left, and select Share This Printer on the Network ①.
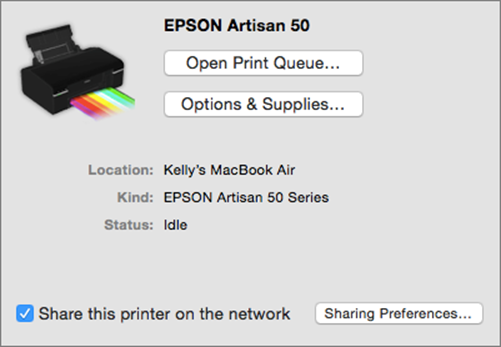
① Check the box beneath the printer description to share it on your network.
Repeat as necessary to share more printers.
2. Go to System Preferences > Sharing and select Printer Sharing in the list on the left.
All the printers you added in Step 1 should appear in the Printers list; to stop sharing a printer, deselect it.
3. To restrict access to a printer, select it, click the plus ![]() button, and select a user. Repeat to add more users; only those people will be able to print to the shared printer.
button, and select a user. Repeat to add more users; only those people will be able to print to the shared printer.
Sharing Scanners
Prior to 10.9 Mavericks, Mac OS X also had built-in support for sharing scanners; it worked very much like the process I describe here for printers. Apple didn’t say why that capability went away.
On the bright side, scanners increasingly include Wi-Fi; unfortunately, most inexpensive scanners with Wi-Fi can still connect to only one Mac at a time, and may require configuration with a USB cable to switch Macs.
Use an AirPrint Enabler
While Printer Sharing is great for other Macs on your networks, it won’t let iOS devices use the shared printers. For that you’ll need a third-party app called an AirPrint enabler that runs on your Mac and makes your printers appear on the network just as though they had AirPrint built in. Examples:
· Printopia (my personal pick) lets you share all your printers simply by flipping one switch—you need not also set them up in Printer Sharing. Printopia also lets you “print” to PDF files in specified locations or send PDFs to specific apps.
· handyPrint is donationware, and functions as an add-on to Printer Sharing—share a printer there first, then turn on handyPrint. It doesn’t have all the bells and whistles of Printopia, but it’s free to try.
Note: AirPrint enablers work only when your Mac is turned on and awake.
Access a Shared Printer
· From a Mac: Go to another Mac on the same network as the shared printer, open System Preferences > Printers & Scanners, and click the plus ![]() button. Select the shared printer and click Add. The printer should now appear in Print dialogs.
button. Select the shared printer and click Add. The printer should now appear in Print dialogs.
· From an iOS device: Find your app’s Print command, often in the Share Sheet, which you see when you tap the Share ![]() icon. If the printer isn’t already selected, tap Printer ② and select it. Select the number of copies you want and tap Print.
icon. If the printer isn’t already selected, tap Printer ② and select it. Select the number of copies you want and tap Print.
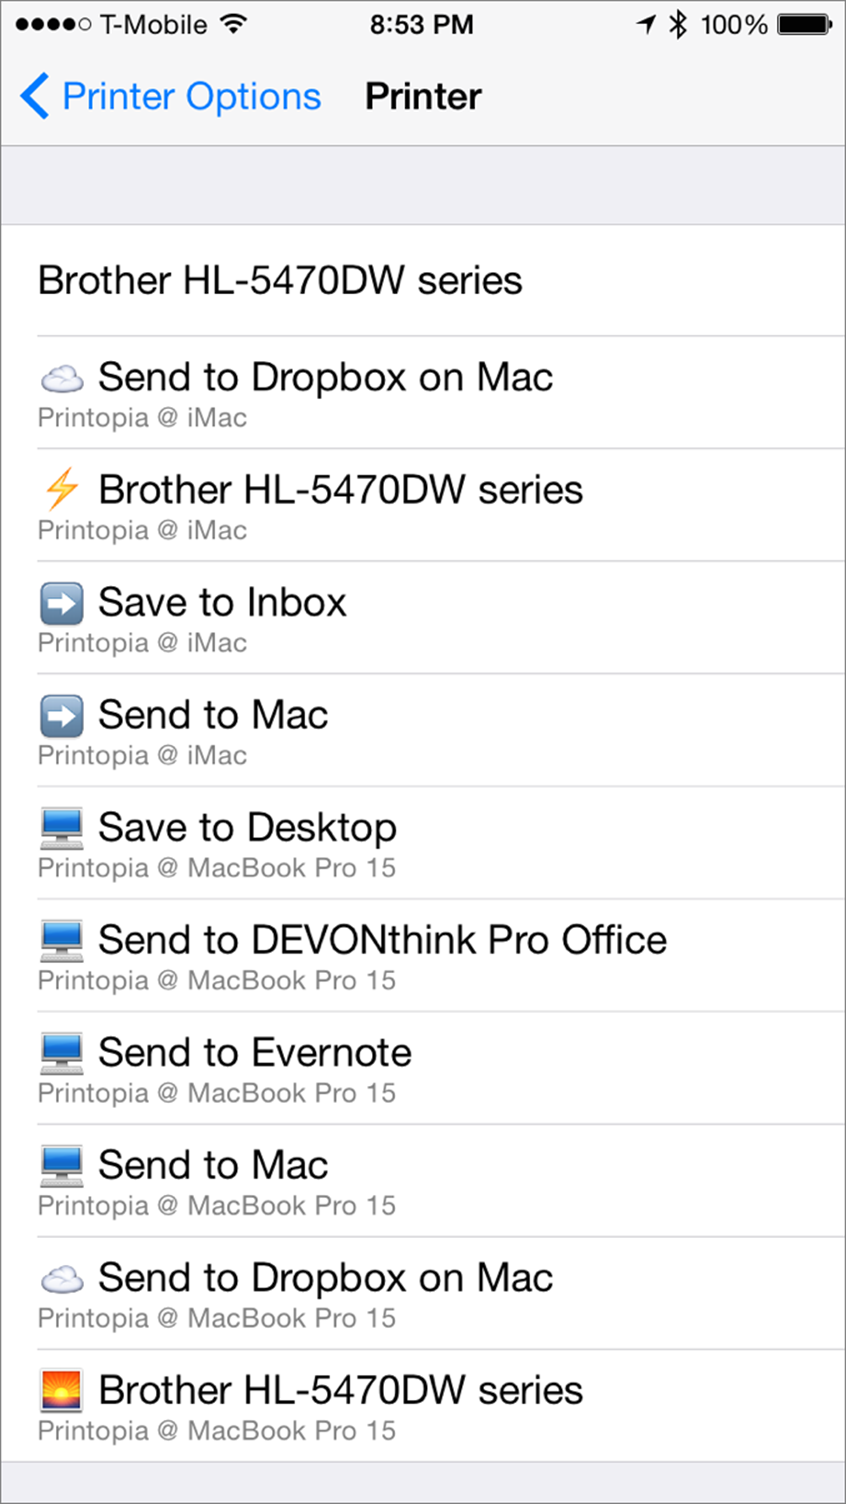
② When you tap Print in an iOS app with Printopia enabled on a local Mac, you see not only shared printers but also apps and folders to which you can send PDF files.
Share this tip and chapter on ![]()
![]()
![]()
![]()
![]()
“Share a printer with an AirPrint enabler like Printopia, and Macs and iOS devices can print to it without any fuss.”
Discuss “Share Printers on Your Local Network” via ![]()