Make: 3D Printing (2014)
Part VI. Finishing Techniques
Chapter 14. Weathering Your Prints
Age 3D-printed objects to look like battered metal.
Jason Babler
Weathering plastic or wood to make it look like aged metal (Figure 14-1) is an effect you can achieve in fewer steps than most people expect. The most basic weathering can be done with only two paints. Here, I’ll show you how to weather and age using only three paints. This technique is how I weathered, in less than 10 minutes, a 3D-printed robot that we made here at the MAKE offices.
The Mega Make robot, designed by Make: Labs intern Dan Spangler, is comming soon as a downloadable, desktop-3D-printable project.
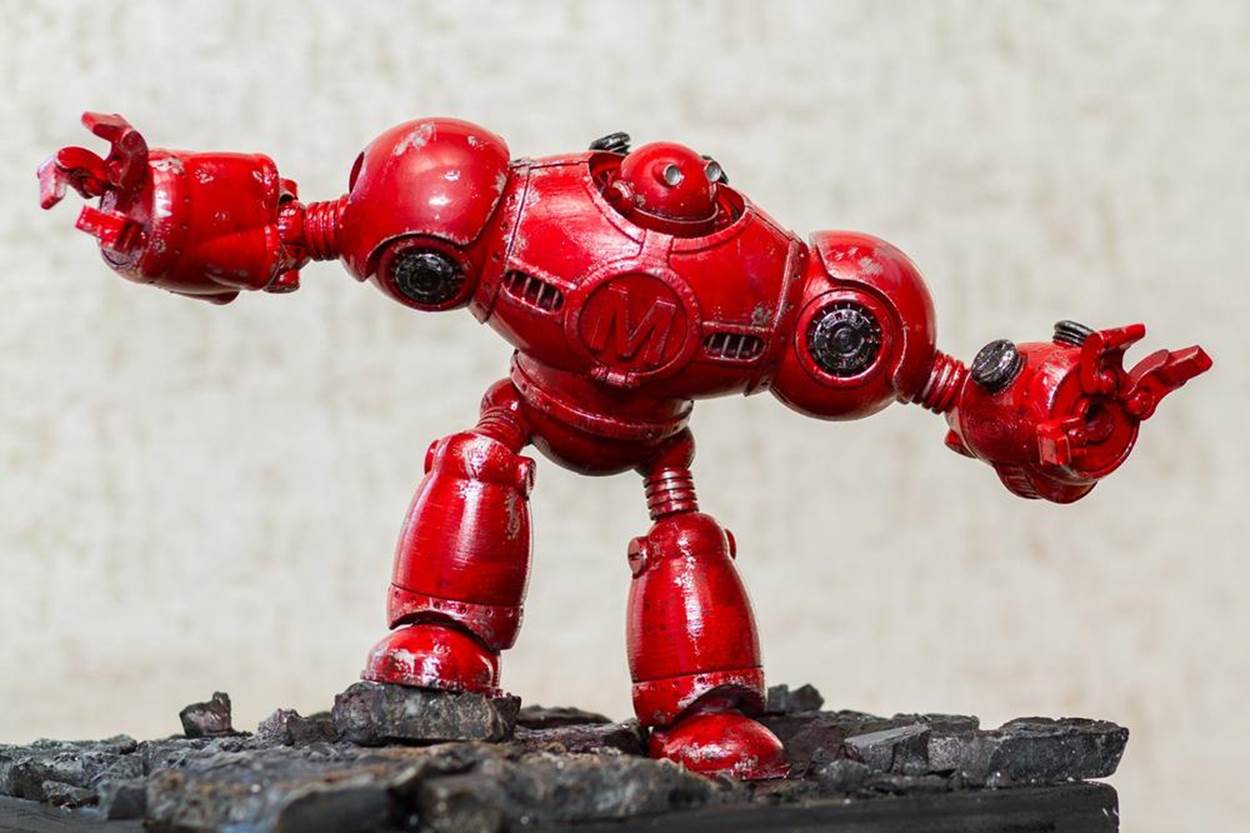
Figure 14-1. The aged metal look
Here’s what you’ll need:
Metallic hobby paint
I like Citadel’s metallic paints; the color Ironbreaker is my favorite.
Spray paint for the base coat
I chose Krylon’s Fusion brand.
Black acrylic paint
Any kind will do.
Drybrushes
The ones from MicroMark work well. Alternately, you can take an old brush that has a lot of bristles and cut the end off so it’s flat.
Other brushes
Use a script brush or other thin brush suitable for details.
1. Pick a BaseCoat
The white piece shown in Figure 14-2 is actually from the back of the robot. It was 3D-printed here at the MAKE office. I painted the robot bright red, to mimic our Maker Faire robot mascot. I chose Krylon’s Fusion brand, with the right red I was looking for. It dries pretty quickly and adheres to plastic really well. I skipped the priming process, but you can put this paint over primer easily enough.
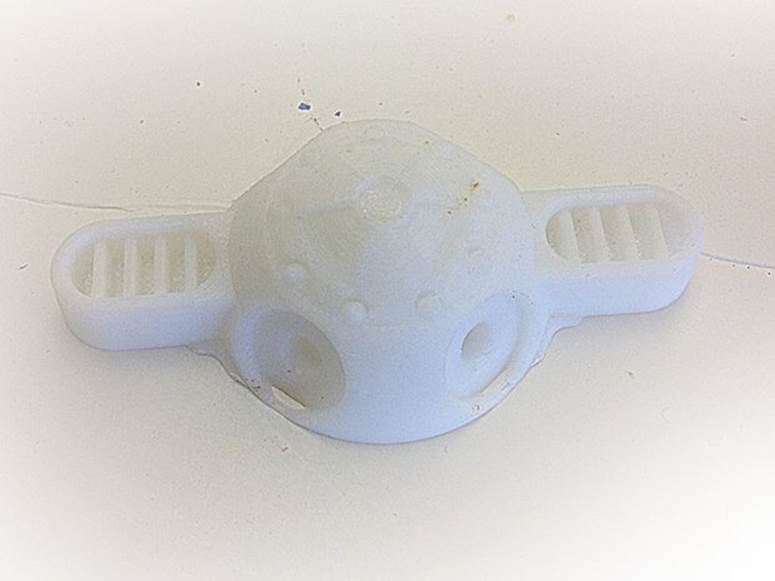
Figure 14-2. 3D-printed part from the back of the robot
2. Pick a Metallic Paint for Worn Edges
I like Citadel’s metallic paints (Figure 14-3), but any hobby metallic paint will do. Citadel’s Ironbreaker is my favorite, and it’s quite brilliant.
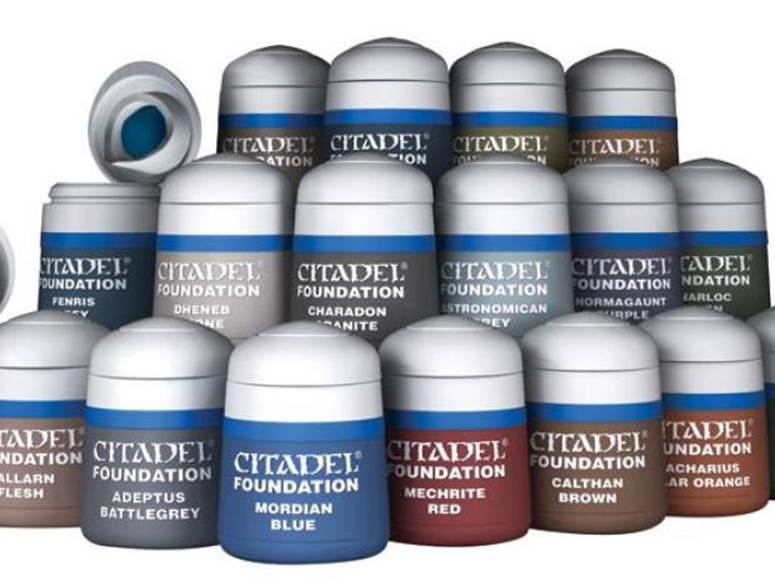
Figure 14-3. Citadel paints
3. Start Drybrushing over the Piece
You need the right type of brush to get the right drybrushing results. Take an old brush that has a lot of bristles and cut the end off so it’s flat, or buy a specific brush that’s made for drybrushing, like MicroMark’s Dry Brushes (Figure 14-4).
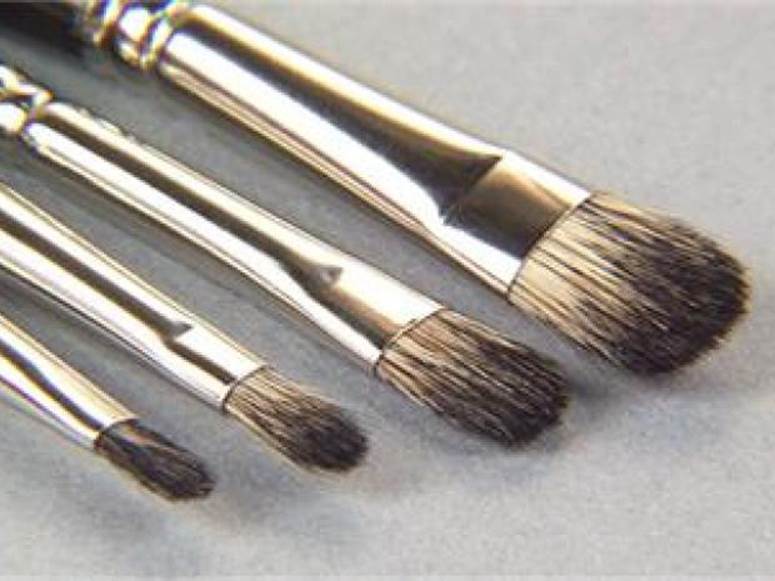
Figure 14-4. Micro-Mark’s Dry Brushes
Dab the brush into the paint, and then remove most of the paint onto a paper towel. Drybrushing means exactly that: the brush should not be wet with paint. In fact, it needs to have barely any paint on it. Practice on something other than your model to get the hang of it. Drybrushing correctly will leave just a little paint on the raised edges of your piece. Remember to keep a light hand and go slowly (Figure 14-5).
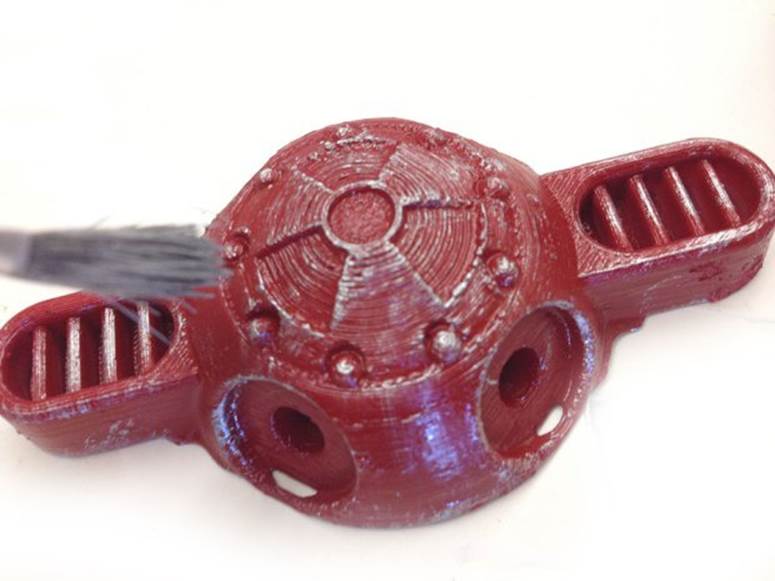
Figure 14-5. Drybrush the part
For machined edges, I focus on adding a bit more paint around the main edges of the model. Imagine that those edges are what other objects come into contact with the most, and therefore need to look more worn (Figure 14-6).
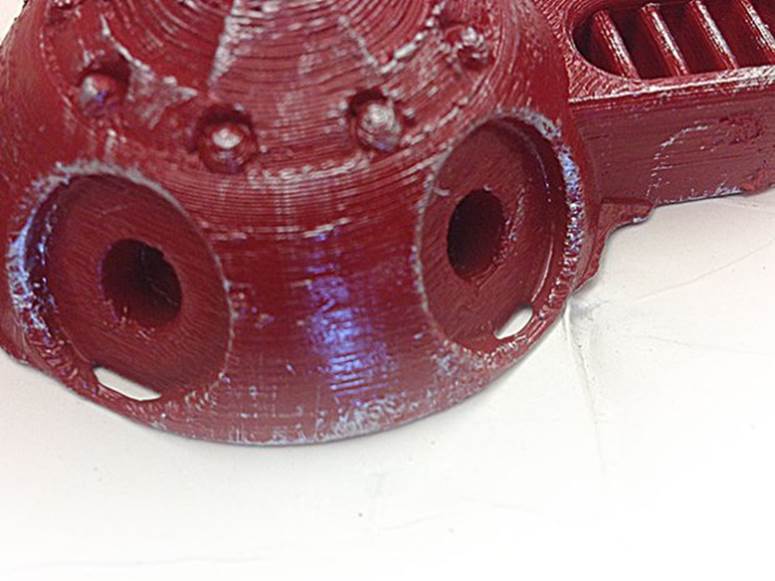
Figure 14-6. Emphasize worn edges
4. Add Bigger Scrapes and Chipped Areas
Using a very thin script brush with few bristles, use the same paint and add bigger spots where the metal has “flacked” off even more (Figure 14-7). Don’t go overboard with this; using this technique everywhere will ruin the effect.
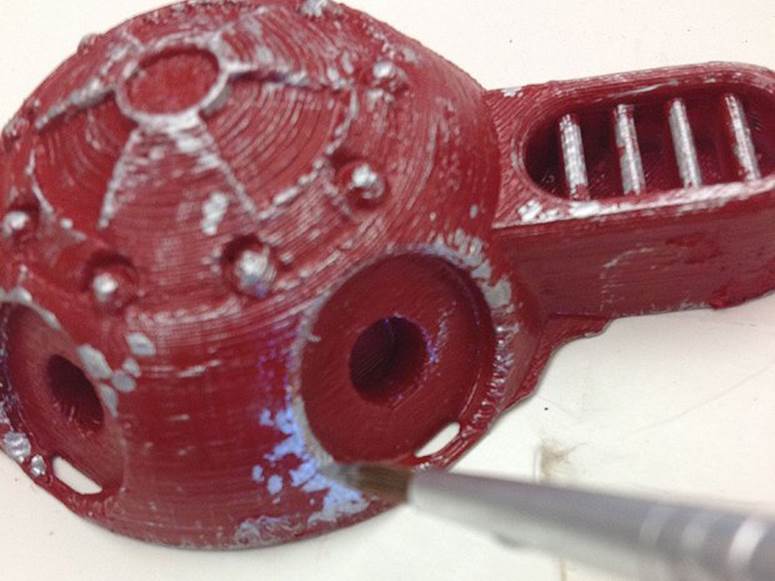
Figure 14-7. Add bigger paint spots—sparingly
5: Add Dirt and Grunge
Let’s start adding some dirt and grime (Figure 14-8) to make this look dirty. We’ll start by making a wash. A wash is pretty simple: just watered-down acrylic black paint. If you brush over newspaper and can still read the print, it’s probably watered down enough.
Don’t buy wash mediums at the art store. Instead, just add windshield washer fluid to thin acrylic paints. It dries quickly and will last you years.
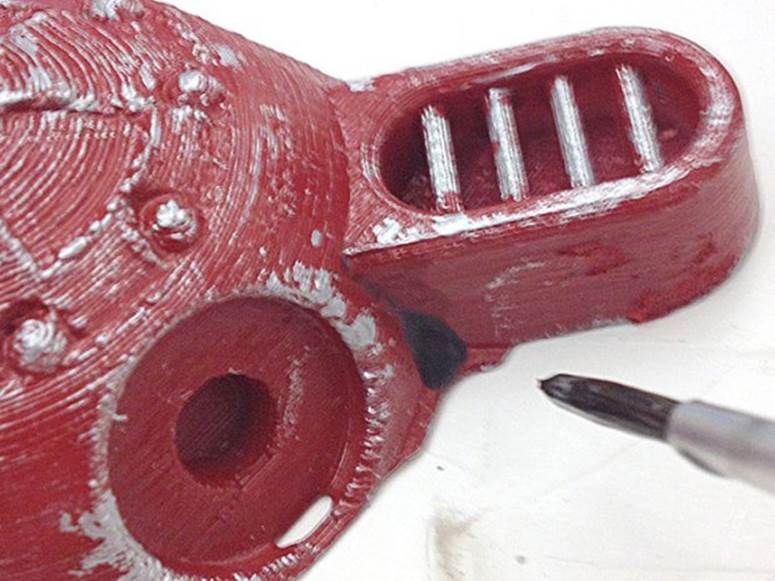
Figure 14-8. Use a wash to add “dirt”
I generously apply the paint in all the nooks and crannies that dirt would normally gather in. If the paint is watery enough, it should run into all the valleys of your model quickly (Figure 14-9).
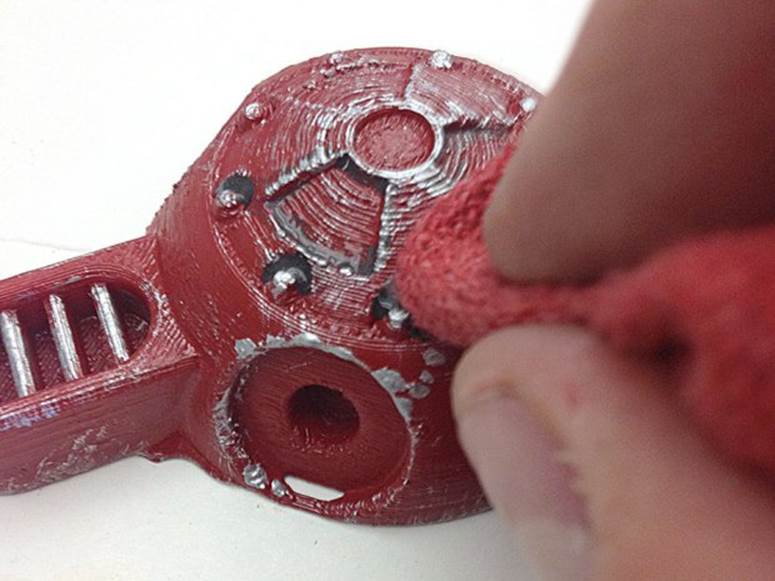
Figure 14-9. Get in the nooks and crannies
Depending on how much of this effect you want, you can dab up the paint immediately (Figure 14-10), leaving only a little black grime, or paint generously over the model and leave the paint on to dry for a more dramatic effect.
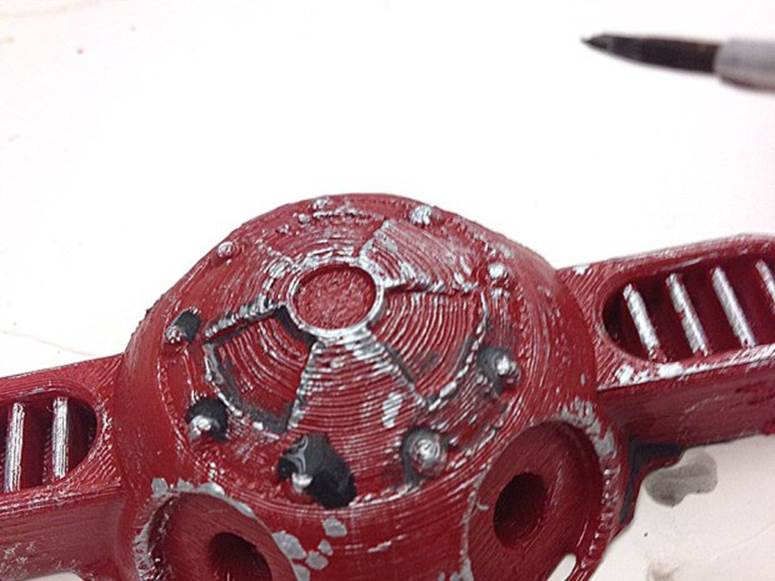
Figure 14-10. Dab up the paint
6. That’s It!
It’s pretty easy to get basic weathering effects, as you can see in Figure 14-11. There are more degrees of weathering you can expand upon: pigments, rusting agents, and other cool techniques are out there to find and invent!
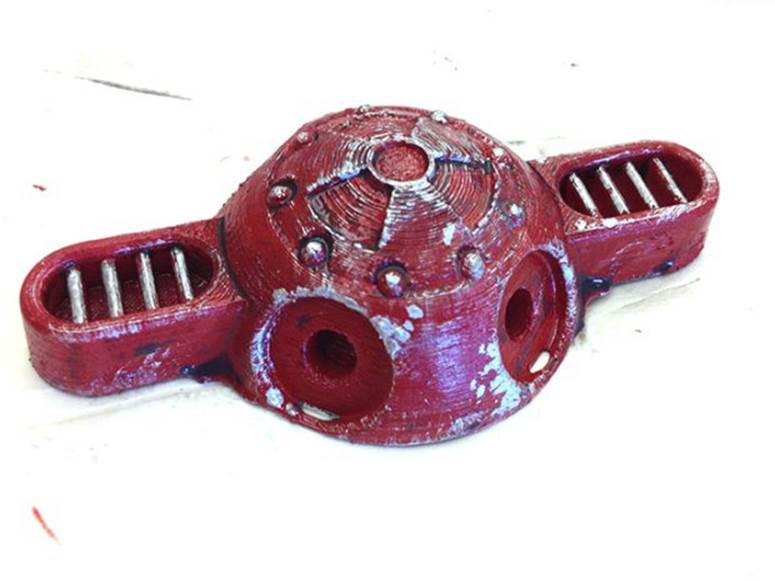
Figure 14-11. Finished weathered part
Jason Babler is the Creative Director at MAKE Magazine and loves to sculpt.