Idiot's Guides: 3D Printing (2015)
PART 3
Setting Up and Printing
<PROJECT 4
Storage Box with Drawers
Project Time: 1 day
It will take quite some time to print all of the parts for this project. That’s because you’re going to be printing four parts in total: the body of the storage box and three drawers. Each of these parts will take a few hours to print, so printing them is going to be an all-day affair.
But it will all be worth it in the end. This handy storage solution will give your nuts, bolts, and any other tiny items a comfy new home.
![]()
HOT TIP
In a later project, you’ll learn how to design and print your own custom drawers, so you’ll be able to store whatever your heart desires (so long as it’s small).
Open Your Host Software and Load the Storage Body .STL File
Start by opening up your printer host software. As usual, I’ll be using Repetier for these photos. But if you’re using other software, the process should be pretty similar. You can also preheat the hot end and heated bed, if you have one (project 1 provides a refresher on the temperatures necessary for ABS versus PLA, if you need it).
Next, click Load and select the storage_body.stl file, which is included in the model pack at the Idiot’s Guides website (idiotsguides.com/3dprinting). The storage body should be lying on its end by default, but if it’s not, you can use the rotation tools in the Object Placement tab to orient it properly.
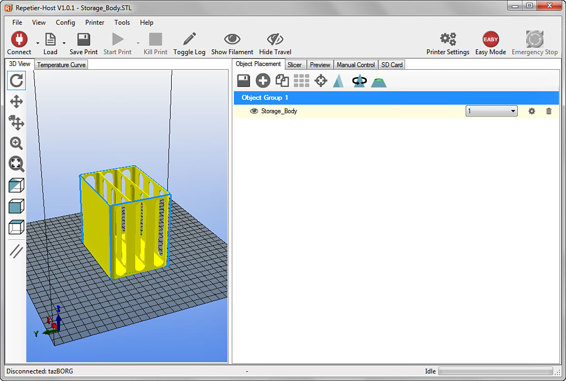
The part should be oriented this way to avoid the use of supports.
The purpose of orienting the model this way is to avoid having to use supports. The slots in the sides can be printed without supports because the ends are circular. Overhangs that are more vertical than 45° can usually be printed without supports. Because circles never get less than that, you can safely assume they’ll print without supports.
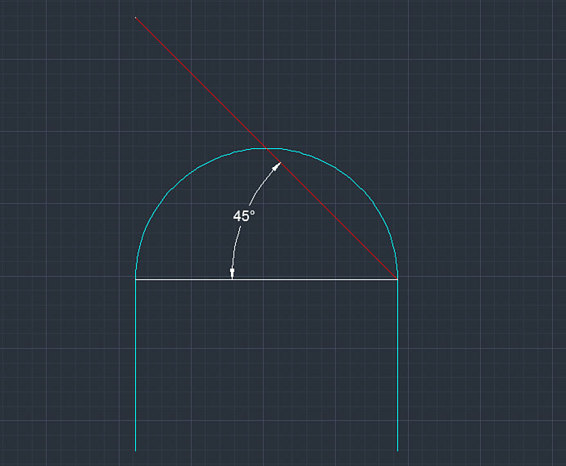
Circular features, like holes and slots, can be printed without supports. This is because the angle is never less than 45°, as you can see here.
Slice the Storage Body
Now it’s time to slice the model. This model won’t require supports or any special settings. However, you should make sure the infill is set fairly high, at least 50 percent (see project 2 if you need a reminder of how to set the infill percentage). In order to reduce warping, I also recommend you print this in PLA and with a brim.
Once you’ve got your model oriented properly and your settings tweaked, go to the Slicer tab and click Slice with Slic3r. This could take a while, especially on slower computers.
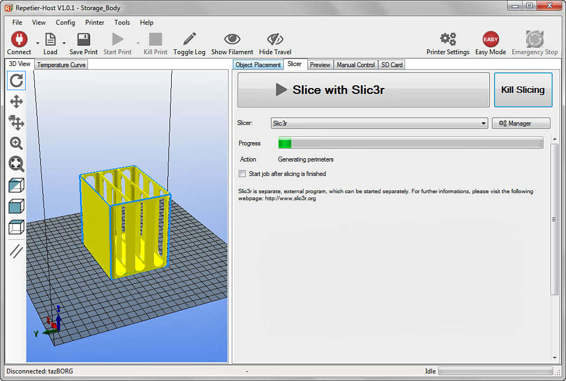
Slicing the model can take quite a while, so be patient!
Print the Storage Body
The next step is pretty predictable: you’re going to print the part. But before you start the print, click on the Preview tab and take a moment to check the model to see if it looks like it’s supposed to.
If it is right, go ahead and push that Start Print button! As I always do, I recommend you stick around to watch the first layer. If that one prints correctly, the part will probably turn out well.
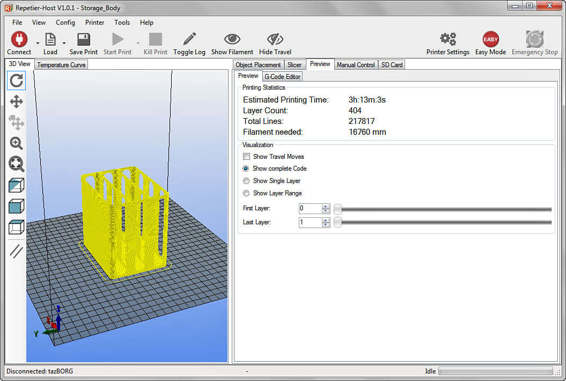
If it looks right, print it.
Load the Drawer .STL File and Slice It
After your first print has finished, you can pull it off the printer and get started on the drawers. Most likely (though it depends on your settings), your printer’s hot end and heated bed turned off after the print finished. If they did, you need to preheat them again.
While they’re heating up, you can load the storage drawer model by clicking Load and selecting the storage_drawer.stl file, which is included in the model pack at the Idiot’s Guides website (idiotsguides.com/3dprinting). This one needs to be oriented with the bottom down, so it’s pretty straightforward; any adjustments can be made using the tools in the Object Placement tab. This print will also use the exact same settings as the last one. Once you’re ready to slice it, go to the Slicer tab and click Slice with Slic3r.
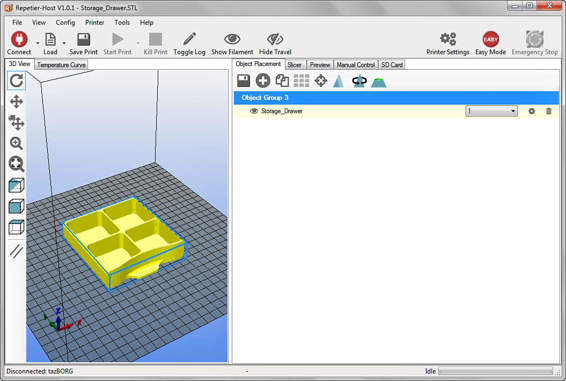
Orient the drawer with the bottom down.
![]()
HOT TIP
You may want to use a different color for the drawers for some lovely contrast. If you do, be sure to adjust the filament diameter settings to match the new filament.
Print the Drawer
If everything looks good after the slicing in the Preview tab, you can start the print by clicking Start Print. Just like with the storage body, you’ll want to watch the first layer to make sure there are no obvious problems. You should then let it cool a few minutes before removing.
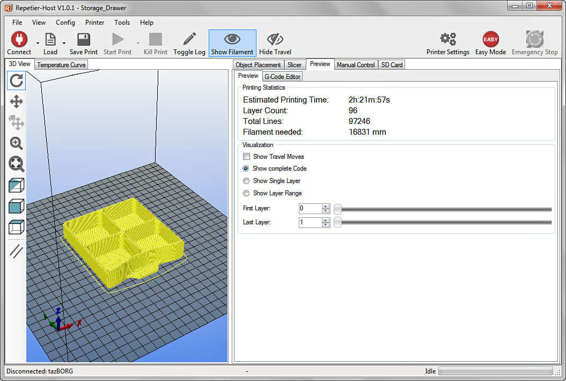
As always, make sure the preview looks right before the print, and watch the first layer after.
Print Two More Drawers
If the storage body and drawers turned out well, you’ll probably want a couple more drawers to put in the other two sections of the storage body. To do this, you can just repeat the previous two steps to print two more drawers. Or, if you’re feeling really adventurous, you can hop over to project 6 to learn how to design your own custom drawers! Either way, once each is done, allow to cool before removing.
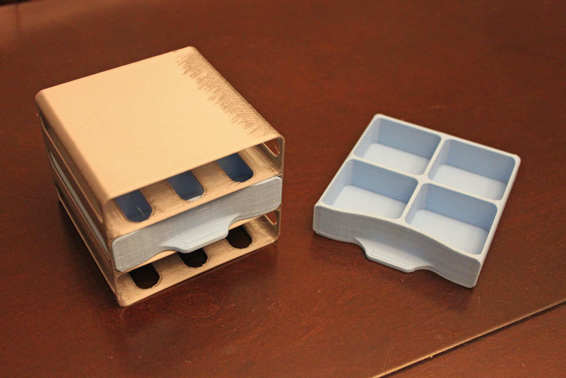
The printed parts. You can go to project 6 to learn how to make your own custom drawers to use with this body.
All materials on the site are licensed Creative Commons Attribution-Sharealike 3.0 Unported CC BY-SA 3.0 & GNU Free Documentation License (GFDL)
If you are the copyright holder of any material contained on our site and intend to remove it, please contact our site administrator for approval.
© 2016-2026 All site design rights belong to S.Y.A.