From Zero to Blogger in 30 days (2015)
How to Install WordPress
Installing WordPress isn't really all that difficult.
There are a couple of different ways in which it can be accomplished. You can hire someone to do it for you, but there honestly isn't any reason unless you just want to scrub that task off your to-do list fast.
I really don't recommend that as a newcomer you do a manual install. This involves building a MySQL database on your hosting account. Then using FTP to upload and install WordPress. There is a lot of room for error and frustration.
Since this is for beginners, let's focus on automatic installation. Your hosting account provider probably has a way for you to automatically install WordPress. The most popular option is to use Fantastico (and some hosting accounts use something called Softaculous which is similar to Fantastico) which this tutorial will guide you through.
It's really just a matter of following the instructions. Seriously! Here are the steps...
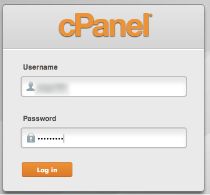
Log in to your cPanel. Your log in and password should have been provided by your website hosting provider.
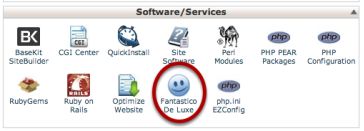
Scroll down until you see the Fantastico icon. It is in the Software/Services area of your hosting cPanel. Click on the icon.
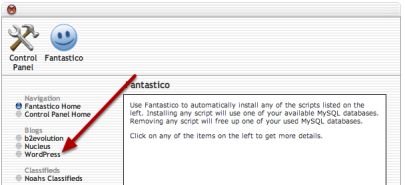
On the left of that page look for the word WordPress and click it.
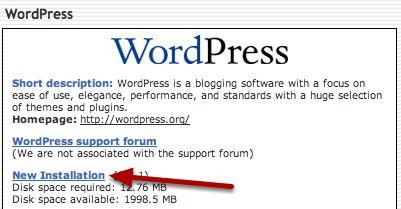
Now click New Installation.
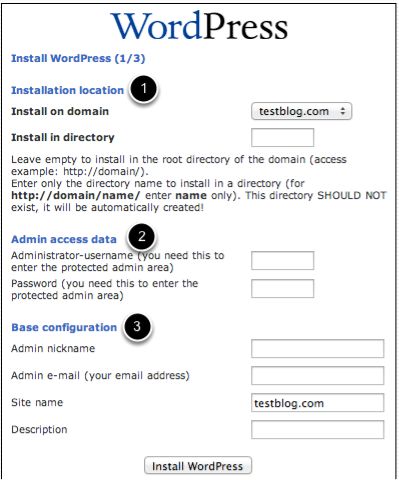
Now it's time to configure your installation. We will walk you through the main steps.
SECTION 1: Installation Location
Section 1 is where you choose where to install your WordPress blog. If you need to install it on a subdomain or addon domain, click the dropdown box and select the correct domain. If you want to install it in a directory, e.g. yoursite.com/blog, rather than just yoursite.com, enter that in the directory box.
Otherwise, you don't need to select anything here.
SECTION 2: Admin Access Data
This is where you need to enter your admin username and password. Do not choose anything obvious here. This means choosing an admin username that's hard to guess (not your own name or the word 'admin').
For your password, don't use a password you've used on any other sites, and include a combination of letters, numbers, special characters and capital letters. This is to help protect your WordPress site against hackers.
SECTION 3: Base Configuration
Now you can enter your name as you want it to show on your website to the public. In this section you can just use something obvious like your name or the word “admin”.
You'll also want to enter an email address (this is where you'll receive notifications about your blog e.g. new comments) and your site name and description.
You can change this information at a later date, so don't worry about it too much for now.
Once you're done, click Install WordPress.
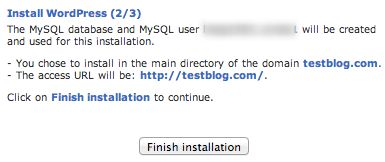
Next you'll be asked if you want to create the database. Click Finish Installation.
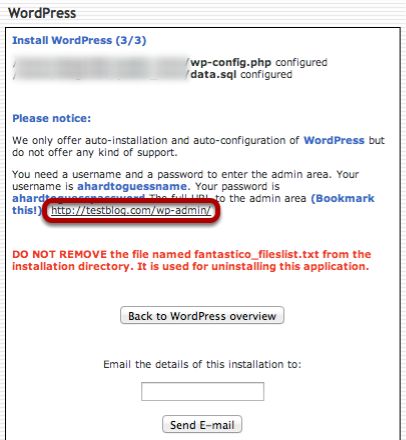
Now you'll see the results of your installation. Note that you are now given the login link to your WordPress dashboard - this is circled in red in the example above.Make sure you note down this login URL, as well as your username and password. You'll need it to make changes to your site!
You can also enter your email address in the box to have the details emailed to you. To protect your details, you'll want to make sure your email account is also secured with a strong password if you choose to use this option!
Now you're done! Easy, right?!
All materials on the site are licensed Creative Commons Attribution-Sharealike 3.0 Unported CC BY-SA 3.0 & GNU Free Documentation License (GFDL)
If you are the copyright holder of any material contained on our site and intend to remove it, please contact our site administrator for approval.
© 2016-2026 All site design rights belong to S.Y.A.