Citrix XenMobile Mobile Device Management (2014)
Chapter 3. NetScaler Gateway VPX Deployment
NetScaler is a secure Network Access Control solution that allows users to access their applications and data from anywhere across the web. In addition, it also helps administrators to apply granular policies to control these applications and data. The administrators can manage user activity from a single console based on the user identities or the devices they use to access network resources.
In this chapter, we will install Netscaler Gateway 10.1 VPX, a virtual appliance, on a VMware-based virtual machine and configure the virtual appliance.
Downloading the NetScaler® Gateway software
To download the XenMobile components, we need to go to the Citrix Downloads portal, which can be found at: http://www.citrix.com/downloads.html.
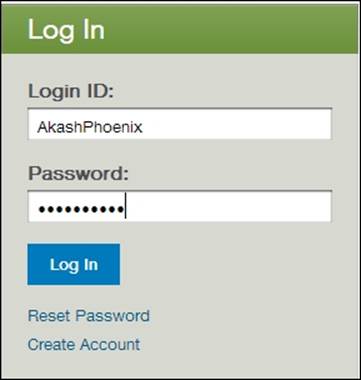
1. Click on My Account (Log In) and log on.
Tip
A Citrix account is mandatory to download any software from the Citrix download center. Register for a customer or a partner account at https://www.citrix.com/welcome/create-account.html.
The Log In window is shown as follows:
© Citrix Systems, Inc. All Rights Reserved.
2. Click on Downloads.
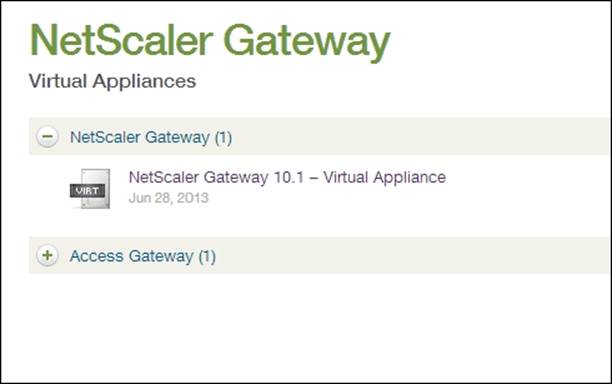
3. Select NetScaler Gateway as the Product and Virtual Appliances as the Download Type.

© Citrix Systems, Inc. All Rights Reserved.
4. Collapse NetScaler Gateway and click on NetScaler Gateway 10.1 – Virtual Appliance.
© Citrix Systems, Inc. All Rights Reserved.
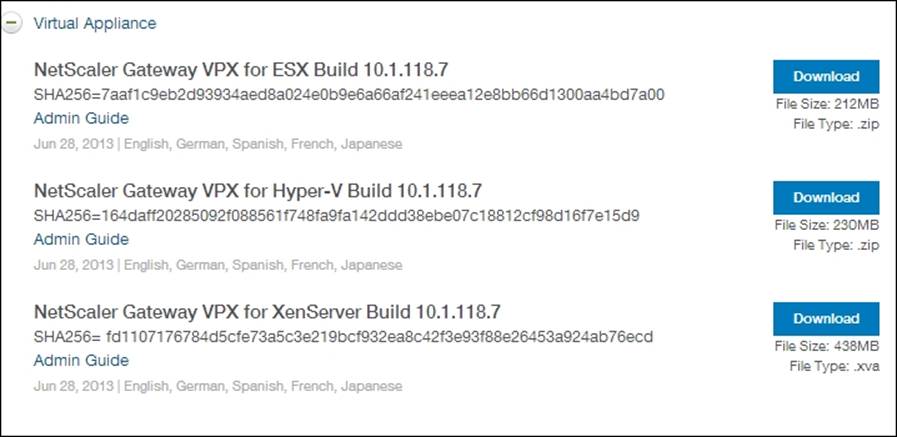
5. Download the VPX Build depending on the hypervisor being used.
© Citrix Systems, Inc. All Rights Reserved.
Importing the virtual appliance
After we have successfully downloaded the NetScaler VPX Build, we need to import it to the hypervisor. In the case of the VMware-based hypervisor, you should have the following three files available after download:
· NSVPX-ESX-10.1-118.7_nc.mf
· NSVPX-ESX-10.1-118.7_nc.ovf
· NSVPX-ESX-10.1-118.7_nc-disk1.vmdk
To deploy the virtual appliance, the following steps should be followed:
1. Log in to the VMware VSphere client.
2. Click on File and then choose Deploy OVF Template.
3. Click on Browse and locate the NSVPX-ESX-10.1-118.7_nc.ovf file.
4. Click on Open and select Next.
5. Agree to accept the terms of the licenses and click on Next.
6. Enter a Name for the virtual machine and click on Next.
7. Select a Datastore to store the deployed OVF template and click on Next.
8. Choose the Network Adapter you want to allot to the Virtual Machine and click on Next.
9. Verify the information and click on Finish. The OVF Deployment progress bar should appear.
Once the import procedure is completed, the NetScaler VPX appliance should appear on the VSphere Client. This completes the import procedure for the virtual appliance.
Configuring NetScaler® VPX
In this section, we will configure the virtual appliance we imported into the Hypervisor in the last section. The NetScaler Gateway comes preconfigured with some default settings for management purposes, listed as follows:
|
Default |
Value |
|
IP Address |
192.168.100.1 |
|
Subnet Mask |
255.255.0.0 |
|
Root Username |
nsroot |
|
Root Password |
nsroot |
To proceed further with the installation, we need to ensure we have the following details in hand:
· NetScaler IP Address (NSIP): It's used for managing the NetScaler Virtual Appliance. Reserve a Static IP address to be assigned to the NetScaler Virtual Appliance.
· Subnet IP Address (SNIP): An SNIP is used in the case of multiple subnet scenarios to avoid configuration of alternate or additional routes on systems. In the case of a single subnet scenario, we can assign an IP address available in the same subnet.
· Virtual Server IP Address (VIP): A VIP is the IP address associated with a virtual server. It's the public IP address to which clients connect.
· The Netmask: It's the subnet mask of the IP address assigned to NetScaler Virtual Appliance
· Default Gateway: It passes traffic from the local subnet to a device on different subnets. It allows managing the NetScaler Gateway from devices that belong to a different subnet. Note down the Default Gateway for the IP address assigned to the NetScaler Virtual Appliance.
Now, let's proceed with the installation and configuration of the NetScaler Virtual Appliance.
Command-line-based configuration
In this section, we will configure the settings on the NetScaler VPX server using command lines. Here, we will configure the IP address and the subnet mask of the NetScaler gateway to make it available for end-user devices and other XenMobile component discovery by performing the following steps:
1. Power on the virtual appliance. (The installation of the NetScaler Virtual Appliance is automatically done as soon as you power on the virtual machine.) Refer to the following screenshots.
2. When prompted, enter the IPv4 address reserved for NetScaler and its corresponding subnet mask.

3. Select option 4 to Save and Exit and let the Virtual Machine (VM) boot up.
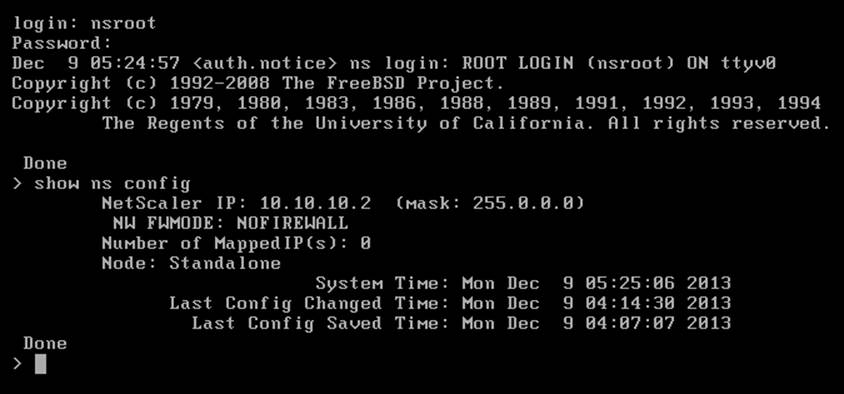
4. At the Login prompt, enter the default root credentials nsroot, as mentioned in the preceding table.
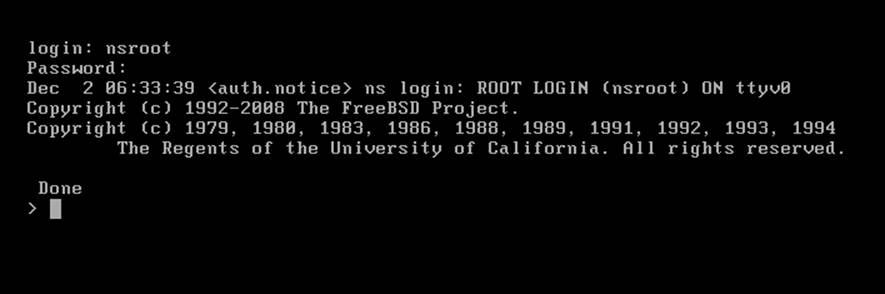
Tip
The root password is not shown while entering, so ensure that Caps Lock is off to avoid any mistakes.
5. Next, we will verify the settings made earlier. Type show ns config and hit Enter. This will display the current IP address and the subnet mask of the NetScaler Virtual Appliance.
Graphical user interface-based configuration
In this section, we will configure further detailed settings on the NetScaler VPX server using a graphical user interface. Here, we can check the configurations made using the command-line interface as well as other DNS configurations by performing the following steps:
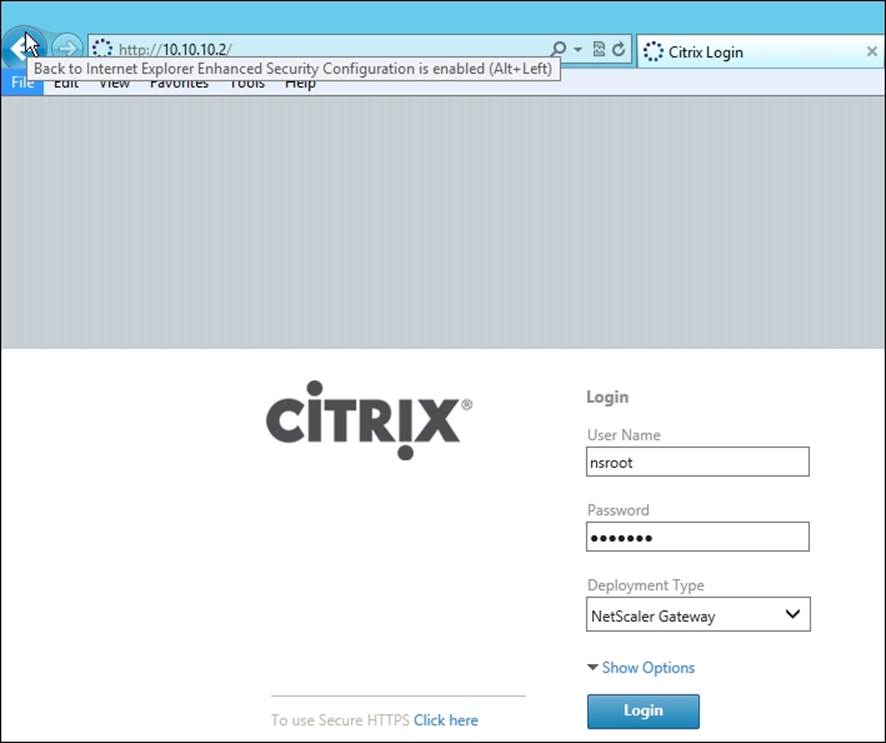
1. Log on to a system in the same subnet as NetScaler, open a web browser, and point to http://ipaddress.of.netscaler (for example, http://10.10.10.2).
2. Enter User Name and Password. Select Deployment Type as NetScaler Gateway. Refer to the following screenshot:
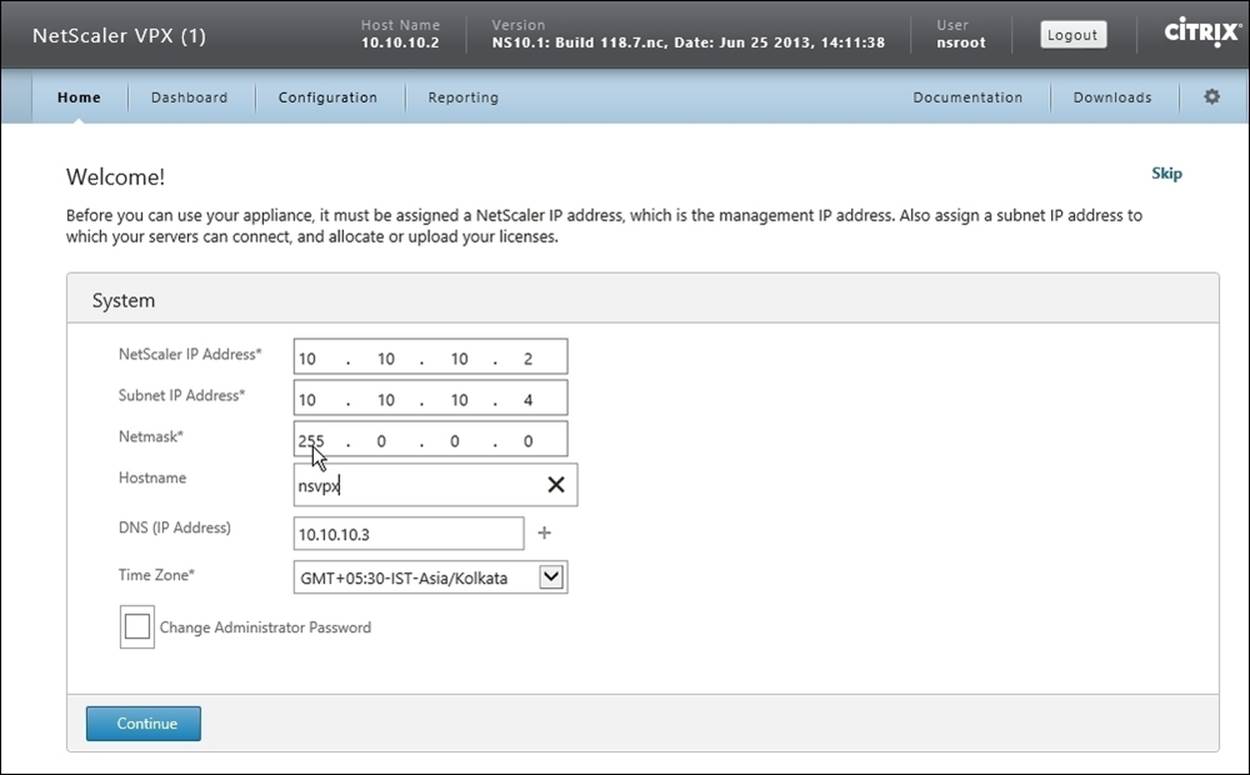
3. After logging in, the next screen will require some additional configurations, which are as follows:
· Subnet IP Address: An SNIP is used in the case of multiple subnet scenarios to avoid configuration of alternate or additional routes on systems. In the case of a single subnet scenario, we can assign an IP address available in the same subnet.
· Hostname: Assign a name to the NetScaler Virtual Appliance.
· DNS (IP Address): Enter the IP address of the Domain Name Server of the domain.
· Time Zone: Select the time zone according to your specific region or location.
4. Click on Continue after entering the preceding details.
Adding licenses
In this section, we will assume you have purchased or applied for a NetScaler license as discussed in Chapter 2, XenMobile™ Solution Deployment Prerequisites. The next step is to add the NetScaler license file, which will enable license-based features in theproduct.
1. Log on to the Citrix web portal and download the NetScaler license file. The license file is in the .lic format.
2. Log on to the NetScaler web console.
3. Go to Home and click on Continue.
4. Select Upload License Files and click on Browse. The license should be updated successfully.
5. Click on Continue and then on Done.
6. Click on Yes to reboot the server for the changes to take effect.
Configuring NetScaler® Gateway
In this section, we will configure a virtual server on NetScaler, which will communicate with App Controller to provide web application and SaaS-based services to end-user devices. To do so, perform the following steps:
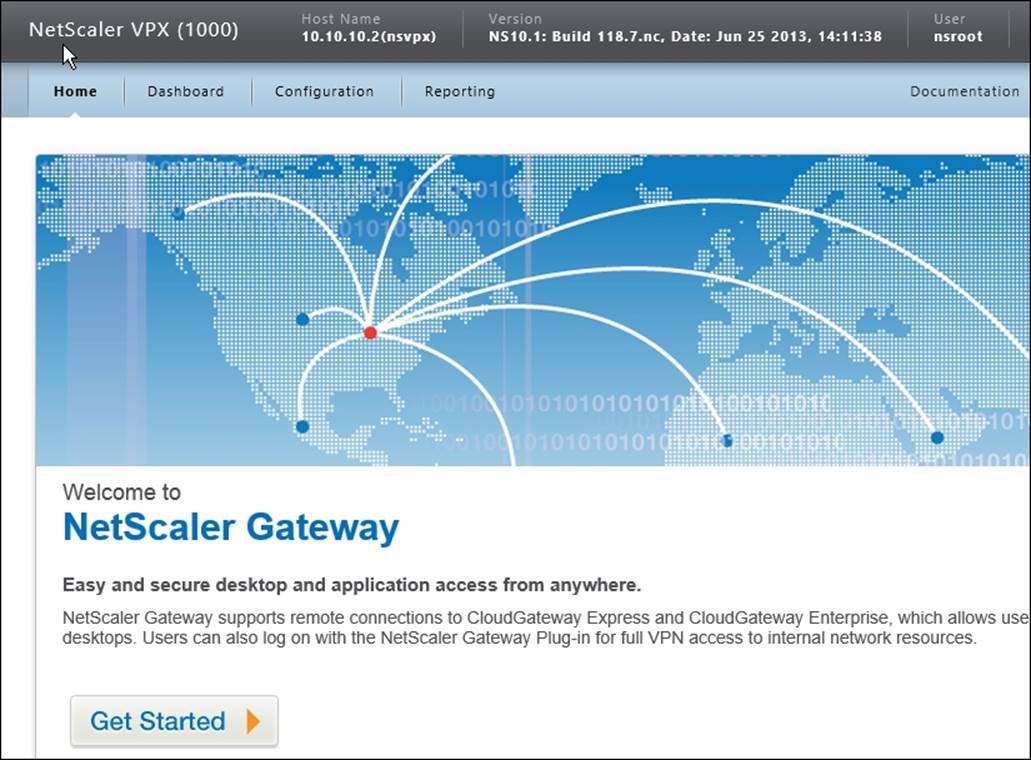
1. Log on to NetScaler Gateway with the default credentials.
2. Click on Get Started to configure the virtual server.
3. Enter the Name (choose a unique name for the server), IP Address, and Port for the virtual server
Tip
The naming convention for the server can be the external FQDN, which is used to connect to the NetScaler Gateway.
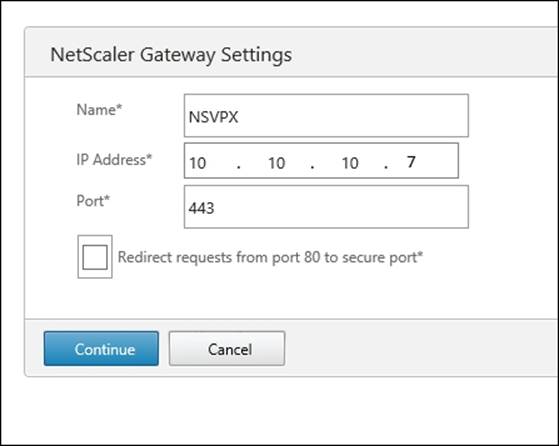
Tip
When the Redirect requests from port 80 to secure port option is selected, it allows NetScaler Gateway to redirect the http requests to secure https requests.
4. Click on Continue.
Assigning certificates
The certificates assigned in this section ensure communication between the Gateway and the App Controller is secure. To assign certificates, perform the following steps:
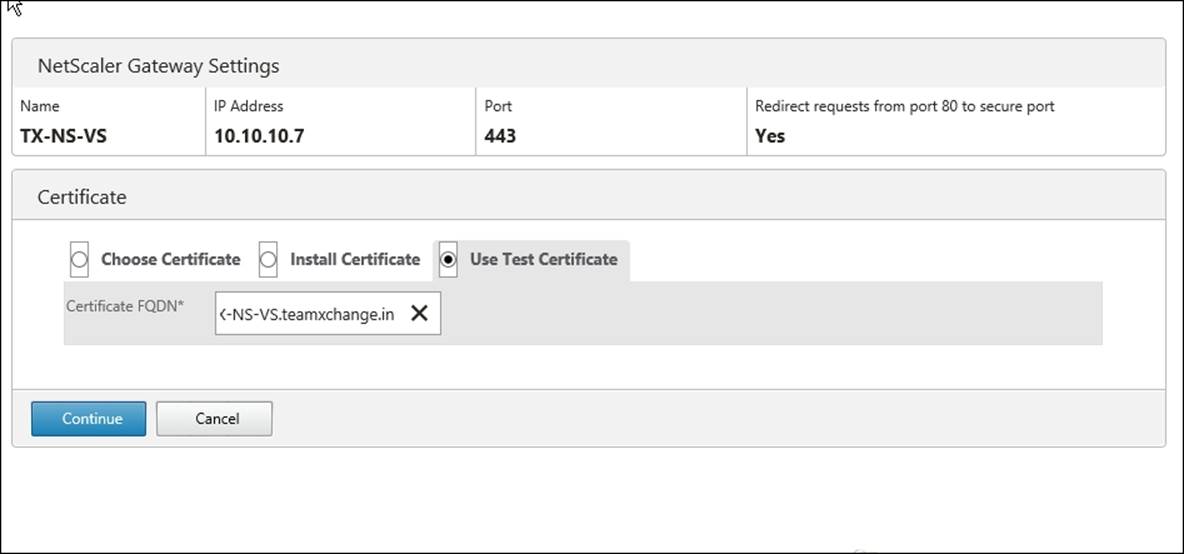
1. On the Certificate page, we need to assign a Secure Socket Layer (SSL) certificate to the virtual server. We have three options for assigning certificates:
· Choose Certificate: It allows you to choose from an existing certificate on the NetScaler Virtual Appliance
· Install Certificate: It allows you to install an existing .cer or .pfx certificate file
· Use Test Certificate: It allows you to use a self-signed test certificate for testing purpose
In our case, we will be using Use Test Certificate.
2. In Certificate FQDN, enter the FQDN contained in the test certificate.
3. Click on Continue.
Authentication settings
The NetScaler Gateway Authentication settings authenticate incoming user connections based on two types of authentication methods. They are as follows:
· LDAP: It's also known as Lightweight Active Directory Protocol and is based on the client-server model. It gives authenticated access to connected applications over an existing directory to connect or perform search-based operations. LDAP runs on port 389.
· RADIUS: It's also known as Remote Authentication Dial-In User Service, which is a networking protocol that provides centralized Authentication, Authorization, and Accounting (AAA) management for computers to connect and use a network service. RADIUS ports depend on their proprietary servers (for example, Microsoft RADIUS servers default to 1812 and 1813 ports).
Tip
NetScaler Gateway allows two-factor authentication; hence, both LDAP and RADIUS can be used. They can be assigned either as a Primary or Secondary Authentication method.
In our scenario, we will use LDAP authentication. Perform the following steps to assign the authentication settings:
1. Choose Configure New.
2. Enter the IP address of the domain controller.
3. Enter port 389.
4. Leave the Time Out setting as default.
5. Enter the Base DN, for example, Cn=Users,dc=teamxchange,dc=in.
6. Enter the complete ID for the LDAP Admin ID in Admin Base DN. For example, administrator@teamxchange.in.
7. Under Server Logon Name Attribute, type userPrincipalName. This will help us to later enable Single Sign-On for App Controller.
8. Type the password for the Admin ID mentioned above and retype to confirm.
9. Click on Continue.

Enterprise Store Settings
In this section, we will configure the NetScaler Gateway to communicate with the App Controller. Performing this configuration will allow NetScaler Gateway to support user access to web, mobile apps, SaaS, XenApp, or XenDesktop-based apps, and ShareFile through App Controller.
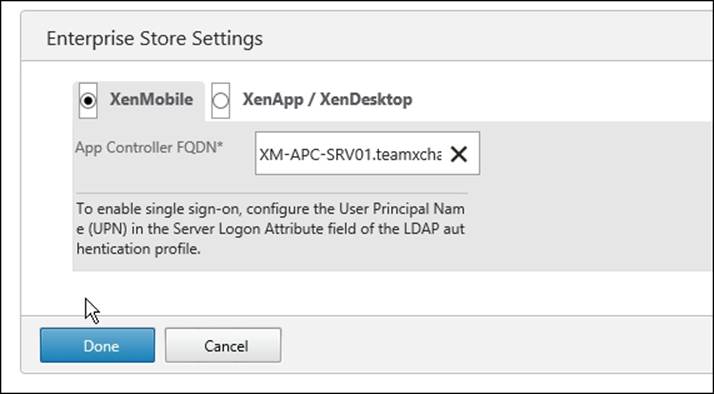
1. Choose XenMobile.
2. Type the App Controller FQDN (the full computer name of the App Controller Server). Note down this name as we will assign the same hostname to the App Controller Server while installation.
3. Click on Done.
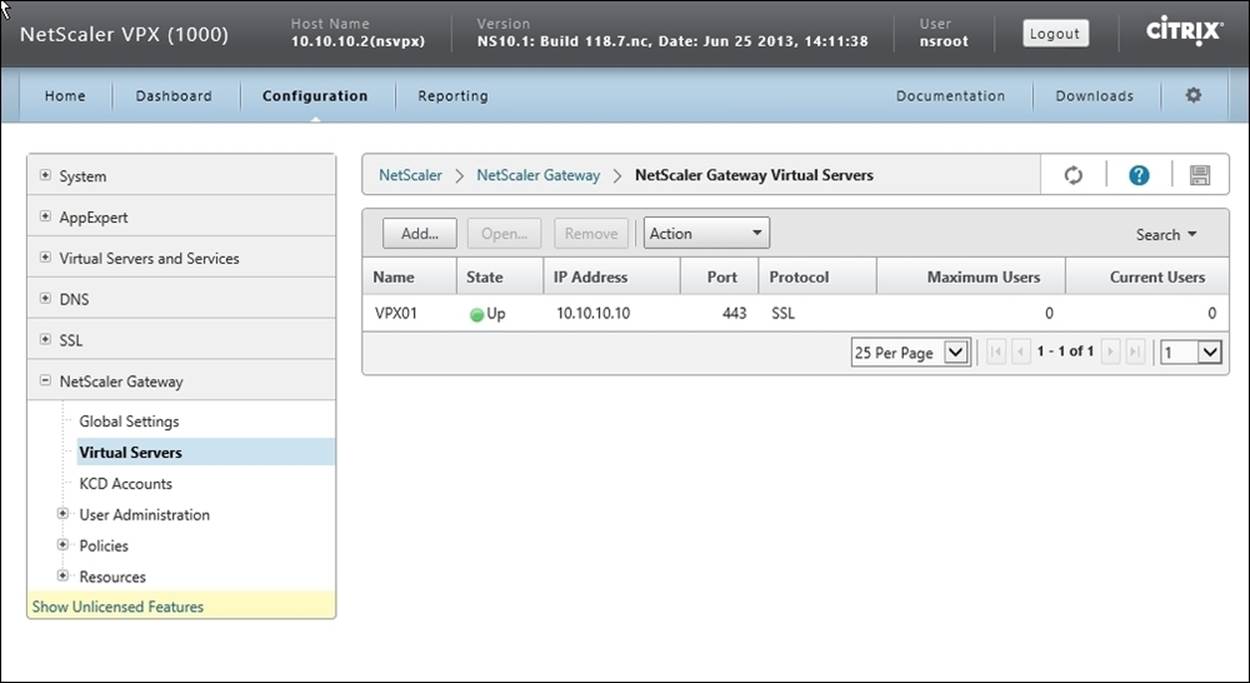
To verify successful configuration of the NetScaler gateway, navigate to Configuration | NetScaler Gateway | Virtual Servers and ensure that State of the virtual server is Up.
Summary
As discussed in this chapter, we have successfully installed and configured the NetScaler Gateway. Also, we have performed the initial configuration for the enterprise store, which will be further addressed while installing the App Controller server. In the upcoming chapter, we will install and configure the XenMobile Device Manager server.
All materials on the site are licensed Creative Commons Attribution-Sharealike 3.0 Unported CC BY-SA 3.0 & GNU Free Documentation License (GFDL)
If you are the copyright holder of any material contained on our site and intend to remove it, please contact our site administrator for approval.
© 2016-2026 All site design rights belong to S.Y.A.